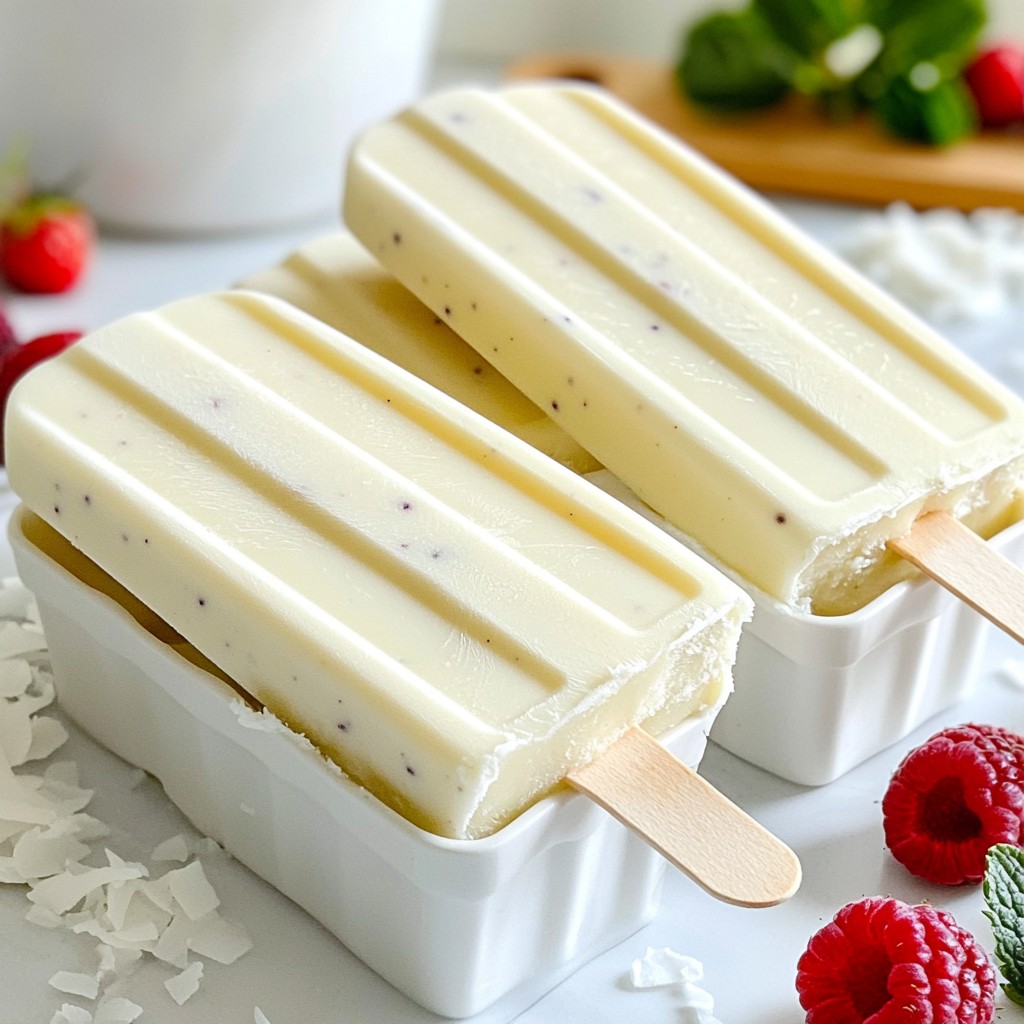
Looking for a cool and tasty treat? These Vanilla Bean Greek Yogurt Popsicles are perfect! With creamy Greek yogurt and sweet vanilla bean, each bite bursts with flavor. Plus, they're easy to make and perfect for hot days. You'll love how simple and refreshing they are. Dive into this article to discover the ingredients and step-by-step guide to create your own frozen delights!
Why I Love This Recipe
- Homemade Goodness: These popsicles are made from simple, wholesome ingredients, ensuring a delicious and healthy treat for everyone.
- Customizable Flavors: You can easily adjust the sweetness level or add your favorite fruits and toppings, making each batch uniquely yours.
- Perfect for Hot Days: These creamy popsicles are a refreshing way to cool down during the summer heat, perfect for outdoor gatherings.
- Easy to Make: With just a few steps and minimal prep time, you can whip up a batch of these tasty treats in no time!
Ingredients
Main Ingredients
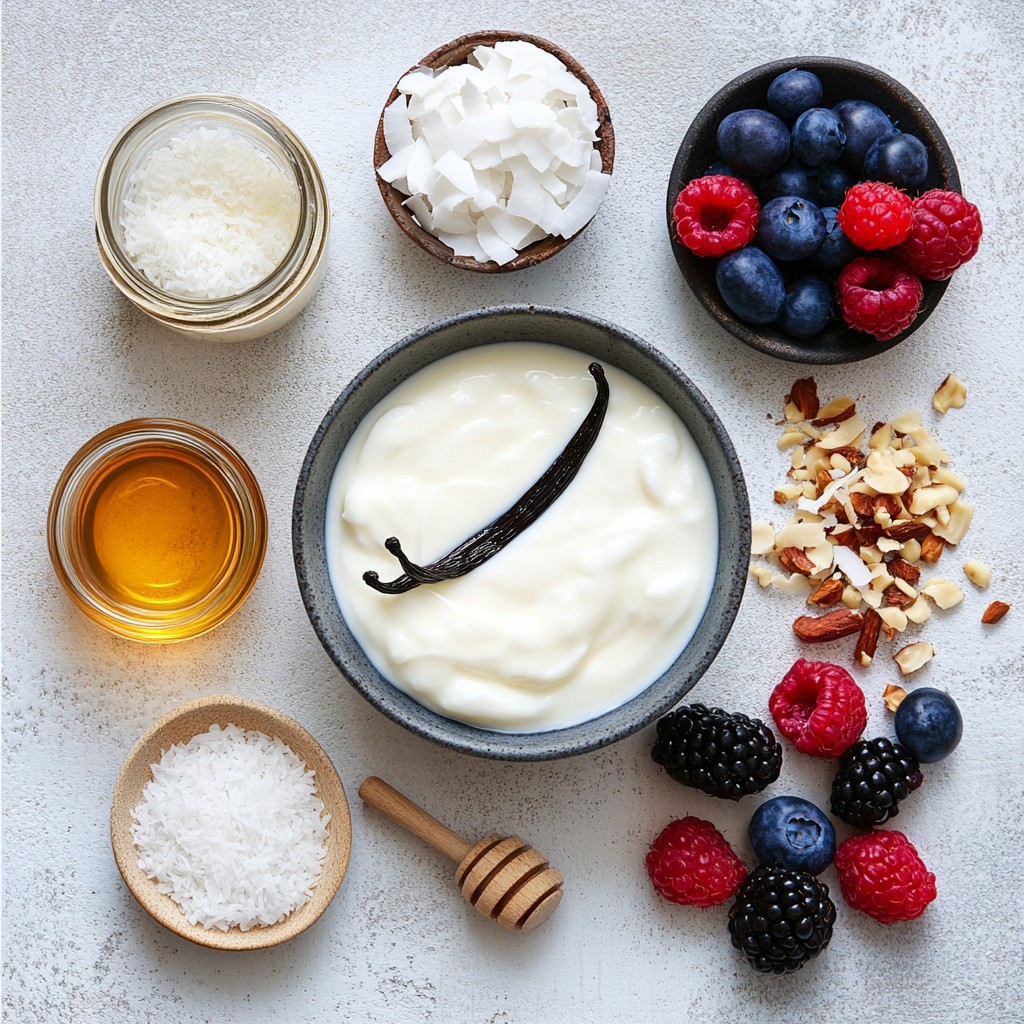
- 2 cups Greek yogurt
- 1 cup full-fat coconut milk
- 1/2 cup honey or maple syrup
- 1 vanilla bean (split and seeds scraped)
- 1 teaspoon pure vanilla extract
- Pinch of fine sea salt
The main ingredients create a creamy and rich base for these popsicles. Greek yogurt adds protein and tanginess. Full-fat coconut milk brings a smooth texture and tropical flavor. Honey or maple syrup sweetens the mix, while the vanilla bean adds depth. A pinch of sea salt enhances all these flavors.
Optional Toppings
- Shredded coconut
- Chopped nuts
- Fresh berries
Toppings make your popsicles even more fun. Shredded coconut adds chewiness. Chopped nuts give a nice crunch. Fresh berries add a burst of flavor. You can mix and match to create your favorite combinations.
Step-by-Step Instructions
Preparing the Base Mixture
1. In a big mixing bowl, combine 2 cups of Greek yogurt and 1 cup of full-fat coconut milk. This mix gives a creamy base.
2. Next, add 1/2 cup of honey or maple syrup. You can adjust this to make it sweeter if you like.
3. Scrape the seeds from 1 vanilla bean and add them to the bowl. Also, add 1 teaspoon of pure vanilla extract.
4. Finally, sprinkle in a pinch of fine sea salt. This helps to bring out the flavors.
5. Use a whisk to mix everything until it's smooth and well combined.
Filling the Molds
1. Taste the mixture. If you want it sweeter, stir in more honey or maple syrup.
2. Carefully pour the yogurt mixture into your popsicle molds. Fill them about 3/4 full. This leaves room for the popsicles to expand.
3. If you want to add toppings, now’s the time! You can sprinkle shredded coconut, chopped nuts, or fresh berries into the molds.
Freezing Process
1. Gently tap the molds on your countertop. This helps to remove air bubbles trapped in the mixture.
2. Insert popsicle sticks into each mold. Make sure they are placed in the center.
3. Place the molds in the freezer and let them freeze for 4-6 hours. They need to be solid before you enjoy them.
4. When you're ready to eat, run warm water over the outside of the molds for a few seconds. This will help loosen the popsicles for easy removal.
Tips & Tricks
Achieving the Best Texture
To get creamy popsicles, mix well. Start by blending Greek yogurt and coconut milk in a large bowl. Use a whisk to make it smooth. Full-fat coconut milk is key. It adds a rich texture. Avoid low-fat versions; they won’t give the same creamy result.
Sweetness Adjustments
You can adjust the sweetness of your popsicles. If you like them sweeter, add more honey or maple syrup. Taste as you mix. If you want alternatives, try agave syrup or stevia. These can still give you great flavor without extra sugar.
Popsicle Removal
Getting popsicles out of molds can be tricky. To make it easy, run warm water over the outside of the molds for a few seconds. This helps loosen popsicles. After that, gently pull them out. If they stick, try twisting the mold a bit. This should help release them with ease.
Pro Tips
- Use Fresh Ingredients: Always opt for fresh vanilla beans for the best flavor. They add a rich aroma that enhances the popsicles significantly.
- Experiment with Sweeteners: Feel free to mix different sweeteners like agave syrup or stevia to find the perfect balance for your taste.
- Pre-Freeze the Molds: For easier removal, pre-freeze the popsicle molds for about 30 minutes before pouring in the mixture.
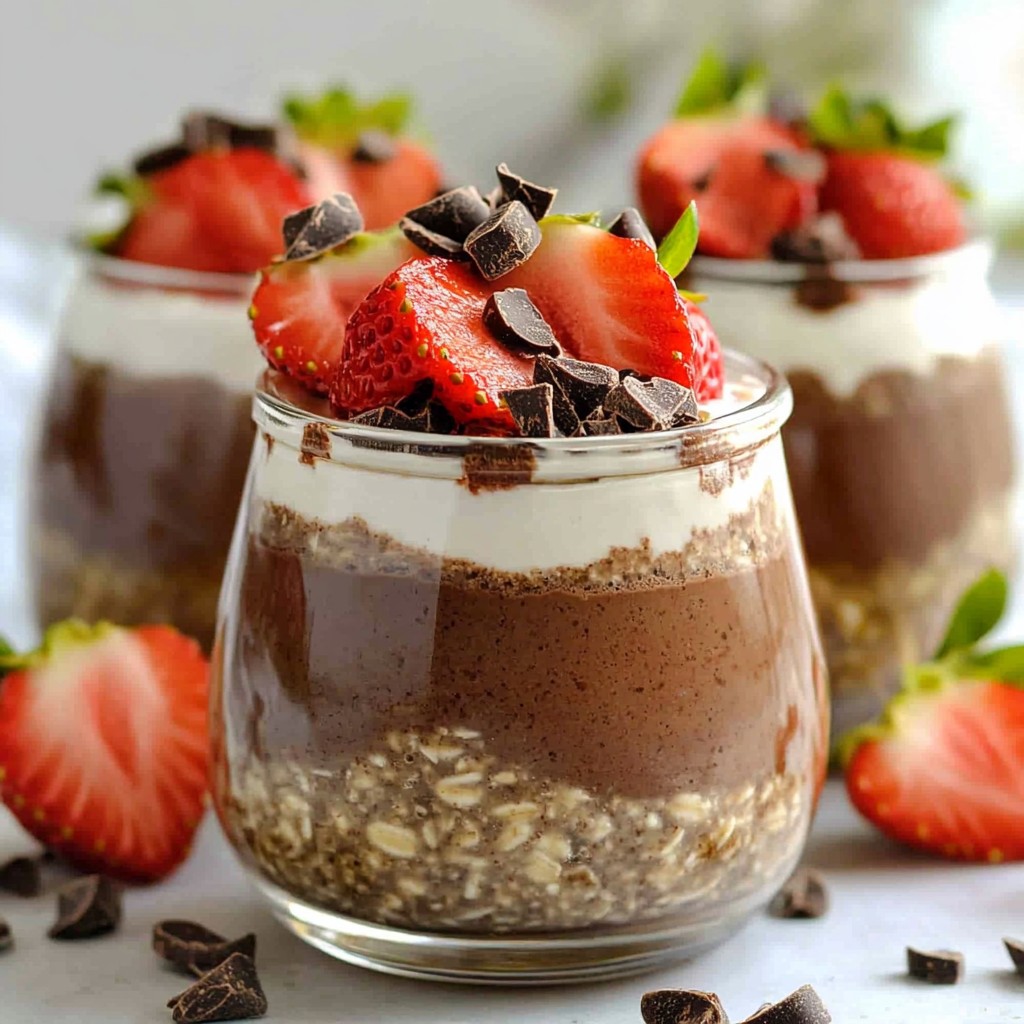
- Customize Your Toppings: Get creative with your toppings! Try adding crushed cookies, granola, or even a drizzle of chocolate for a unique twist.
Variations
Flavor Enhancements
You can make your popsicles even more fun by adding fruit purees. Try mixing in pureed strawberries, raspberries, or mangoes. These fruits add color and a burst of flavor. Just blend the fruit until smooth and fold it into the yogurt mixture.
Spices like cinnamon or nutmeg can also add depth. A pinch of cinnamon gives a warm note. Nutmeg can add a hint of spice. Start with a small amount and adjust to your taste.
Dietary Adjustments
If you're looking for dairy-free options, use coconut yogurt. It keeps the creamy texture while being dairy-free. Almond or cashew yogurt are also great alternatives.
For sweeteners, you can pick vegan options like agave syrup or date syrup. They add sweetness without any animal products. Adjust the amount to suit your taste.
Additional Toppings
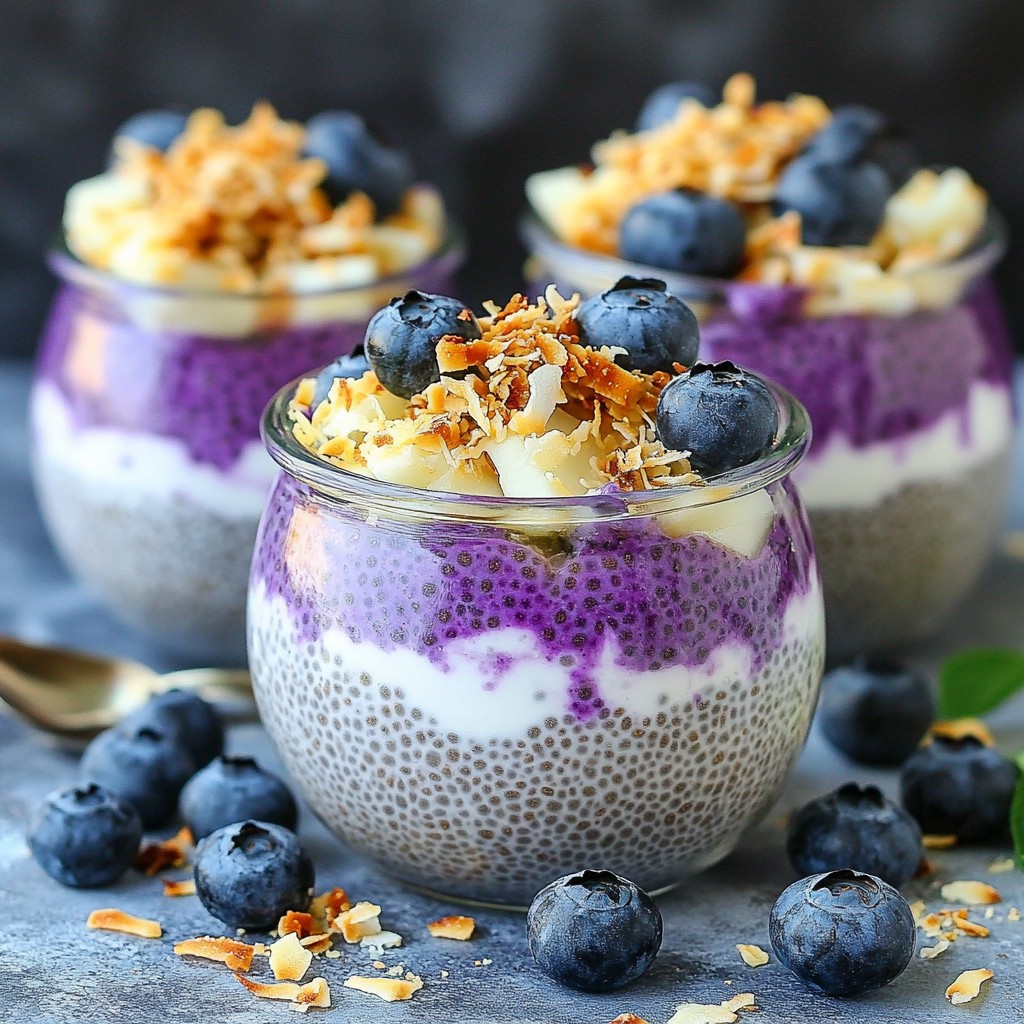
Get creative with your toppings! Try adding chopped nuts for crunch or shredded coconut for a tropical vibe. Fresh berries can add a beautiful pop of color.
For special occasions, serve these popsicles on a wooden board. Add a sprinkle of shredded coconut or place a few fresh berries beside them. This makes for an eye-catching display.
Storage Info
Freezing and Storing
To keep your Vanilla Bean Greek Yogurt Popsicles fresh, follow these tips:
- Store popsicles in airtight containers or freezer bags.
- Make sure to remove as much air as you can.
- You can also wrap each popsicle in plastic wrap for extra protection.
These popsicles can last up to two months in the freezer. After that, they may lose flavor and texture.
Preventing Ice Crystals
Ice crystals can ruin your popsicles. Here are some ways to avoid them:
- Use full-fat coconut milk for a creamier texture.
- Ensure the mixture is smooth before freezing.
- Freeze popsicles quickly by placing them in the coldest part of your freezer.
For long-term storage, use containers that seal well. Glass jars or sturdy plastic containers work best. These containers help maintain the popsicles' flavor and texture.
FAQs
Can I use regular yogurt instead of Greek yogurt?
Yes, you can use regular yogurt, but the texture and flavor will change. Greek yogurt is thick and creamy, while regular yogurt is often runny. This difference affects how the popsicles freeze. Greek yogurt also has a richer taste. If you use regular yogurt, you may need to add more sweetener to balance the flavors.
How long do these popsicles last in the freezer?
These popsicles can stay fresh in the freezer for about two months. To keep them tasting great, store them in an airtight container. This prevents freezer burn and keeps flavors intact. Labeling the container with the date helps you track freshness.
Can I make these popsicles without a mold?
Yes, you can make popsicles without a mold. Use paper cups or ice cube trays instead. Just pour the mixture into the cups or trays. Insert a stick when the mixture is partially frozen. This lets the stick stand upright. Once frozen solid, you can easily remove them.
Making popsicles with Greek yogurt and coconut milk is simple and fun. You learned how to mix ingredients, freeze them, and add your favorite toppings. You can also adjust flavors and sweetness to fit your taste. Remember, the tips on achieving the best texture are key for creamy popsicles. With these ideas, you can enjoy delicious treats for any occasion. Try different flavors and share them with friends. You'll impress everyone with your homemade popsicles!