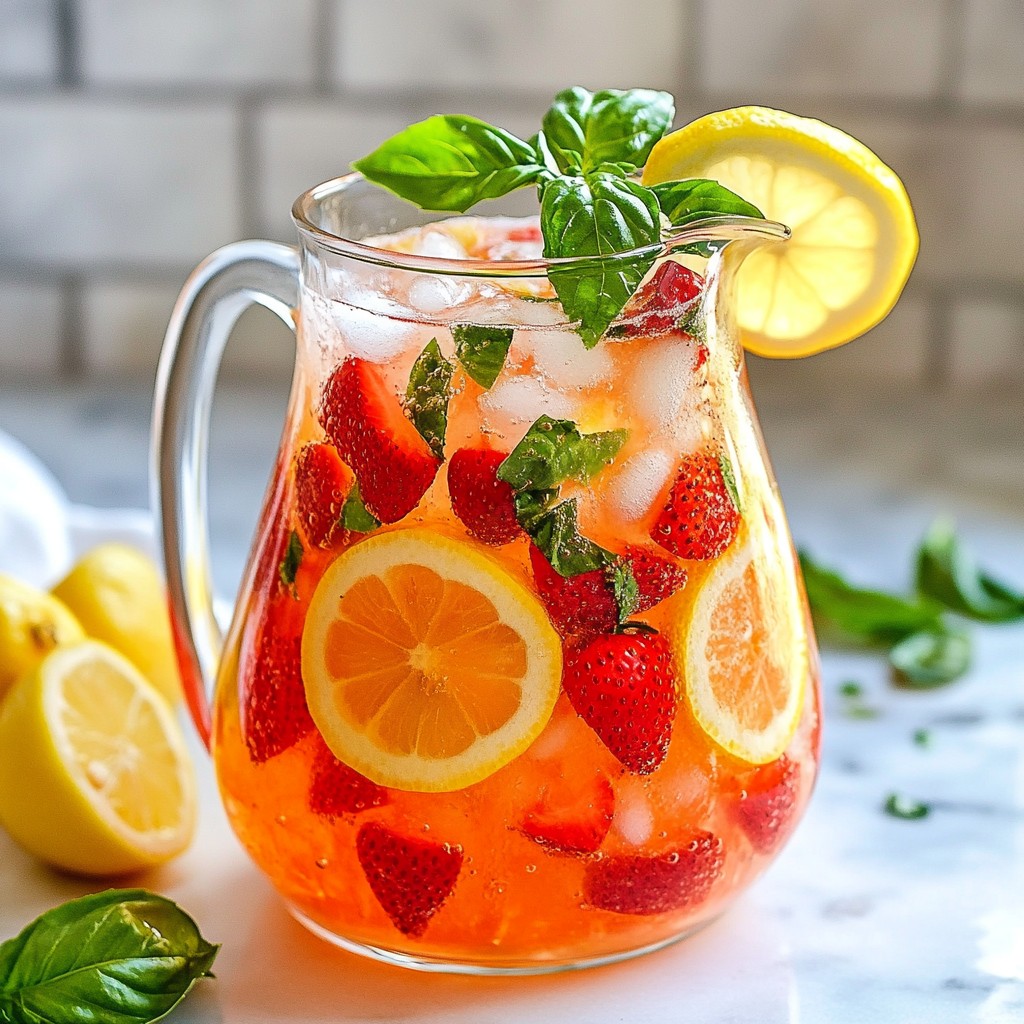
Strawberry Basil Lemonade Refreshing Summer Drink
A refreshing lemonade infused with strawberries and basil, perfect for warm days.
Beverages and drink recipes
A refreshing lemonade infused with strawberries and basil, perfect for warm days.
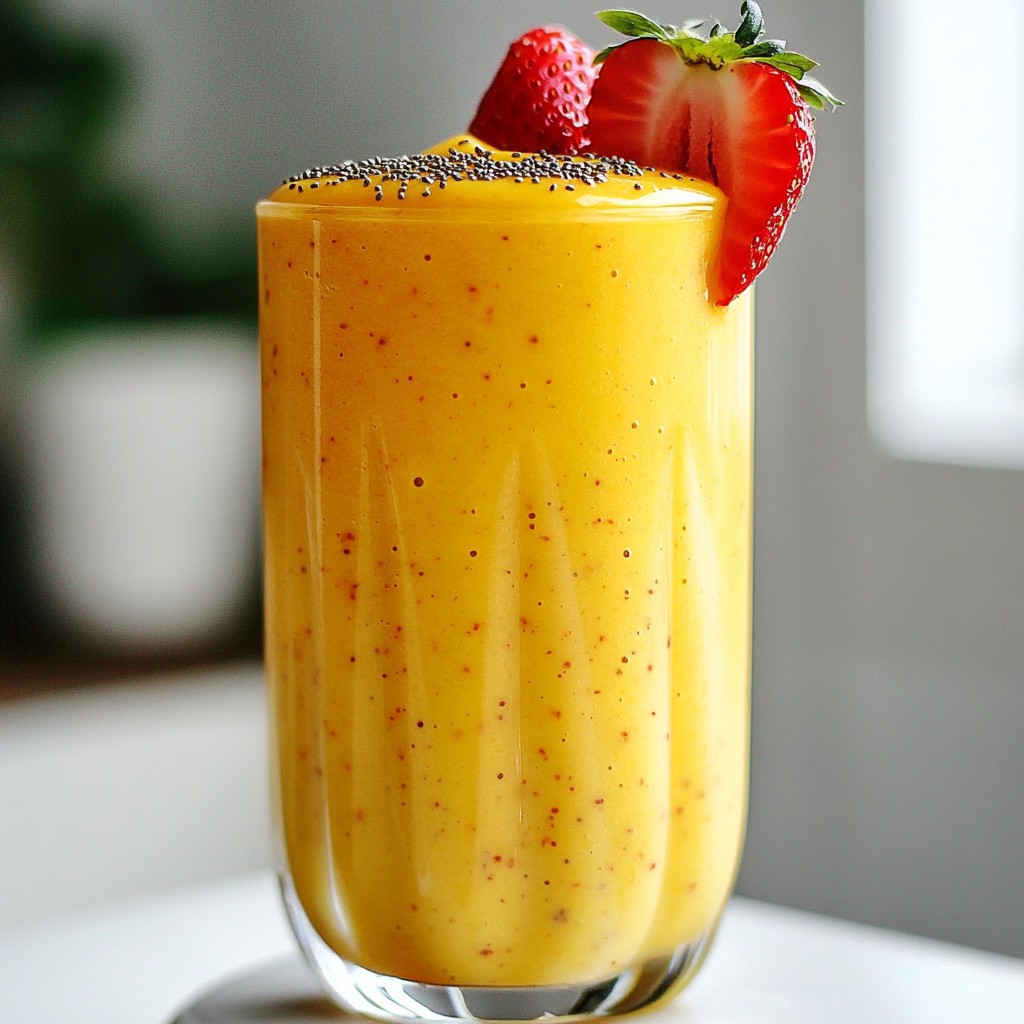
A refreshing and nutritious smoothie made with mango, strawberries, banana, and yogurt.
A refreshing and nutritious smoothie made with fresh spinach and mixed berries.
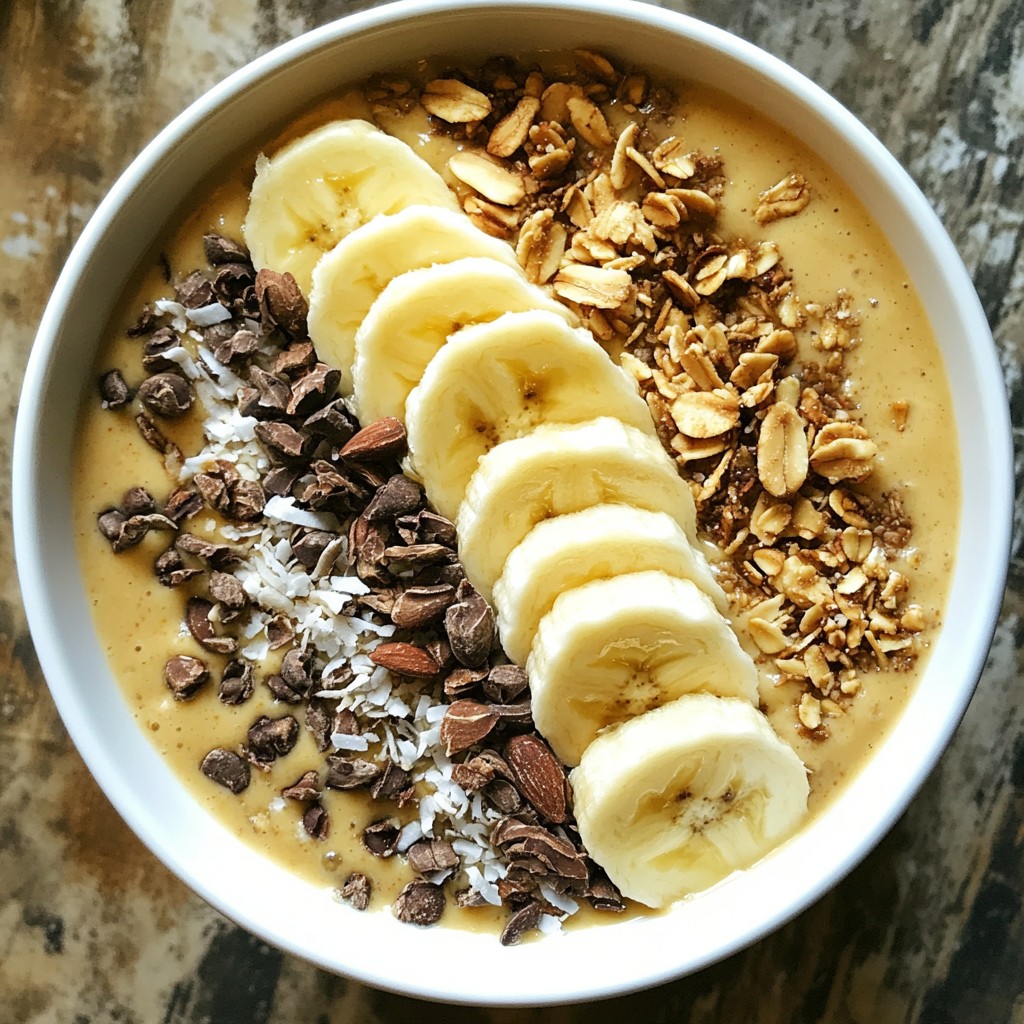
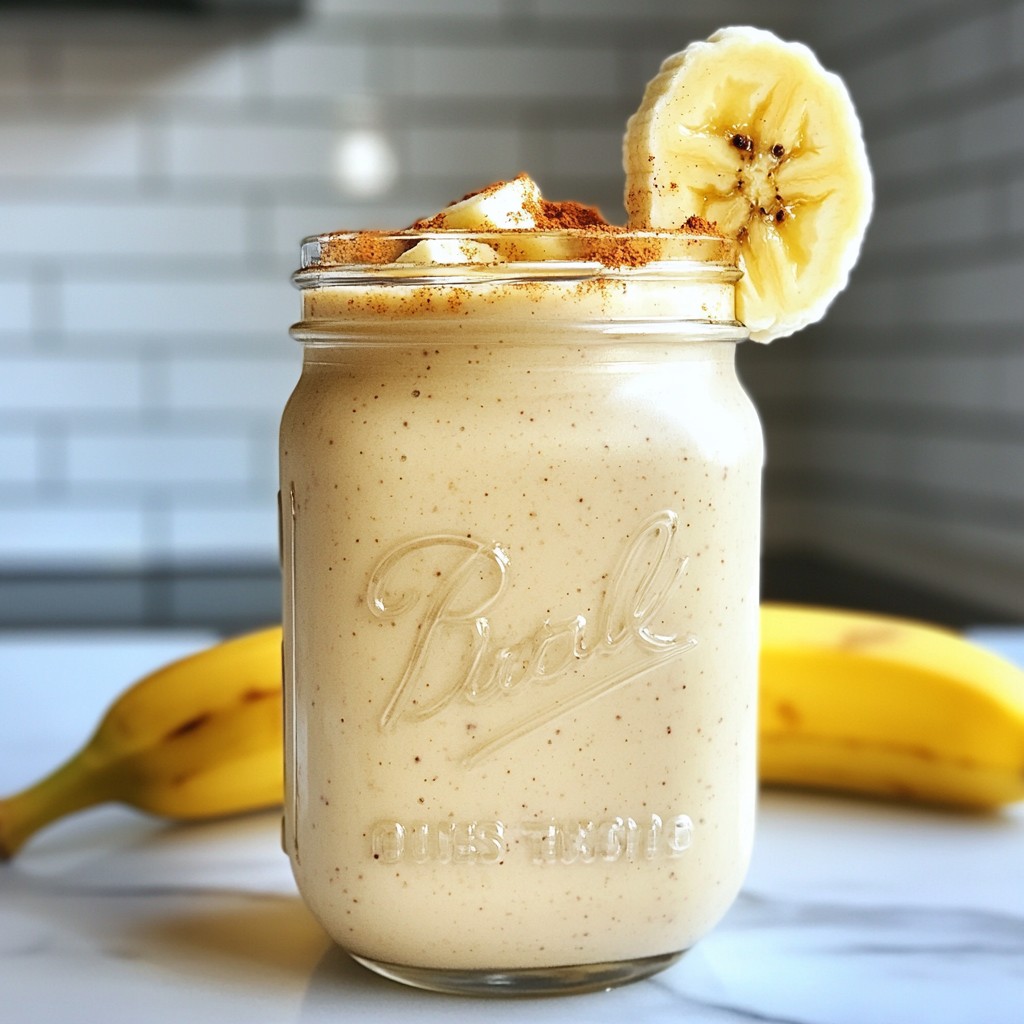
A creamy and delicious smoothie bowl made with bananas and peanut butter, topped with various healthy ingredients.
A delicious and nutritious smoothie packed with protein and flavor.
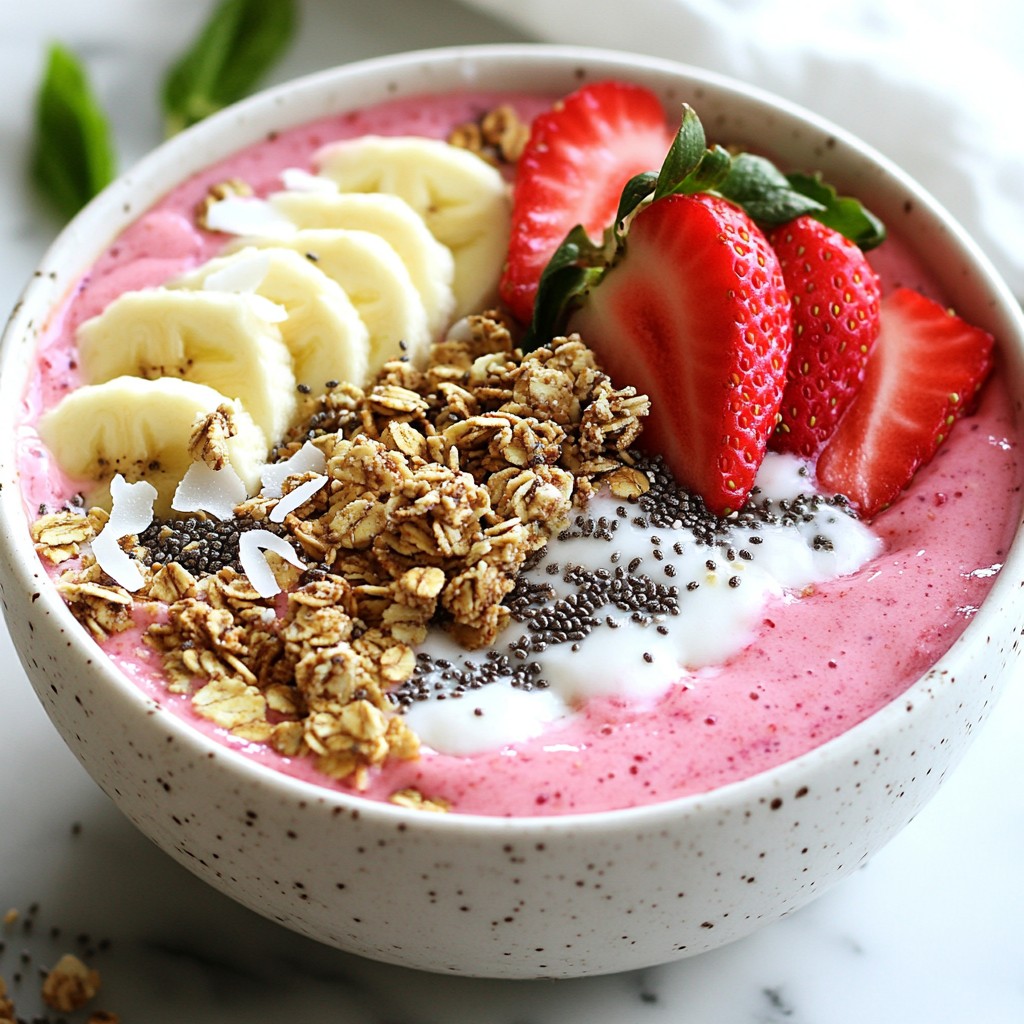
A refreshing and creamy smoothie bowl made with strawberries and coconut, topped with granola and fresh fruit.
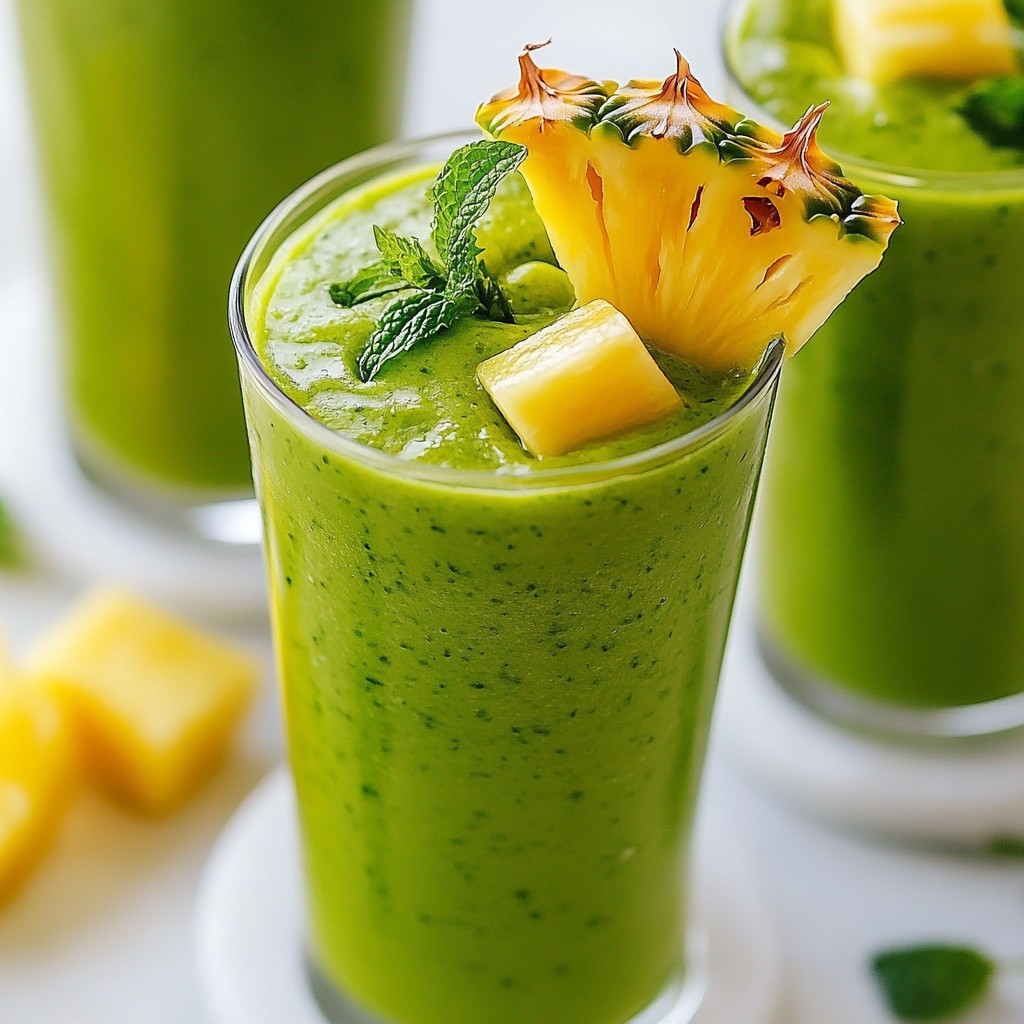
A refreshing and nutritious smoothie packed with greens and tropical flavors.
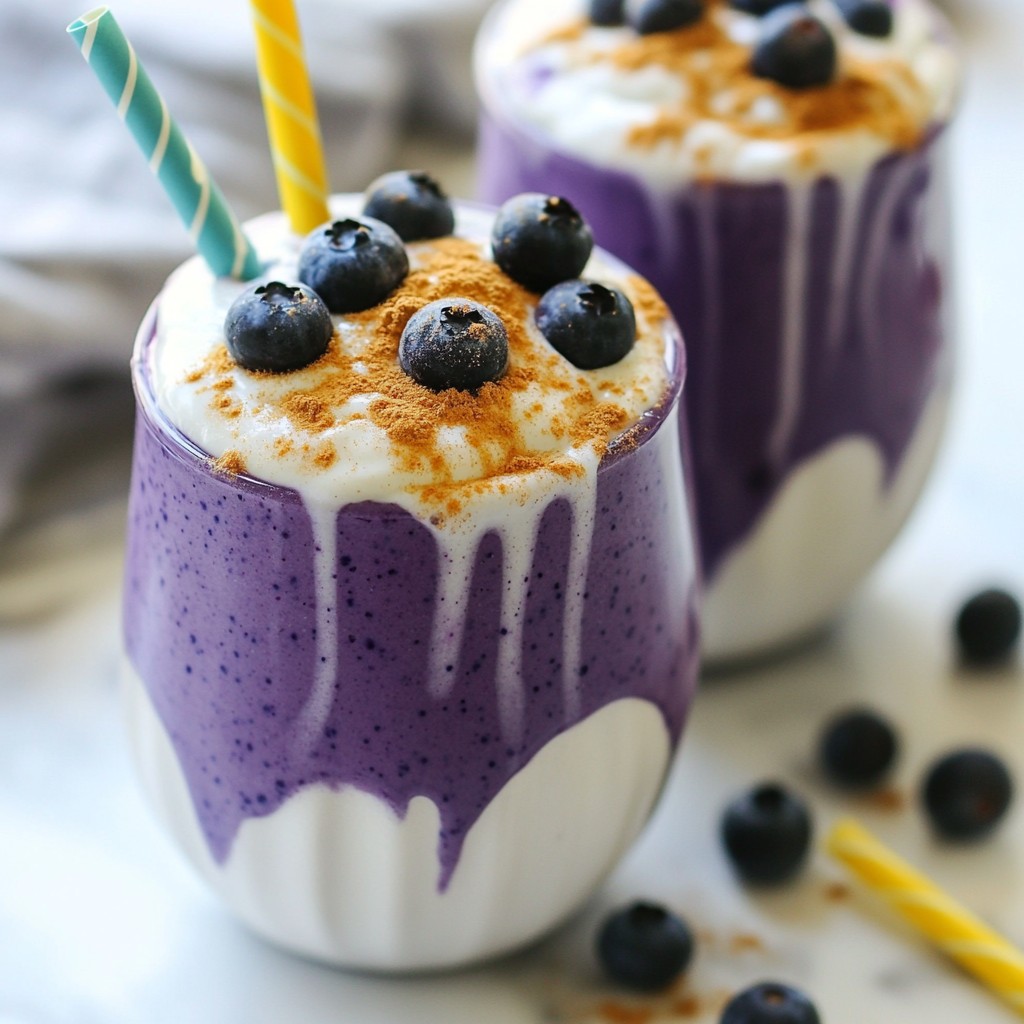
A creamy and delicious smoothie that combines the flavors of blueberry and cheesecake, perfect for a refreshing treat.
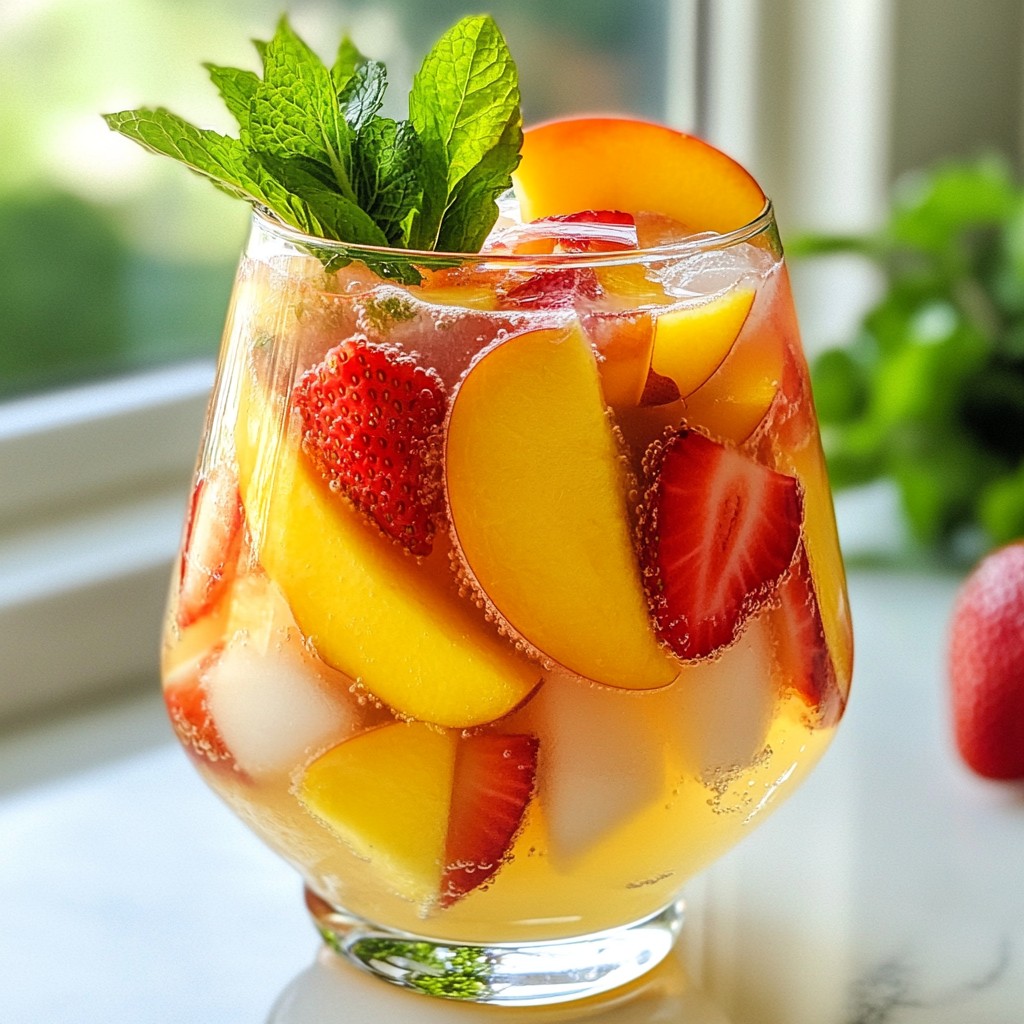
A refreshing non-alcoholic beverage featuring strawberries and peaches, perfect for warm days.

A delicious and nutritious smoothie combining strawberries, banana, and cocoa for a delightful treat.
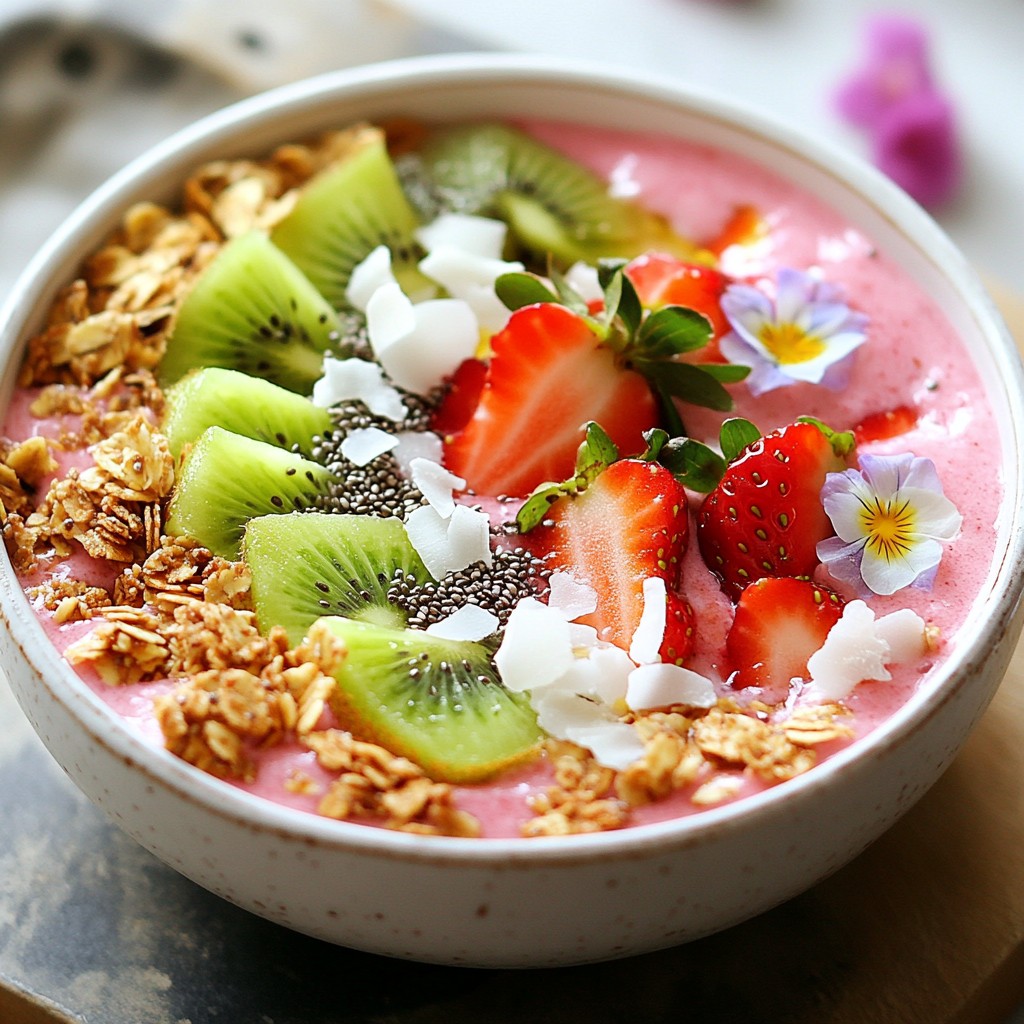
A refreshing and nutritious smoothie bowl featuring strawberries, kiwi, and banana, topped with granola and seeds.
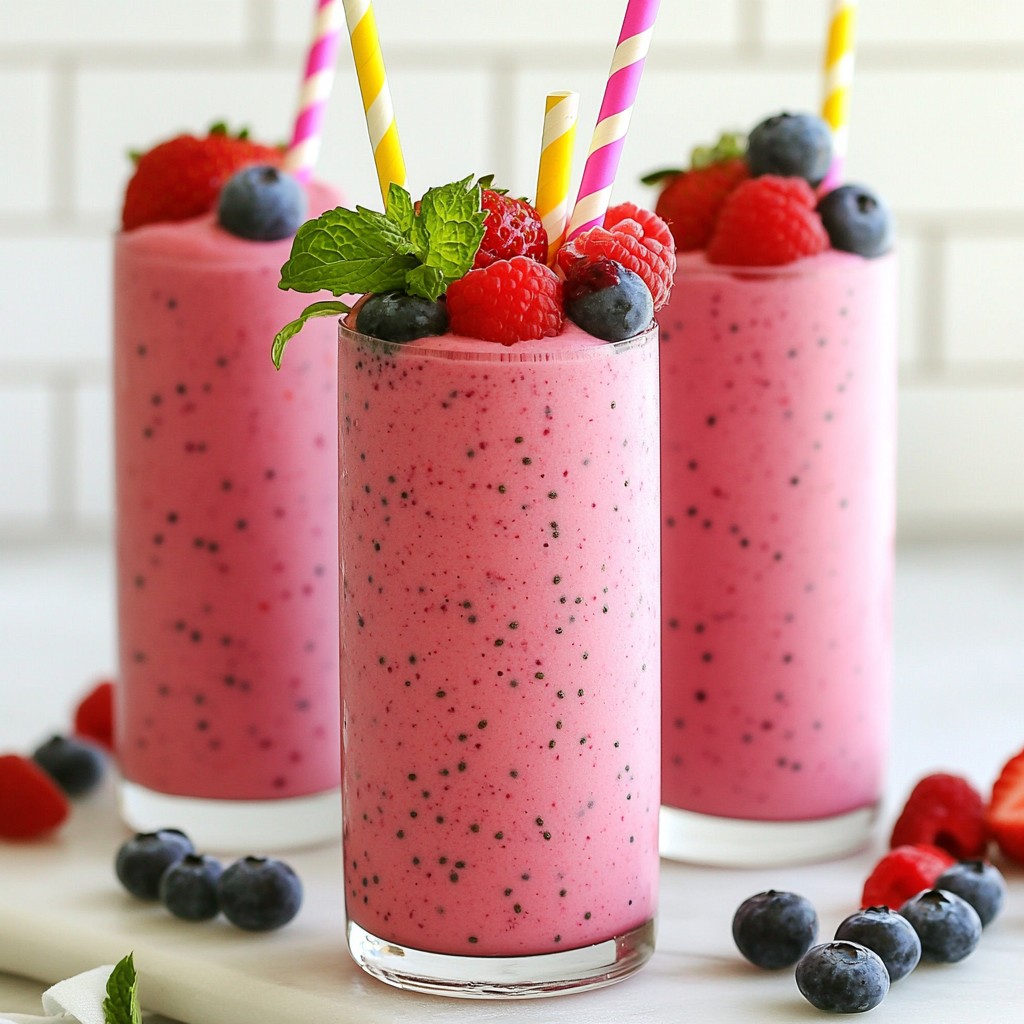
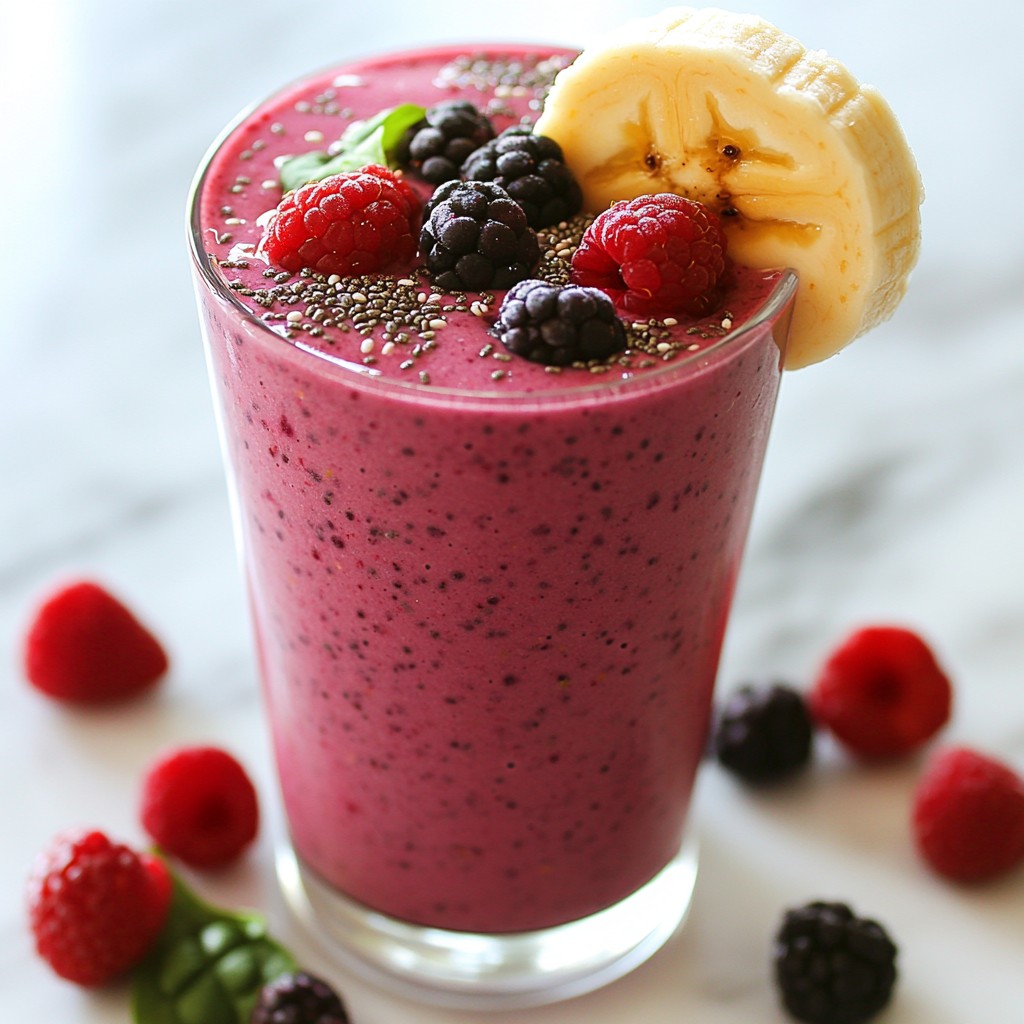
A refreshing and nutritious smoothie made with a blend of strawberries, blueberries, raspberries, and banana, perfect fo...