Chocolate Chip Cookie Dough Dip Tasty and Simple Treat
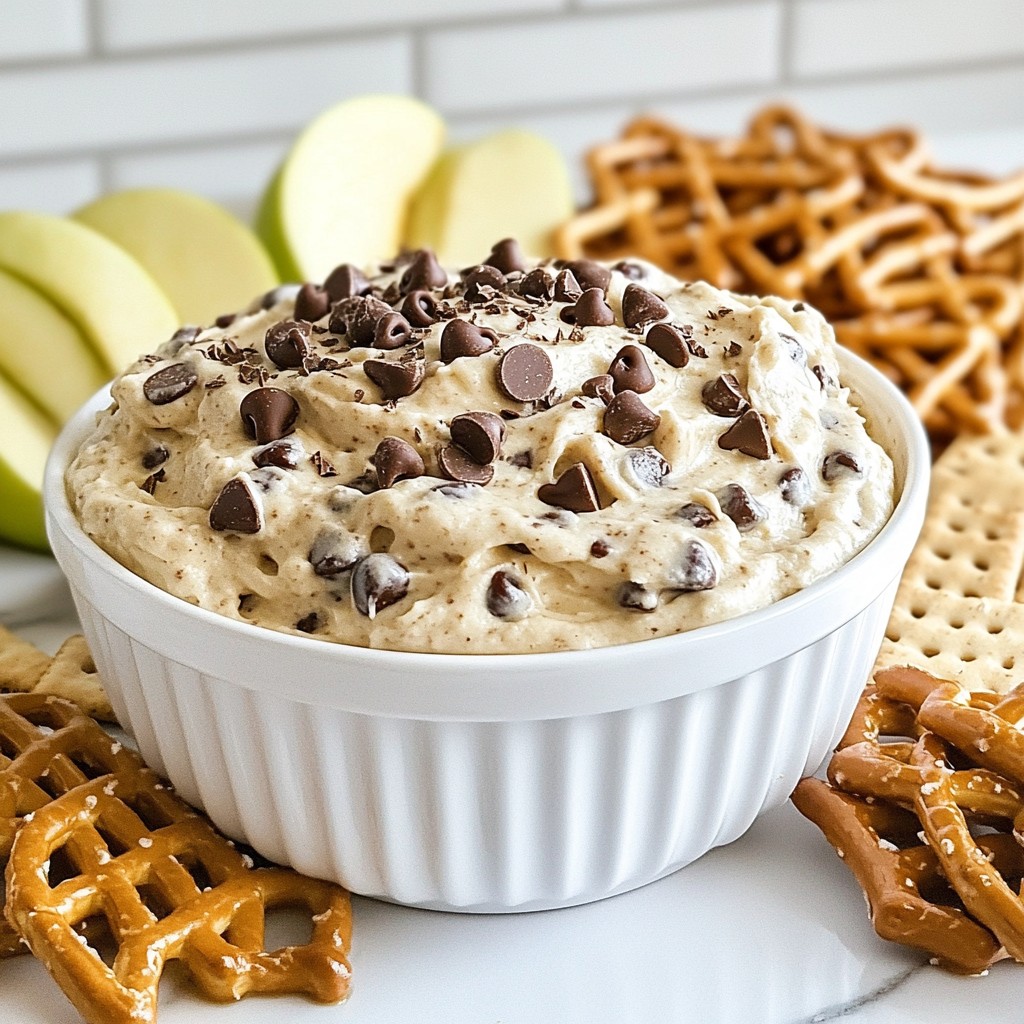
A delightful and creamy dip that captures the flavors of chocolate chip cookie dough, perfect for sharing at gatherings.
Sweet treats and desserts
A delightful and creamy dip that captures the flavors of chocolate chip cookie dough, perfect for sharing at gatherings.
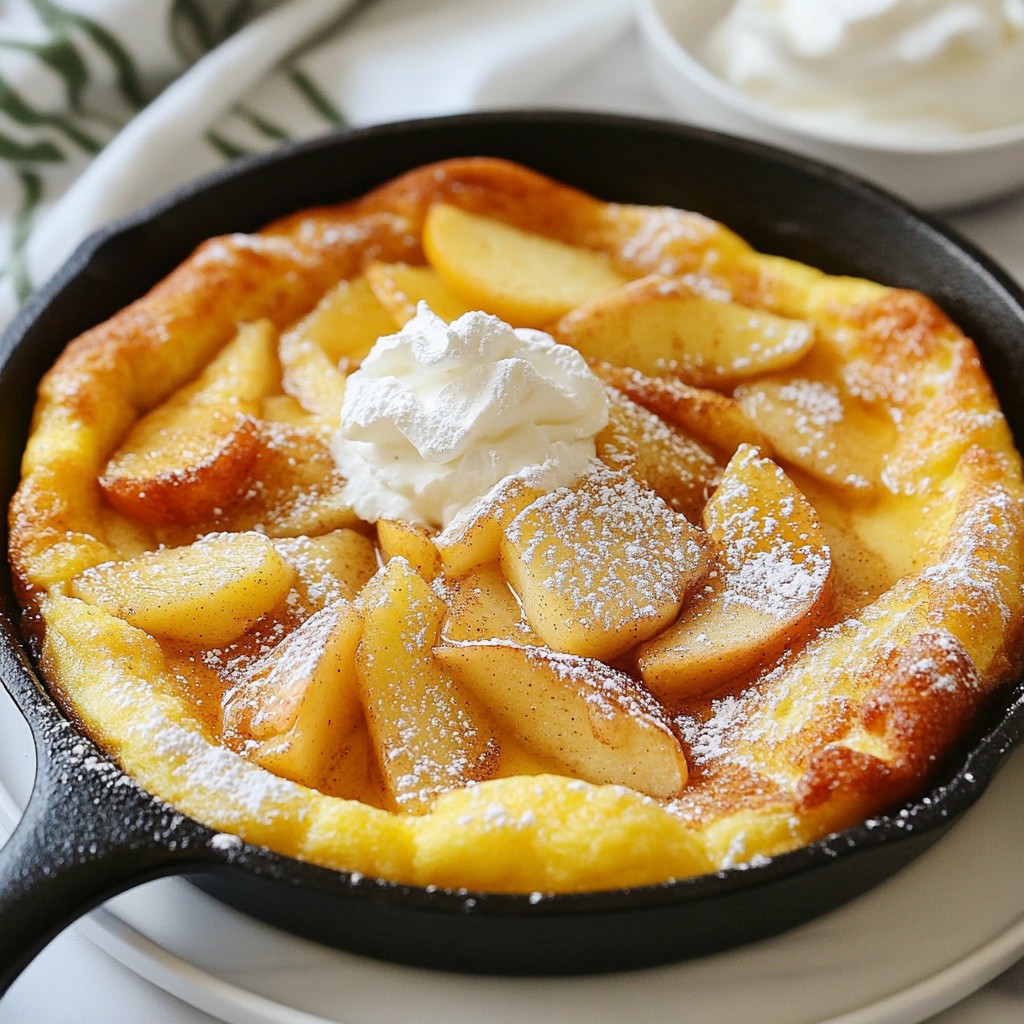
A delicious and fluffy baked pancake filled with sautéed apples and cinnamon, perfect for breakfast or dessert.
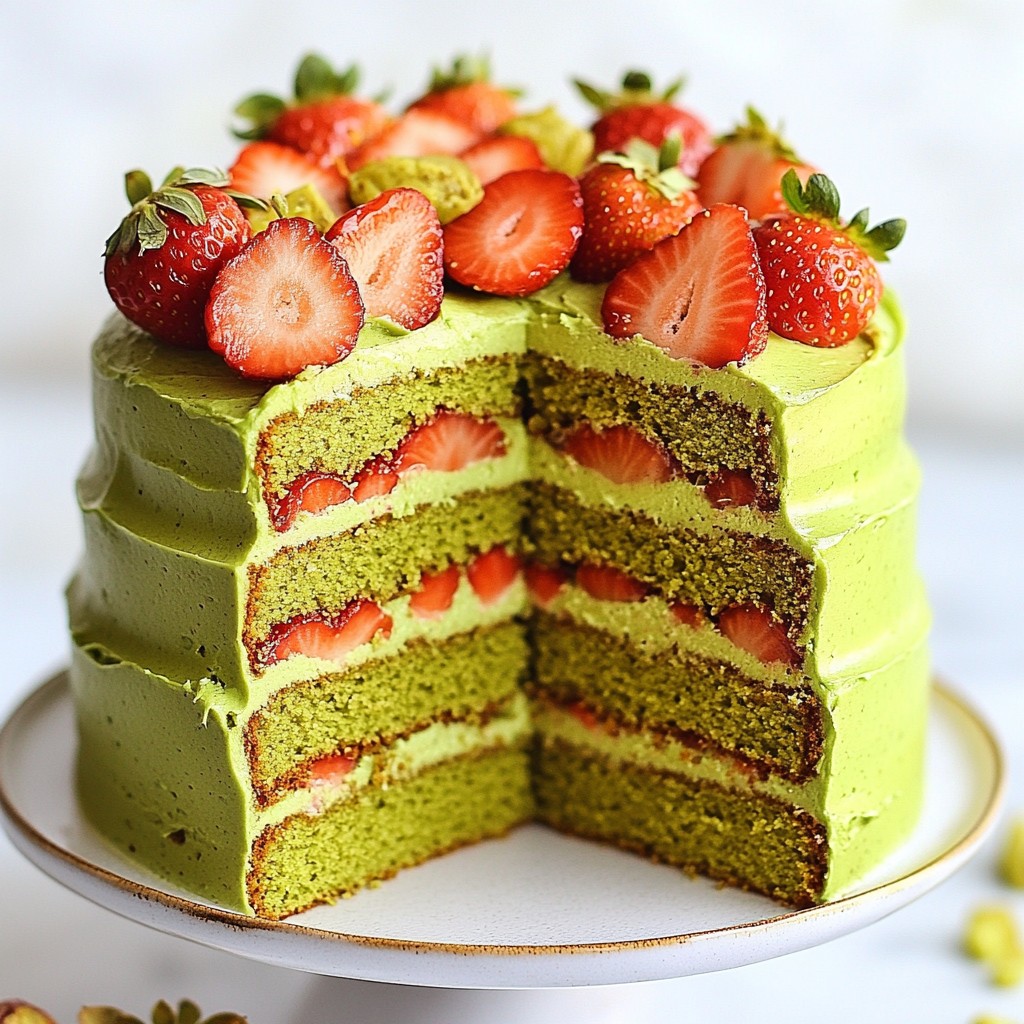
A delightful layered cake featuring matcha and fresh strawberries.
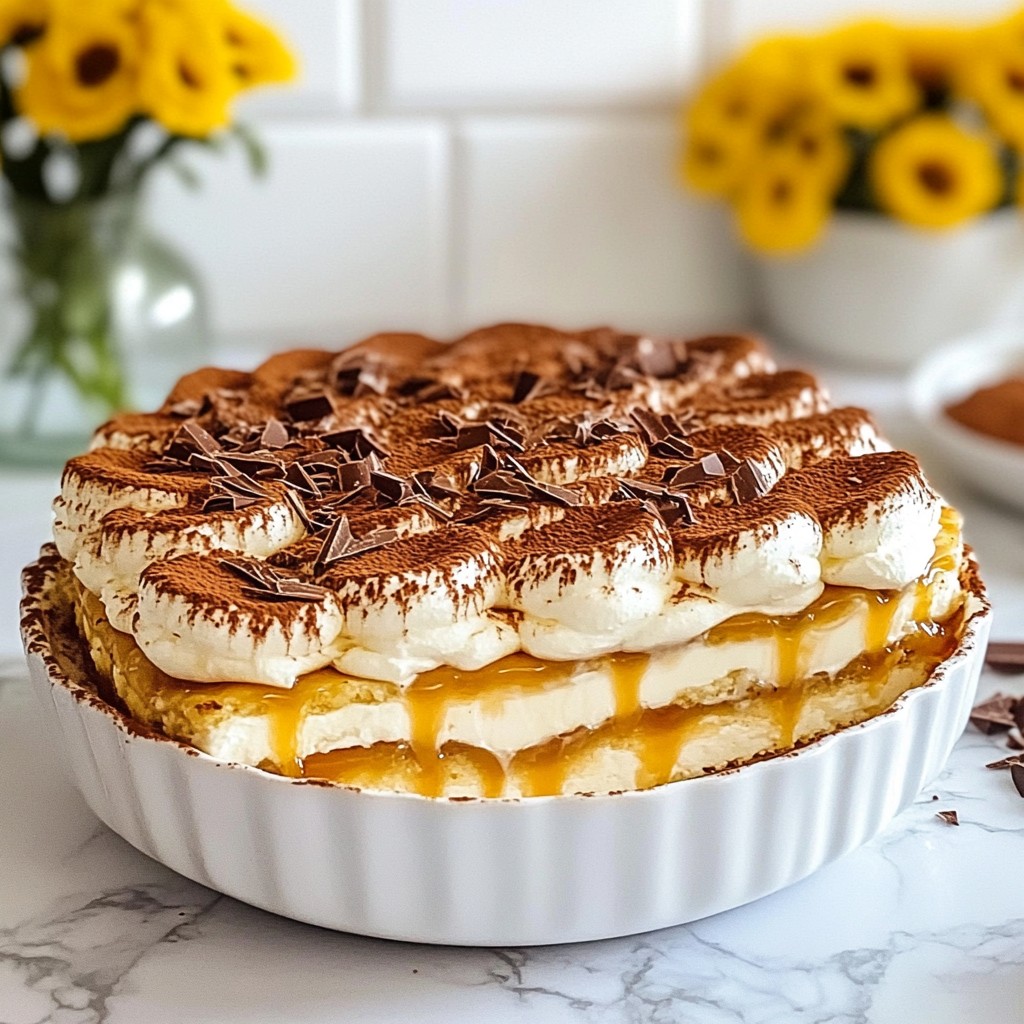
A delightful layered dessert featuring coffee-soaked ladyfingers, creamy caramel, and a rich cream cheese filling.
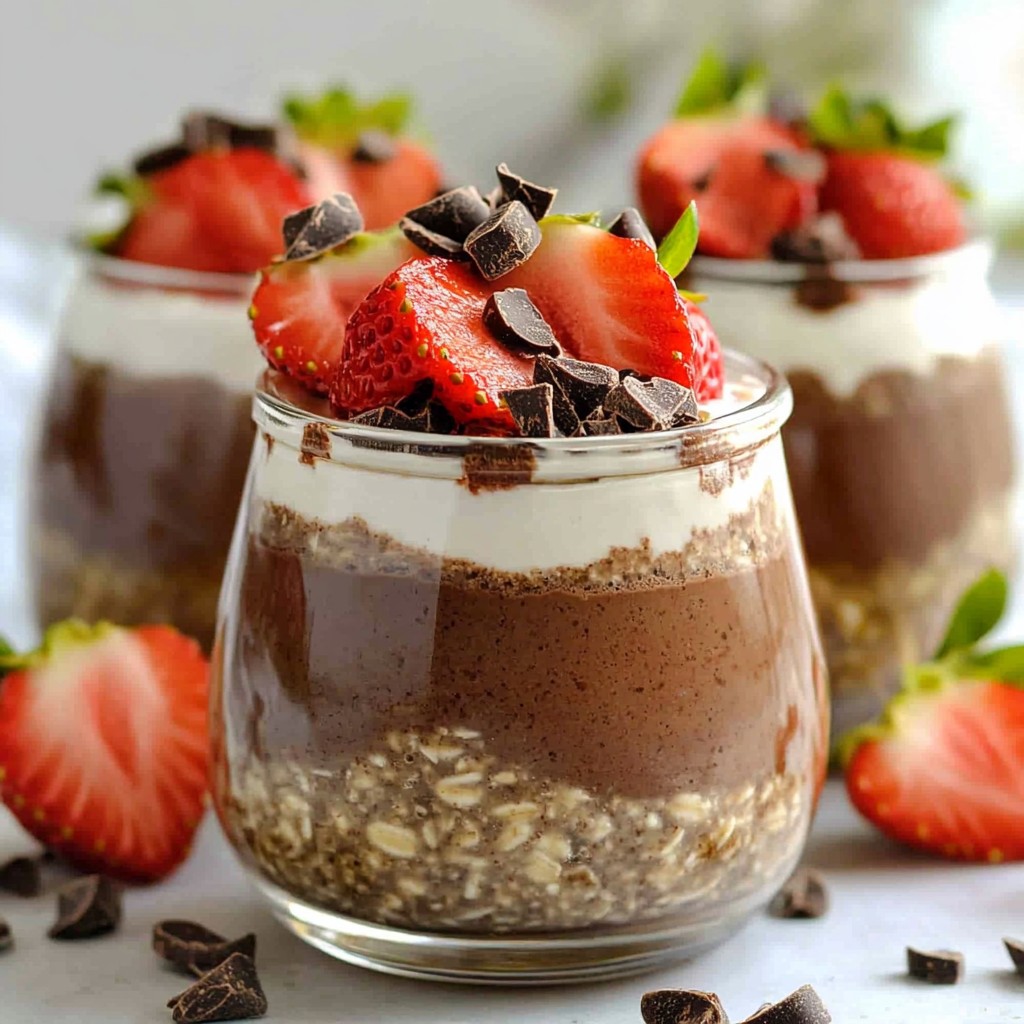
A creamy and indulgent breakfast featuring rolled oats, cocoa powder, and fresh strawberries, perfect for overnight prep...
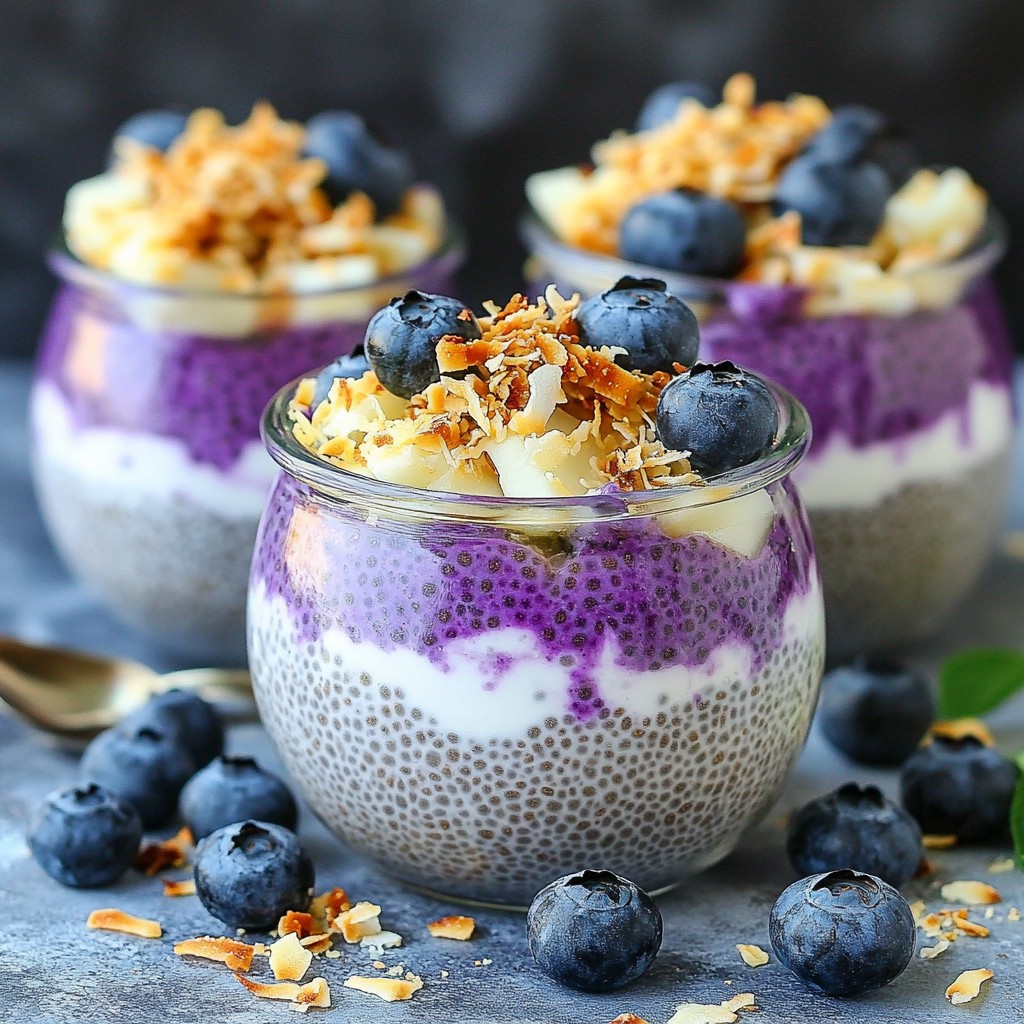
A creamy and delicious chia pudding made with coconut milk, almond milk, and fresh blueberries, perfect for a healthy de...

Delicious and healthy breakfast bars made with rolled oats, almond flour, and blueberries.

A rich and fudgy blondie packed with creamy peanut butter, chocolate chips, and optional roasted peanuts.

A delicious and festive overnight oats recipe infused with pumpkin spice flavors, perfect for a quick breakfast.
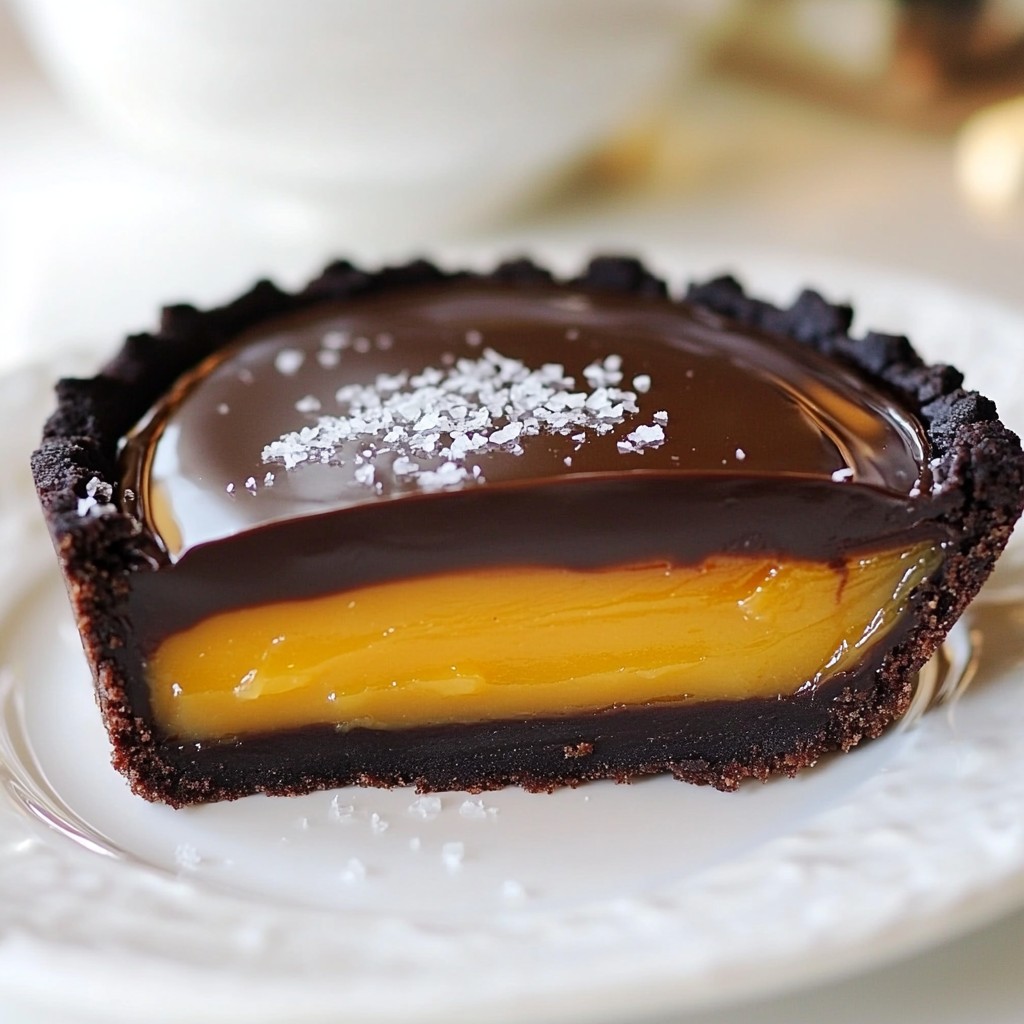
A rich and indulgent tart featuring a chocolate cookie crust, luscious salted caramel filling, and smooth dark chocolate...
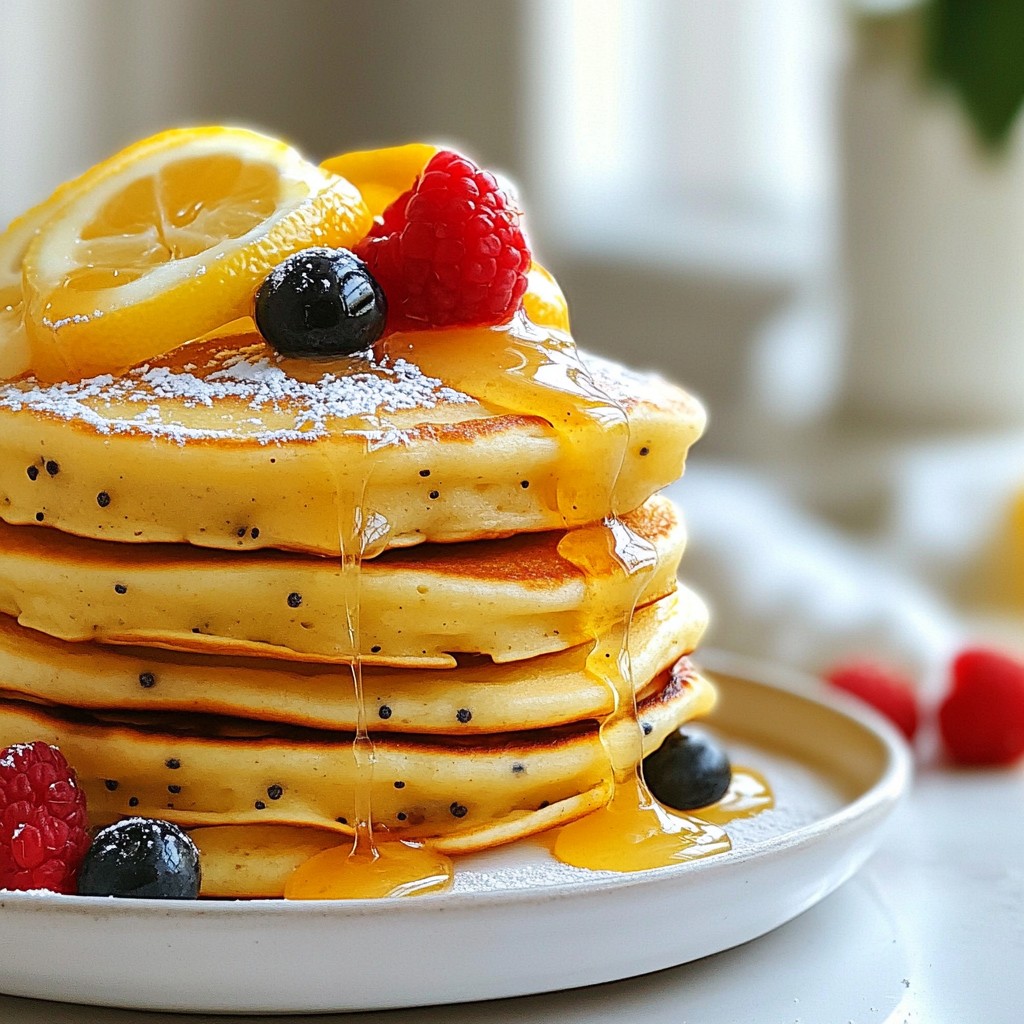
Delicious and fluffy pancakes infused with lemon zest and poppy seeds, perfect for breakfast.
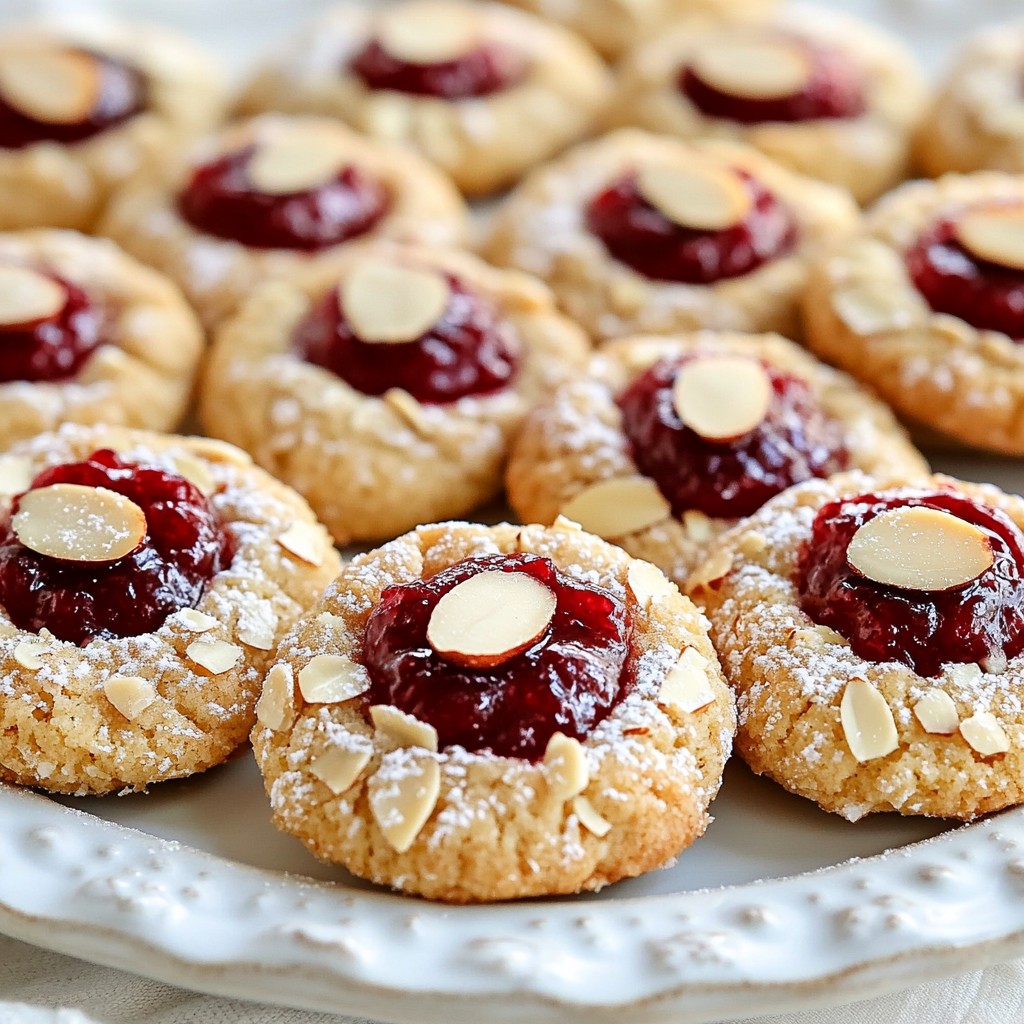
Delicious cookies with a raspberry jam center and almond flavor.