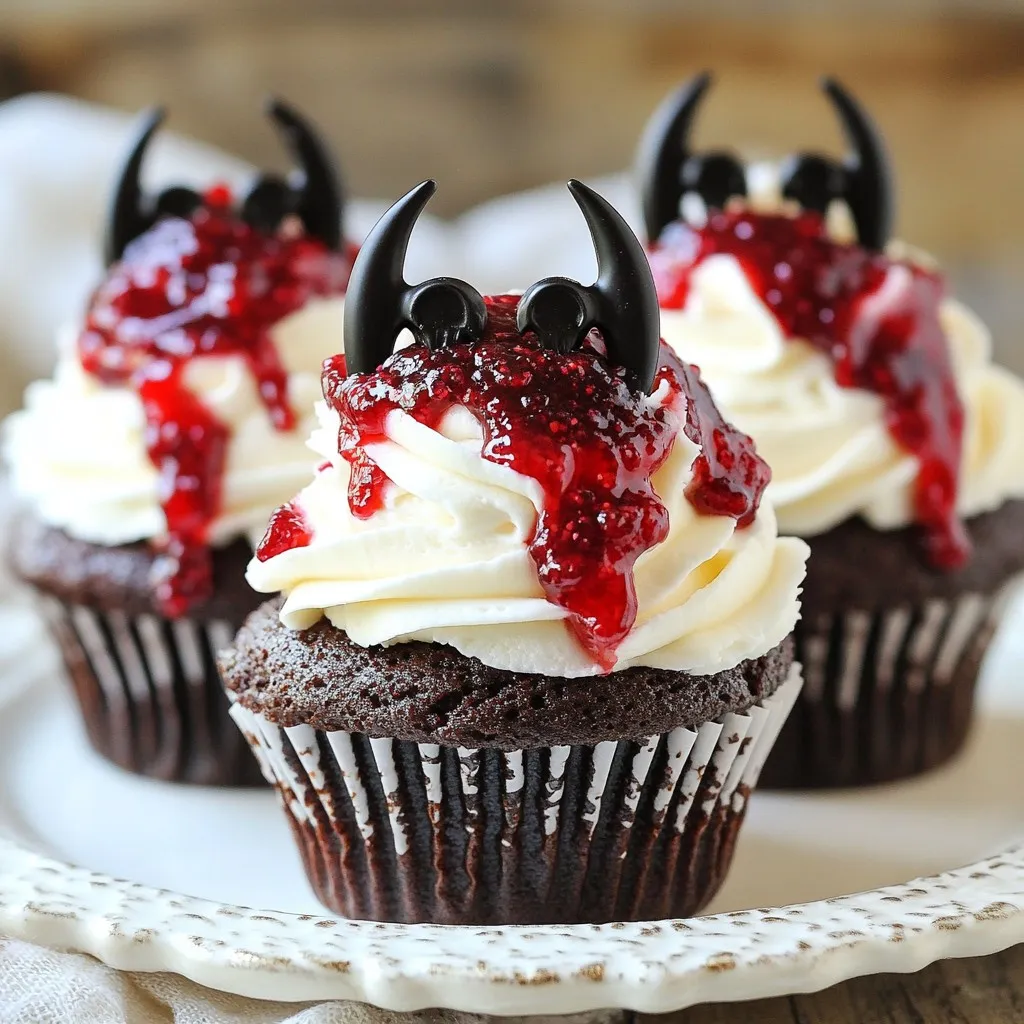
Are you ready to sink your teeth into something sweet? In this fun blog post, I’ll show you how to make Vampire Bite Cupcakes that are perfect for Halloween or any spooky gathering. These treats are not just cute; they’ll impress your friends and family with their unique design and delicious flavor. Let’s dive into the ingredients, step-by-step instructions, and some tips to elevate your baking game!
Why I Love This Recipe
- Spooktacular Presentation: These cupcakes are not just delicious; they look hauntingly beautiful, making them the perfect centerpiece for any Halloween gathering.
- Deliciously Decadent: The combination of rich chocolate and tart raspberry or cherry jam creates an irresistible flavor that will delight any palate.
- Fun to Make: This recipe is a great activity for families or friends, allowing everyone to join in on the spooky fun of decorating the cupcakes!
- Customizable Creativity: You can easily adapt the decorations to fit your party theme, whether it’s Halloween or a vampire-themed event.
Ingredients
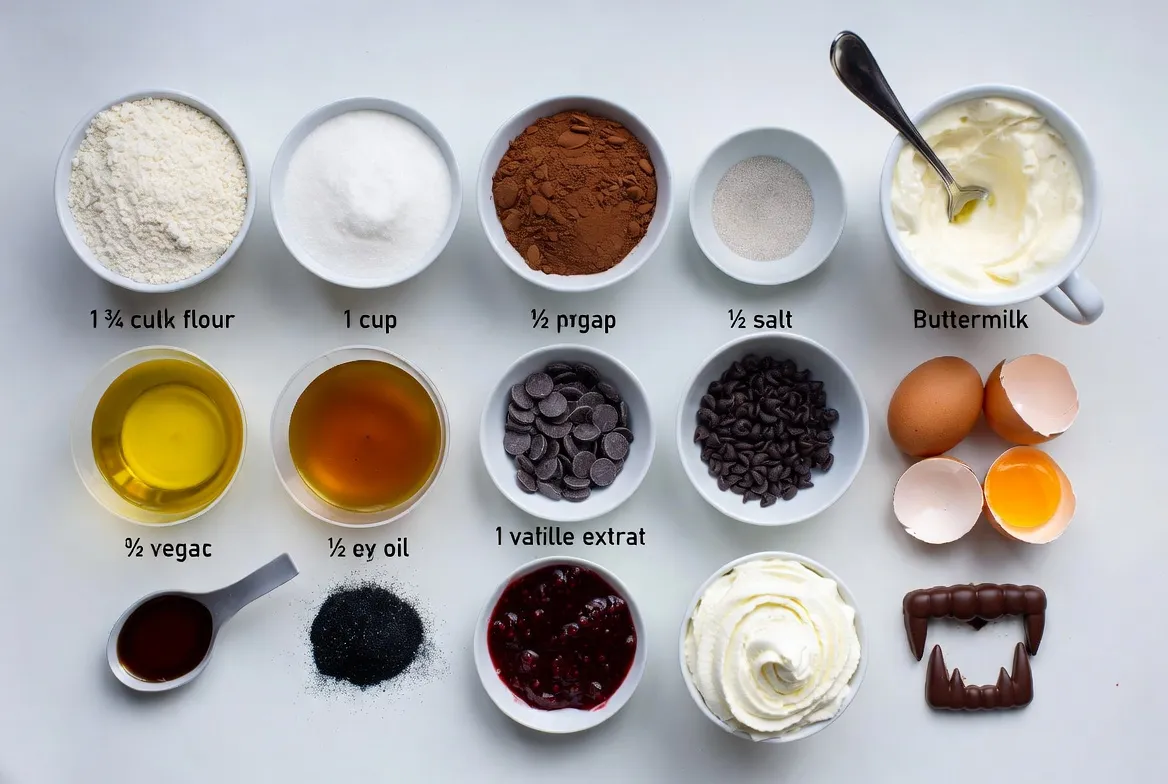
List of Ingredients
– 1 ¾ cups all-purpose flour
– 1 cup granulated sugar
– ½ cup unsweetened cocoa powder
– 1 teaspoon baking soda
– ½ teaspoon salt
– 1 cup buttermilk
– ½ cup vegetable oil
– 2 large eggs
– 1 teaspoon vanilla extract
– 1 cup dark chocolate chips
– 1 ½ cups red raspberry or cherry jam
– 2 cups whipped cream
– Edible black glitter or sprinkles
– Chocolate vampire fangs (optional)
Measurement Guide
When measuring flour, spoon it into a cup and level it off. This method prevents too much flour in your cupcakes. For cocoa powder, use the same method. Granulated sugar can be scooped directly. Keep a measuring spoon for baking soda and salt handy. Use a liquid measuring cup for buttermilk and oil. Break the eggs into a bowl before adding them to ensure they’re good.
Ingredient Substitutions
You can use whole milk instead of buttermilk. Add a splash of vinegar to regular milk to create a similar effect. For a healthier option, try applesauce instead of oil. If you want gluten-free cupcakes, use a gluten-free flour blend. You can swap dark chocolate chips for milk chocolate or white chocolate if you prefer. Feel free to use any jam flavor you like for the “blood” effect.
Step-by-Step Instructions
Preparation Steps
1. Preheat your oven to 350°F (175°C). Prepare your cupcake pan by lining it with fun cupcake liners.
2. In a large bowl, mix together the flour, sugar, cocoa powder, baking soda, and salt. Whisk well to break up any lumps.
3. In another bowl, whisk the buttermilk, vegetable oil, eggs, and vanilla. Make sure there are no clumps in this mix.
4. Slowly add the wet mix to the dry mix. Stir gently with a spatula. Do not overmix; we want fluffy cupcakes!
5. Fold in the dark chocolate chips evenly so every bite has that rich chocolate flavor.
Baking Process
6. Spoon the batter into the cupcake liners. Fill each one about ¾ full to give them room to rise.
7. Bake in the oven for 18-20 minutes. To check if they are done, insert a toothpick into the center. It should come out clean.
8. Once baked, let the cupcakes cool completely on a wire rack. This makes them easier to fill.
Assembly of Vampire Bite Effect
9. Take a small knife or cupcake corer and make a hole in the center of each cupcake.
10. Fill each hole with about 1 teaspoon of raspberry or cherry jam. This creates that spooky “blood” effect.
11. Pipe or dollop whipped cream on top of each cupcake. Aim for a fluffy look, like a magical potion!
12. Sprinkle edible black glitter or sprinkles over the whipped cream for a haunting touch.
13. If you want, add chocolate vampire fangs on top for a fun flair.
These steps will lead you to create delightful and spooky Vampire Bite Cupcakes! Enjoy the process and get ready for some festive fun!
Tips & Tricks
Perfecting Cupcake Texture
To make your Vampire Bite Cupcakes soft and fluffy, use room temperature ingredients. This helps them mix better. Don’t overmix the batter; mix until just combined. This keeps the cupcakes light. Fill each cupcake liner about three-quarters full. This allows them to rise nicely.
Decorating Techniques for Realistic Effect
For a spooky look, use a piping bag for the whipped cream. Create swirls or peaks on top. Use a small knife to make the “bite” holes. Fill these with red raspberry or cherry jam. This jam simulates blood perfectly. For extra flair, add chocolate vampire fangs on top. Finish with edible black glitter or sprinkles for that haunting touch.
Serving Suggestions
Serve these cupcakes on a dark platter for drama. Dim the lights and add some spooky decorations around them. This sets the mood for Halloween parties or themed gatherings. Pair these treats with themed drinks for a fun effect. Your guests will love the taste and the look!
Pro Tips
- Chill the Whipped Cream: For an even fluffier topping, chill your whipping bowl and beaters for 10-15 minutes before whipping the cream.
- Use Quality Chocolate: Opt for high-quality dark chocolate chips for a richer flavor that enhances the overall taste of your cupcakes.
- Experiment with Flavors: Feel free to mix in different flavors of jam or even add a splash of raspberry or cherry extract to the batter for extra flavor depth.
- Make Ahead: You can prepare the cupcake batter a day in advance. Store it in the refrigerator and bake fresh cupcakes just before serving.
Variations
Alternative Flavors for Cupcakes
You can switch up the cupcake flavor to match your taste. Try vanilla or red velvet for a fresh twist. For chocolate lovers, add more cocoa powder or use dark chocolate cake mix. You can also use a spice cake mix for a warm fall flavor.
Creative Toppings Ideas
The toppings can change the whole look and taste. Use cream cheese frosting for a tangy bite. Add crushed cookies on top for a fun crunch. Melted chocolate drizzled over the whipped cream can add a rich touch. You can even use colorful sprinkles to create a festive vibe.
Theme-Based Decorating Options
Make your cupcakes fit any theme! For Halloween, use orange and black sprinkles. For a vampire party, add small plastic bats or spooky eyes on top. You can also use edible blood-red gel to create scary designs. Let your imagination run wild to make these cupcakes a hit at any event!
Storage Info
How to Store Leftover Cupcakes
Store leftover cupcakes in an airtight container. This keeps them fresh. Place them in the fridge if you want to extend their life. They will stay good for about 3-4 days. Enjoy them cold or let them sit at room temperature for a bit.
Freezing Instructions
To freeze cupcakes, let them cool completely first. Wrap each cupcake in plastic wrap securely. Place wrapped cupcakes in a freezer-safe bag. They can last in the freezer for up to 3 months. When ready to eat, thaw them in the fridge overnight or at room temperature.
Best Enjoyed Timeline
For the best taste and texture, enjoy these cupcakes within two days of baking. The whipped cream on top will lose its fluffiness after a day. If you want to impress guests, serve them fresh on the day of your event. The “blood” effect looks best when they are freshly made!
FAQs
What is the best way to achieve the “blood” effect?
To get the best “blood” effect, use red raspberry or cherry jam. The jam looks vibrant and thick, creating a spooky look. To make it even better, fill a small hole in the cupcake. This gives the illusion of a vampire bite. The jam will ooze out when you take a bite, making it fun and creepy.
Can I use different types of jam?
Yes, you can use different jams! You might try strawberry or even blueberry jam. Each will change the flavor a bit. Just make sure the jam is red or dark to keep that spooky vibe. The color adds to the fun of these cupcakes.
How to make these cupcakes gluten-free?
To make these cupcakes gluten-free, swap the all-purpose flour for a gluten-free blend. Many stores sell these blends. Make sure the blend is suitable for baking. This way, your cupcakes will stay light and fluffy. Also, check that all other ingredients are gluten-free.
What occasions are perfect for serving Vampire Bite Cupcakes?
These cupcakes shine at Halloween parties! They also work for themed gatherings or spooky movie nights. Kids love them at birthday parties, especially if they like vampires. You can even use them for a fun school treat. The fun design makes them perfect for any event!
Can I make the cupcakes ahead of time?
Yes, you can make the cupcakes ahead of time! Bake and cool them a day before your event. Just store them in an airtight container. Wait to add the jam and whipped cream until the day of serving. This keeps them fresh and ready to impress!
You learned how to make Vampire Bite Cupcakes from ingredients to storage. I shared tips for perfecting the texture and creative ways to decorate. Remember, you can adjust flavors and toppings to fit your theme. Use the storage tips to keep your treats fresh. These cupcakes are great for many occasions, so get creative and have fun. Enjoy baking and sharing your spooky treat


