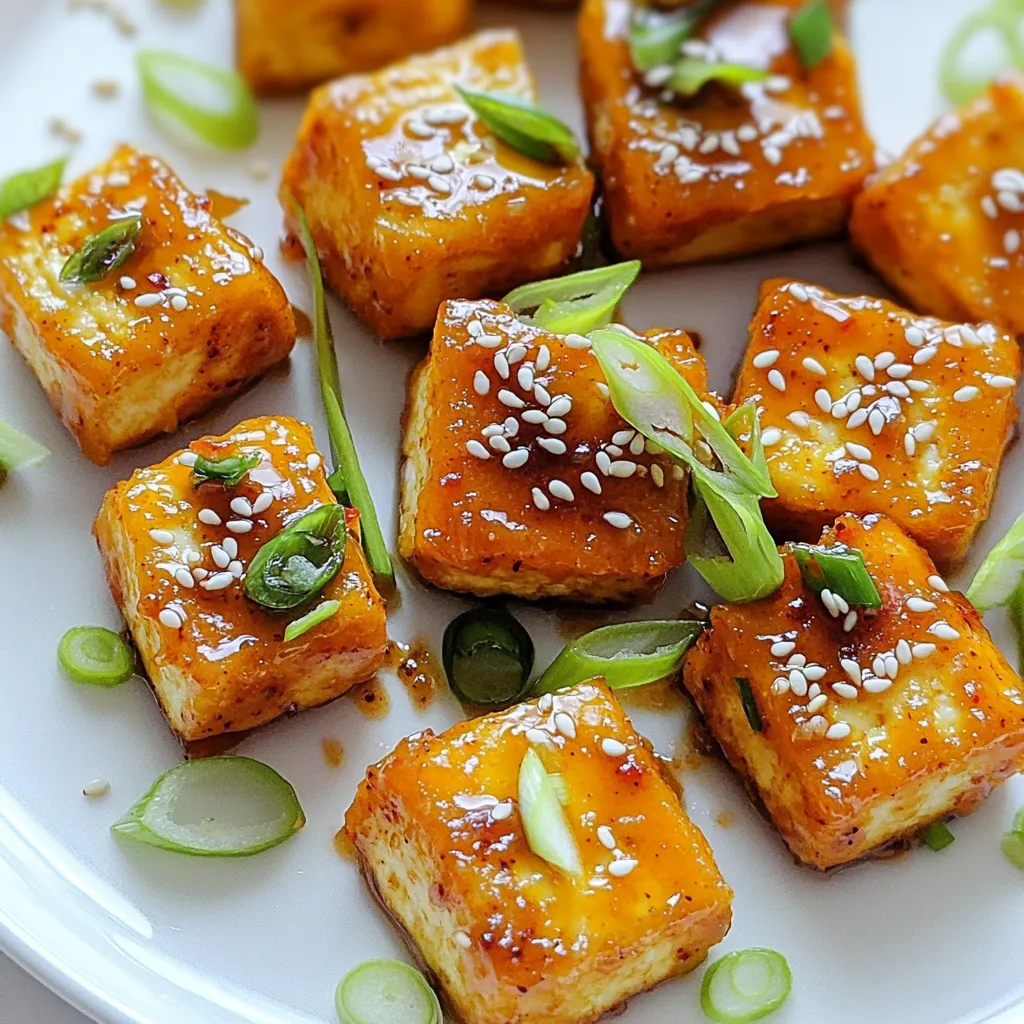
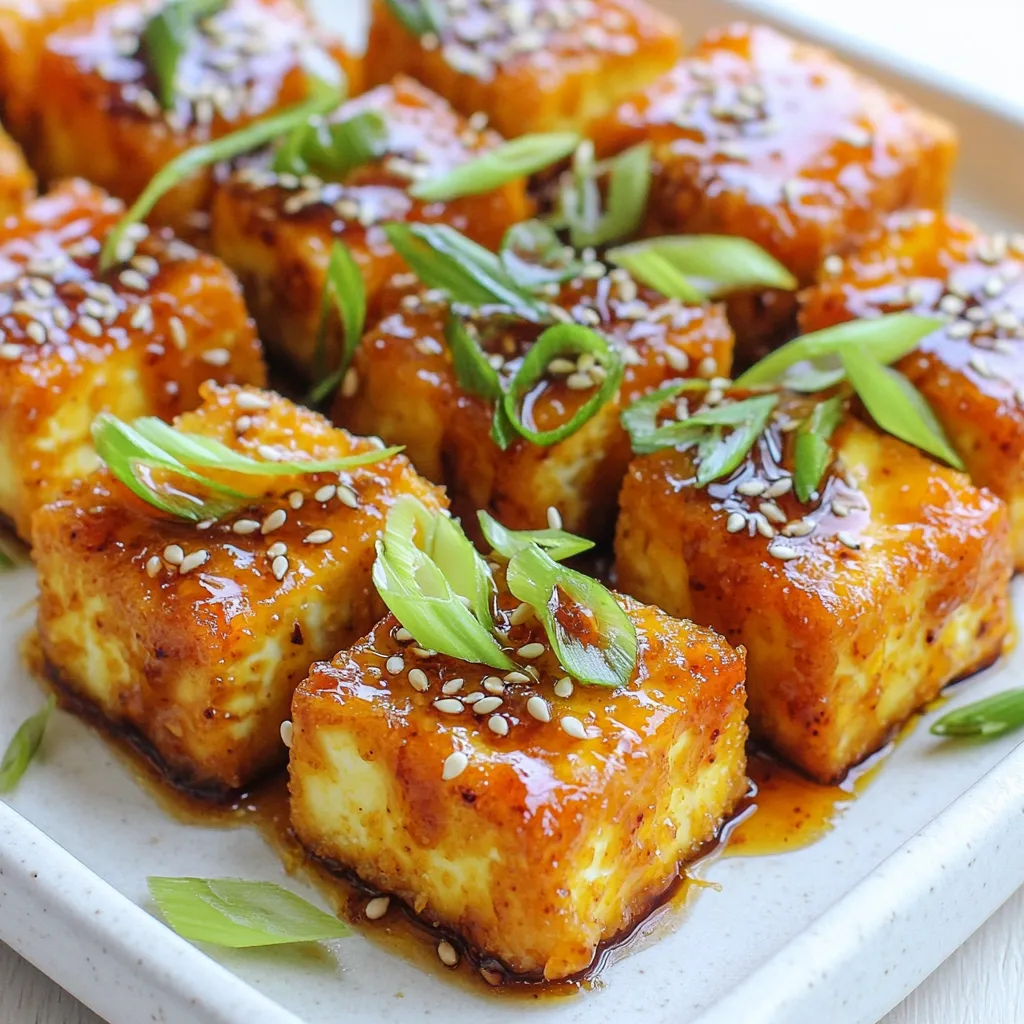
Are you ready to indulge in a tasty treat that’s both crunchy and full of flavor? These Sweet Chili Garlic Tofu Bites are perfect for snacking, meal prep, or impressing friends at dinner. In this blog, I’ll guide you through easy steps to create this delicious dish. Whether you’re a tofu lover or just curious, you’ll find tips, tricks, and variations that make this recipe shine. Let’s dive in!
Ingredients
List of Ingredients
– 1 block firm tofu (14 oz), pressed and cubed
– ½ cup cornstarch
– 3 tablespoons vegetable oil
– 4 cloves garlic, minced
– ¼ cup sweet chili sauce
– 2 tablespoons soy sauce
– 1 tablespoon rice vinegar
– 1 teaspoon sesame oil
– 1 green onion, thinly sliced (for garnish)
– Sesame seeds (for garnish)
Key Ingredient Spotlight: Tofu
Tofu is the star of this dish. It’s made from soybeans and is a great source of protein. Firm tofu holds its shape well during cooking. Pressing the tofu helps remove water. This step makes it crispier when cooked. Tofu easily absorbs flavors, making it perfect for sweet chili sauce. It’s a versatile ingredient that fits into many diets.
Suggested Garnishes
Garnishes add a nice touch to the dish. I suggest using thinly sliced green onions. They bring a fresh flavor and a pop of color. Sesame seeds are another great choice. They add a crunchy texture and nutty taste. For an extra burst of color, add fresh cilantro around the dish. These garnishes make your Sweet Chili Garlic Tofu Bites look inviting and appealing!
Step-by-Step Instructions
Preparation of Tofu
To start, we need to press the tofu. This helps get rid of extra moisture. Wrap the tofu in a clean towel. Place a heavy object on top, like a skillet. Let it sit for 15 to 20 minutes. This step is important for crispy bites. After pressing, cut the tofu into small cubes. Aim for about one-inch pieces. These will cook evenly and become crunchy.
Cooking the Tofu for Crispiness
Next, we’ll coat the tofu for crispiness. In a bowl, add cornstarch and the tofu cubes. Toss them gently until each piece is covered. This coating creates a crunchy texture when we fry them. Heat a non-stick skillet over medium-high heat. Add vegetable oil and let it heat until it shimmers. Carefully place the coated tofu cubes in a single layer. Cook for 4 to 5 minutes on each side. Look for a golden brown color. Once they’re crispy, take them out and set them aside on a plate.
Making the Sweet Chili Sauce
Now, let’s make the sweet chili sauce. In the same skillet, reduce the heat to medium. Add minced garlic and sauté for about 30 seconds. Stir it well but don’t let it burn. Next, pour in sweet chili sauce, soy sauce, rice vinegar, and sesame oil. Mix everything together and let it simmer. This brings all the flavors together. After that, return the crispy tofu to the skillet. Toss the tofu until it’s well coated in the sauce. Cook for another 2 to 3 minutes. This step warms everything through and blends the flavors nicely.
Tips & Tricks
Achieving Perfectly Crispy Tofu
To get that perfect crunch, start with firm tofu. Press the tofu well to remove moisture. Wrap it in a clean towel and put a heavy object on top. After 15-20 minutes, cut the tofu into cubes. Toss the cubes in cornstarch. This makes them crispy when cooked. Cook them in hot oil for 4-5 minutes on each side. Golden brown is the goal!
Flavor Enhancements & Seasoning Suggestions
To boost the flavor, think about your sauces. Sweet chili sauce is great, but you can add more. Try garlic powder or chili flakes for extra kick. Adding a splash of lime juice brightens the dish. You can also mix in fresh herbs for freshness, like cilantro or basil. Each bite should be packed with flavor!
Serving Suggestions and Pairings
For serving, presentation matters. Place the tofu bites on a nice platter. Drizzle any extra sauce on top. Garnish with green onions and sesame seeds for color. Serve with rice or a fresh salad. You can also pair them with dipping sauces like soy sauce or sriracha. Enjoy your crunchy treat with friends or family!
Variations
Different Sauce Alternatives
You can change the sauce for a new taste. Try a spicy peanut sauce. This sauce adds a different kick and richness. You may also use teriyaki sauce for a sweet and savory mix. Feel free to mix ingredients. Add lime juice for a zesty twist. Each option lets you play with flavors!
Adding Vegetables or Proteins
Adding veggies makes this dish even better. You can toss in bell peppers, snap peas, or broccoli. These colorful options add crunch and nutrition. If you want more protein, try adding chickpeas or edamame. Simply sauté them with the tofu. This way, you make a more filling meal.
Vegan and Gluten-Free Modifications
This recipe is already vegan, which is great! To keep it gluten-free, use tamari instead of soy sauce. Check your sweet chili sauce for gluten too. Some brands add wheat. You can make this dish fit many diets without losing taste. Enjoy these tasty bites without worry!
Storage Info
Best Practices for Storing Tofu Bites
Tofu bites need proper storage to keep them fresh. First, let them cool completely. Place the bites in an airtight container. You should cover the container to prevent air from getting in. Store the container in the fridge. They last for about 3-4 days this way. If you want to keep them longer, freezing is your best option.
Reheating Tips
Reheating your tofu bites is easy. Use a skillet for the best results. Heat the skillet over medium heat. Add a little oil to help them crisp up again. Place the tofu bites in the skillet and heat for about 5-7 minutes. Flip them halfway through so they warm evenly. You can also use an oven. Preheat it to 350°F (175°C). Spread the tofu bites on a baking sheet and heat for 10-15 minutes.
Freezing Instructions
Freezing tofu bites is a great way to save leftovers. First, let them cool completely. Then, arrange the bites in a single layer on a baking sheet. Freeze them for about 1-2 hours until firm. After that, transfer the frozen bites to a freezer-safe bag. Remove as much air as possible before sealing. They can stay in the freezer for up to 3 months. When you’re ready to eat, thaw them in the fridge overnight before reheating.
FAQs
How do I press tofu effectively?
To press tofu, wrap it in a clean kitchen towel. Place a heavy object on top, like a cast-iron skillet. Let it sit for 15-20 minutes. This helps remove extra moisture. Dry tofu absorbs flavors better and gets crispier when cooked.
Can I use different sauces for this recipe?
Yes, you can switch up the sauces! Try teriyaki for a sweet twist. You can also use sriracha for heat. Mixing soy sauce with honey gives a nice flavor too. Get creative and find what you love.
How long do Sweet Chili Garlic Tofu Bites last in the fridge?
These tofu bites last about 3-4 days in the fridge. Store them in an airtight container to keep them fresh. Reheat them in a skillet for best results. They may lose some crunch when microwaved.
What can I serve with Sweet Chili Garlic Tofu Bites?
Serve these tofu bites with rice or quinoa for a complete meal. They pair well with steamed vegetables or a fresh salad. For a fun twist, try them in lettuce wraps. They make a great appetizer too!
In this blog post, we explored how to make delicious Sweet Chili Garlic Tofu Bites. We detailed the key ingredients, like tofu and tasty sauces. I shared tips for getting your tofu crispy and highlighted variations to suit your taste. Proper storage methods help you keep leftovers fresh, too.
Tofu can be a great addition to any meal. With these steps, you can enjoy this dish any time. Keep experimenting and make it your own!


