Strawberry Banana Oat Muffins Tasty and Healthy Snack

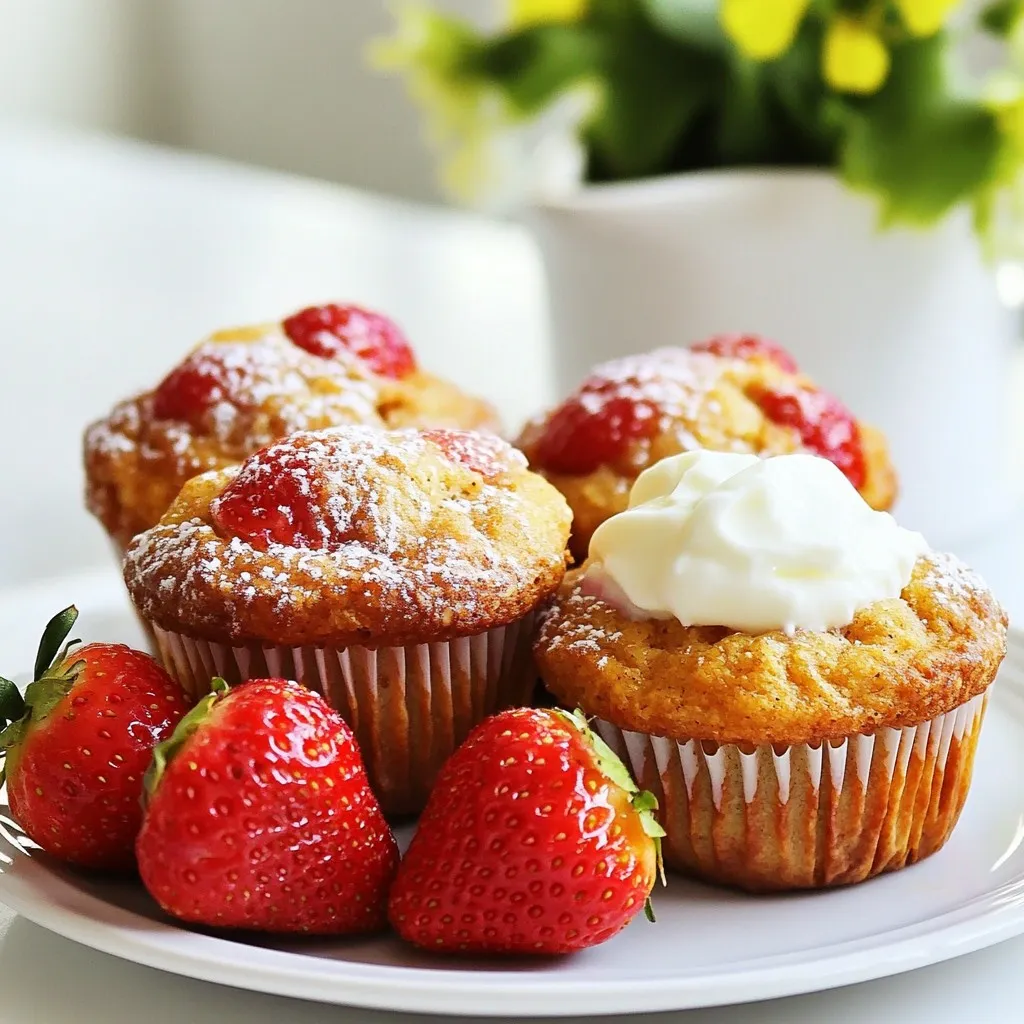
Craving a snack that’s both tasty and healthy? Look no further than these Strawberry Banana Oat Muffins! Made with wholesome ingredients like oats, fresh strawberries, and ripe bananas, this recipe is perfect for a quick breakfast or afternoon treat. Not only are they easy to make, but they also pack a nutritious punch. Let’s dive into this delightful recipe that will satisfy your taste buds and boost your energy!
Why I Love This Recipe
- Healthy Ingredients: This recipe uses rolled oats and whole wheat flour, making it a nutritious choice for breakfast or snacks.
- Natural Sweetness: The combination of ripe bananas and fresh strawberries provides natural sweetness, reducing the need for added sugars.
- Versatile Options: With the option to use non-dairy yogurt and maple syrup, this recipe can easily be adapted for various diets.
- Delicious Flavor: The blend of strawberries and bananas creates a delightful flavor that everyone in the family will enjoy.
Ingredients
List of Ingredients
- 1 cup rolled oats
- 1 cup whole wheat flour
- 1/2 cup brown sugar (or coconut sugar)
- 1 ripe banana, mashed until smooth
- 1 cup fresh strawberries, hulled and chopped
- 1/2 cup Greek yogurt (or non-dairy yogurt)
- 1/4 cup honey (or maple syrup)
- 1/4 cup vegetable oil (or melted coconut oil)
- 1 teaspoon baking powder
- 1/2 teaspoon baking soda
- 1/4 teaspoon salt
- 1 teaspoon pure vanilla extract
- Optional: 1/4 cup chopped nuts (walnuts or pecans)
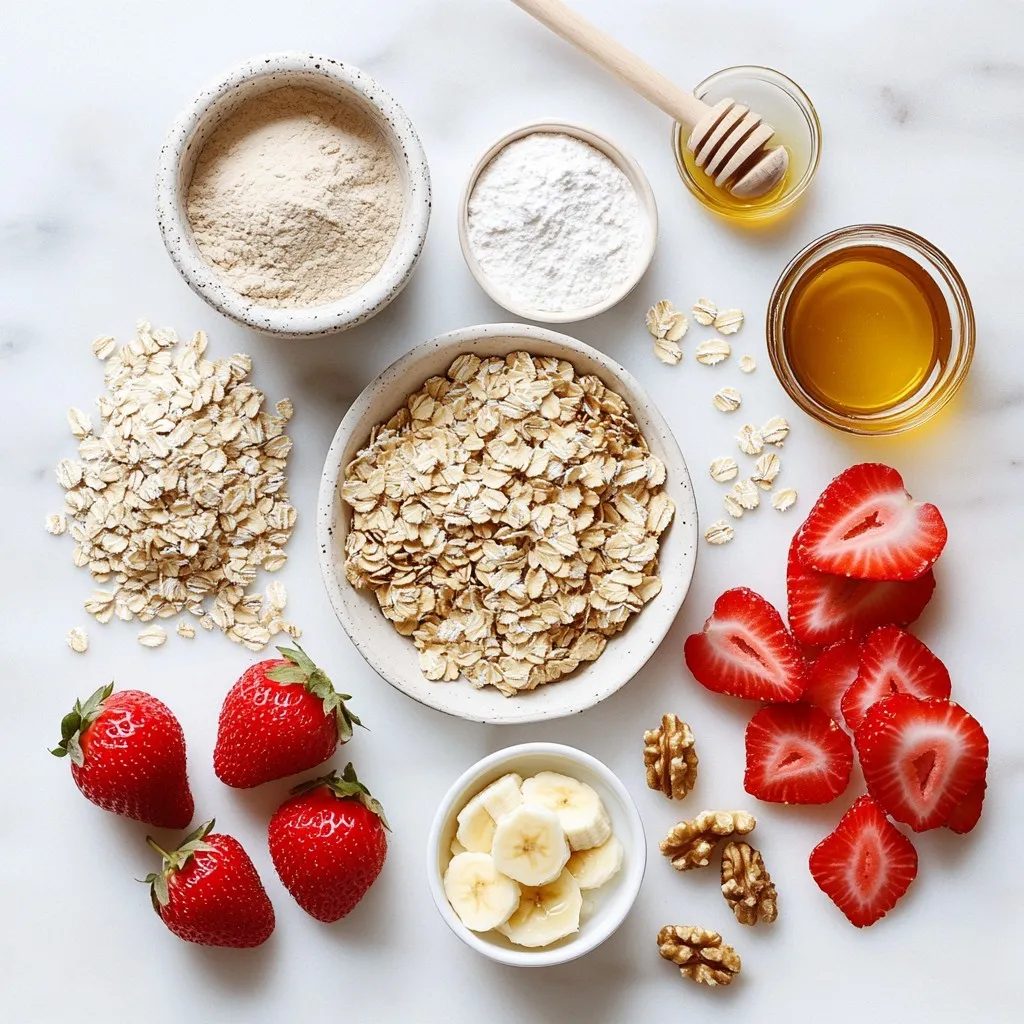
Gather these fresh ingredients for your Strawberry Banana Oat Muffins. Rolled oats give a great base, while whole wheat flour adds fiber. Using brown sugar adds a rich flavor, but you can swap it for coconut sugar if you prefer. The ripe banana is key for sweetness and moisture. Chopped strawberries bring a burst of flavor and color.
The Greek yogurt adds creaminess and protein. Honey or maple syrup serves as a natural sweetener. Vegetable oil keeps the muffins moist, but melted coconut oil adds a nice taste. Baking powder and baking soda help the muffins rise, while salt enhances all the flavors. Lastly, vanilla extract rounds out the taste perfectly.
Feel free to add nuts for crunch, or leave them out if you want a nut-free version. This simple list makes it easy to create a tasty and healthy snack.

Step-by-Step Instructions
Preparation Steps
- Preheat the oven to 350°F (175°C).
- Prepare a muffin tin with liners or grease it.
Mixing Dry Ingredients
- Combine oats, flour, sugar, baking powder, baking soda, and salt.
Mixing Wet Ingredients
- Blend mashed banana, yogurt, honey, oil, and vanilla until smooth.
Combining Ingredients
- Fold wet ingredients into dry without over-mixing.
- Carefully incorporate chopped strawberries and optional nuts.
Baking the Muffins
- Fill muffin cups and bake for 18-22 minutes.
- Check doneness with a toothpick.
Start by preheating your oven to 350°F (175°C). This step is crucial for even baking. Next, prepare your muffin tin. Use paper liners or grease it lightly with oil. This prevents the muffins from sticking, making serving easy.
For the dry ingredients, mix rolled oats, whole wheat flour, brown sugar, baking powder, baking soda, and salt in a large bowl. Whisk them well. This ensures no clumps remain.
Now, let’s get to the wet ingredients. In a separate bowl, mash the banana until smooth. Add Greek yogurt, honey, vegetable oil, and vanilla extract. Blend these together until you have a creamy, lump-free texture.
Next, pour the wet mixture into the bowl with the dry ingredients. Be gentle while folding them together. You want just enough mixing to combine everything. Over-mixing can lead to dense muffins.
Once combined, it’s time to add the star of the show—chopped strawberries. If you like, toss in some nuts for extra crunch. Aim for an even mix without overdoing it.
Now, take a spoon and fill your muffin cups about two-thirds full. This allows room for the muffins to rise while baking.
Place the muffin tin in your preheated oven. Bake for 18-22 minutes. To check if they are done, insert a toothpick into the center of a muffin. If it comes out clean, they are ready!
After baking, let the muffins cool in the tin for about 5 minutes. Then, transfer them to a wire rack. This helps keep the bottoms nice and firm. Enjoy your delicious Strawberry Banana Oat Muffins!
Tips & Tricks
Best Practices for Muffin Making
- Avoid over-mixing for lighter muffins. This keeps them fluffy and soft.
- Use room temperature ingredients for optimal mixing. This helps everything blend well.
Flavor Enhancements
- Add spices like cinnamon or nutmeg for extra flavor. They pair well with banana.
- Consider alternative sweeteners. Agave or stevia can cut down sugar.
Presentation Tips
- Arrange muffins on a serving plate for a lovely display. It makes them look special.
- Dust with powdered sugar or add yogurt for decoration. This adds a nice touch.
Pro Tips
- Use Ripe Bananas: The riper the bananas, the sweeter and more flavorful your muffins will be. Look for bananas with brown spots for the best results.
- Fresh Strawberries Are Key: Fresh strawberries will provide the best flavor and texture. If using frozen strawberries, ensure they are fully thawed and drained to avoid excess moisture.
- Don’t Overmix: Gently combine the wet and dry ingredients to keep the muffins light and fluffy. Overmixing can lead to denser muffins.
- Storage Tips: Store leftover muffins in an airtight container at room temperature for up to 3 days, or freeze for longer storage. Just reheat in the microwave for a quick treat!

Variations
Nut-Free Version
You can easily make this recipe nut-free. Just skip the nuts entirely. This option is great for kids or anyone with nut allergies. You can also add more fruit, like blueberries or raspberries, to keep it flavorful. For a sweet twist, toss in some chocolate chips instead.
Vegan Option
To make these muffins vegan, swap out a few ingredients. Use non-dairy yogurt in place of Greek yogurt. Maple syrup can replace honey for sweetness. Look for plant-based oils, like coconut oil, to keep the flavor rich. These swaps make the muffins just as tasty without any animal products.
Gluten-Free Version
If you need a gluten-free option, you can use gluten-free flour blends. Look for ones that contain xanthan gum, as it helps with texture. Almond flour or oat flour can also work well. Be careful while mixing, as gluten-free dough can become dense if over-mixed. These tweaks help keep your muffins light and fluffy.
Storage Info
How to Store Muffins
To keep your strawberry banana oat muffins fresh, store them at room temperature. Place them in an airtight container. This will help avoid moisture loss and keep them soft. You can also use a zip-top bag. Just squeeze out the air before sealing.
Freezing Instructions
If you want to save muffins for later, freezing is a great option. First, let them cool completely. Then, wrap each muffin in plastic wrap. Place wrapped muffins in a freezer bag. This protects them from freezer burn. To thaw, take a muffin out and leave it at room temperature for a few hours. You can also microwave it for about 15 seconds.
Shelf Life
When stored correctly, your muffins can last up to a week at room temperature. Keep an eye out for signs they have gone bad. Mold or an off smell means it’s time to toss them. If they feel dry or crumbly, it’s also best to discard them.
FAQs
How can I make muffins without bananas?
You can use applesauce or pureed pumpkin as a substitute for bananas. Both add moisture and sweetness. Another option is to use mashed avocado. It has healthy fats and a creamy texture. You can also try using yogurt or silken tofu for a similar outcome.
Can I use frozen strawberries instead of fresh?
Yes, you can use frozen strawberries! Just thaw them first and drain excess water. This helps prevent extra moisture in your batter. Chop them into smaller pieces before adding. This way, they mix well into the muffin batter.
How do I know when my muffins are done baking?
To check for doneness, insert a toothpick into the center of a muffin. If it comes out clean or with a few crumbs, the muffins are done. Another sign is a golden-brown top. The muffins should also spring back when lightly pressed.
Can I make mini muffins with this recipe?
Absolutely! To make mini muffins, fill the mini muffin cups with the batter. Bake them for about 10-15 minutes. Keep an eye on them since they bake faster than regular muffins. Use the toothpick test to check for doneness.
These muffins are simple and fun to make. We used healthy ingredients like oats and fresh fruit. You learned how to mix dry and wet ingredients for perfect dough. Remember, avoid over-mixing for fluffy muffins.
You can easily adapt the recipe for different needs, like gluten-free or vegan. Store them well to keep them fresh. Enjoy your baking and share these tasty treats with friends and famil

Strawberry Banana Oat Muffins
Ingredients
- 1 cup rolled oats
- 1 cup whole wheat flour
- 0.5 cup brown sugar (or coconut sugar)
- 1 large ripe banana, mashed until smooth
- 1 cup fresh strawberries, hulled and chopped into small pieces
- 0.5 cup Greek yogurt (or non-dairy yogurt for a vegan option)
- 0.25 cup honey (or maple syrup for a vegan option)
- 0.25 cup vegetable oil (or melted coconut oil for a richer flavor)
- 1 teaspoon baking powder
- 0.5 teaspoon baking soda
- 0.25 teaspoon salt
- 1 teaspoon pure vanilla extract
- 0.25 cup chopped nuts (such as walnuts or pecans, optional)
Instructions
- Begin by preheating your oven to 350°F (175°C). Prepare a muffin tin by lining it with paper liners or lightly greasing it with oil. This will prevent the muffins from sticking.
- In a large mixing bowl, combine the rolled oats, whole wheat flour, brown sugar, baking powder, baking soda, and salt. Whisk everything together thoroughly to ensure the dry ingredients are well mixed and no clumps remain.
- In a separate bowl, take the mashed banana and add the Greek yogurt, honey, vegetable oil, and vanilla extract. Using a whisk, blend these wet ingredients together until they achieve a smooth and creamy texture with no lumps.
- Pour the mixture of wet ingredients into the bowl with the dry ingredients. Gently fold them together with a spatula or spoon until they are just combined. Be careful not to over-mix, as this can result in denser muffins.
- Carefully fold in the chopped strawberries and, if desired, the chopped nuts. Aim for an even distribution of fruit and nuts throughout the batter without over-mixing.
- Spoon the batter into the prepared muffin cups, filling each about two-thirds full to allow room for rising.
- Place the muffin tin in the preheated oven and bake for 18-22 minutes. The muffins are done when a toothpick inserted into the center comes out clean, indicating they are fully cooked.
- Once baked, remove the muffins from the oven and let them cool in the tin for about 5 minutes. After that, gently transfer them to a wire rack to cool completely. This helps keep the bottoms from getting soggy.


![- 4 thick slices of bread (brioche or challah) - 2 large eggs - 1/2 cup milk - 1 teaspoon vanilla extract - 1 teaspoon ground cinnamon - 1 tablespoon granulated sugar For this recipe, I love using thick slices of brioche or challah bread. They soak up the egg mixture well and give a soft, rich texture. The eggs, milk, and vanilla extract create a smooth base for dipping. Ground cinnamon adds warmth and flavor, while granulated sugar enhances the sweetness. - 1 tablespoon granulated sugar - 1/2 teaspoon ground cinnamon - 1 tablespoon unsalted butter (for frying) The cinnamon sugar mixture is the star here. It adds a sweet crunch that makes each bite special. Using unsalted butter for frying helps achieve that golden brown crust. You want the sticks to be crispy on the outside but soft inside. - Maple syrup or honey - Optional fresh fruits and berries Serve these French toast sticks with maple syrup or honey for dipping. It adds a nice touch of sweetness. Fresh fruits or berries can brighten the plate and add some refreshing flavor. You can use strawberries, blueberries, or even banana slices. It all comes together for a fun and tasty breakfast! For the full recipe, visit [Full Recipe]. To start, grab a shallow bowl. In this bowl, whisk together 2 large eggs, 1/2 cup of milk, 1 teaspoon of vanilla extract, and 1 teaspoon of ground cinnamon. Add 1 tablespoon of granulated sugar for sweetness. It’s important to mix until everything blends well and becomes slightly frothy. This mixture will coat your bread sticks and give them great flavor. Now, take your thick slices of bread, like brioche or challah. Cut each slice into uniform sticks, about 1 inch wide. This helps them cook evenly. After cutting, dip each stick into the egg mixture. Make sure to fully submerge it so it gets well-coated. Let any extra liquid drip off before cooking. This step is key to avoid soggy sticks. Next, it's time to cook! Preheat a non-stick skillet over medium heat. Add 1 tablespoon of unsalted butter to the pan. Wait for it to melt and swirl it around to coat the bottom. Carefully place the coated bread sticks in the skillet, making sure not to overcrowd them. Cook each side for about 2-3 minutes. You want them to turn golden brown and get a slightly crispy texture. This method gives you the best result for your Cinnamon Sugar French Toast Sticks. For a full recipe with all details, check out the [Full Recipe]. To make great cinnamon sugar French toast sticks, you need to control the heat. I suggest using medium heat for the best results. Medium heat cooks the bread evenly without burning it. If you cook on high heat, you may get burnt outsides and soggy insides. Next, prevent soggy French toast sticks. After dipping the sticks in the egg mixture, let them sit for a moment. This helps the bread absorb the mixture without getting too wet. For an appealing look, stack the French toast sticks neatly on a plate. You can sprinkle a little extra cinnamon sugar on top for a pop of color. Add fresh fruit like strawberries or blueberries on the side. This not only adds color but also freshness. Using the right tools makes cooking easier. A non-stick skillet or griddle is best for frying. This helps prevent sticking and makes cleanup simple. A spatula is handy for flipping the sticks. A shallow bowl is key for mixing the egg mixture. You’ll find this method gives you the best results for your cinnamon sugar French toast sticks. Remember to check the [Full Recipe] for detailed steps and proportions to ensure success. {{image_4}} You can change the flavor of your cinnamon sugar French toast sticks in fun ways. Adding a few drops of almond or orange extract gives a twist to the classic taste. These extracts bring a unique sweetness that pairs well with cinnamon. You can also try using different types of bread. Flavored bread like chocolate or pumpkin spice adds an exciting touch. Just think about how much fun it would be to bite into a chocolate French toast stick! If you need gluten-free or dairy-free options, you can easily adapt this recipe. Use gluten-free bread made from rice or almond flour. For dairy-free, almond or oat milk works well. If you want vegan French toast sticks, substitute eggs with flaxseed meal or a plant-based egg replacement. This way, everyone can enjoy this treat, no matter their diet. Get creative with dipping sauces and toppings! You can try different sauces like chocolate, peanut butter, or fruit compote. These add a fun twist to the flavor. You can also serve your French toast sticks with whipped cream or yogurt. Top them with fresh fruits like strawberries or blueberries for extra color and taste. Each bite can be a new flavor adventure! To store leftover cinnamon sugar French toast sticks, place them in an airtight container. This keeps them fresh and prevents drying out. You can store them in the fridge for up to three days. If you want to keep them longer, consider freezing. When reheating, I recommend using the oven for the best texture. Preheat your oven to 350°F (175°C). Place the sticks on a baking sheet and heat for about 10 minutes. This method helps restore their crispiness. If you use the microwave, heat them for 20-30 seconds. However, they may turn a bit soggy. To freeze cooked French toast sticks, let them cool completely first. Then, place them in a single layer on a baking sheet. Freeze until solid, then transfer them to a freezer-safe bag. They last up to two months in the freezer. To thaw, move them to the fridge overnight. Reheat in the oven for the best results. To make your French toast sticks crispy, use thick slices of bread. Brioche or challah works best. They soak up the egg mixture without getting too soggy. Here are some tips for crispiness: - Preheat your pan: Heat your skillet on medium. A hot pan helps form a nice crust. - Use enough butter: Butter adds flavor and helps create a golden crust. Don't skimp on it! - Cook without crowding: Give each stick space in the pan. This allows heat to circulate for even cooking. - Flip carefully: Use a spatula to turn them gently. This keeps them from breaking apart. Yes, you can prepare the egg mixture in advance. This saves time when you're ready to cook. Here’s how to store it: - Refrigerate: Store the mixture in a sealed container. Use it within 24 hours for the best results. - Give it a whisk: Before using, stir it again to ensure the ingredients mix well. The type of bread you choose can change the flavor and texture of your French toast sticks. Here are some great options: - Brioche: This bread is soft and rich, making it perfect for soaking up the egg mixture. - Challah: It has a slightly sweet flavor and holds up well when cooked. - Texas toast: Thick slices of this bread create a hearty bite. - Sourdough: If you like a tangy taste, sourdough adds a unique twist. For the full recipe, check out the detailed instructions! In this post, we explored how to make delicious French toast sticks. You learned about key ingredients, quick preparation steps, and helpful cooking tips. We also discussed fun variations and smart storage methods for leftovers. With these tips, you can create a tasty meal that impresses. Remember, the right bread and careful cooking make all the difference. Enjoy your French toast sticks, and feel free to get creative with flavors and toppings!](https://dishtreats.com/wp-content/uploads/2025/07/664e1dd1-150a-4660-86e6-505ad35a42cc-768x768.webp)


