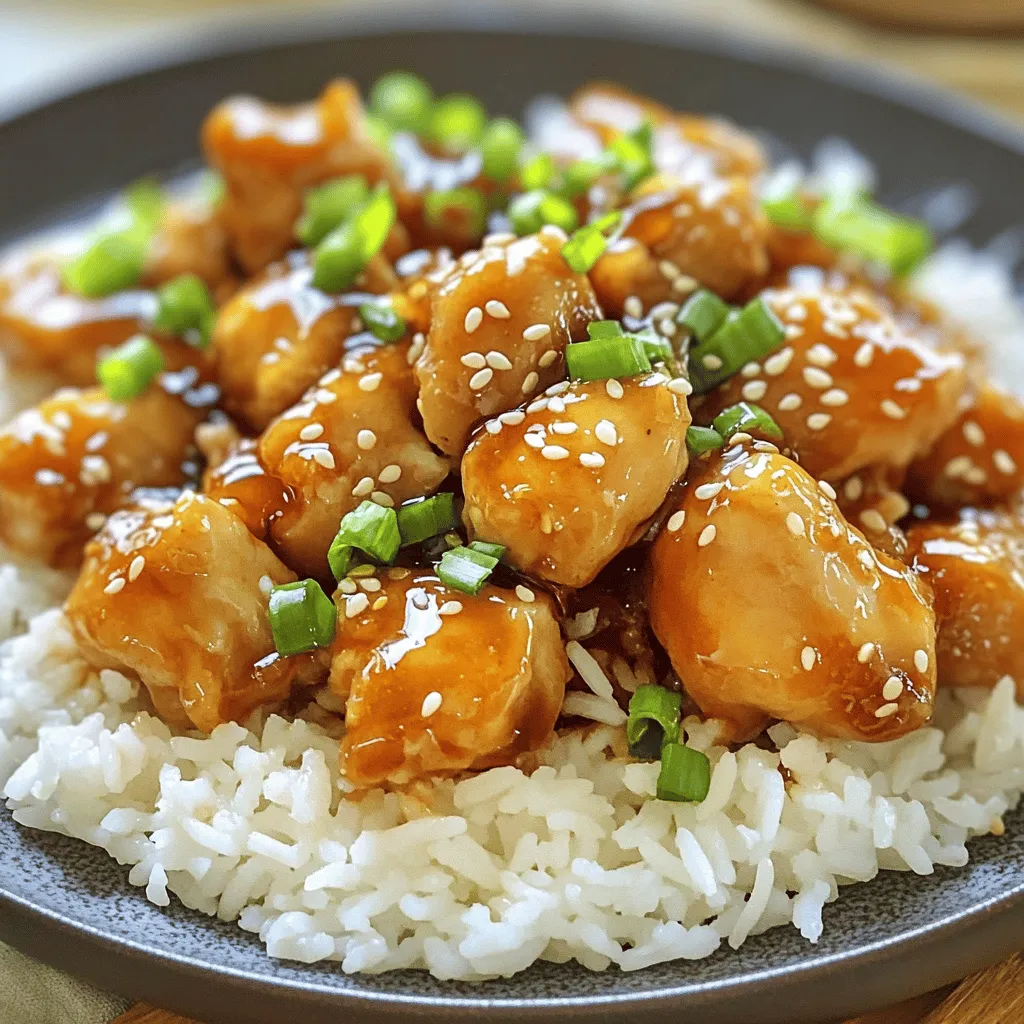
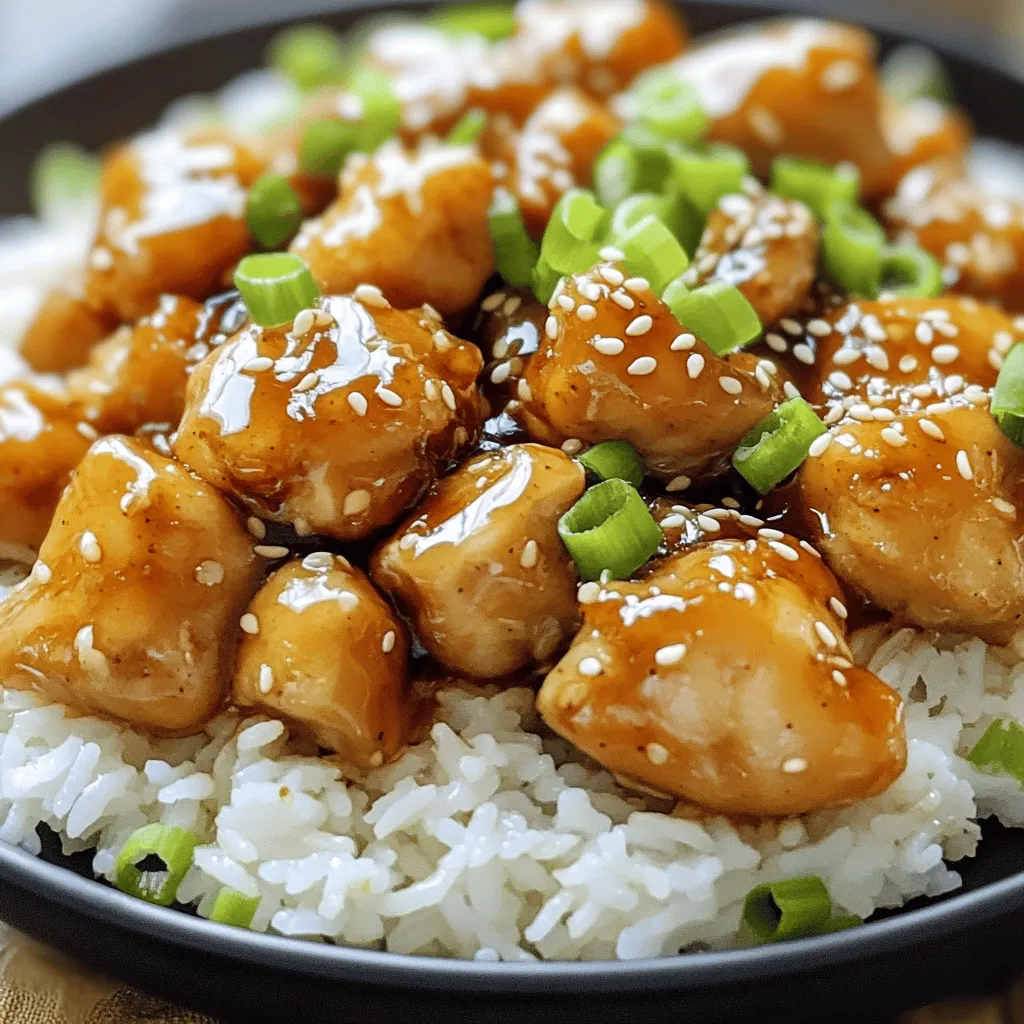
If you’re looking for a mouthwatering dish that’s both sticky and sweet, you’ve found it! Sticky Honey Garlic Chicken brings bold flavors and a delightful glaze to your plate. In this blog post, I’ll guide you through simple steps and helpful tips to make this dish a hit at your next meal. Let’s dive into the ingredients and start creating something truly tasty!
Ingredients
List of Required Ingredients
To make sticky honey garlic chicken, you need the following items:
– 500g boneless, skinless chicken thighs
– 1/4 cup pure honey
– 3 cloves garlic, finely minced
– 2 tablespoons low-sodium soy sauce
– 1 tablespoon apple cider vinegar
– 1 teaspoon freshly grated ginger
– 1 tablespoon sesame oil
– Salt and freshly ground black pepper, to taste
– 1 teaspoon cornstarch mixed with 1 tablespoon cold water (optional for thickening)
– 2 green onions, finely chopped (for garnish)
– A sprinkle of sesame seeds (for garnish)
Ingredient Substitutions
You can switch some ingredients if needed. Here are some easy swaps:
– Chicken thighs can be replaced with chicken breasts for a leaner option.
– Honey can be swapped for maple syrup if you want a different flavor.
– Low-sodium soy sauce can be replaced with tamari for a gluten-free option.
– Apple cider vinegar can be swapped with rice vinegar for a milder taste.
– Fresh ginger can be replaced with ground ginger, but use less.
Tips for Selecting Fresh Ingredients
Choosing fresh ingredients is key to great flavor. Here are my tips:
– Chicken: Look for firm, pink thighs with no off smells. Avoid any discoloration.
– Garlic: Choose plump cloves without sprouting. Fresh garlic smells strong and sweet.
– Honey: Go for raw honey if you can. It has more flavor and health benefits.
– Green Onions: Pick green onions with bright green tops. Avoid wilted or yellowing ones.
– Ginger: Choose firm pieces without wrinkles. Fresh ginger should smell spicy and fragrant.
With these tips, you can make sure your sticky honey garlic chicken is a hit!
Step-by-Step Instructions
Preparation Steps
Start by cutting the chicken thighs into bite-sized pieces. This helps them cook evenly. Next, season the chicken pieces with salt and black pepper. This adds flavor. In a bowl, mix honey, minced garlic, soy sauce, apple cider vinegar, ginger, and sesame oil. Whisk them together until smooth. This mixture is your marinade. Place the chicken in the bowl, ensuring every piece gets coated. Cover the bowl with plastic wrap. Let it marinate in the fridge for at least 30 minutes. If you have time, marinate for up to 2 hours for more flavor.
Cooking Instructions
Heat a large skillet over medium-high heat. Once hot, add the marinated chicken and all the marinade to the pan. Sauté the chicken for about 5-7 minutes. Stir occasionally until the chicken is cooked through. You will see a tasty glaze form. If you like a thicker sauce, stir in the cornstarch-water mixture. Cook for one more minute to thicken the sauce.
Final Touches for Serving
Remove the skillet from the heat. Let the chicken rest for a few minutes. This step helps all the flavors mix well. For serving, place the sticky honey garlic chicken on a bed of fluffy steamed rice or quinoa. Garnish with sliced green onions and sesame seeds. This adds a nice crunch and looks beautiful.Enjoy your delicious meal!
Tips & Tricks
How to Achieve the Perfect Glaze
To get a shiny, sticky glaze, start with a good marinade. Make sure the honey, garlic, and soy sauce mix well. The key is to let the chicken soak in the marinade. A minimum of 30 minutes works, but longer is better. When cooking, use medium-high heat. This helps the glaze form quickly. If you want it thicker, add cornstarch mixed with water near the end. This step makes a nice, thick sauce.
Common Mistakes to Avoid
One common mistake is not seasoning the chicken enough. Always add salt and pepper before marinating. Another mistake is cooking at too low a heat. Low heat can leave your chicken soggy instead of sticky. Also, don’t skip marinating. Skipping this step means you miss out on deep flavor. Lastly, avoid overcrowding the pan. If the chicken pieces are too close, they will steam instead of sear.
Best Cooking Equipment to Use
A large skillet works best for this dish. A non-stick skillet helps prevent the chicken from sticking. If you have a cast iron pan, it can give great texture. Use a whisk for mixing the marinade; it helps blend everything smoothly. A meat thermometer is handy too. It ensures your chicken reaches 165°F for safety. For serving, grab a nice platter to show off your sticky honey garlic chicken.Enjoy making this flavorful dish!
Variations
Spicy Sticky Honey Garlic Chicken
You can add heat to this dish. To make it spicy, add chili flakes or Sriracha. Mix them into the marinade. Start with half a teaspoon of chili flakes for mild heat. You can always add more if you want it spicier. The sweet honey balances well with the heat. This twist makes the dish fun and exciting.
Alternative Proteins for the Recipe
You can use other proteins instead of chicken. Try shrimp, pork, or tofu. Shrimp cooks quickly, adding a nice texture. For pork, use tenderloin or ribs for a rich flavor. Tofu is a great choice for a plant-based meal. Just remember to press it to remove extra water before marinating. Each protein absorbs the flavors well.
Vegetarian or Vegan Adaptations
To make this recipe vegetarian or vegan, switch the honey for maple syrup or agave nectar. Use tempeh or seitan in place of chicken. Both options give a satisfying texture. For the sauce, ensure to use vegan soy sauce. This way, you keep the dish flavorful and plant-based. Enjoy it over rice or quinoa for a complete meal.
Feel free to explore these variations. They can make your sticky honey garlic chicken experience even more delightful!
Storage Info
How to Store Leftovers
After you enjoy your sticky honey garlic chicken, store the leftovers in an airtight container. This helps keep the chicken fresh and tasty. Make sure to cool the chicken to room temperature before sealing it. You can keep it in the fridge for up to four days. Label your container with the date. This way, you’ll know when to eat it.
Reheating Methods
To reheat your chicken, you have a few options. The best way is to use a skillet. Heat it over medium heat and add a splash of water. Place the chicken in the skillet and cover it. Cook for about 5 minutes, stirring occasionally. This keeps the chicken moist and juicy. You can also use a microwave. Place the chicken on a microwave-safe plate and cover it. Heat it in short bursts, about 30 seconds at a time, until hot.
Freezing Tips for Meal Prep
If you want to save your sticky honey garlic chicken for later, freezing is a great choice. First, let the chicken cool completely. Then, place it in a freezer-safe bag or container. Try to remove as much air as possible to prevent freezer burn. You can freeze it for up to three months. When you’re ready to eat, thaw it in the fridge overnight before reheating. This keeps the flavors fresh and vibrant.
FAQs
How long can Sticky Honey Garlic Chicken be stored?
You can store Sticky Honey Garlic Chicken in the fridge for up to three days. Make sure to keep it in an airtight container. This helps keep it fresh and tasty. If you want to keep it longer, you can freeze it. Just place it in a freezer-safe bag, and it will last for about three months.
Can I use chicken breasts instead of thighs?
Yes, you can use chicken breasts instead of thighs. Chicken breasts are leaner and cook faster. Just cut them into bite-sized pieces and follow the same cooking steps. The sauce will still taste great and coat the chicken well.
What are some suggested side dishes to serve with this recipe?
You can serve Sticky Honey Garlic Chicken with many sides. Here are some ideas:
– Fluffy steamed rice
– Quinoa for a healthy option
– Stir-fried veggies for color and crunch
– A fresh salad for a light touch
– Noodles tossed in sesame oil for an Asian twist
These sides will complement the sweet and savory flavors of the chicken perfectly.
This blog post covers all you need for perfect Sticky Honey Garlic Chicken. You learned the key ingredients and how to pick fresh ones. I shared easy step-by-step cooking tips and common mistakes to avoid. You can also try fun variations, like spicy or vegetarian options. Remember to store leftovers properly for later. I hope you feel ready to cook this delicious meal. Enjoy every bite and share your cooking wins!


