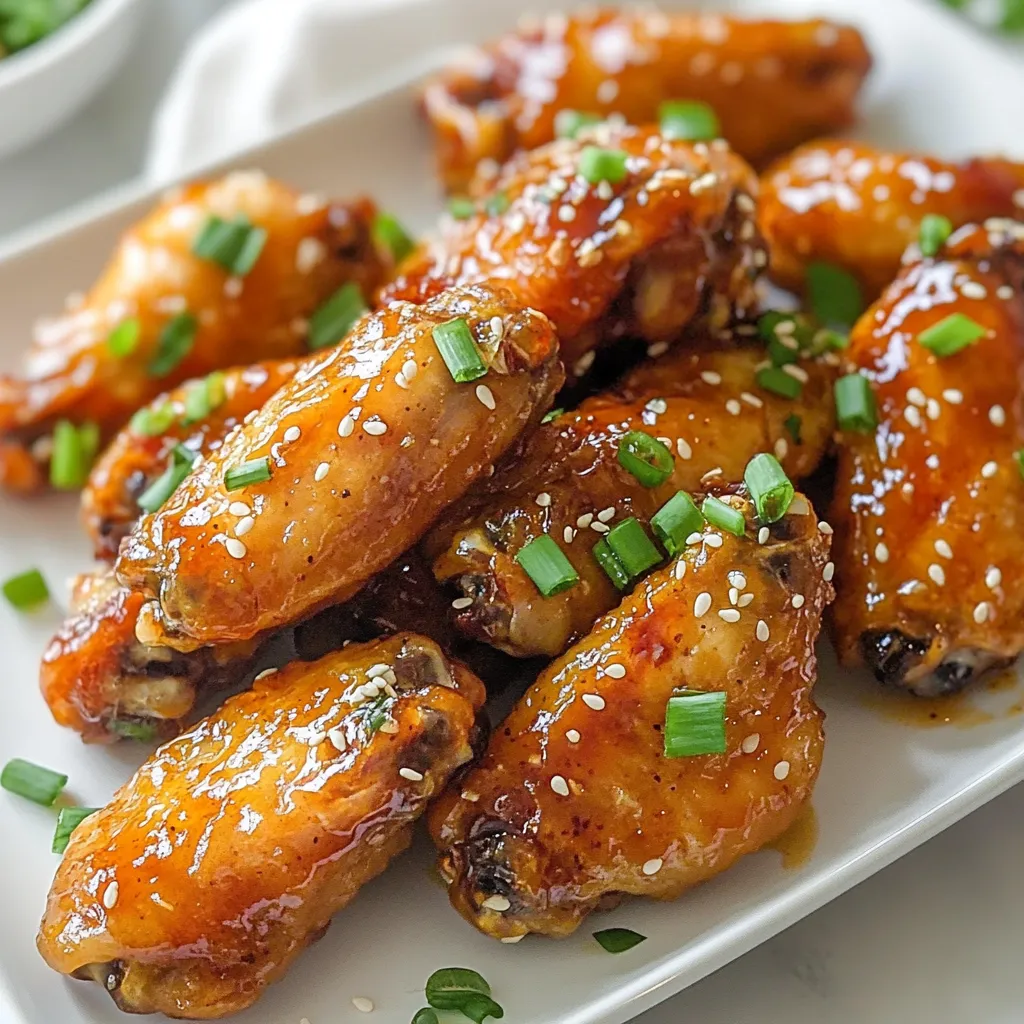
Are you ready to elevate your game-day snacks? Sriracha Honey Chicken Wings deliver an irresistible blast of flavor that will leave everyone coming back for more. In this article, I’ll guide you through making these sticky, sweet, and spicy wings, from ingredients to cooking tips. Trust me—your taste buds will thank you! Let’s dive into this simple and delicious recipe that’s perfect for any occasion!
Why I Love This Recipe
- Bold Flavor Combination: The blend of Sriracha and honey creates a perfect balance of heat and sweetness that tantalizes the taste buds.
- Easy Preparation: With simple ingredients and straightforward steps, these wings are quick to marinate and bake, making them perfect for weeknight dinners or game day gatherings.
- Crispy Texture: Baking the wings on a wire rack allows for air circulation, ensuring that each wing turns out crispy and delicious without the need for frying.
- Customizable Heat Level: Adjust the amount of Sriracha in the marinade to suit your spice preference, allowing everyone to enjoy their wings just the way they like them.
Ingredients
List of Ingredients
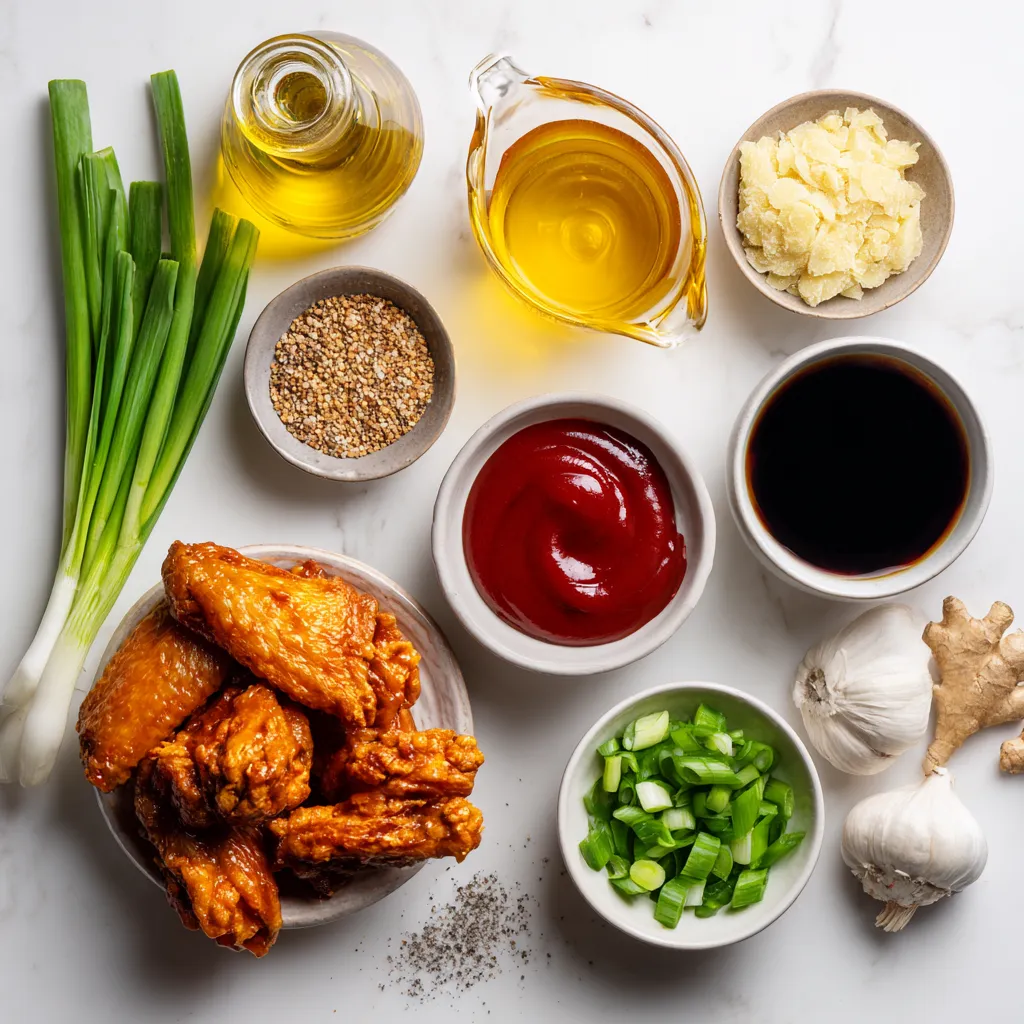
– 2 lbs chicken wings
– 1/4 cup Sriracha sauce
– 1/4 cup honey
– 2 tablespoons soy sauce
– 2 tablespoons olive oil
– 3 cloves garlic, finely minced
– 1 teaspoon fresh ginger, grated
– 1 teaspoon salt
– 1/2 teaspoon freshly ground black pepper
– 1 tablespoon sesame seeds (for garnish)
– 2 green onions, finely chopped (for garnish)
To make Sriracha honey chicken wings, you need fresh chicken wings. They form the base of this tasty dish. Sriracha sauce adds heat and flavor. Honey brings a sweet touch to balance the spice. Soy sauce gives depth and umami. Olive oil keeps the wings moist and helps them crisp up.
Next, we have garlic and ginger. Both add a nice kick. Salt and pepper are key for seasoning. Finally, sesame seeds and green onions make great garnishes. They add color and texture.
Gather these ingredients before you start cooking. It makes the process smooth and fun. Trust me, these wings will be a hit at your next gathering!
Step-by-Step Instructions
Preparing the Marinade
To start, grab a large mixing bowl. In this bowl, mix 1/4 cup of Sriracha sauce and 1/4 cup of honey. These two ingredients create the sweet and spicy taste we love. Next, add 2 tablespoons of soy sauce and 2 tablespoons of olive oil. These help to tenderize the chicken and add depth. Then, finely mince 3 cloves of garlic and grate 1 teaspoon of fresh ginger. Add these to the bowl. Finally, sprinkle in 1 teaspoon of salt and 1/2 teaspoon of black pepper. Whisk everything together until it is smooth and well combined.
Marinating the Chicken Wings
Now it’s time to marinate the wings. Take 2 pounds of chicken wings and place them into the bowl with the marinade. Make sure each wing gets a good coat of that delicious mix. Cover the bowl with plastic wrap or a lid. Let the wings sit in the fridge for at least 1 hour. If you can wait longer, let them marinate overnight. This step is key to making the wings full of flavor.
Baking Tips and Techniques
When you’re ready to cook, preheat your oven to 400°F (200°C). This temperature helps the wings turn crispy. Line a baking sheet with aluminum foil to make cleanup easy. Place a wire rack on top of the baking sheet. This allows hot air to circulate around the wings, giving them a great texture. Lay the marinated chicken wings on the rack in a single layer. Bake them for about 40 to 45 minutes. Flip the wings halfway through to ensure they cook evenly. For a final touch, brush the wings with extra marinade during the last 5 minutes of baking. This adds an extra layer of flavor. Once done, let the wings rest a few minutes before serving.
Tips & Tricks
Achieving Maximum Crispiness
To get your chicken wings crispy, use a wire rack. This allows air to flow around the wings. Bake them in the oven at 400°F (200°C) for the best results. Flip the wings halfway through baking. This helps both sides crisp up evenly. Avoid overcrowding the baking sheet. Space between wings lets heat circulate better.
Flavor Boosting Techniques
For a deeper flavor, marinate your wings overnight. The longer they sit in the marinade, the more they absorb the tasty mix. You can also add more garlic or ginger for a stronger kick. A splash of lime juice can brighten the flavors, too. Before serving, brush on more marinade. This adds a glossy layer and extra taste.
Alternative Cooking Methods
If you want a different approach, try frying the wings. Heat oil to 350°F (175°C) and fry in batches until golden. This gives a crunchy outside and juicy inside. You can also use an air fryer for a healthier option. Cook at 375°F (190°C) for about 25 minutes. No matter the method, keep an eye on the wings to avoid overcooking.
Pro Tips
- Marinate for Maximum Flavor: The longer you marinate the wings, the deeper the flavors will penetrate the meat. Aim for at least 1 hour, but overnight is ideal.
- Use a Wire Rack: Elevating the wings on a wire rack allows hot air to circulate around them, resulting in a crispier exterior without the need for frying.
- Brush with Marinade: For an extra layer of flavor, brush the wings with leftover marinade during the last few minutes of baking to create a sticky, caramelized glaze.
- Serve with Accompaniments: Enhance your wing experience by serving with lime wedges for a fresh zing and extra Sriracha for those who enjoy a spicy kick.
Variations
Spicy Sriracha Honey Chicken Wings
For those who crave extra heat, I recommend adding more Sriracha. Try 1/2 cup instead of 1/4 cup. This change gives the wings a bold kick. You can also add crushed red pepper flakes for more spice. Mix these into the marinade for a fiery flavor. The sweet honey will balance the spice, making each bite amazing.
BBQ Sriracha Honey Chicken Wings
If you love BBQ flavors, swap out the honey for your favorite BBQ sauce. Use 1/4 cup of BBQ sauce and mix it with Sriracha. This blend gives the wings a smoky, tangy taste. You can add a touch of apple cider vinegar for added zest. Brush the wings with more BBQ sauce before serving for that sticky goodness.
Baked vs. Fried Options
Baking the wings gives a healthier option. You still get crispy wings without too much oil. However, frying them makes them ultra-crispy and juicy. If you fry, use a deep fryer or a large pot with oil. Cook them until golden brown. Both methods taste great, so choose based on your mood!
Storage Info
How to Store Leftover Wings
To keep leftover wings fresh, place them in an airtight container. Make sure they cool down first. Store them in the fridge for up to three days. If you want to keep them longer, freezing is a great option.
Freezing Instructions
For freezing, wrap the wings in plastic wrap or foil. Place them in a freezer-safe bag or container. They can last for up to three months in the freezer. Always label your bags with the date. This way, you’ll know when to use them.
Reheating Tips
To reheat the wings, preheat your oven to 350°F (175°C). Place the wings on a baking sheet. Heat them for about 15-20 minutes or until they are warm. You can also microwave them, but this might make them less crispy. To keep that crunch, the oven is best!
FAQs
Can I use other types of chicken?
Yes, you can use other chicken parts. Thighs or drumsticks work well too. Just adjust the cooking time. Thighs may take longer to cook, while drumsticks are similar to wings. Always check that the chicken reaches 165°F for safe eating.
How long should I marinate the wings?
I suggest marinating the wings for at least one hour. For the best taste, marinate them overnight. This time allows the flavors to soak into the chicken. The longer you marinate, the better it will taste.
What side dishes pair well with Sriracha honey chicken wings?
Many sides go great with Sriracha honey chicken wings. Here are some ideas:
– Coleslaw: The crunch and creaminess balance the heat.
– Rice: White or fried rice soaks up the sauce well.
– Vegetable sticks: Carrots and celery add a fresh crunch.
– Potato wedges: They are crispy and fill you up.
Try one or mix a few sides to enhance your meal!
You now have the tools to make amazing chicken wings at home. We covered key ingredients, step-by-step instructions, and clever tips. You learned how to achieve maximum crispiness and boost flavors. Don’t forget the fun variations, like spicy Sriracha honey wings. Store leftovers properly and follow easy reheating tips for the best taste. With these skills, you can impress friends and family with delicious chicken wings every time. Enjoy your cooking adventur


