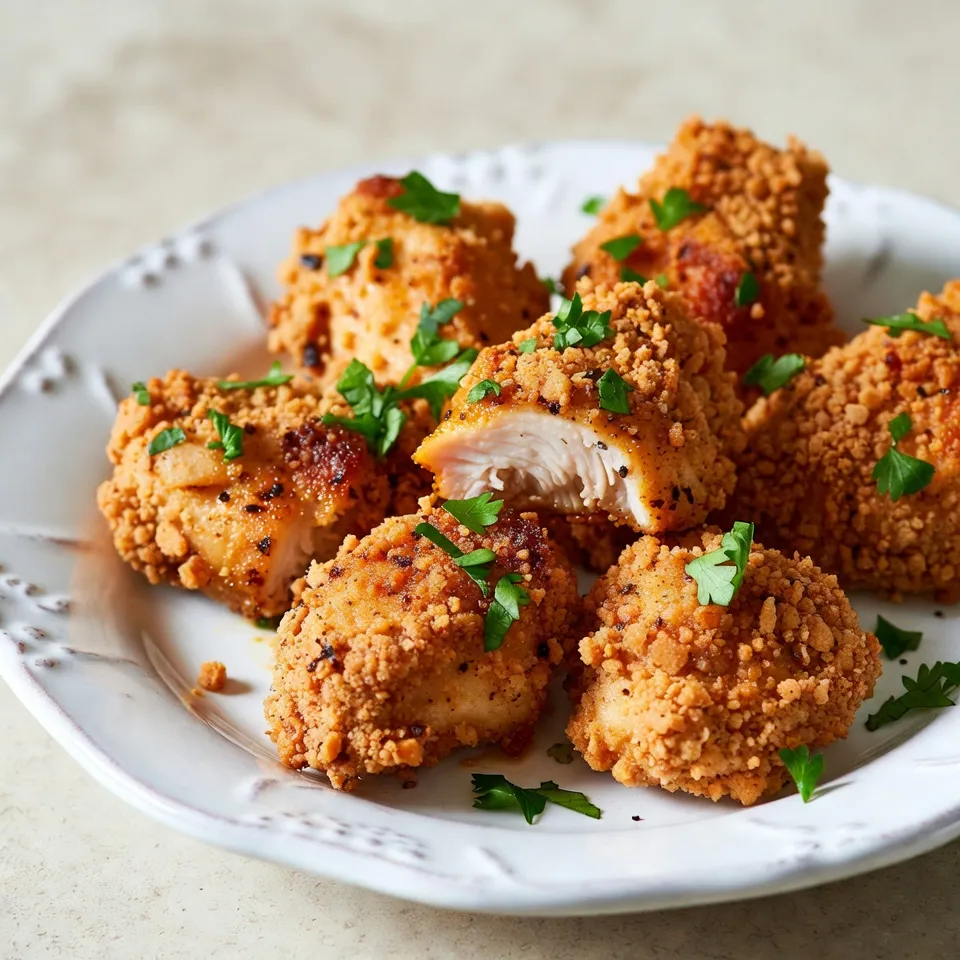
Get ready to spice up your snacking game with my Spicy Cajun Chicken Bites! These crispy, flavorful treats pack a punch and are perfect for any gathering. I’ll guide you through all the steps, from marinating the chicken in creamy buttermilk to achieving that perfect golden crunch. Whether you’re hosting friends or just craving something delicious, these bites are sure to impress. Let’s dive into the tasty details!
Why I Love This Recipe
- Bold Flavor: The Cajun seasoning adds an incredible depth of flavor that tantalizes your taste buds.
- Quick and Easy: This recipe is simple to follow and can be prepared in just over an hour, making it perfect for busy weeknights.
- Versatile Snack: These chicken bites are great as an appetizer, party snack, or even a main dish when served with sides.
- Customizable Spice Level: You can easily adjust the spice by modifying the amount of cayenne pepper to suit your preference.
Ingredients
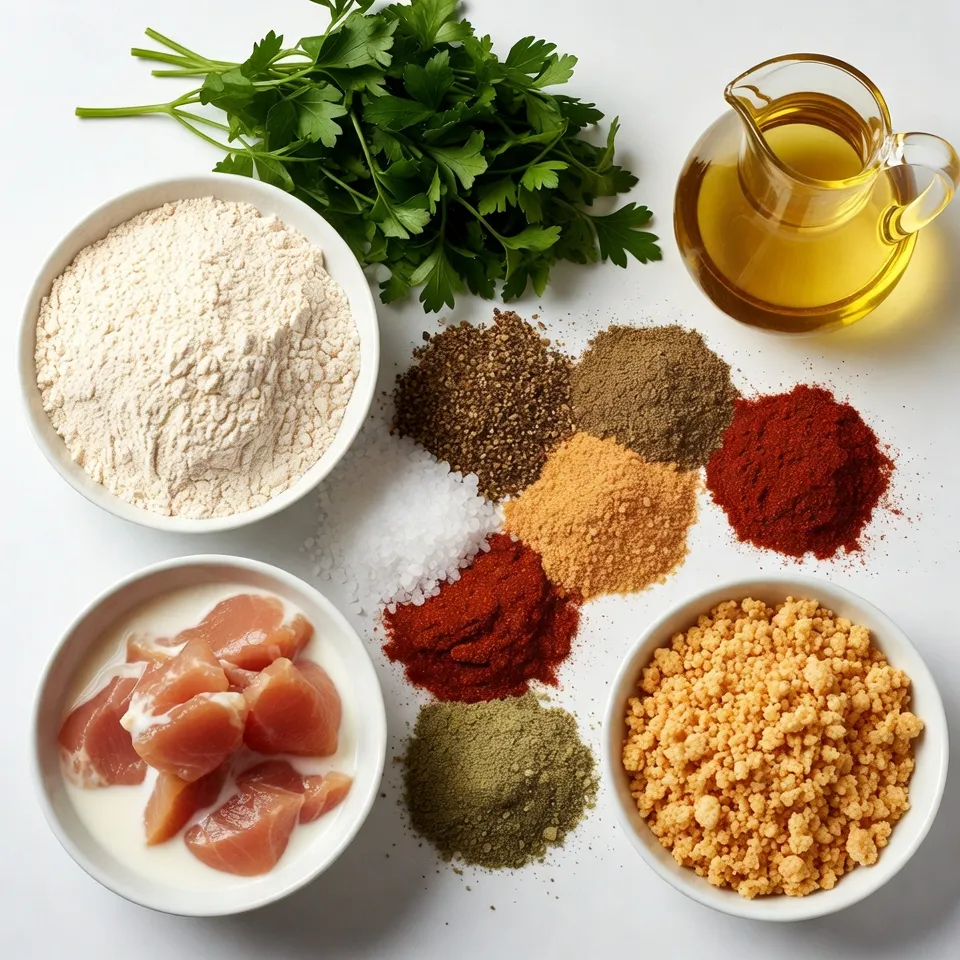
Main Ingredients
– 1 lb boneless, skinless chicken breasts
– 2 tablespoons Cajun seasoning
– 1 cup buttermilk
To start, you need chicken breasts. Cut them into bite-sized cubes. This makes them easy to cook and eat. Next, use Cajun seasoning. It adds a nice kick. Buttermilk is also key. It helps the chicken stay moist and adds flavor.
Coating and Frying Elements
– 1 cup all-purpose flour
– ½ cup breadcrumbs (panko recommended)
– ¼ cup vegetable oil
For the coating, you need flour. This helps the spices stick. Breadcrumbs give a crunchy texture. I recommend using panko. It makes the bites extra crispy. You will also need vegetable oil for frying. It needs to be hot to get that golden color.
Garnish and Extras
– Fresh parsley
– Optional: Additional Cajun seasoning
Fresh parsley adds a pop of color. It also brightens the dish. You can sprinkle more Cajun seasoning on top. This gives an extra burst of flavor. Enjoy these spicy bites warm and garnished for a great look!
Step-by-Step Instructions
Marinating the Chicken
Marinating in buttermilk is key for great flavor and tenderness. The acid in buttermilk helps the chicken stay juicy. I suggest marinating for at least 1 hour. If you can, let it sit overnight. That gives the spices time to soak in.
Preparing the Seasoning Mix
For the seasoning, you need a few simple items. Gather 2 tablespoons of Cajun seasoning, 1 teaspoon of smoked paprika, and ½ teaspoon each of garlic powder, onion powder, and cayenne pepper. Add a pinch of salt and black pepper too. Mix these in a bowl until well combined. A good blend ensures a burst of flavor in every bite.
Setting Up the Coating Station
Now, let’s set up for coating the chicken. You need three bowls. In the first bowl, put all-purpose flour. The second bowl should have beaten eggs. This step is optional, but it adds a nice crunch. The third bowl gets the breadcrumbs. I recommend using panko for an extra crunchy texture. Each bowl plays a role in making your bites crispy.
Coating the Chicken Bites
When you’re ready to coat, take the marinated chicken from the fridge. Let the excess buttermilk drip off. Start with the flour bowl. Dredge each piece of chicken well. Next, dip it into the egg if you’re using it. Finally, coat it with breadcrumbs. Press down gently so the crumbs stick well. This step is vital for that crunchy finish.
Frying the Chicken Bites
For frying, heat vegetable oil in a large skillet over medium-high heat. The oil should shimmer, showing it’s ready. Fry the chicken bites in batches. Avoid overcrowding the pan. Cook each side for about 4-5 minutes. You want them golden brown. Make sure the inside reaches 165°F (75°C) for safety.
Draining and Seasoning
Once the chicken is cooked, transfer it to a plate lined with paper towels. This helps drain any excess oil. While they are still hot, sprinkle a bit more Cajun seasoning on top. This extra touch gives a flavorful kick. Enjoy your crispy, spicy bites!
Tips & Tricks
Perfecting the Spice Level
To make your Spicy Cajun Chicken Bites just right, adjust the cayenne pepper. Start with ½ teaspoon. If you love heat, add more. If you prefer milder bites, cut back. You can also try other spices like chili powder or smoked paprika. Both can give a great flavor without too much heat.
Achieving Crunchy Texture
Panko breadcrumbs play a big role in achieving that perfect crunch. They are lighter and crispier than regular breadcrumbs. They soak up less oil and fry better. When frying, do it in batches. This helps the chicken cook evenly and stay crispy. Overcrowding the pan can lead to soggy bites.
Presentation Ideas
Serve your chicken bites warm on a colorful platter. Garnish with freshly chopped parsley for a pop of color. Pair them with different dipping sauces like creamy ranch or zesty spicy aioli. This adds flavor and makes the dish visually appealing. Enjoy the crispy bites with your favorite dips for a fun experience!
Pro Tips
- Marinate for Maximum Flavor: Allowing the chicken to marinate overnight in buttermilk not only tenderizes the meat but also infuses it with a rich flavor that enhances the overall dish.
- Choose the Right Oil: For frying, opt for oil with a high smoke point, such as vegetable or canola oil, to achieve a crispy texture without burning the coating.
- Control the Heat: Fry the chicken bites in batches and maintain a consistent medium-high heat to ensure they cook evenly and develop a perfect golden crust.
- Experiment with Dips: Serve these chicken bites with a variety of dipping sauces such as honey mustard, buffalo sauce, or a creamy blue cheese dressing to enhance the flavor experience.
Variations
Flavor Substitutions
You can easily change the spices in your spicy Cajun chicken bites. For a milder flavor, try using smoked paprika or Italian seasoning. If you want to spice things up, mix in some chili powder or even a bit of black pepper.
You can also swap the chicken for shrimp or tofu. Shrimp cooks fast and adds a nice twist. Tofu is a great choice for a vegetarian option. Just make sure to press it to remove extra moisture for better flavor.
Cooking Methods
You can bake or fry your chicken bites. Baking is healthier but may not be as crispy. Frying gives a nice crunch, but you must manage the oil.
If you prefer an air fryer, it’s simple! Set it to 400°F (200°C) and cook for about 10-12 minutes. Shake the basket halfway through for even cooking. This method uses less oil and still keeps the bites crispy.
Serving Ideas
These spicy Cajun chicken bites pair well with side dishes like coleslaw, rice, or fries. Coleslaw adds a cool crunch, while rice soaks up the spice.
For dipping sauces, try creamy ranch for a cool contrast. Zesty spicy aioli works well too, adding a kick. You can also serve them with honey mustard for a sweet twist!
Storage Info
Leftover Storage
Store your spicy Cajun chicken bites in an airtight container. This keeps them fresh and tasty. Place them in the refrigerator within two hours of cooking. They can last about 3 to 4 days in the fridge. If you want to keep them longer, freezing is a great option.
Reheating Instructions
To reheat chicken bites, use an oven or an air fryer. Preheat the oven to 375°F (190°C). Place the bites on a baking sheet in a single layer. Heat for about 10 to 15 minutes or until hot. If using an air fryer, set it to 375°F (190°C) for about 5 to 7 minutes. This will help keep them crispy.
Freezing Options
To freeze chicken bites, let them cool completely first. Then, place them in a freezer-safe bag or container. Make sure to remove as much air as possible. They can be frozen for up to 3 months. When you are ready to eat them, thaw in the refrigerator overnight. Reheat as mentioned above for best results.
FAQs
Can I make Spicy Cajun Chicken Bites without buttermilk?
Yes, you can! If you don’t have buttermilk, try using regular milk. Add a splash of vinegar or lemon juice to sour it. This mix works well for marinating chicken. You can also use yogurt for a thicker coat. Both options keep your chicken juicy and tender.
What can I substitute for Cajun seasoning?
You can make your own Cajun seasoning easily. Mix these spices for a great flavor:
– 1 tablespoon paprika
– 1 teaspoon garlic powder
– 1 teaspoon onion powder
– ½ teaspoon cayenne pepper
– ½ teaspoon dried thyme
– ½ teaspoon black pepper
– ½ teaspoon salt
Feel free to adjust the amounts to fit your taste!
How can I reduce the spice level?
To make the bites milder, cut back on cayenne pepper. You can also use sweet paprika instead of spicy. Another tip is to add more buttermilk to the marinade. This helps tone down the heat while keeping the chicken moist and flavorful.
Can I prepare the chicken bites ahead of time?
Yes, you can! Marinate the chicken bites up to 24 hours in advance. After marinating, coat them and store them in the fridge until ready to fry. This makes it easy to serve fresh chicken bites at your next gathering.
What are some good dipping sauces?
A few great dipping sauces include:
– Creamy ranch dressing
– Spicy aioli made with mayonnaise and hot sauce
– Honey mustard for a sweet touch
– Zesty BBQ sauce for a smoky flavor
These options will add even more flavor to your spicy chicken bites!
To recap, we explored how to create spicy Cajun chicken bites. We covered ingredients, marinating, and frying techniques. Remember, using buttermilk makes your chicken tender and tasty. We also shared tips on spice adjustment and presentation suggestions.
In the end, you can customize these bites with different flavors or cooking methods. Whether you bake or fry, these bites promise delight. Enjoy experimenting in the kitchen with your newfound skill


