Get ready to spice up taco night with my Smoky Sweet Potato Tacos! This easy recipe combines sweet potatoes, black beans, and corn, all tossed in tasty spices. You’ll learn how to roast the perfect sweet potatoes and warm your tortillas just right. These tacos are not just delicious; they’re packed with nutrients and flavors. Let’s dive into this fun cooking adventure together!
Why I Love This Recipe
- Bold Flavors: The combination of smoked paprika, cumin, and cinnamon creates a rich and complex flavor profile that elevates simple ingredients into a delicious meal.
- Nutritious and Filling: Sweet potatoes and black beans provide a hearty dose of fiber and nutrients, making these tacos both satisfying and healthy.
- Easy to Make: With just a few simple steps, these tacos come together quickly, making them perfect for a weeknight dinner or a casual gathering.
- Customizable: Feel free to add your favorite toppings or substitute ingredients to make these tacos your own, ensuring everyone can enjoy them!
Ingredients
Main Ingredients
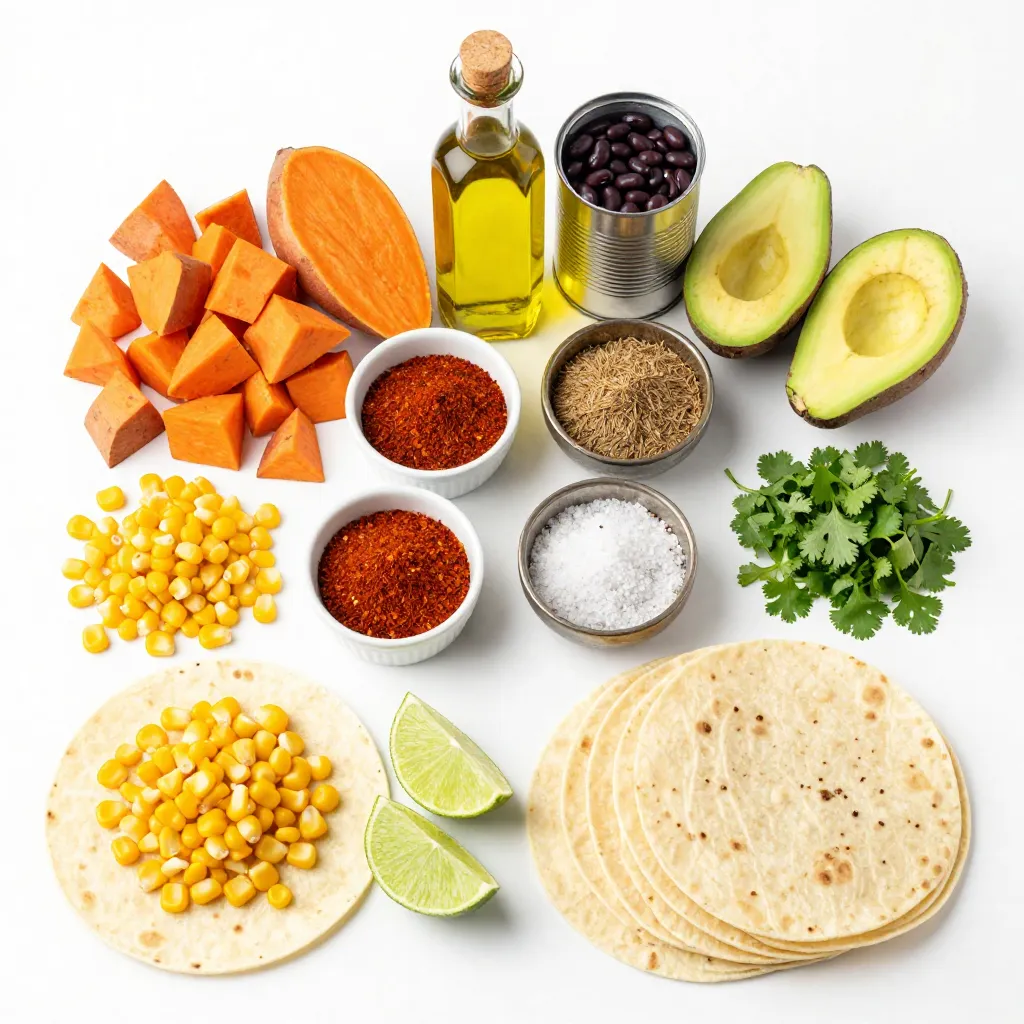
– 2 large sweet potatoes, peeled and diced into 1-inch cubes
– 1 can (15 oz) black beans, rinsed and drained
– 1 cup corn kernels (fresh or frozen)
Seasonings and Oils
– 1 tablespoon extra-virgin olive oil
– 1 teaspoon smoked paprika
– 1 teaspoon ground cumin
– 1/2 teaspoon ground cinnamon
– Salt and freshly ground black pepper to taste
Toppings and Accompaniments
– 1 ripe avocado, sliced into thin wedges
– 1/4 cup fresh cilantro, chopped
– Lime wedges for an added zing
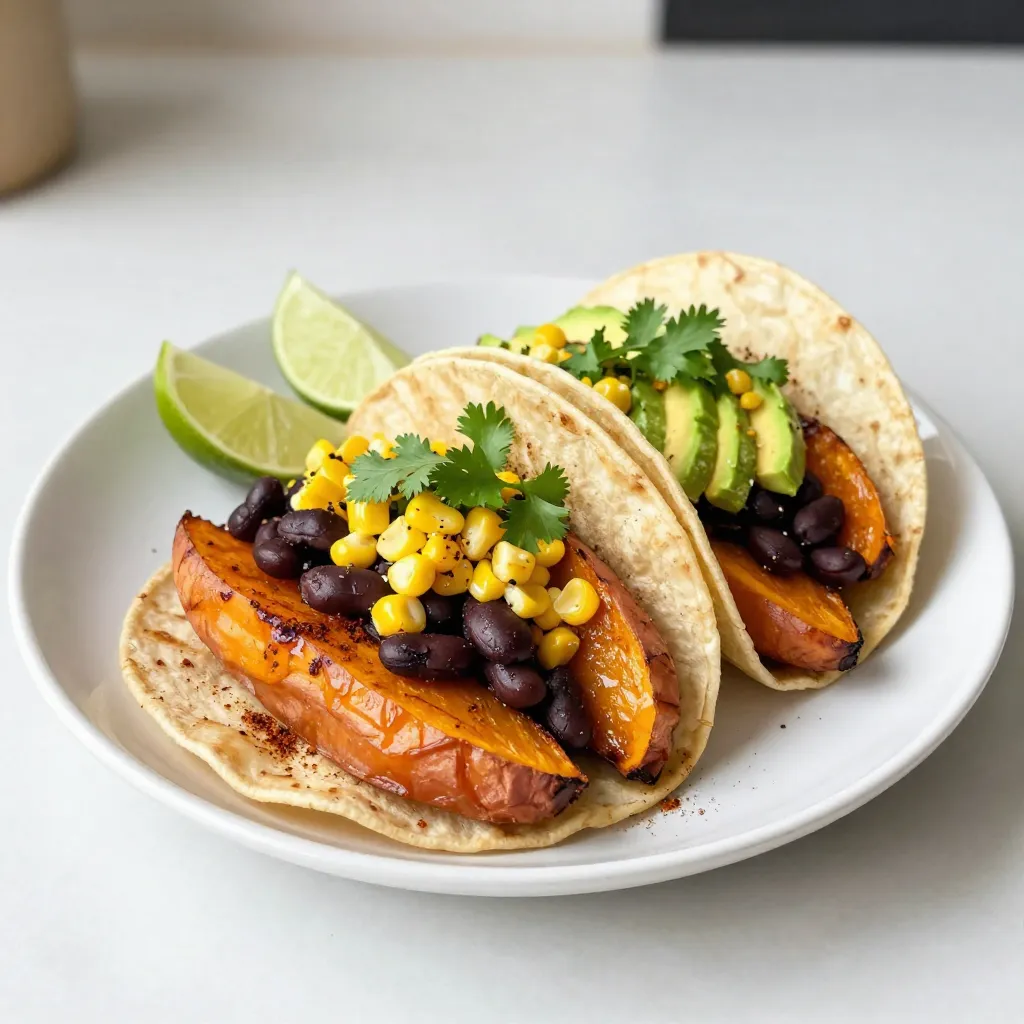
The sweet potatoes bring a soft texture and natural sweetness. Black beans add protein and earthiness. Corn gives a pop of color and sweetness. These main ingredients form a hearty base for your tacos.
The olive oil helps the spices stick and adds richness. Smoked paprika gives a warm, smoky taste. Cumin adds depth, while cinnamon gives a unique warmth. Salt and pepper enhance all the flavors.
For toppings, creamy avocado adds richness. Fresh cilantro brings brightness. Lime wedges add a tart, zesty kick to each bite. This combination creates a feast for your taste buds.
Step-by-Step Instructions
Preheat and Prepare
– Preheat your oven to 425°F (220°C).
– In a large bowl, mix 2 large diced sweet potatoes with 1 tablespoon olive oil, 1 teaspoon smoked paprika, 1 teaspoon ground cumin, and 1/2 teaspoon ground cinnamon.
– Add salt and black pepper to taste. Toss everything until the sweet potatoes are coated in the spices.
Roasting the Sweet Potatoes
– Spread the sweet potatoes in a single, even layer on a baking sheet.
– Roast them for 25-30 minutes. Stir halfway through to ensure even cooking. They should be tender and lightly caramelized when done.
Preparing the Black Beans and Corn
– Heat a small saucepan over medium heat.
– Add 1 can (15 oz) of rinsed black beans and 1 cup of corn. Stir occasionally until warmed through.
– Season with salt and pepper to enhance flavor.
Warming the Tortillas
– In a dry skillet over medium heat, warm 8 small corn tortillas.
– Heat each tortilla for about 30 seconds on each side. This makes them soft and tasty.
Assembling the Tacos
– On each warm tortilla, add a scoop of roasted sweet potatoes.
– Top with a hearty portion of the black beans and corn mix.
– Add slices of avocado and a sprinkle of fresh cilantro for the final touch.
– Serve with lime wedges on the side for extra flavor.
Tips & Tricks
Perfecting the Sweet Potato Texture
To roast sweet potatoes perfectly, I suggest cutting them into 1-inch cubes. This size helps them cook evenly. When you coat them with olive oil and spices, make sure they are well mixed. Spread them on the baking sheet in a single layer. This way, they won’t steam and turn mushy. Stirring them halfway through roasting helps caramelize the edges and adds flavor.
Enhancing Flavor
To boost the taste, try adding a pinch of cayenne pepper or chili powder. These spices give your tacos a nice kick. You can also marinate the sweet potatoes in lime juice and spices for about 30 minutes before roasting. For toppings, creamy avocado and fresh cilantro are the best choices. You can also add crumbled feta cheese or pickled red onions for extra zing.
Meal Prep Suggestions
For meal prep, roast the sweet potatoes a day ahead. Store them in an airtight container in the fridge. You can also warm the black beans and corn in advance. To reheat, place them in a pan over medium heat until warm. For the tortillas, heat them just before serving. This keeps them soft and warm, making your tacos delicious every time.
Pro Tips
- Perfectly Roasted Sweet Potatoes: Ensure the sweet potatoes are cut into uniform pieces to achieve even cooking and caramelization.
- Enhance the Flavor: Add a dash of cayenne pepper to the sweet potato mixture for a spicy kick that complements the sweetness.
- Fresh Tortillas: If possible, use freshly made corn tortillas, as they provide a superior flavor and texture compared to store-bought.
- Presentation Matters: Arrange the toppings artfully on the tacos for a visually appealing dish that enhances the dining experience.
Variations
Vegan and Vegetarian Options
You can easily make these tacos vegan. Use extra beans or lentils for added protein. Tempeh or tofu can also work well. If you want a different flavor, try marinating the tofu in soy sauce and spices before cooking.
For vegetarian options, add cheese to the tacos. Crumbled feta or shredded Monterey Jack can enhance the taste. If you prefer creaminess, try sour cream or yogurt.
Flavor Combinations
Spices can change the flavor of your tacos. Add chili powder for heat or garlic powder for depth. You can also try using fresh herbs like oregano or thyme.
For toppings, salsa adds a fresh kick. You can use store-bought or homemade salsa. If you enjoy cheese, sprinkle some feta or cotija on top. A drizzle of hot sauce can also bring more flavor.
Serving Suggestions
These tacos pair well with simple side dishes. A fresh salad with tomatoes and cucumbers can balance the meal. You might also enjoy rice or quinoa for added texture.
For drinks, try a light beer or a fruity soda. A glass of iced tea can also be refreshing. If you want something stronger, a margarita fits perfectly. Enjoy your meal!
Storage Info
Refrigeration Guidelines
To store leftovers, let the tacos cool first. Place them in an airtight container. You can keep them in the fridge for up to three days. For best taste, eat them within this time.
I recommend using glass or BPA-free plastic containers. They keep the tacos fresh and prevent odors from mixing. If you have extra sweet potatoes, store them separately. This keeps the tortillas from getting soggy.
Freezing Instructions
You can freeze the sweet potato filling for later use. Let it cool completely before freezing. Place the filling in a freezer-safe bag or container. It can last up to three months in the freezer.
For best results, freeze the beans and corn separately. This prevents mushiness when thawed.
To thaw, place the bag in the fridge overnight. You can also use the microwave if you’re in a hurry. Reheat the filling in a skillet over medium heat. Add a splash of water to keep it moist. Warm the tortillas in a pan just before serving. Enjoy your tacos fresh!
FAQs
Can I use sweet potato fries instead of roasted sweet potatoes?
You can use sweet potato fries, but they may change the texture. Fries tend to be crispier, while roasted sweet potatoes are soft and tender. If you choose fries, make sure they are plain. Season them lightly with smoked paprika and cumin for extra flavor.
How can I make these tacos gluten-free?
To make these tacos gluten-free, use corn tortillas. Check the label to ensure they are certified gluten-free. Most corn tortillas are naturally gluten-free, but some brands may add wheat flour. Always read the ingredients first.
What are some good toppings for smoky sweet potato tacos?
Great toppings for these tacos include:
– Diced red onion for crunch
– Crumbled feta cheese for creaminess
– Sliced jalapeños for heat
– Sour cream or yogurt for richness
Feel free to mix and match these toppings based on your taste.
Can I prepare these tacos in advance?
Yes, you can prepare elements of these tacos ahead of time. Roast the sweet potatoes and store them in the fridge. You can also warm the black beans and corn in advance. Assemble the tacos just before serving to keep everything fresh and warm.
What is the nutritional value of smoky sweet potato tacos?
These tacos are nutritious and balanced. Each serving provides:
– High fiber from sweet potatoes and black beans
– Healthy fats from avocado
– Vitamins and minerals from corn and cilantro
The exact values can vary based on portion sizes and toppings.
You now know how to make tasty smoky sweet potato tacos from scratch. We covered key ingredients, cooking steps, and helpful tips. Remember, the secret lies in roasting the sweet potatoes just right and choosing the best toppings. Mix and match flavors to make the dish yours. These tacos are not just delicious; they are easy to prepare and great for meal prep. Enjoy creating this dish, and make it a staple in your kitche
<!-- /wp:post-conte


