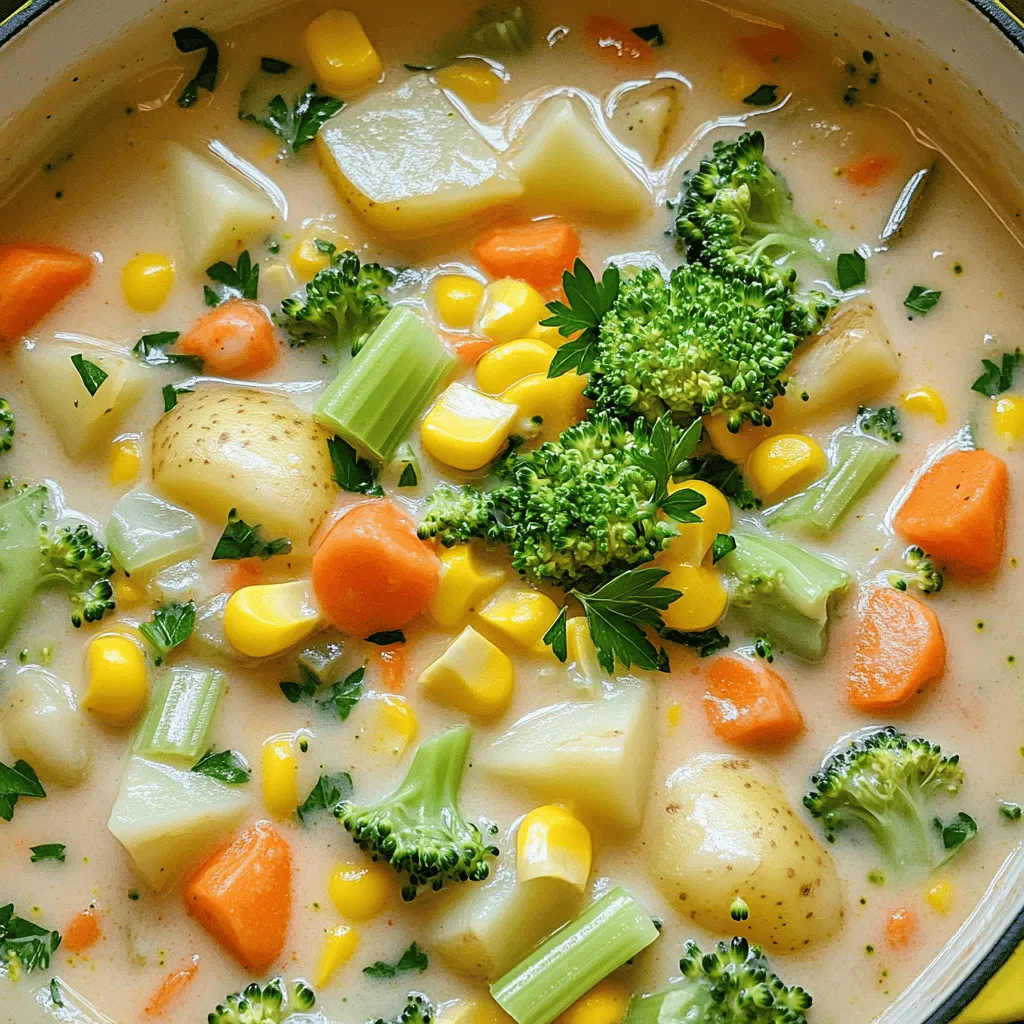
Craving a warm, hearty meal that practically cooks itself? Look no further than this Slow Cooker Creamy Veggie Chowder! Packed with fresh vegetables and rich flavors, it’s the ultimate comfort food for any day of the week. Follow my simple steps to enjoy a bowl of creamy goodness, topped with your favorite garnishes. Let’s dive into the soothing world of slow cooking and transform your kitchen into a haven of delicious aromas!
Ingredients
Detailed Ingredient List
– 3 cups vegetable broth
– 2 cups potatoes, diced into ½-inch cubes
– 1 cup carrots, diced into small pieces
– 1 cup celery, finely diced
– 1 cup corn kernels (can use fresh or frozen)
– 1 cup broccoli florets, cut into bite-sized pieces
– 1 can (14 oz) coconut milk, preferably full-fat for creaminess
– 1 onion, finely chopped
– 3 cloves garlic, minced
– 2 teaspoons dried thyme for herbal flavor
– 1 teaspoon smoked paprika for depth
– Salt and pepper to taste
– 2 tablespoons olive oil for sautéing
– Fresh parsley, chopped (optional, for garnish)
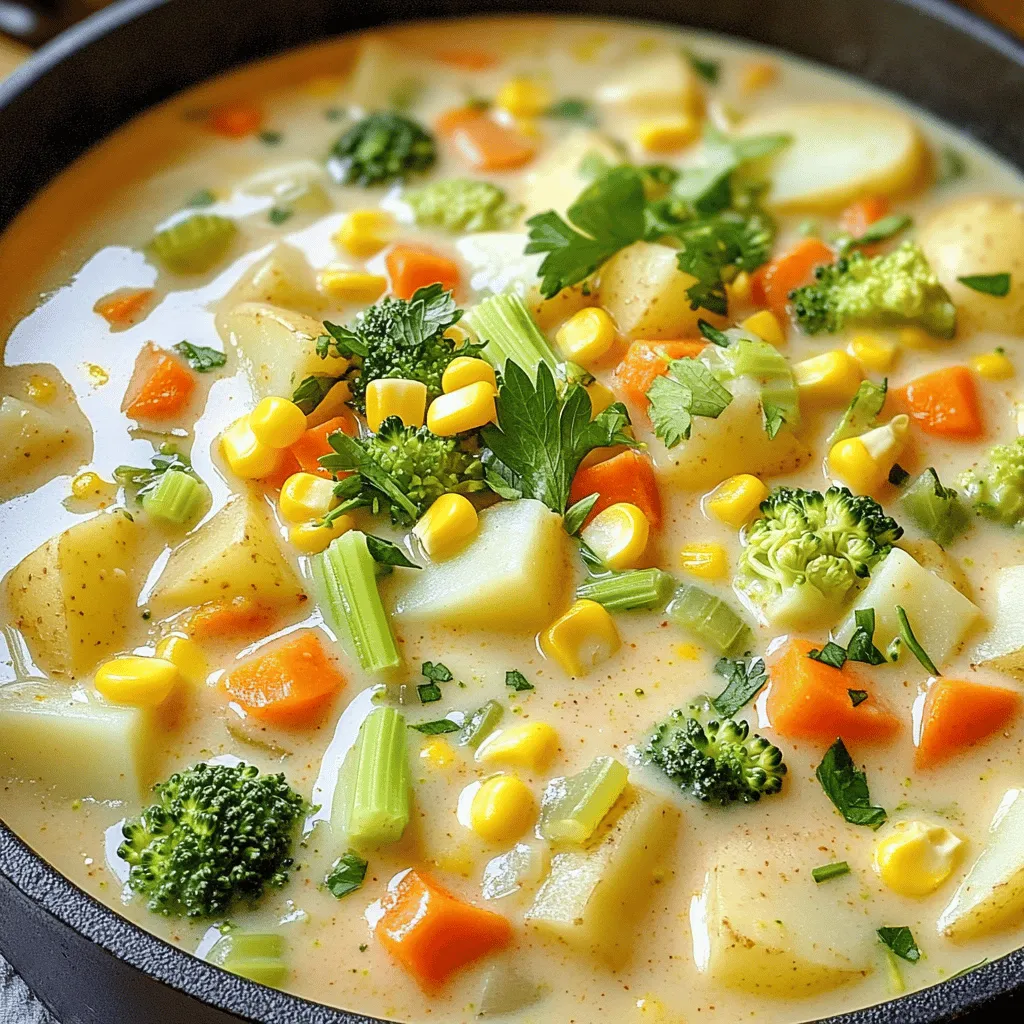
Each ingredient plays a key role in making this chowder tasty. The vegetable broth serves as the base, bringing warmth and flavor. Potatoes add heartiness, while carrots and celery lend sweetness and crunch. Corn and broccoli contribute color and texture, making each bite delightful.
Aromatics like onion and garlic form the flavor foundation. They create a fragrant base when sautéed. Coconut milk adds creaminess and a hint of sweetness, balancing the spices. Dried thyme gives an herbal touch, while smoked paprika adds a subtle warmth. Salt and pepper enhance all flavors, bringing everything together.
Finally, the olive oil helps to sauté the onions and garlic, ensuring they cook evenly. If you want to add a fresh touch, sprinkle chopped parsley on top before serving. This chowder is full of vibrant ingredients that come together to create a simple yet hearty meal.
Step-by-Step Instructions
Preparation of Aromatics
Sautéing Onion and Garlic
Start by heating two tablespoons of olive oil in a medium skillet over medium heat. Add one finely chopped onion and three minced garlic cloves. Sauté for about three to four minutes. You want the onion to turn translucent and fragrant. This step builds a strong base flavor for your chowder.
Tips for Achieving Flavor
To enhance the flavor, cook the onion until it softens. A little browning adds depth. Don’t rush it; patience is key. Use fresh garlic for the best taste. You can also try using different oils like avocado oil for a twist.
Combining Ingredients in the Slow Cooker
Layering Vegetables
Once your aromatics are ready, transfer them into the slow cooker. Add three cups of diced potatoes, one cup of diced carrots, and one cup of finely diced celery. Then, mix in one cup of corn kernels and one cup of broccoli florets. Layering helps each veggie maintain its texture and flavor.
Incorporating Spices
Sprinkle two teaspoons of dried thyme and one teaspoon of smoked paprika evenly over the veggies. These spices add a nice herbal flavor and a hint of smokiness. Feel free to adjust these amounts based on your taste.
Cooking Process
Setting Cooking Time (Low vs. High)
Cover the slow cooker with its lid. You can set it to cook on low for six to eight hours or on high for three to four hours. Cooking on low gives the flavors more time to meld. If you’re short on time, high works well too.
Importance of Covering the Slow Cooker
Always keep the lid on while cooking. This helps to trap steam and keeps the chowder thick and creamy. Removing the lid can lead to a watery soup, which is not what we want!
Finishing Touches
Adding Coconut Milk
After the cooking time is up, take off the lid and stir in one can of full-fat coconut milk. This adds a rich, creamy texture to your chowder. Let it heat through for about 15 to 30 minutes on low.
Adjusting Seasoning
Before serving, taste your chowder. Add salt and pepper as needed. This step ensures the flavors are just right. Remember, a little adjustment can make a big difference in taste!
Tips & Tricks
Best Practices for Slow Cooking
Importance of Cooking Times
Cooking time is key for slow cooker recipes. For this chowder, set your slow cooker to low for 6–8 hours. If you’re in a rush, the high setting works in 3–4 hours. Cooking low and slow helps blend the flavors.
Preventing Overcooking
To avoid mushy veggies, check the chowder. If you see veggies are tender, it’s ready. You can also cut your vegetables into larger pieces. This helps them hold their shape as they cook.
Enhancing Flavor
Suggestions for Extra Spices
Boost the flavor with spices. Add a pinch of cayenne for heat or a dash of cumin for earthiness. Fresh herbs like thyme or basil can add brightness too. Experiment until you find your favorite combo.
Using Fresh vs. Frozen Vegetables
Fresh veggies often taste best, but frozen ones save time and are easy to use. If using frozen corn or broccoli, no need to thaw. Just toss them in! They will cook perfectly in the slow cooker.
Making it Creamier
Alternatives to Coconut Milk
Love the creamy texture? If you can’t use coconut milk, try heavy cream or cashew cream. Both give that rich taste. You can also add blended silken tofu for a dairy-free option.
Creamy Add-ins
For an extra creamy chowder, stir in some cream cheese or sour cream near the end. This gives a velvety finish. You can also add mashed potatoes for added thickness.
Variations
Adding Protein Options
You can add protein to your chowder for extra nutrition and taste. Here are three great choices:
– Chickpeas: They add fiber and protein. They are plant-based and easy to use.
– Tofu: Tofu is a great option. It soaks up flavors and adds creaminess.
– Chicken: Cooked chicken adds heartiness. It pairs well with the veggies.
Pros and Cons of Each:
– Chickpeas: They are cheap and healthy. They may change the chowder’s texture.
– Tofu: It’s rich in protein and blends well. It may require more seasoning.
– Chicken: It adds richness. You need to cook it before adding.
Flavor Variations
You can easily change the flavor of your chowder. For spice lovers, try these ideas:
– Spicy Veggie Chowder with Jalapeños: Adding jalapeños gives a nice kick. Adjust the amount based on your spice level.
– Adding Cheese for Richness: Stir in cheese for a creamy finish. Cheddar or gouda work well.
Seasonal Adjustments
Make your chowder with fresh, seasonal veggies. Here are the best options:
– Spring: Use peas and asparagus for a fresh taste.
– Summer: Add zucchini and bell peppers for brightness.
– Fall: Sweet potatoes and squash add depth.
– Winter: Root veggies like parsnips and turnips work well.
Adapting Recipe to Local Produce:
Visit your local market for fresh options. This way, you support local farmers and enjoy peak flavor.
Storage Info
Proper Storage Techniques
To keep your chowder fresh, let it cool before storing. This helps prevent moisture buildup. Use a clean container with a tight lid. Glass or BPA-free plastic works well. Make sure to label the container with the date.
Reheating Guidelines
When it’s time to enjoy leftovers, reheat gently. The best way is on the stove. Pour the chowder into a pot and heat over low to medium heat. Stir often to keep the texture smooth. You can also use a microwave. Place the chowder in a microwave-safe bowl, cover it, and heat in short bursts. Stir after each burst.
Freezing the Chowder
You can freeze this chowder for later. To freeze, pour it into an airtight container. Leave some space at the top for expansion. It’s best to freeze it within three days of cooking. When you’re ready to eat, thaw it in the fridge overnight. For quick thawing, place the container in cold water. After thawing, reheat as mentioned above.
FAQs
Can I make this recipe vegan?
Yes, you can make this recipe vegan. The ingredients are mostly plant-based. The main item to check is the coconut milk. Use full-fat coconut milk for creaminess. All other ingredients are vegan-friendly. Just make sure to avoid any animal-based products if you want to keep it vegan.
How long can I store the chowder?
You can store the chowder for up to five days. Keep it in an airtight container in the fridge. Make sure it cools down before sealing. This helps it stay fresh. For longer storage, consider freezing it.
What can I substitute for coconut milk?
There are several options if you need a substitute for coconut milk. You can use almond milk or soy milk for a lighter option. For creaminess, try cashew cream or oat milk. Each of these options has a different taste, so pick what you enjoy.
Can I cook this chowder on the stove instead?
Yes, you can cook this chowder on the stove. Start by sautéing the onion and garlic in a pot. Then add the vegetables and broth. Bring it to a boil, then simmer for about 20-30 minutes. Stir in the coconut milk before serving. This will give you a similar creamy texture.
This blog post covers how to make a tasty veggie chowder in your slow cooker. We discussed key ingredients, including fresh vegetables and coconut milk. You learned how to prepare aromatics and combine everything for the best flavor. I shared tips for enhancing flavor and storing your chowder.
In conclusion, this chowder is simple and fun to customize. Try adding your favorite veggies or proteins. Enjoy cooking and experimenting with this recipe, and you’ll have a cozy meal ready to share!


