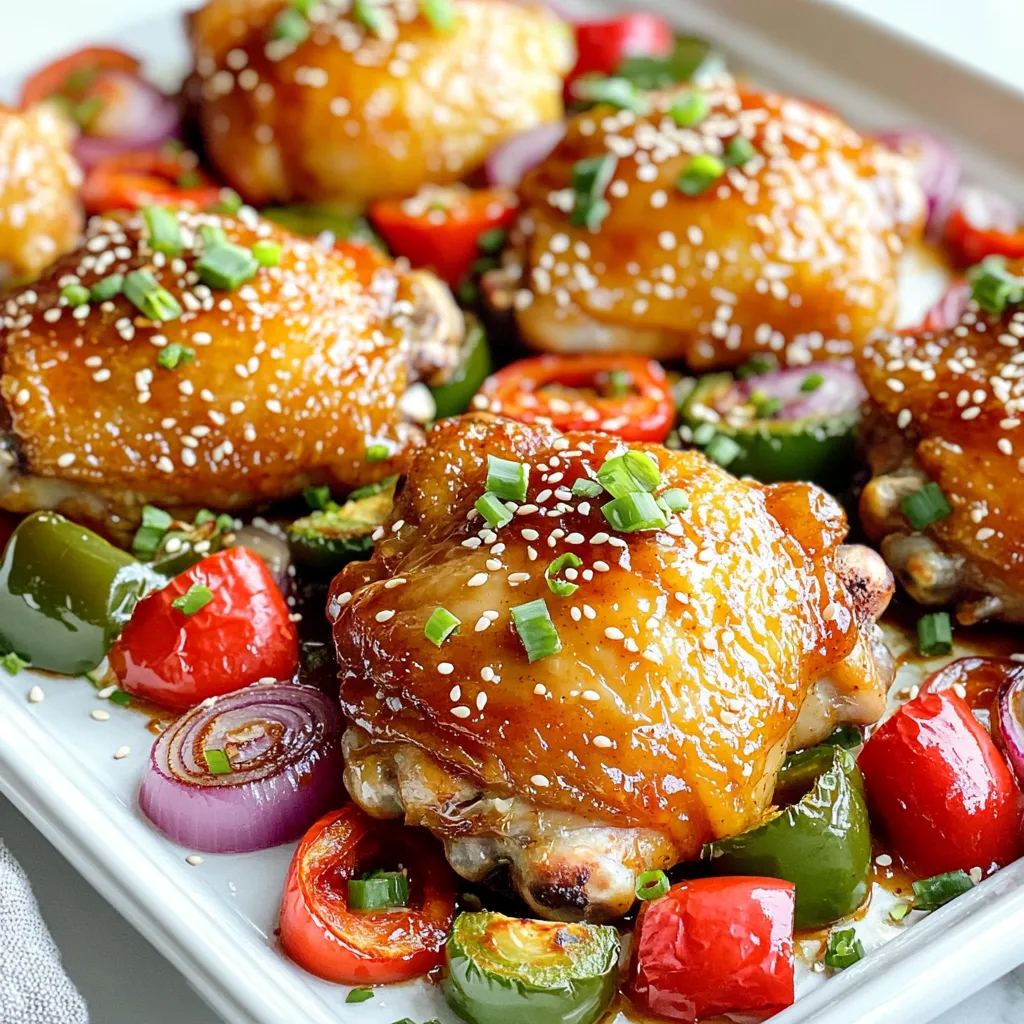
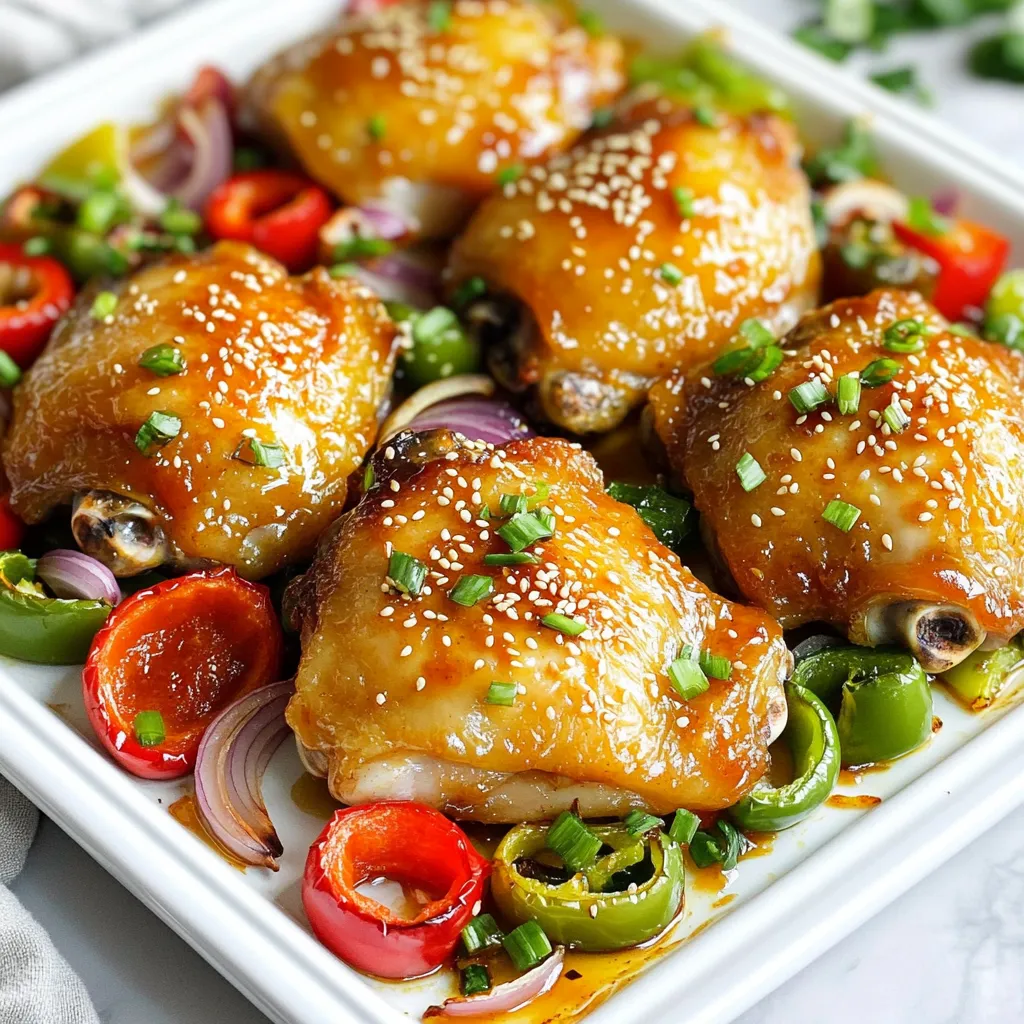
Are you ready to impress at dinner time? My Sheet-Pan Sweet Chili Glazed Chicken Thighs are a game-changer. These thighs cook to juicy perfection, drenched in a sweet and spicy glaze. With just a few steps and simple ingredients, you’ll have a meal that’s both easy and crowd-pleasing. Let’s dive into this delicious recipe that transforms ordinary chicken into a showstopper on your table!
Ingredients
To make Sheet-Pan Sweet Chili Glazed Chicken Thighs, you will need some simple yet tasty ingredients. Here’s what you need:
– Chicken Thighs: 4 bone-in, skin-on chicken thighs bring flavor and juiciness.
– Sweet Chili Sauce: 1/4 cup adds a sweet and spicy kick.
– Soy Sauce: 2 tablespoons enhance the savory taste.
– Sesame Oil: 1 tablespoon gives a nutty flavor.
– Garlic and Ginger: 2 cloves of minced garlic and 1 inch of grated ginger add depth.
– Bell Peppers and Onion: 1 red and 1 green bell pepper, plus 1 medium red onion, provide color and crunch.
– Olive Oil, Salt, and Pepper: Use 2 tablespoons of olive oil, along with salt and pepper, to season the veggies.
– Garnishes: Chopped green onions and sesame seeds for a fresh finish.
These ingredients come together to create a delicious meal that is easy to make. Each item plays a key role in building flavor, making this dish a real winner.
Step-by-Step Instructions
Prepping the Oven and Ingredients
First, set your oven to 425°F (220°C). Line a large baking sheet with parchment paper. This makes cleanup easy. Gather your ingredients: chicken thighs, sweet chili sauce, soy sauce, sesame oil, garlic, ginger, bell peppers, onion, olive oil, salt, and pepper.
Marinating the Chicken
In a bowl, mix the sweet chili sauce, soy sauce, sesame oil, minced garlic, and grated ginger. Whisk until smooth. Place the chicken thighs on the baking sheet, skin side up. Sprinkle salt and pepper on each thigh. Brush the sweet chili mix over the chicken. Reserve some sauce for later.
Preparing the Vegetables
Take a separate bowl and add the sliced red and green bell peppers and quartered red onion. Drizzle with olive oil, then add salt and pepper. Toss the veggies until they are evenly coated. Spread them around the chicken on the baking sheet.
Baking Process
Put the baking sheet in the oven. Bake for 25 to 30 minutes. You want the chicken thighs to reach 165°F (75°C). They should have a shiny glaze.
Final Glazing and Serving
In the last 5 minutes of baking, brush the chicken with the reserved sweet chili sauce. This adds a rich, extra-glossy finish. When done, take the baking sheet out. Let the chicken rest for a few minutes. Arrange the chicken on a bed of roasted veggies. Add chopped green onions and sesame seeds for garnish. Enjoy your delicious meal!
Tips & Tricks
Perfecting the Glaze
To make your glaze shine, use fresh ingredients. Fresh garlic and ginger add depth. Mix the sweet chili sauce with soy sauce and sesame oil. This combo balances sweet and savory. Brush the glaze on the chicken twice. The first coating builds flavor, while the second adds a glossy finish.
Choosing the Right Chicken Thighs
Bone-in, skin-on chicken thighs work best for this recipe. The skin crisps up nicely in the oven. The bone also keeps the meat juicy. Look for thighs that are plump and have a bright color. Avoid any that appear pale or dry.
Ensuring Even Cooking
To ensure even cooking, space the chicken thighs apart on the pan. This allows hot air to circulate around each piece. Use a meat thermometer to check for doneness. Aim for 165°F (75°C) for safe and juicy chicken. This way, you avoid undercooking or overcooking.
Presentation Techniques
For a beautiful presentation, arrange chicken thighs in the center of the plate. Scatter the roasted vegetables around them. Add a sprinkle of green onions and sesame seeds on top. This adds color and texture. Use a large serving platter for a friendly, inviting display.
Variations
Alternative Sauces
You can switch up the sweet chili sauce. Try teriyaki sauce for a savory twist. Hoisin sauce adds a bold flavor that pairs well with chicken. For a tangy kick, use a honey mustard mix. Each sauce brings a unique taste, making your dish exciting.
Different Vegetables to Use
Feel free to swap the bell peppers and onion. Broccoli or green beans work great too. Carrots add a nice crunch and sweet flavor. You can even toss in zucchini for a fresh taste. Mixing veggies keeps the dish vibrant and colorful.
Spicing It Up: Heat Level Options
Want more heat? Add some red pepper flakes to the sauce. You can also mix in sriracha for a spicy kick. If you prefer milder options, use less sauce or add honey. Adjusting the heat level makes this dish perfect for everyone.
Storage Info
Best Storage Practices
To keep your sweet chili glazed chicken thighs fresh, store them in an airtight container. Let the chicken cool first. This helps avoid steam, which can make the chicken soggy. You can keep it in the fridge for up to three days. If you want to store it longer, freeze the chicken. Wrap it tightly in plastic wrap and then in aluminum foil. This way, it can last up to three months in the freezer.
Reheating Instructions
When you’re ready to enjoy your leftovers, reheat them in the oven. Preheat the oven to 350°F (175°C). Place the chicken on a baking sheet and cover it with foil. Heat for about 15-20 minutes. This method keeps the chicken moist and crispy. You can also use a microwave, but this method may make the skin less crunchy. Heat it in short bursts, checking to avoid overheating.
Meal Prep Tips
Meal prep makes weeknight dinners easy. Cook the chicken and veggies on a Sunday. Store them in separate containers. You can add fresh garnishes later. This keeps the dish fresh. When you’re ready to eat, just reheat and enjoy your meal. Consider adding rice or quinoa as a side for a complete meal.
FAQs
Can I use boneless chicken thighs?
Yes, you can use boneless chicken thighs. They will cook faster than bone-in thighs. Adjust the cooking time to about 20-25 minutes. Check for a temperature of 165°F (75°C) to ensure they are safe to eat.
How do I know when chicken thighs are cooked?
To know if chicken thighs are cooked, use a meat thermometer. Insert it into the thickest part of the thigh. It should read at least 165°F (75°C). The meat should also be tender and juices should run clear.
Can I make this recipe ahead of time?
Yes, you can prepare the chicken and vegetables ahead of time. Marinate the chicken and cut the veggies. Store them in the fridge for up to 24 hours. When ready, bake them as directed.
What should I serve with sweet chili glazed chicken thighs?
You can serve this dish with rice or quinoa. Add a fresh salad or steamed broccoli for balance. The sweet chili flavors pair well with light sides.
Is this dish kid-friendly?
Yes, this dish is kid-friendly. The sweet chili sauce adds a tasty flavor that kids love. You can adjust the spice level by using less soy sauce or chili sauce if needed.
This blog post covered how to make delicious sweet chili glazed chicken thighs. We explored key ingredients, detailed steps for cooking, and tips for perfecting your dish. I shared variations, storage tips, and answered common questions.
Incorporating these ideas will help you create a fantastic meal at home. Don’t be afraid to experiment with flavors and enjoy the process. Happy cooking!


