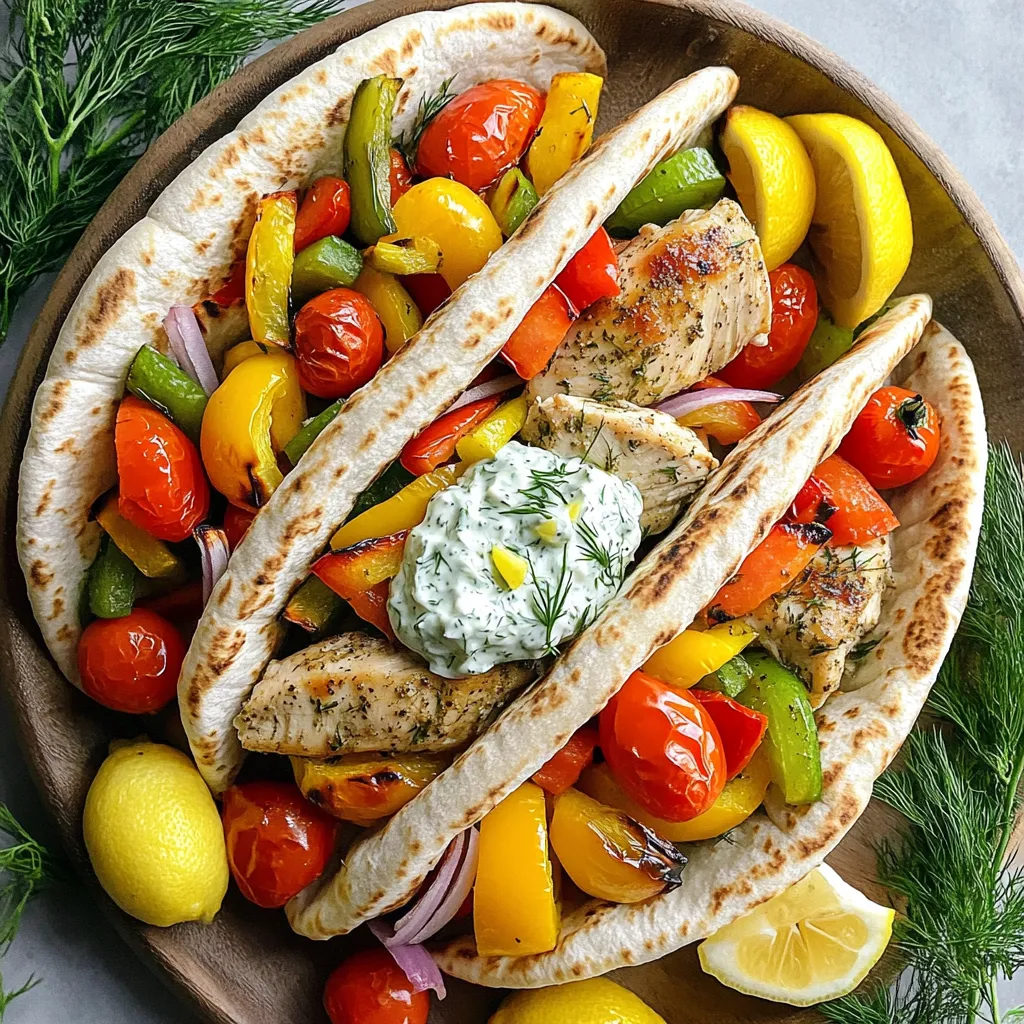
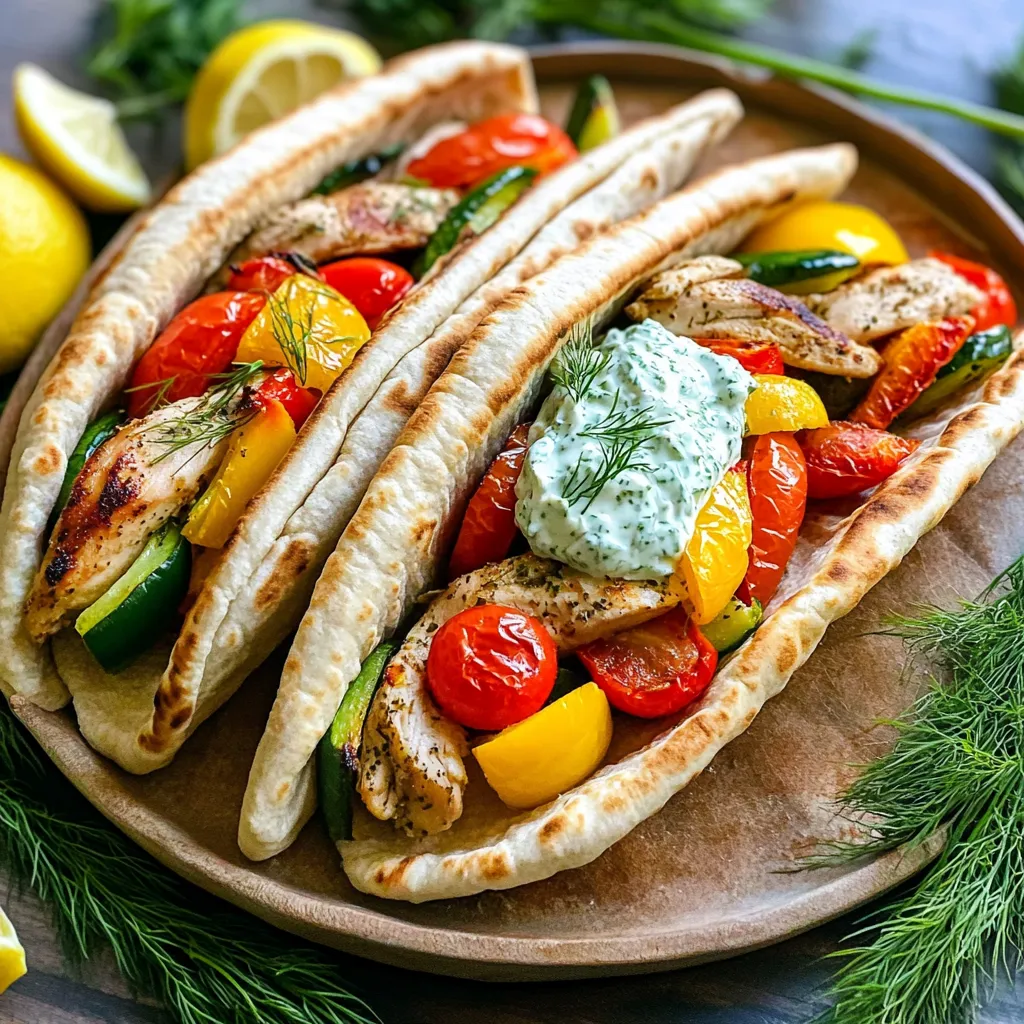
Get ready to savor the flavors of the Mediterranean with my Sheet-Pan Greek Chicken Pita Pockets Delight! This recipe makes dinner easy and full of taste. Juicy chicken thighs and fresh veggies roast together on one pan, cutting down on mess. Top it all with creamy tzatziki sauce for the perfect bite. Let’s dive into the exciting steps and tips to make your meal a hit!
Ingredients
Main Ingredients
– 1 lb boneless, skinless chicken thighs
– 1 cup cherry tomatoes, halved
– 1 red bell pepper, sliced
– 1 yellow bell pepper, sliced
– 1 small red onion, thinly sliced
– 4 whole wheat pita pockets
These main ingredients create a tasty base for your pita pockets. Chicken thighs give you juicy bites. Fresh vegetables add crunch and color. Whole wheat pita pockets are healthy and filling.
Tzatziki Sauce Components
– 1 cup plain Greek yogurt
– 1 cup cucumber, diced
– 1 tablespoon fresh lemon juice
– ½ teaspoon dill (fresh or dried)
The tzatziki sauce brings coolness and flavor. Greek yogurt makes it creamy. Cucumber adds freshness. Lemon juice gives it a nice zing. Dill rounds out the taste with an herbal note.
Seasonings and Oils
– 2 tablespoons olive oil
– 2 teaspoons dried oregano
– 1 teaspoon garlic powder
– 1 teaspoon paprika
– Salt and pepper, to taste
Seasonings add depth to the dish. Olive oil helps the spices stick. Oregano gives a classic Greek flavor. Garlic powder and paprika add warmth and richness. Salt and pepper enhance all the flavors.
Using these fresh, wholesome ingredients, you create a meal that is not only delicious but also colorful and nutritious. The combination of textures and flavors will make your Sheet-Pan Greek Chicken Pita Pockets a hit!
Step-by-Step Instructions
Preparing for Baking
Preheating the Oven
Start by preheating your oven to 425°F (220°C). This high heat helps the chicken cook quickly and keeps it juicy.
Preparing the Baking Sheet
Line a large baking sheet with parchment paper. This prevents sticking and makes cleanup easy. You want to focus on the food, not the mess!
Marinating the Chicken
Mixing the Seasoning
In a large bowl, mix 2 tablespoons of olive oil, 2 teaspoons of dried oregano, 1 teaspoon of garlic powder, and 1 teaspoon of paprika. Add salt and pepper to taste. This blend gives the chicken great flavor.
Coating the Chicken Thighs
Add 1 pound of boneless, skinless chicken thighs to the bowl. Toss them well until they are fully coated in the seasoning. Ensure each piece gets that yummy flavor!
Baking the Ingredients
Arranging Vegetables on the Sheet
On one side of the baking sheet, lay out the seasoned chicken thighs. On the other side, place 1 cup of halved cherry tomatoes, 1 sliced red bell pepper, 1 sliced yellow bell pepper, and 1 thinly sliced small red onion. Drizzle olive oil over the veggies and season with salt and pepper for extra taste.
Roasting Time and Temperature
Put the baking sheet in the preheated oven. Bake for about 20-25 minutes. The chicken should reach an internal temperature of 165°F (75°C), and veggies should be tender and slightly charred. The oven does all the hard work while you prepare the tzatziki sauce!
Tips & Tricks
Cooking Tips
Ensuring Even Cooking
To cook the chicken and veggies evenly, spread them out on the sheet. Give them space to breathe. If they are too close, they will steam instead of roast.
Checking Chicken Doneness
Use a meat thermometer to check the chicken. It should read 165°F (75°C) when safe to eat. If you do not have a thermometer, cut into the thickest part. The meat should be white, not pink.
Serving Suggestions
Presentation Ideas
For a fun look, arrange the filled pita pockets on a big platter. Add a bowl of tzatziki sauce for dipping. Garnish with fresh dill and lemon wedges. This makes it colorful and inviting.
Side Dish Pairings
Serve with a light salad or roasted potatoes. Greek salad is a great match too. The fresh flavors balance well with the pita pockets.
Tzatziki Sauce Variations
Substituting Ingredients
You can change up the tzatziki sauce. Try using sour cream instead of yogurt for a different taste. Add mint instead of dill for a fresh twist.
Making it Spicier or Creamier
To spice it up, add a pinch of cayenne pepper or red pepper flakes. For a creamier texture, mix in some extra yogurt or a drizzle of olive oil.
Variations
Different Proteins
You can switch up the protein in this dish for fun.
– Chicken Alternatives: If you want a lighter option, use chicken breasts instead of thighs. They cook faster and are less fatty. You can also use turkey if you like its taste.
– Use of Tofu for Vegetarians: For a vegetarian meal, try firm tofu. Press and cube it, then marinate it in the same spices. Bake it until golden. Tofu soaks up all the flavors and makes a tasty filling.
Veggie Options
Adding more veggies can enhance your meal.
– Adding More Vegetables: Feel free to toss in zucchini, mushrooms, or spinach. Each one adds texture and flavor. The more colors on your plate, the better!
– Adjusting Flavor Profiles: You can change the spices to match your taste. Add more garlic for a kick or try some cumin for warmth. Just remember to keep it balanced.
Pita Pocket Alternatives
If you want to change up the bread, there are many options.
– Using Flatbreads or Tortillas: Instead of pita pockets, use flatbreads or tortillas. They wrap well and add a different texture. You can even make wraps for easy eating.
– Gluten-Free Options: If you need a gluten-free choice, look for gluten-free pita or use lettuce leaves. They make a crunchy, fresh alternative that still holds the filling nicely.
Storage Info
Storing Leftovers
To keep your Sheet-Pan Greek Chicken Pita Pockets fresh, use these tips:
– Proper Refrigeration Techniques: Place the leftovers in the fridge within two hours. This keeps them safe to eat. Store them in a cool area of your fridge for best results.
– Best Containers: Use airtight containers to store your pita pockets. Glass or plastic containers work well. Avoid using foil or plastic wrap alone; they won’t keep out air.
Reheating Instructions
For the best taste, reheating is key. Choose your method wisely.
– Oven vs. Microwave: The oven gives the best results. Preheat to 350°F (175°C). Heat for 10–15 minutes or until warm. The microwave is quicker but may make the pita soggy. If using a microwave, heat in short bursts.
– Maintaining Texture and Flavor: If using the microwave, cover your food with a damp paper towel. This helps keep moisture in. If you’re using the oven, cover with foil to prevent drying out.
Freezing Tips
Freezing can be a great way to save leftovers for later.
– Freezing the Ingredients: You can freeze the chicken and vegetables separately. Use freezer-safe bags. Remove as much air as possible. For best taste, eat within three months.
– Thawing and Reheating Guide: Thaw in the fridge overnight. For quick thawing, use the microwave. Reheat in the oven or microwave as mentioned above. Enjoy your meal just like fresh!
FAQs
How to make Sheet-Pan Greek Chicken Pita Pockets?
To make these tasty pita pockets, follow these key steps:
1. Preheat your oven to 425°F (220°C).
2. Mix olive oil, oregano, garlic powder, paprika, salt, and pepper in a bowl.
3. Coat the chicken thighs in this mixture.
4. Place the chicken on one side of the baking sheet.
5. On the other side, add halved cherry tomatoes, sliced bell peppers, and onion.
6. Bake for 20-25 minutes until the chicken is cooked and veggies are tender.
7. Make tzatziki by mixing Greek yogurt, diced cucumber, lemon juice, and dill.
8. Slice the chicken and fill the whole wheat pita with chicken, veggies, and tzatziki.
This simple process gives you a mouthwatering meal in under an hour.
Can I use chicken breasts instead of thighs?
Yes, you can use chicken breasts. Here are the pros and cons:
Pros:
– Chicken breasts are leaner.
– They have a milder taste, which some prefer.
Cons:
– Breasts can dry out more quickly than thighs.
– They may not absorb flavor as well as thighs.
If you choose breasts, watch the cooking time closely to keep them juicy.
What can I serve with Greek chicken pita pockets?
These pita pockets pair well with many sides. Here are some meal complements:
– A simple Greek salad with cucumbers, tomatoes, and feta.
– Crispy roasted potatoes with herbs.
– A side of hummus for dipping.
– Pita chips with tzatziki for extra crunch.
These sides add freshness and flavor to your meal.
How do I make my tzatziki sauce thicker?
To thicken tzatziki sauce, try these tips:
– Use Greek yogurt instead of regular yogurt for a creamier base.
– Drain diced cucumbers in a sieve to remove excess water before mixing.
– Add a splash of sour cream for extra thickness.
Adjust these steps based on your desired consistency.
You learned how to make tasty Greek chicken pita pockets with fresh ingredients. Starting with marinated chicken thighs and vibrant veggies, you can create a simple meal. The tzatziki sauce adds coolness and flavor. Remember to store leftovers properly for later. Try the variations to suit your tastes. With these tips, you can impress your friends and family. Get in the kitchen and enjoy making this delicious meal!


