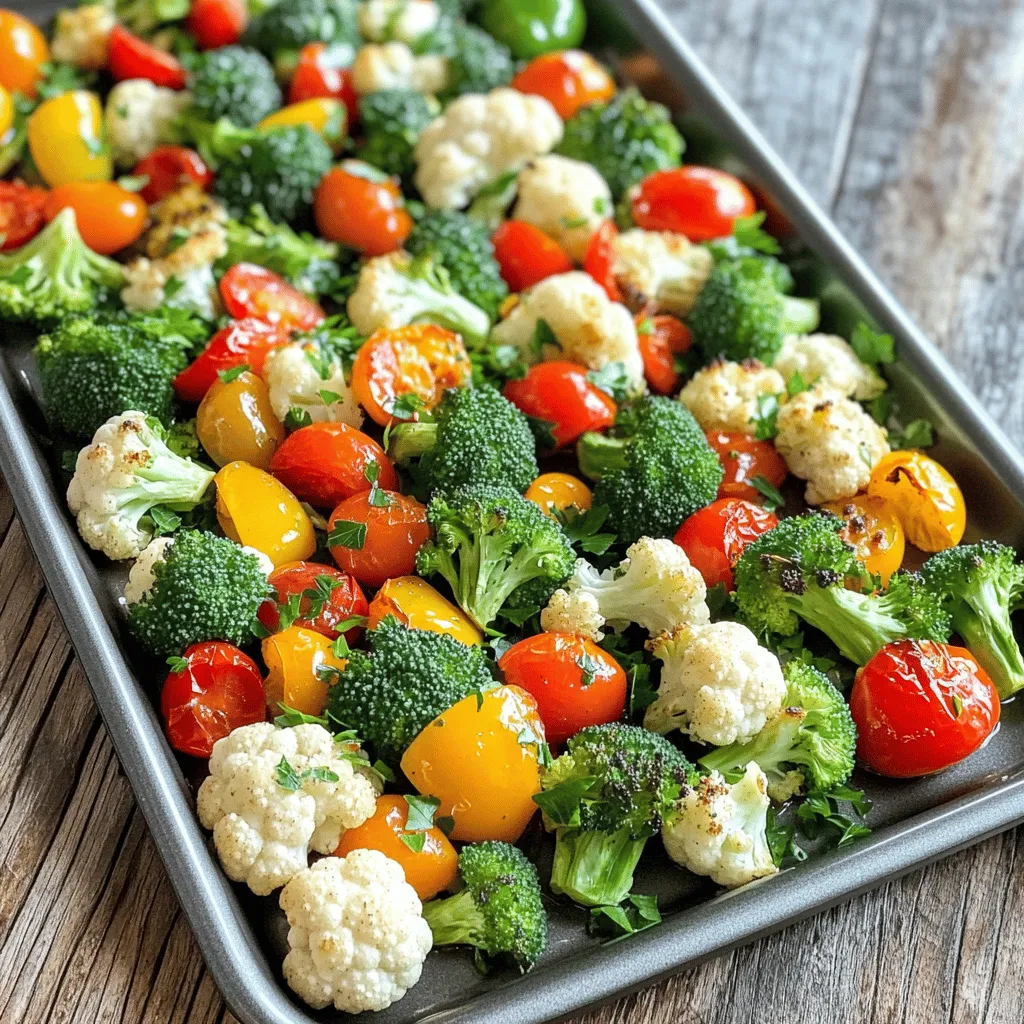
Looking for a quick, delicious way to enjoy fresh vegetables? You’ll love this Sheet Pan Garlic Butter Veggie Medley Delight! It’s simple to make and packed with flavor. In just a few easy steps, you can create a colorful dish that satisfies your cravings. Whether you’re a busy parent or a novice cook, this recipe is perfect for everyone. Let’s dive into the ingredients and make dinner a breeze!
Ingredients
Fresh Vegetables Needed
– 2 cups fresh broccoli florets
– 2 cups fresh cauliflower florets
– 1 cup diced bell peppers (choose your favorite colors)
– 1 cup cherry tomatoes, halved
You will start with fresh veggies. Broccoli florets and cauliflower florets add a nice crunch. Choose bell peppers in different colors for a pop of color. Finally, cherry tomatoes bring sweetness and juiciness to the medley.
Essential Flavorings
– 4 cloves garlic, finely minced
– 1/4 cup unsalted butter, melted
– 2 tablespoons extra virgin olive oil
Garlic is the star of this dish. It adds depth and aroma. Unsalted butter gives a rich flavor. Extra virgin olive oil helps everything roast nicely.
Seasonings and Garnishes
– 1 teaspoon dried oregano
– 1 teaspoon dried thyme
– Salt and freshly ground black pepper to taste
– Fresh parsley, finely chopped (for garnish)
Oregano and thyme add warmth and earthiness to the dish. Use salt and black pepper to enhance the flavors. Fresh parsley not only looks great but also adds freshness. This combination of seasonings makes the veggies shine.
Step-by-Step Instructions
Preparation Steps
– Preheat the oven to 425°F (220°C).
– In a large bowl, combine the broccoli florets, cauliflower florets, diced bell peppers, and halved cherry tomatoes. Mix well to blend the veggies.
Making the Garlic Butter Mixture
– In a medium bowl, whisk together melted butter, olive oil, minced garlic, dried oregano, dried thyme, and a pinch of salt and pepper. This will create a rich, flavorful mix.
Roasting Process
– Pour the garlic butter over the mixed veggies. Toss gently to coat each piece well.
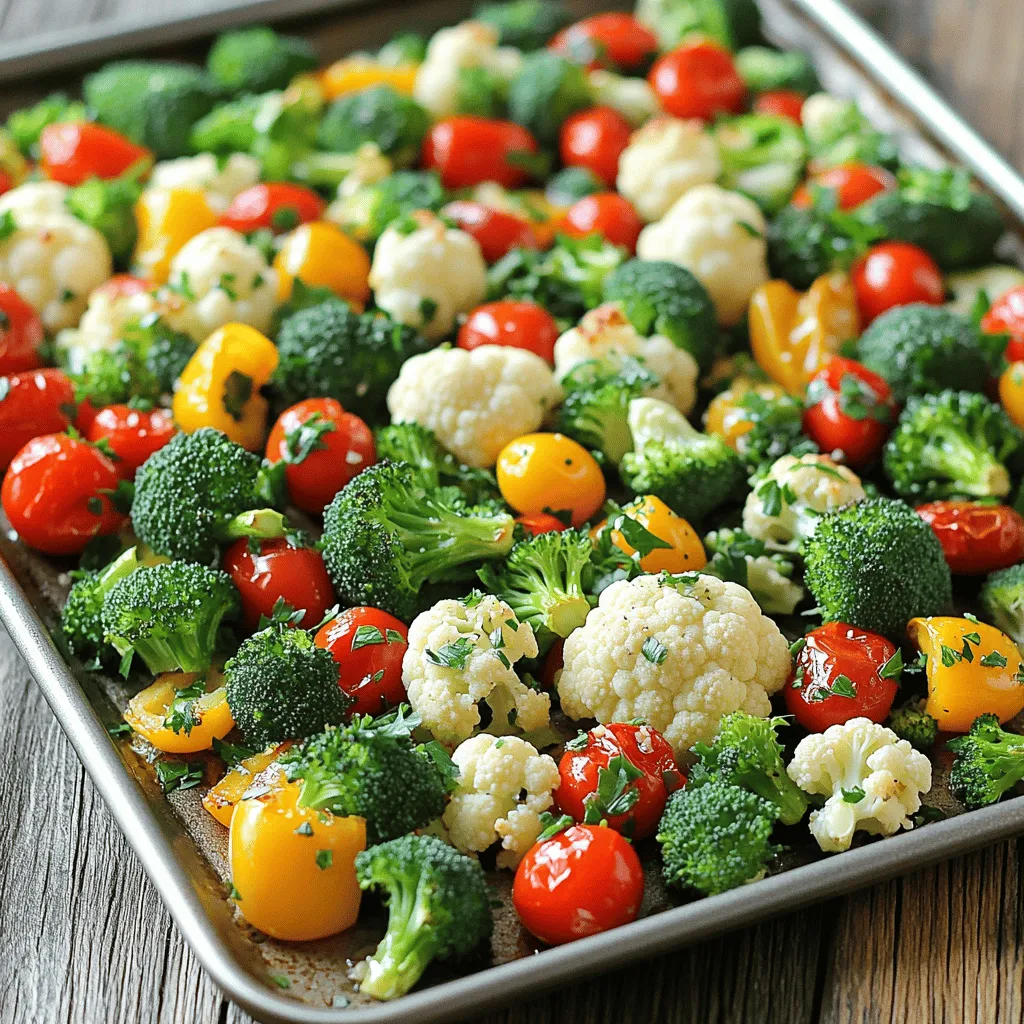
– Line a large sheet pan with parchment paper for easy cleanup. Spread the veggies evenly on the pan in a single layer. This step helps them roast nicely.
– Bake in the preheated oven for 20-25 minutes or until the veggies are tender and golden brown. Stir the veggies halfway through cooking for even roasting.
Tips & Tricks
Perfecting Roasting Techniques
Do not overcrowd the sheet pan. This allows the veggies to roast evenly and get crispy. If they are too close together, they will steam instead of roast. Aim for a single layer of vegetables for the best results. Stir the veggies halfway through cooking. This helps them cook evenly and prevents burning.
Enhancing Flavor and Texture
Adjust your seasonings to match your taste. If you love garlic, add more minced garlic. You can also try different herbs for a unique flavor. Choosing the right vegetable combinations is key. Mix colorful bell peppers, bright cherry tomatoes, and hearty broccoli. This not only looks great but also adds different textures.
Presentation Suggestions
Serve the veggies straight from the sheet pan for a rustic vibe. This makes it easy and fun for family meals. If you want to impress guests, transfer the medley to a nice platter. Garnish with fresh parsley for added color. A sprinkle of fresh black pepper also enhances the look.
Variations
Ingredient Swaps
You can change the veggies in this dish for extra fun. Try these options:
– Carrots: Sweet and crunchy, they roast well.
– Zucchini: Soft and mild, they add great texture.
– Asparagus: Tender and flavorful, they make a nice addition.
You can also swap the oils and butters. Use these alternatives:
– Coconut oil: Adds a subtle flavor and is great for high heat.
– Ghee: A dairy-free option that gives a rich taste.
Flavor Additions
Want to spice things up? Here are some ideas:
– Red pepper flakes: They add heat and flavor. Just a pinch can make a big difference.
– Smoked paprika: Adds a warm, smoky flavor that pairs well with the veggies.
Consider adding cheese too. Try these options before serving:
– Parmesan: A classic choice that adds a salty kick.
– Feta: Crumbly and tangy, it brightens the dish.
Dietary Modifications
You can easily adapt this recipe to fit your diet. Here’s how:
– Vegan: Substitute the butter with olive oil or vegan butter.
– Paleo: Stick with fresh veggies and use ghee for a rich flavor.
For gluten-free options, this recipe is already safe. Just check your spices to ensure they are gluten-free.
Storage Info
How to Store Leftovers
To keep your veggie medley fresh, store it properly. First, let the veggies cool to room temperature. Then, place them in an airtight container. Store the container in the fridge for up to three days. If you want to save them for longer, freeze the leftovers. Use freezer-safe bags or containers. They can last for up to three months in the freezer.
Reheating Recommendations
When it’s time to enjoy your leftovers, reheating is key. The best way to reheat is in the oven. Preheat the oven to 350°F (175°C). Spread the veggies on a baking sheet and heat for about 10-15 minutes. If you prefer a microwave, use it for a quick option. Heat in 30-second bursts, stirring in between. To keep the texture, avoid overcooking. You want them warm but still crisp.
Shelf Life
For best freshness, consume the veggie medley within three days if stored in the fridge. If frozen, use them within three months for the best flavor. Signs of spoilage include off smells, slimy texture, or discoloration. If you notice any of these, it’s best to toss them to stay safe.
FAQs
Can I use frozen vegetables?
Yes, you can use frozen vegetables. They are quick and easy. However, fresh veggies often taste better. If you use frozen, thaw them first. This helps them cook evenly. Avoid overcrowding the sheet pan. It is key for crispy veggies.
How can I make this recipe ahead of time?
You can prep your veggies a day early. Just wash and chop them. Store in a sealed bag or container. You can also mix the garlic butter sauce in advance. Keep it in the fridge until you are ready to bake. This saves time on busy days.
What can I serve with this veggie medley?
This veggie medley pairs well with many dishes. Try it with grilled chicken or fish. It also goes great with rice or quinoa. For a lovely touch, serve it alongside crusty bread. You can even add a fresh salad for a complete meal.
Roasting fresh vegetables is simple and tasty. We covered the key veggies, like broccoli and bell peppers. The garlic butter adds flavor.
Remember to not overcrowd your pan for the best texture. You can mix and match vegetables or spice things up as you like.
With these tips, your roasted vegetable dish will impress. Enjoy experimenting, and make it your own!


