Are you ready to spice up your snack game? Rainbow Veggie Spring Rolls Bursting with Flavor are colorful, fresh, and full of crunch. These rolls are easy to make and even easier to enjoy! You’ll learn how to create crisp, flavorful spring rolls using fresh veggies and a creamy dipping sauce. Let’s dive in and start making a fun dish that looks as good as it tastes!
Why I Love This Recipe
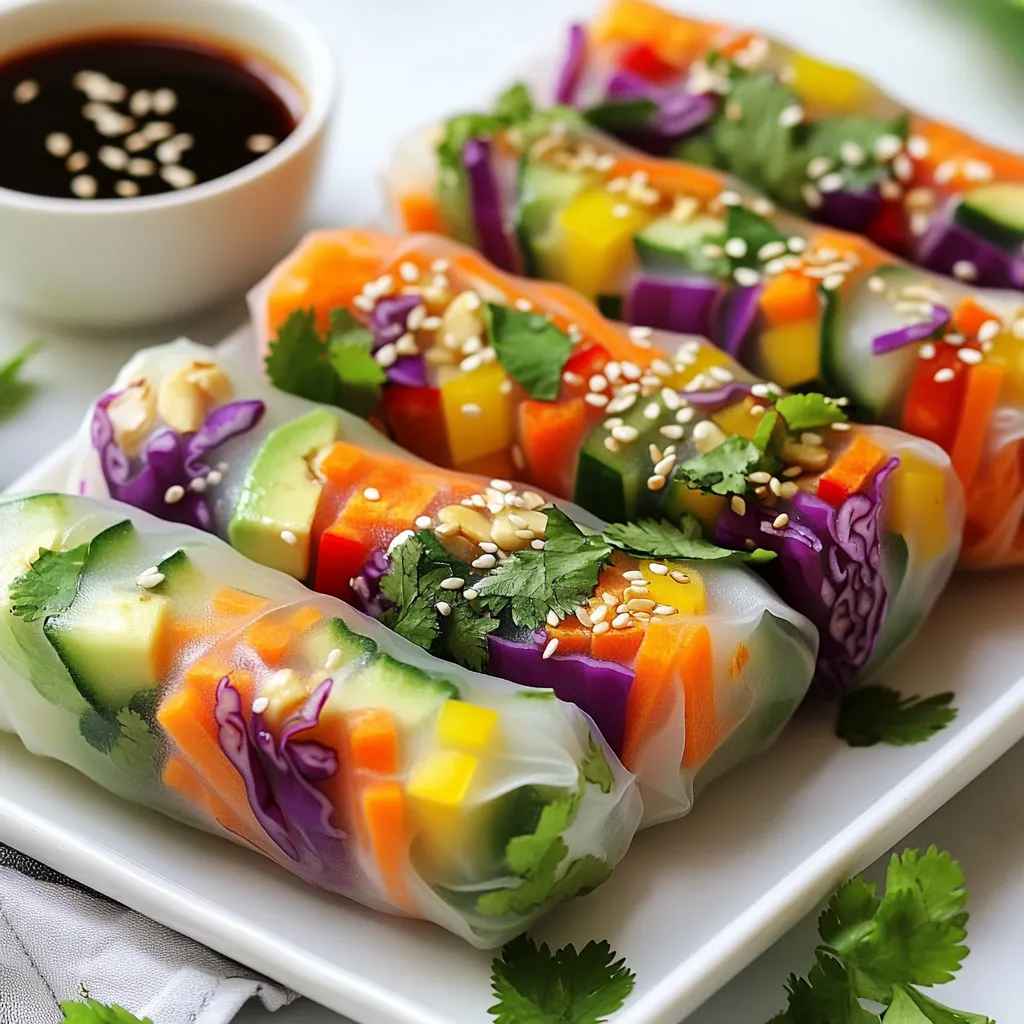
- Colorful and Fun: These spring rolls are a feast for the eyes, showcasing vibrant colors from a variety of fresh vegetables that make healthy eating exciting.
- Fresh and Healthy: Packed with vegetables and herbs, these spring rolls are light yet satisfying, making them a perfect guilt-free snack or appetizer.
- Customizable: You can easily swap out ingredients based on what you have on hand or your personal preferences, making this recipe versatile and adaptable.
- Delicious Dipping Sauce: The creamy peanut butter and tangy lime juice in the dipping sauce perfectly complement the fresh flavors of the spring rolls, elevating the taste experience.
Ingredients
Main Ingredients for Rainbow Veggie Spring Rolls
– 8 rice paper wrappers
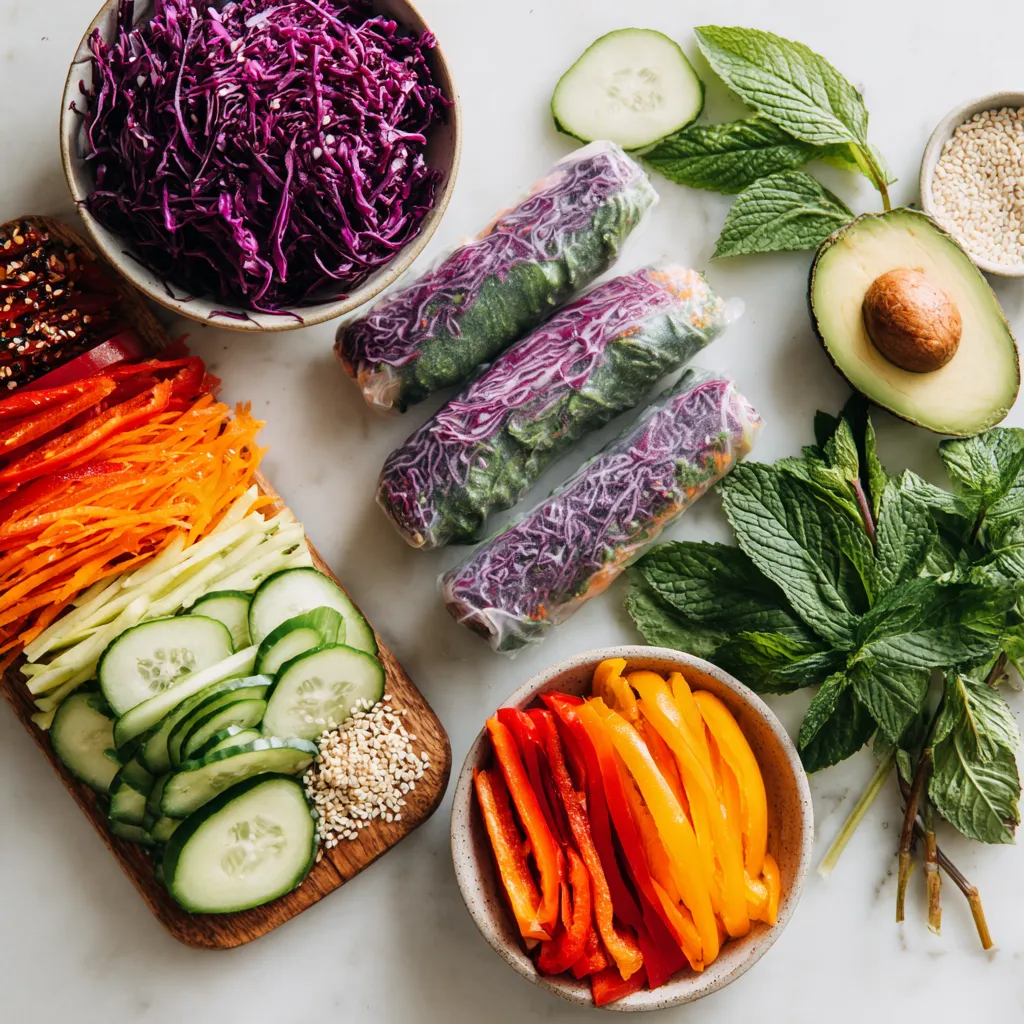
– 1 cup red cabbage, finely shredded
– 1 cup carrots, cut into julienne strips
– 1 cup cucumber, thinly julienned
– 1 cup bell peppers (a mix of colors), sliced into thin stripes
– 1 cup ripe avocado, sliced
– 1 cup fresh mint leaves
– 1 cup fresh cilantro leaves
– 1/4 cup sesame seeds (optional for garnish)
Dipping Sauce Ingredients
– 1/4 cup hoisin sauce
– 2 tablespoons creamy peanut butter
– 1 tablespoon freshly squeezed lime juice
– 1 tablespoon water (adjust for consistency)
In my kitchen, I love using fresh ingredients. The colors in these spring rolls pop! The rice paper wrappers are delicate yet strong. They hold all the goodness inside. I like to prepare my veggies ahead of time. It makes the rolling easy and quick.
The fresh vegetables add crunch and flavor. Red cabbage brings a nice color, while carrots add sweetness. Cucumber gives a refreshing bite. Bell peppers add a mix of taste and shades. I always use ripe avocado for creaminess. It balances the crunch from the other veggies.
Fresh herbs are a must! Mint and cilantro add brightness and aroma. They make each bite feel fresh. I sometimes sprinkle sesame seeds on top. They give a nutty flavor and a little crunch.
For the dipping sauce, I mix hoisin sauce, creamy peanut butter, and lime juice. It creates a sweet and tangy taste. Water helps me adjust the thickness. I want it smooth, but not too runny. This sauce pairs perfectly with the spring rolls.
Using these fresh ingredients makes my spring rolls burst with flavor. They are fun to make and even better to eat!
Step-by-Step Instructions
Preparing the Vegetables
Start by washing all your veggies. If needed, peel them to remove any tough skin. Next, cut each vegetable into thin strips. This step is key for a great look and even cooking. Thin strips help the spring rolls roll nicely and stay together. Aim for uniform cuts to keep them looking pretty.
Soaking the Rice Paper Wrappers
Fill a shallow dish with warm water. Make sure it’s deep enough to cover the rice paper. Take one rice paper wrapper and dip it into the water. Hold it there for about 15 to 20 seconds. You want it soft but not soggy. If it feels too soft, it might tear when you roll it.
Assembling the Spring Rolls
Once the wrapper is ready, place it flat on a clean surface. Start by laying a few mint and cilantro leaves at the bottom third of the wrapper. Then, add your colorful veggies: red cabbage, carrots, cucumber, bell peppers, and avocado. If you like, sprinkle some sesame seeds on top for extra crunch.
Next, fold the sides of the wrapper over the filling. Start rolling tightly from the bottom edge upwards. Make sure the filling stays secure inside. Repeat this with the rest of the wrappers and the remaining veggies. Enjoy the fun of creating each roll!
Tips & Tricks
Perfecting the Rolling Technique
To ensure tight rolls without tearing, follow these steps:
– Use warm water to soak the rice paper wrappers. This makes them soft but not too soggy.
– Dip one wrapper at a time for 15-20 seconds. If it feels too stiff, soak a bit longer.
– Lay the wrapper flat on a clean surface and add your veggies in the bottom third.
– Tightly fold the sides in, then roll up from the bottom. Keep the filling snug inside.
For easier rolling, you can use a bamboo mat. It helps guide the roll and keeps it tight.
Serving Suggestions
Plating can make your spring rolls pop! Here are some fun ideas:
– Use a colorful plate to showcase the bright colors of the spring rolls.
– Arrange the rolls in a fan shape or stack them in a pyramid.
– Garnish with fresh herbs on top for added flair.
Pair your spring rolls with a dipping sauce. I love using hoisin and peanut butter mix. It adds a rich sweetness that balances the fresh veggies.
Making Ahead
Prep can save you time. Here’s how to make ahead:
– Chop your veggies a few hours in advance. Store them in a sealed container in the fridge.
– You can roll the spring rolls the night before. Just keep them in a damp cloth to prevent drying out.
For storing rolled spring rolls, place wax paper between each roll. This helps prevent sticking. Enjoy your beautiful, fresh spring rolls anytime!
Pro Tips
- Perfectly Soft Rice Paper: Soak the rice paper wrappers just until they are fully pliable but not soggy. This prevents tearing and makes rolling easier.
- Colorful Layering: Use a variety of colorful vegetables to create a visually appealing dish. The more vibrant your ingredients, the more enticing your spring rolls will look!
- Herb Freshness: Always use fresh herbs like mint and cilantro for added flavor. They enhance the taste and aroma of the spring rolls significantly.
- Adjustable Dipping Sauce: Feel free to tweak the dipping sauce by adding a splash of soy sauce or chili sauce for an extra kick of flavor.
Variations
Vegetable Substitutions
You can switch up the veggies in your spring rolls. Try using seasonal vegetables like zucchini, radishes, or snap peas. These options keep your rolls fresh and exciting. For vegan choices, use tofu or tempeh as a protein source. If you want to keep it vegetarian, add some cheese or eggs. This way, you can cater to different diets while keeping the flavors vibrant.
Different Dipping Sauce Ideas
The dipping sauce can change the whole experience. If you want variety, try soy sauce or a sweet chili sauce. For those who love heat, add sriracha to your hoisin sauce. A tangy vinegar-based sauce can also be a great match. Mix and match to find your perfect dip!
Adding Proteins
Adding protein makes your spring rolls more filling. Shrimp adds a nice seafood flavor, while chicken gives a hearty bite. If you prefer plant-based options, tofu is perfect. It soaks up flavors well. Protein-enriched spring rolls also help keep you satisfied longer. These variations not only enhance taste but also boost nutrition.
Storage Info
Storing Assembled Spring Rolls
To keep your rainbow veggie spring rolls fresh, wrap them in a damp paper towel. Place them in an airtight container. This method prevents them from drying out. You can store them in the refrigerator for up to three days. After that, they start to lose their crispness and flavor.
Storing Dipping Sauce
Store any leftover dipping sauce in a sealed jar or container. It can last in the fridge for about a week. If the sauce thickens, you can reheat it on low heat. Add a splash of water to get the right consistency again.
Freezing Tips
You can freeze rainbow veggie spring rolls, but it’s best to do this before adding the dipping sauce. Wrap each spring roll tightly in plastic wrap. Then, place them in a freezer-safe bag. They can last in the freezer for up to two months. When ready to eat, thaw them in the fridge overnight before serving.
FAQs
How do you prevent rice paper from sticking together?
To stop rice paper from sticking, use a few simple tips. First, soak each wrapper in warm water for just 15-20 seconds. This keeps them soft but not soggy. After soaking, lay each wrapper flat on a clean surface. Make sure to keep space between them. If you have extra wrappers, cover them with a damp cloth to maintain moisture. This helps keep the wrappers from drying out and sticking together.
Can I make rainbow veggie spring rolls in advance?
Yes, you can make spring rolls ahead of time! To do this, assemble the rolls and then place them in an airtight container. Use parchment paper between layers to keep them from sticking. Store the rolls in the fridge. They are best eaten within a day or two for freshness. If you know you won’t eat them soon, leave out the avocado until serving to avoid browning.
What other ingredients can I add to my spring rolls?
Feel free to get creative! You can add many ingredients to your spring rolls. Try sliced radishes for a crunchy bite. Cooked shrimp or tofu can add protein. If you want some spice, consider adding jalapeño slices. You can also include mango for a sweet twist. The key is to keep the colors bright and the flavors fun!
Are rainbow veggie spring rolls gluten-free?
Yes, rainbow veggie spring rolls can be gluten-free! Rice paper wrappers are made from rice flour and water, which are gluten-free ingredients. However, always check the labels to be sure. For the dipping sauce, use gluten-free hoisin sauce and peanut butter. This way, everyone can enjoy these tasty rolls without worry.
Rainbow veggie spring rolls are a fun and healthy snack. You learned about the main ingredients, like rice paper and fresh veggies, plus tasty dipping sauces. I shared tips for rolling and storing, ensuring you enjoy these rolls fresh. You can customize them with proteins or different sauces for variety. Remember, these rolls are not just tasty; they are visually stunning too. Give them a try and impress your friends with your skills! Enjoy experimenting and make these delicious spring rolls a regular meal choic


