If you’re craving a fresh and vibrant dish, look no further than the Rainbow Thai Peanut Noodle Salad! With colorful veggies, chewy rice noodles, and a creamy peanut sauce, this salad is packed with flavor. I’ll walk you through a simple recipe that’s perfect for any meal. Whether you need a quick lunch or a side for dinner, this salad is a tasty way to enjoy healthy ingredients. Let’s dive into the details!
Ingredients
Essential Ingredients for the Salad
– 8 oz rice noodles
– 1 cup red bell pepper, cut into thin matchsticks
– 1 cup yellow bell pepper, cut into thin matchsticks
– 1 cup cucumber, cut into thin matchsticks
– 1 cup purple cabbage, finely shredded
– 1 cup carrots, grated
– 1 cup shelled edamame
– 1/4 cup fresh cilantro, finely chopped
– 1/4 cup green onions, thinly sliced
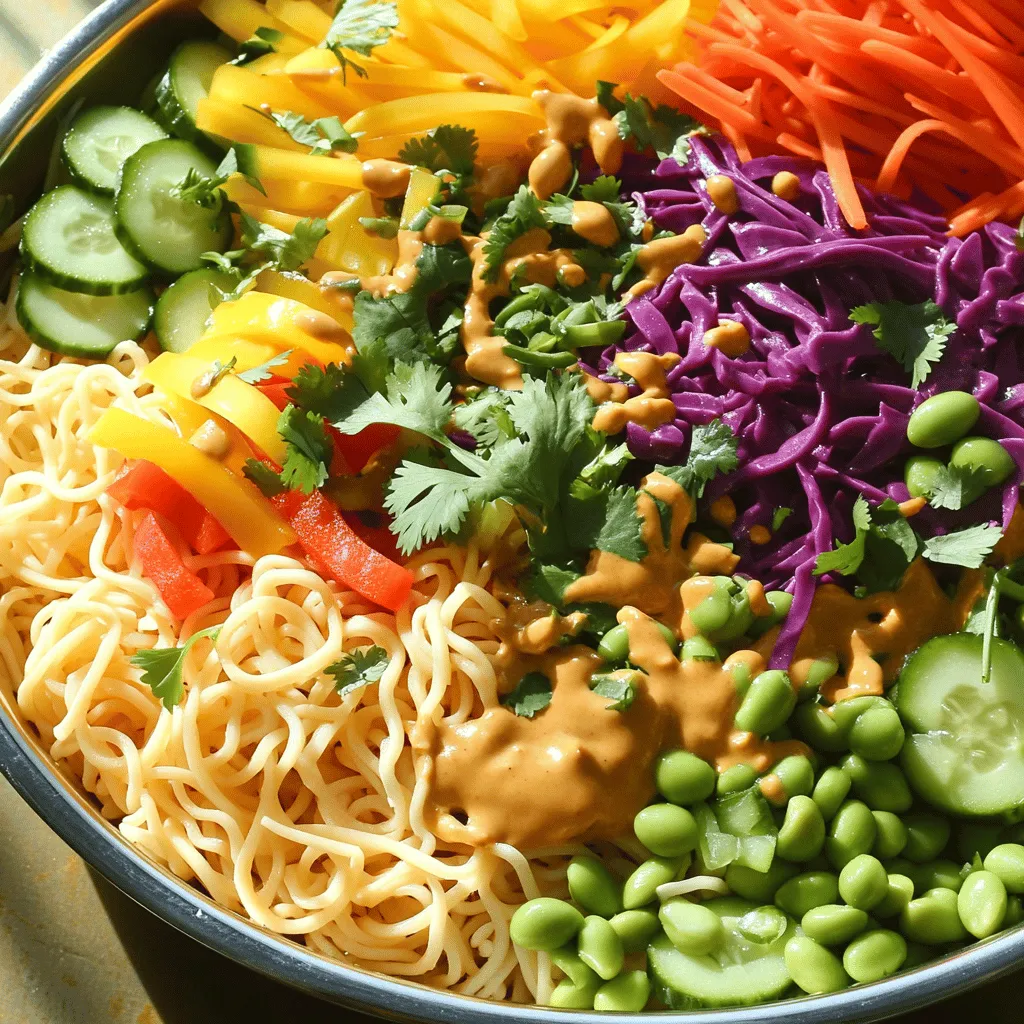
The colorful mix of these ingredients brings life to your bowl. The rice noodles are the base, giving a soft, chewy texture. Red and yellow bell peppers add crunch and sweetness. Cucumber brings a refreshing bite, while purple cabbage adds a nice color contrast. Grated carrots contribute a sweet note, and edamame adds protein, making the dish filling. The fresh cilantro and green onions brighten the flavor, giving it an herbaceous lift.
Ingredients for the Peanut Sauce
– 1/2 cup creamy peanut butter
– 3 tablespoons soy sauce (or tamari for gluten-free)
– 2 tablespoons fresh lime juice
– 1 tablespoon maple syrup (or honey)
– 1 tablespoon sesame oil
– 1 garlic clove, finely minced
– 1 teaspoon freshly grated ginger
– 1-2 tablespoons water (for thinning the sauce)
The peanut sauce ties the salad together. Creamy peanut butter forms the base, giving it richness. Soy sauce adds saltiness, while lime juice brightens the sauce with acidity. Maple syrup or honey adds a touch of sweetness. Sesame oil brings a nutty depth, and garlic and ginger provide warmth and aromatic notes. Use water to adjust the sauce’s thickness, ensuring it coats the noodles perfectly.
Step-by-Step Instructions
Cooking the Noodles
Start by boiling a large pot of water. Once it reaches a rolling boil, add the rice noodles. Cook them according to the package instructions, usually around 5-7 minutes. They should be al dente, meaning they are firm but not hard. After cooking, drain the noodles and rinse them quickly under cold water. This step stops the cooking process and prevents them from becoming mushy.
Preparing the Vegetables
While the noodles cook, you can prepare the vegetables. Cut the red and yellow bell peppers into thin matchsticks. Slice the cucumber into thin strips as well. Finely shred the purple cabbage and grate the carrots. Toss all these vibrant vegetables into a large mixing bowl. Set them aside; they will add a fresh crunch to the salad.
Making the Peanut Sauce
Next, let’s make the peanut sauce. In a medium bowl, combine creamy peanut butter, soy sauce, fresh lime juice, maple syrup, sesame oil, minced garlic, and grated ginger. Using a whisk, mix until the sauce is smooth and creamy. If the sauce seems too thick, add water a tablespoon at a time. You want it pourable but still rich.
Combining the Ingredients
Now it’s time to bring everything together. Add the cooked noodles to the bowl with the vegetables. Pour the peanut sauce over the mixture. Toss gently until every noodle and vegetable is well coated in that delicious sauce. This is where the magic happens, as all the flavors blend.
Garnishing
For the final touch, sprinkle chopped cilantro, sliced green onions, and shelled edamame on top of the salad. Toss everything lightly again, being careful not to break the noodles. These garnishes add color and extra flavor, making your salad look even more appealing.
Chilling and Serving
To enhance the flavors, chill the salad in the refrigerator for at least 30 minutes. This resting time allows the ingredients to meld beautifully. When you’re ready to serve, present the salad cold or at room temperature. If you like, you can add more cilantro or a sprinkle of chopped peanuts on top for an extra crunch. Enjoy your Rainbow Thai Peanut Noodle Salad!
Tips & Tricks
Perfecting the Noodles
To cook rice noodles perfectly, start with boiling water. Use a large pot to allow the noodles room to move. Cook them for 5-7 minutes until they are al dente. Al dente noodles are firm and not mushy. Drain the noodles well when done.
Next, rinse the noodles under cold water. This stops the cooking and helps them stay separate. Rinsing also removes excess starch, giving you a better texture. Toss the noodles gently to ensure they don’t stick together.
Enhancing the Peanut Sauce
The peanut sauce is key to this dish’s flavor. To adjust the taste, add more lime juice for zing or sweeten with more maple syrup. If you like spice, a dash of chili sauce can elevate the flavor.
To make the sauce vegan, use maple syrup instead of honey. For a nut-free option, try sunflower seed butter. Both options keep the sauce creamy and tasty.
Serving Suggestions
For extra toppings, consider adding fresh herbs like mint or basil. Crushed peanuts add a nice crunch too. You can also serve the salad with grilled chicken, shrimp, or tofu for protein.
If you want to enjoy it as a meal, pair it with a side of spring rolls or a light soup. This combination makes it more filling and satisfying.

Variations
Protein Additions
You can boost the nutrition and flavor of your Rainbow Thai Peanut Noodle Salad by adding protein. Grilled chicken, tofu, or shrimp work great. Each option brings its own taste and texture.
– Grilled Chicken: Marinate chicken in soy sauce and lime juice. Grill until cooked, then slice.
– Tofu: Press the tofu to remove excess water. Marinate it, then pan-fry until golden.
– Shrimp: Toss shrimp in garlic and lime, then sauté until they turn pink.
These proteins add richness and make the salad more filling.
Vegetable Substitutions
You can change up the veggies based on what’s in season or what you like. Here are some fun swaps:
– Snap Peas: Add crunch and sweetness.
– Radishes: Slice thin for a peppery bite.
– Zucchini: Spiralize or cut into sticks for a unique twist.
Mixing different colors makes your salad pop. Bright colors also mean more nutrients.
Dressing Alternatives
While the peanut sauce is a star, you can try other dressings too. Here are some ideas:
– Sesame Ginger Dressing: Use sesame oil, ginger, soy sauce, and a bit of honey.
– Spicy Sriracha Dressing: Mix peanut butter, soy sauce, lime juice, and Sriracha for heat.
Adjust dressings to fit your taste or diet. For a vegan option, swap honey for maple syrup. Each dressing adds a new layer of flavor.
Storage Info
Storing Leftovers
To keep your Rainbow Thai Peanut Noodle Salad fresh, store it in the fridge. Use an airtight container to prevent moisture loss. This way, the flavors stay vibrant. Make sure to cool the salad first before sealing it. This helps keep the veggies crisp.
Freezing Instructions
You can freeze the salad, but some textures may change. If you freeze it, use a freezer-safe container. When you are ready to eat, let it thaw in the fridge overnight. To refresh, toss it with a bit of peanut sauce. This helps revive the flavors and texture.
Shelf Life
The salad lasts about 3-5 days in the fridge. Check for signs of spoilage, like a sour smell or slimy texture. If the veggies lose their crunch, it’s best to toss them. To enjoy the best flavor, eat it within the first few days.
FAQs
What is the best way to serve Rainbow Thai Peanut Noodle Salad?
Serve this salad cold or at room temperature. Chilling it for 30 minutes helps flavors mix well. Use a large platter or bowl to show off the colors. Garnish with fresh cilantro or chopped peanuts for extra flair.
Can I make this salad in advance?
Yes, you can make this salad ahead of time. Prepare the noodles and veggies, then toss them with the sauce. If you add the garnishes right before serving, they will stay fresh.
Is this recipe gluten-free?
Yes, it can be gluten-free. Use tamari instead of soy sauce. Ensure your rice noodles are gluten-free as well. Check labels to avoid hidden gluten in sauces.
How can I adjust the spiciness of the salad?
To add heat, mix in some chili flakes or sriracha. For a milder taste, skip the spicy ingredients. Taste as you go, so you find the perfect heat level.
What are the nutritional benefits of this salad?
This salad is packed with vitamins and nutrients. Rice noodles offer carbs for energy. Veggies add fiber, vitamins A and C, and antioxidants. Edamame gives protein and healthy fats.
In this article, we covered how to make a tasty Rainbow Thai Peanut Noodle Salad. We discussed the key ingredients like rice noodles, fresh veggies, and a creamy peanut sauce. I shared step-by-step instructions to ensure your salad turns out great. You also learned helpful tips for storage and variations to suit your tastes. This salad is vibrant and packed with nutrition, making it a fun dish to enjoy. Now, you can create a colorful meal that is as healthy as it is delicious. Happy cooking!


