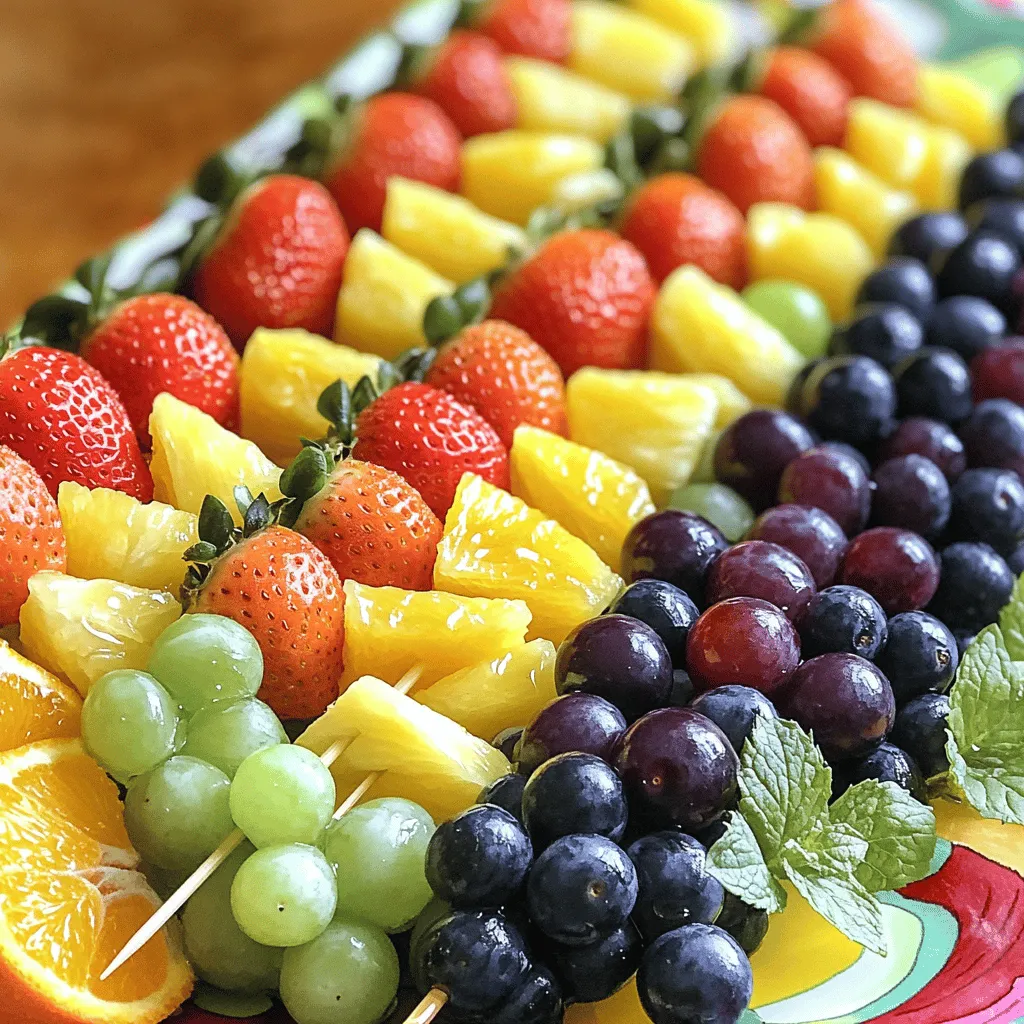
Summer is here, and it’s time for a refreshing treat! Rainbow fruit skewers are a fun way to enjoy fresh fruit while adding color to your table. They’re easy to make and perfect for parties, picnics, or just a sunny day. With just a few simple ingredients, you can create a vibrant and tasty snack everyone will love. Let’s dive in and learn how to make this delicious summer delight!
Ingredients
To make Rainbow Fruit Skewers, you need a mix of fresh fruits. Here’s the list of what you’ll need:
– Fresh strawberries (1 cup)
– Juicy orange segments (1 cup)
– Sweet pineapple chunks (1 cup)
– Crisp green grapes (1 cup)
– Plump blueberries (1 cup)
– Deep purple grapes or blackberries (1 cup)
– Optional: Honey (2 tbsp) for drizzling
– Fresh mint leaves for garnish
Each fruit brings a burst of color and taste. Fresh strawberries add a sweet tang. Juicy orange segments bring a citrusy pop. Sweet pineapple chunks add tropical flair. Crisp green grapes offer crunch. Plump blueberries add a mild sweetness. Deep purple grapes or blackberries provide a rich finish.
Feel free to mix and match. Use your favorite fruits or whatever you have at home. The goal is to create a vibrant, tasty treat. You can also drizzle honey on top for added sweetness. Mint leaves add a nice touch. They make the dish look fancy and smell great.
Remember, this is just a guide. You can adjust the amounts to fit your needs.Enjoy your colorful creation!
Step-by-Step Instructions
Preparation of Fruit
To start, wash all your fruits under cool running water. This step keeps them clean and safe to eat. For strawberries, remove the green tops. If they are big, slice them in half. Next, peel the oranges. Cut them into segments and toss out any seeds. Chop the pineapple into bite-sized chunks. Rinse the green grapes and blueberries to remove dirt and make them shine.
Assembling Skewers
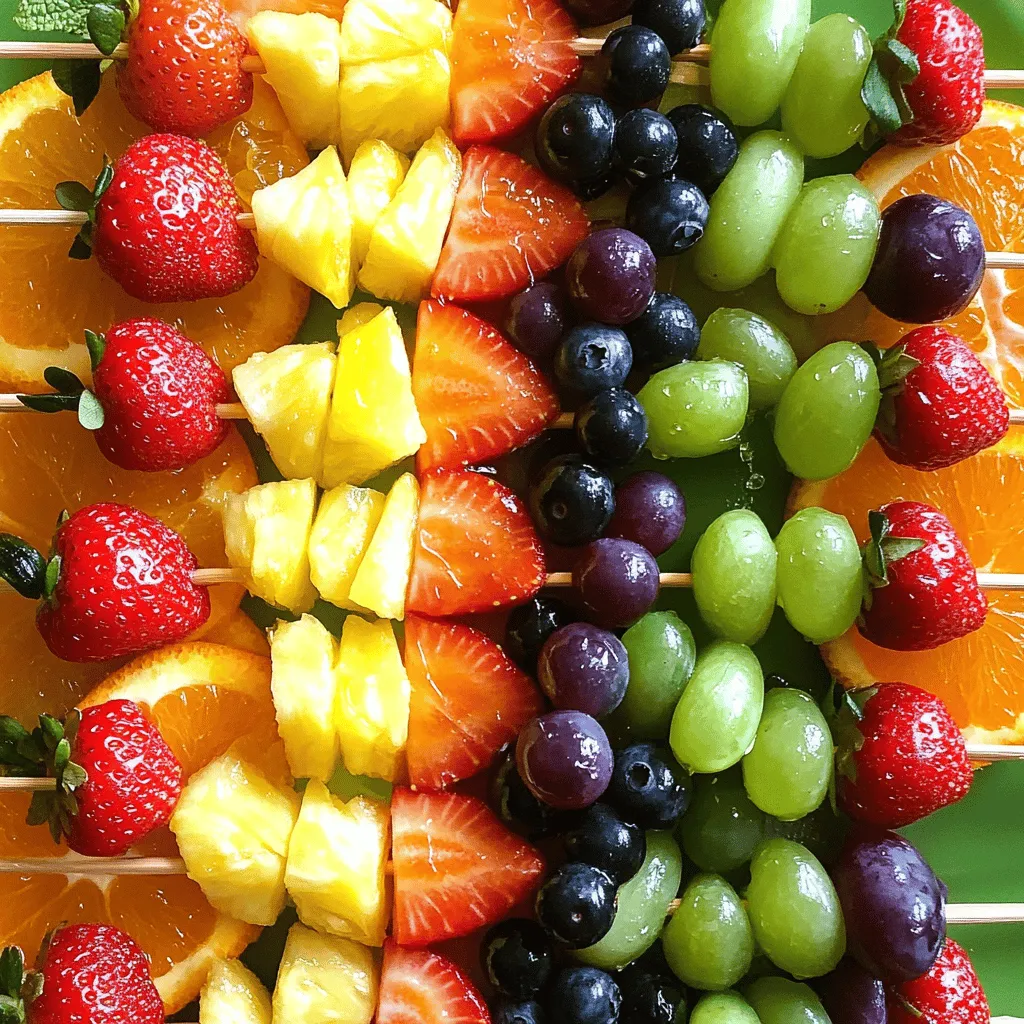
Grab your wooden skewers. If you plan to grill them, soak the skewers in water for 10 minutes to prevent burning. Now, it’s time to thread the fruits onto the skewers! I like to start with one strawberry, then add one orange segment, a pineapple chunk, and a green grape. After that, toss on a few blueberries and finish with a purple grape or blackberry. This order gives you a bright, colorful look. Aim for a rainbow effect with every skewer!
Optional Enhancements
For a little extra sweetness, drizzle honey over the assembled skewers. This step is optional but adds a nice touch. If you want a chill treat, place the skewers in the fridge for about 30 minutes. Chilling helps the flavors pop and makes them extra refreshing. Enjoy these delicious Rainbow Fruit Skewers at your summer gatherings or as a fun snack!
Tips & Tricks
Choosing Ripe Fruits
Picking ripe fruits is key for tasty skewers. Here are signs to watch for:
– Strawberries: Look for bright red color without any green tops.
– Oranges: Choose firm, heavy oranges with smooth skin.
– Pineapple: Smell the bottom. A sweet aroma means it’s ripe.
– Green Grapes: Look for a vibrant green color and firm texture.
– Blueberries: Pick plump blueberries with a deep blue hue.
– Purple Grapes/Blackberries: Choose ones that are dark and slightly soft.
How to Skewer Safely
Keep your fingers safe while making skewers. Here’s how:
– Use wooden skewers that are at least 10 inches long.
– Soak them in water for 10 minutes. This helps avoid burning.
– Hold the fruit steady with one hand. Use the other to push it onto the skewer.
– Start with firm fruits like strawberries. This helps stabilize softer fruits later.
– Avoid using too much force. This can break the fruit apart.
Presentation Ideas
Make your skewers look as good as they taste. Try these tips:
– Arrange skewers in a colorful pattern. Use a mix of all the fruits.
– Place them on a bright platter. A white dish makes colors pop.
– Garnish the platter with fresh mint leaves. They add a lovely aroma.
– For extra flair, drizzle honey on top. It adds shine and sweetness.
Variations
Seasonal Fruit Ideas
You can switch up the fruits based on the season. In spring, use strawberries and blueberries for sweetness. In summer, opt for ripe peaches and cherries. Fall brings apples and pears, adding crunch. Winter is perfect for citrus like tangerines and pomegranates. Each season offers fresh flavors for your skewers.
Themed Skewers for Events
You can create fun themes for parties. For a summer BBQ, use red, white, and blue fruits for a patriotic look. For Halloween, add orange slices and blackberries for a spooky vibe. During the holidays, use red strawberries and green grapes for a festive feel. Matching colors makes your skewers pop!
Adding Protein
Adding protein can make your skewers more filling. You can thread cubes of cheese like cheddar or mozzarella between the fruits. Greek yogurt is another option—use it as a dip on the side. This adds taste and gives you energy for your summer fun.
Storage Info
Storage Guidelines
To keep your rainbow fruit skewers fresh, store them in an airtight container. This helps keep moisture in and prevents the fruit from drying out. You can also cover them with plastic wrap if you don’t have a container. In the fridge, these skewers stay fresh for up to three days. After that, the fruit may start to lose its flavor and texture.
Preparing Ahead of Time
You can make these skewers a few hours before your event. Just prepare the fruit and assemble the skewers. Store them in the fridge until you are ready to serve. If you want to save time, wash and cut the fruit a day ahead. Keep the pieces in separate containers. This way, you can quickly assemble your skewers when needed.
FAQs
How can I make Rainbow Fruit Skewers for a party?
To scale this recipe, double or triple the ingredients. Use a mix of fruits to please all tastes. Prepare a large platter to display the skewers. Set up a fruit station where guests can make their own skewers. This way, everyone can choose their favorite fruits.
Can I use frozen fruit?
You can use frozen fruit, but it may not look as good. Frozen fruit tends to be softer and can lose its shape. If using frozen fruit, let it thaw and drain any excess water. Fresh fruit gives a better texture and taste for skewers.
Are Rainbow Fruit Skewers healthy?
Yes, Rainbow Fruit Skewers are very healthy! Each fruit offers vitamins and minerals. For instance, strawberries provide vitamin C. Oranges are high in fiber. Pineapple contains bromelain, which helps digestion. Grapes and blueberries are full of antioxidants. Enjoy these colorful treats guilt-free!
What alternative drizzles can I use instead of honey?
If you want a vegan option, use maple syrup or agave nectar. You can also try yogurt or nut butter for creaminess. For a sugar-free choice, use a sugar-free syrup. These alternatives add sweetness and keep the skewers fun and tasty.
How do I keep the fruit from browning?
To keep fruit fresh, soak apple or banana slices in lemon juice. This helps prevent browning. Store skewers in the fridge until serving. Keep them covered to avoid drying out. Fresh mint leaves also help keep everything looking bright and fresh.
Rainbow fruit skewers combine fresh fruits for a colorful and tasty treat. We walked through selecting ripe fruits, skewering them, and adding sweet touches like honey. You can use fun themes for parties or add proteins for a snack. Keep them chilled and store them well to enjoy later.
In the end, these skewers are fun to make and good for you. Enjoy creating your own rainbow of flavors!


