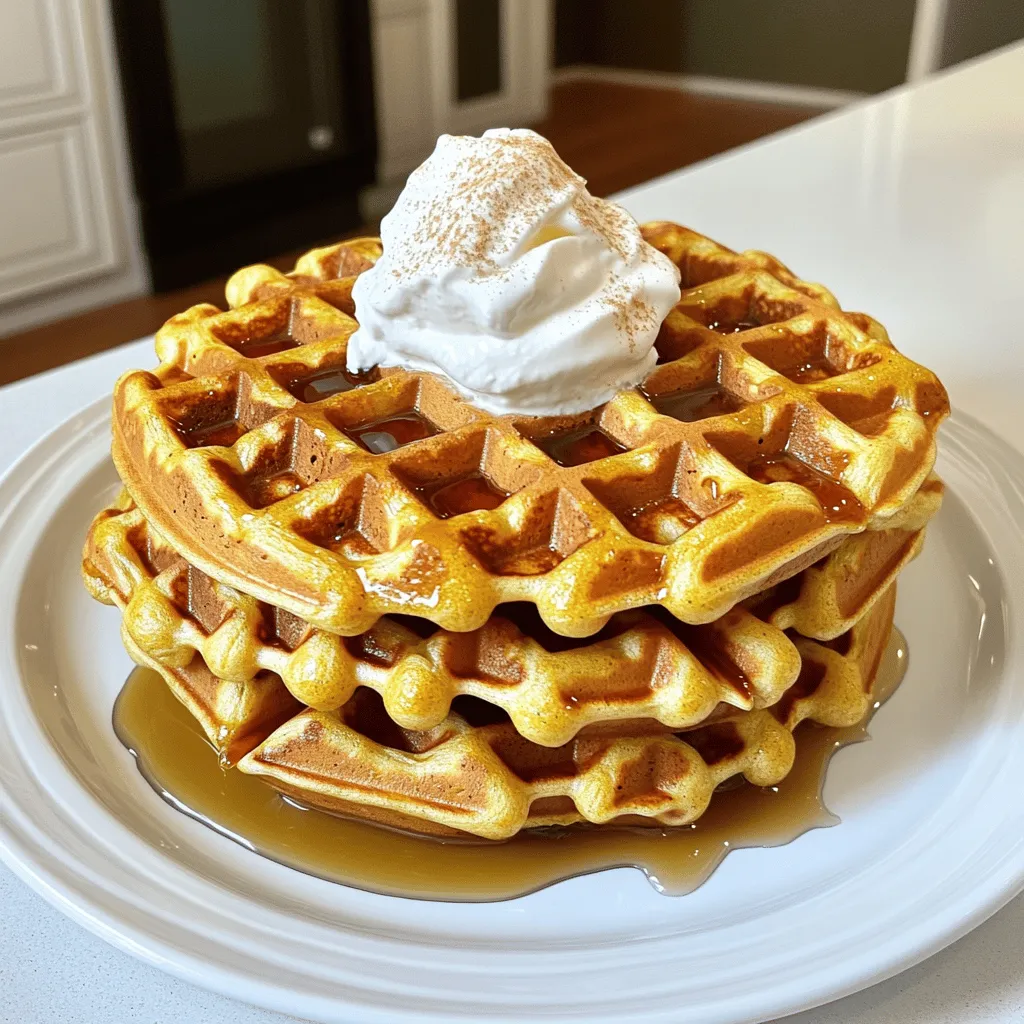
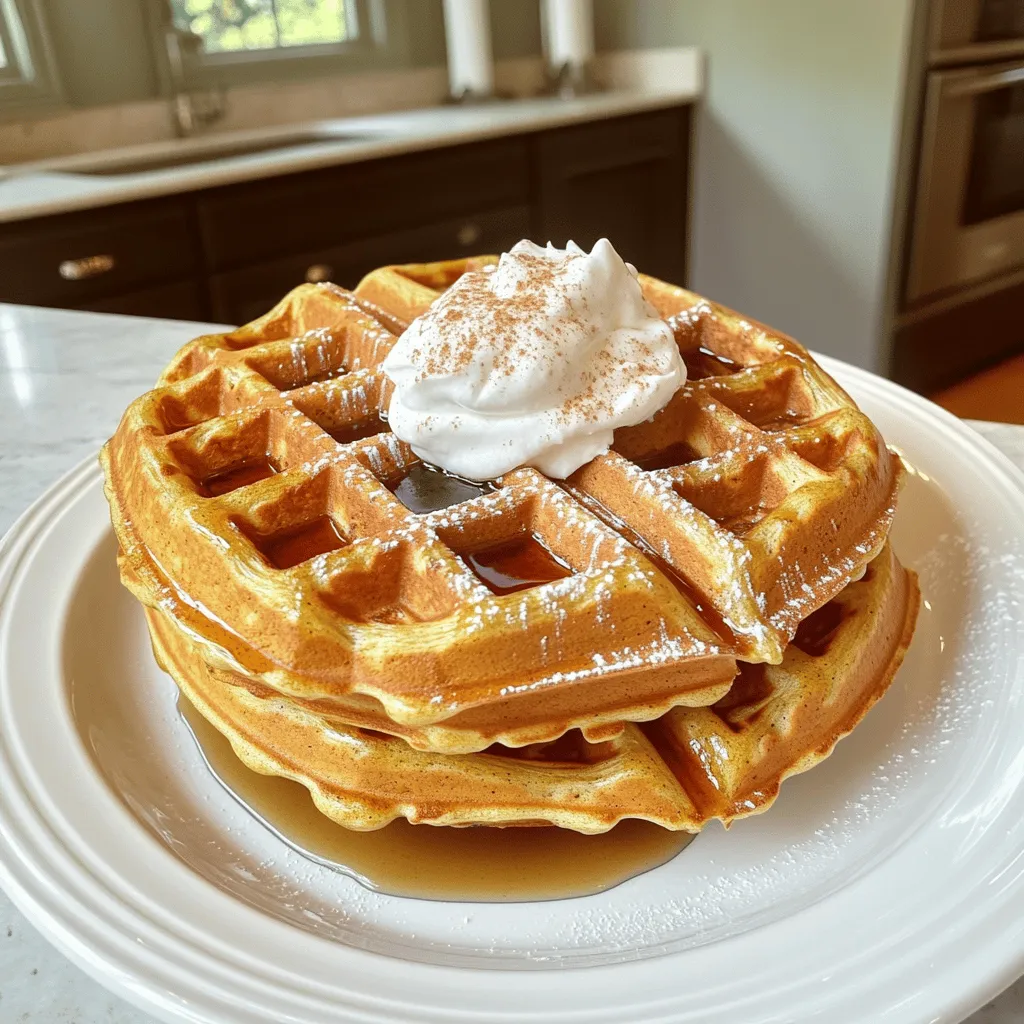
Get ready to savor fall with my Pumpkin Spice Waffles! These tasty treats combine warm spices, pumpkin puree, and sweetness, creating a cozy breakfast you’ll crave. Imagine waking up to waffles that taste like autumn in every bite. In this article, I’ll guide you through easy steps to make them, share tips for perfecting your batch, and explore fun variations to impress family and friends. Let’s dive into this delicious recipe!
Ingredients
List of Required Ingredients
To make pumpkin spice waffles, you will need the following ingredients:
– 1 cup all-purpose flour
– 1 cup whole wheat flour
– 2 tablespoons brown sugar
– 2 teaspoons baking powder
– 1 teaspoon baking soda
– 1 teaspoon ground cinnamon
– 1 teaspoon ground nutmeg
– 1/2 teaspoon ground ginger
– 1/4 teaspoon ground cloves
– 1/4 teaspoon salt
– 1 cup pumpkin puree
– 1 1/2 cups milk (you can use dairy or non-dairy like almond, soy, or oat)
– 2 large eggs
– 1/4 cup melted butter or coconut oil
– 1 teaspoon vanilla extract
These ingredients create a warm, comforting flavor that brings fall vibes to your kitchen. The mix of all-purpose and whole wheat flour gives a nice texture. The pumpkin spice blend adds that cozy aroma. The melted butter and eggs help the waffles become fluffy and rich.
Make sure to measure everything correctly. This ensures your waffles turn out just right.Have fun cooking these delightful waffles!
Step-by-Step Instructions
Prepping the Waffle Iron
First, preheat your waffle iron. This step is key for making crispy waffles. If your iron is not non-stick, grease it lightly. A small amount of butter or oil works well.
Combining Dry Ingredients
In a large bowl, mix these dry ingredients:
– 1 cup all-purpose flour
– 1 cup whole wheat flour
– 2 tablespoons brown sugar
– 2 teaspoons baking powder
– 1 teaspoon baking soda
– 1 teaspoon ground cinnamon
– 1 teaspoon ground nutmeg
– 1/2 teaspoon ground ginger
– 1/4 teaspoon ground cloves
– 1/4 teaspoon salt
Whisk them together well. This ensures the spices and baking agents are evenly distributed.
Preparing the Wet Mixture
In another bowl, blend together:
– 1 cup pumpkin puree
– 1 1/2 cups milk (you can use almond, soy, or oat)
– 2 large eggs
– 1/4 cup melted butter or coconut oil
– 1 teaspoon vanilla extract
Whisk until the mixture is smooth. This combination adds moisture and flavor.
Mixing Ingredients
Gently pour the wet mixture into the dry ingredients. Stir until just combined. It’s okay to have lumps. Overmixing makes the waffles dense and chewy.
Cooking the Waffles
Pour the batter into the hot waffle iron. Follow your iron’s instructions for the right cooking time. Wait until they turn golden brown and crispy. Remove them carefully using a fork or tongs.
Serving Suggestions
Serve your waffles hot. Top them with warm maple syrup or a dollop of whipped cream. For a fun twist, sprinkle some cinnamon on top. Enjoy them fresh for the best taste!
Tips & Tricks
Perfecting Your Waffles
For the best pumpkin spice waffles, avoid overmixing the batter. Stir just until you see no dry flour. A few lumps are okay. This helps keep your waffles light and fluffy. To get the right crunch, adjust your cooking time. If you want crispier waffles, let them cook a bit longer. Keep an eye on them so they don’t burn.
Topping Ideas
Toppings can make your waffles even better. You might try fresh fruit like bananas, berries, or apples. Nuts add a nice crunch, too. Flavored syrups give a twist to the classic maple syrup. Think about using chocolate or caramel syrup for a fun change. For a creamy finish, whipped cream is a must. You can make it special by adding coconut or vanilla flavor.
Equipment Recommendations
The right tools can change the game. For even cooking, a good waffle iron is key. Look for one with non-stick surfaces for easy cleanup. If you want to make the process smoother, a ladle helps pour the batter neatly. A cooling rack can also keep your waffles crisp while you finish cooking the rest.
Variations
Customizing the Flavor
You can make your pumpkin spice waffles even better! Add chocolate chips or nuts to the batter. The sweet chocolate or crunchy nuts will give a nice twist. You can also mix in other spices like cardamom or allspice. These add depth and warmth to each bite. Experiment with your favorite flavors to create your perfect waffle.
Alternative Ingredient Options
If you need gluten-free waffles, you can use gluten-free flour. Almond or coconut flour works well. For a dairy-free option, try almond or oat milk. Instead of regular butter, use coconut oil or a plant-based butter. These swaps keep the flavor rich and the texture fluffy. They ensure everyone can enjoy these tasty treats.
Unique Serving Suggestions
Get creative with how you serve your waffles! Make pumpkin spice waffle sandwiches. Layer them with cream cheese or Nutella for a sweet treat. You can also pair your waffles with savory sides. Crispy bacon or fluffy scrambled eggs make a great match. These unique serving ideas will impress your family and friends. Enjoy the versatility of pumpkin spice waffles!
Storage Info
Storing Leftovers
To keep your pumpkin spice waffles fresh, store them in an airtight container. Place parchment paper between layers to avoid sticking. You can keep them in the fridge for up to three days. When you’re ready to enjoy them again, reheat in a toaster or microwave. If using the microwave, heat for about 20 seconds at a time until warm.
Freezing Instructions
Freezing your waffles is a great way to extend their life. First, let them cool completely. Then, place them in a single layer on a baking sheet. Freeze for an hour to firm them up, then transfer them to a freezer bag. Be sure to remove excess air. You can freeze them for up to three months. To thaw, simply place them in the fridge overnight or pop them in the toaster straight from the freezer.
Shelf Life
Pumpkin spice waffles last about three days in the fridge. If frozen, they maintain good quality for three months. Always check for any signs of spoilage before consuming leftovers, as freshness matters for taste and safety.
FAQs
Can I make the batter in advance?
Yes, you can make the batter ahead of time. To prep the batter, mix the dry and wet ingredients separately. Store the dry mix in an airtight container. Keep the wet ingredients in the fridge. When you’re ready to cook, combine them. This saves time on busy mornings.
How do I know when the waffles are done?
You know the waffles are done when they are golden brown and crisp. Most waffle irons have a light that tells you when they are ready. If your iron does not have this feature, check after a few minutes. The steam will decrease, and the waffles will look firm.
What can I substitute if I don’t have pumpkin puree?
If you don’t have pumpkin puree, try using sweet potato puree or butternut squash puree. Both have a similar texture and flavor. Applesauce can also work for a different taste. Just remember that the flavor will change slightly.
Are pumpkin spice waffles healthy?
Pumpkin spice waffles have some healthy elements. They contain pumpkin, which is high in fiber and vitamins. Using whole wheat flour adds more nutrients too. However, they also contain sugar and butter, so enjoy them in moderation. Balance is key to a healthy diet.
Can I use a different flour type?
Yes, you can use different types of flour. Almond flour or oat flour can work well. If you use gluten-free flour, make sure it has a good binding agent. Different flours may change the texture, but they can offer fun new flavors.
Making pumpkin spice waffles is fun and tasty. You learned about ingredients, step-by-step instructions, and helpful tips. Customizing flavors lets you get creative with every batch. You can store leftovers easily for future treats. Remember, the right waffle iron makes a big difference. Enjoy experimenting with toppings and variations. Whether for breakfast or a snack, these waffles will delight everyone. Keep trying new ideas to make each waffle unique. Enjoy your delicious journey into pumpkin spice waffles!


