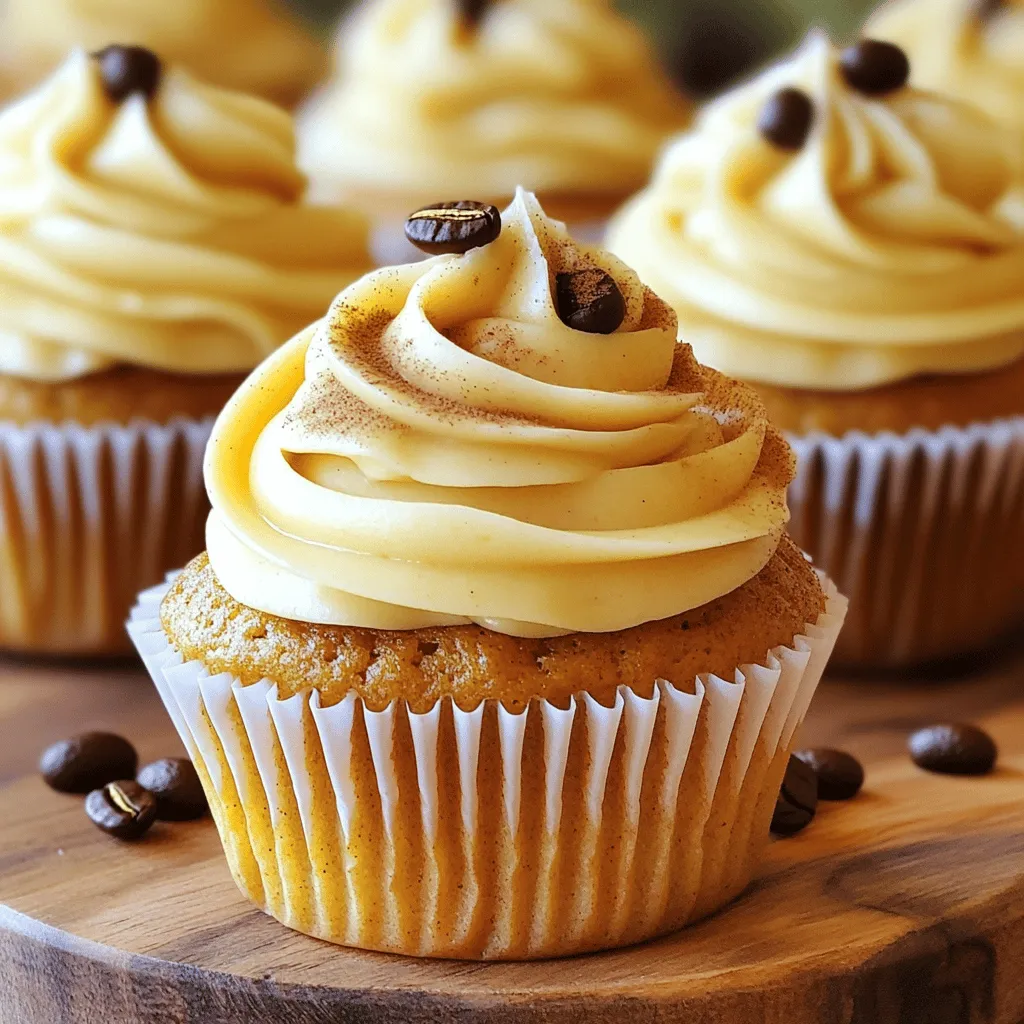
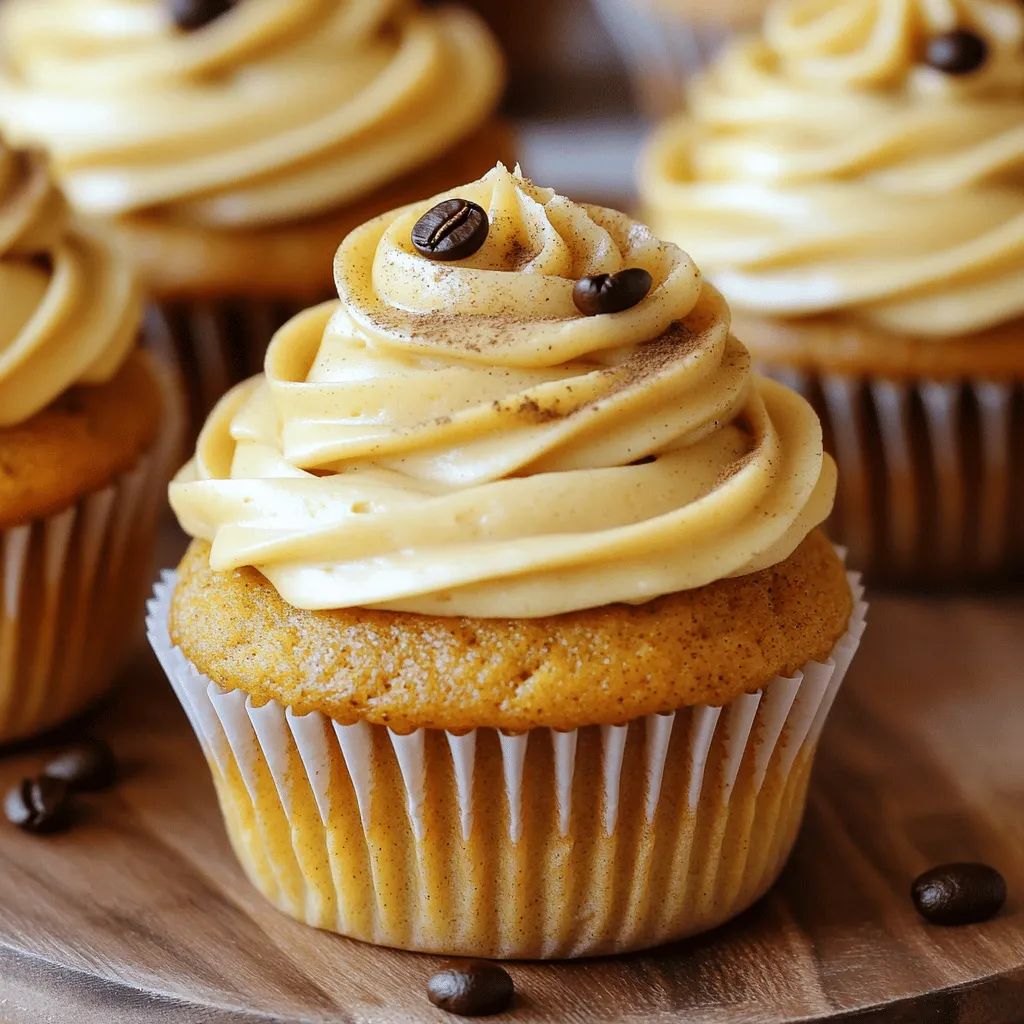
Fall is here, and it’s time to bring the flavors of the season into your kitchen! Imagine biting into a soft, moist cupcake that tastes just like your favorite pumpkin spice latte. With warm spices and rich pumpkin puree, these Pumpkin Spice Latte Cupcakes will captivate your taste buds. Join me as I guide you through a simple, step-by-step recipe. Get ready to bake a cozy autumn treat that everyone will love!
Ingredients
To make Pumpkin Spice Latte Cupcakes, gather these simple ingredients:
– 1 ½ cups all-purpose flour
– 1 teaspoon baking powder
– ½ teaspoon baking soda
– ½ teaspoon salt
– 1 teaspoon ground cinnamon
– ½ teaspoon ground nutmeg
– ¼ teaspoon ground ginger
– ½ cup unsalted butter, softened at room temperature
– 1 cup granulated sugar
– 2 large eggs, at room temperature
– 1 cup canned pumpkin puree
– ½ cup brewed coffee, cooled to room temperature
– 1 teaspoon vanilla extract
For the frosting, use:
– 1 cup unsalted butter, softened at room temperature
– 4 cups powdered sugar, sifted for smoothness
– 2 tablespoons brewed coffee, cooled
– 1 teaspoon vanilla extract
– ½ teaspoon ground cinnamon
These ingredients create a warm and cozy flavor in every bite. The spices bring a hint of autumn while the coffee adds a rich depth. When you mix these together, you’ll have a delightful treat perfect for fall.
Step-by-Step Instructions
Preheat the Oven and Prepare the Pan
– Set oven temperature to 350°F (175°C)
– Line muffin pan with cupcake liners
Start by preheating your oven to 350°F (175°C). This is key for even baking. While the oven warms up, take a 12-cup muffin pan and line it with festive cupcake liners. The liners not only make cleanup easier, but they also add a fun touch to your cupcakes.
Combine Dry Ingredients
– Mix flour, baking powder, baking soda, salt, and spices
In a medium bowl, mix together the dry ingredients. Combine 1 ½ cups all-purpose flour, 1 teaspoon baking powder, ½ teaspoon baking soda, and ½ teaspoon salt. Then, add the spices: 1 teaspoon ground cinnamon, ½ teaspoon ground nutmeg, and ¼ teaspoon ground ginger. Whisk these together thoroughly. This step helps distribute the leavening agents and spices evenly.
Creaming Butter and Sugar
– Instructions for mixing butter and sugar until fluffy
In a large bowl, use an electric mixer to beat ½ cup softened butter and 1 cup granulated sugar together. Mix on medium speed for about 3-4 minutes, or until the mixture is light and fluffy. This step is crucial because it adds air to the batter, giving your cupcakes a nice rise.
Incorporate Wet Ingredients
– Mixing eggs, pumpkin, coffee, and vanilla
Next, add 2 large eggs, one at a time, mixing well after each addition. After that, stir in 1 cup canned pumpkin puree, ½ cup cooled brewed coffee, and 1 teaspoon vanilla extract. Mix gently until everything is smooth and well combined. This mixture brings flavor and moisture to your cupcakes.
Fold in Dry Ingredients
– Tips for combining mixtures without overmixing
Now, it’s time to combine the wet and dry ingredients. Gradually add the dry mixture to the wet mixture. Stir gently with a spatula or wooden spoon until the flour disappears. Be careful not to overmix; it’s okay to leave a few small lumps. This helps keep your cupcakes light and fluffy.
Bake and Cool
– Fill muffin pan and baking time instructions
Evenly distribute the batter into the cupcake liners, filling each about two-thirds full. This allows room for rising. Place the muffin pan in the preheated oven and bake for 18-20 minutes. Check for doneness by inserting a toothpick into the center of a cupcake. If it comes out clean, your cupcakes are ready. Let them cool in the pan for about 5 minutes before transferring them to a wire rack to cool completely.
Prepare the Frosting
– Steps for making the frosting while cupcakes cool
While your cupcakes cool, prepare the frosting. In a large bowl, beat 1 cup softened butter with an electric mixer until smooth and creamy. This base is important for a fluffy frosting.
Frosting the Cupcakes
– Instructions for applying frosting creatively
Gradually add 4 cups sifted powdered sugar to the butter mixture. Start mixing on low speed to avoid a sugar cloud, then increase to medium speed. Add 2 tablespoons cooled brewed coffee, 1 teaspoon vanilla extract, and ½ teaspoon ground cinnamon. Mix until it’s light and fluffy. Once the cupcakes are cool, frost each cupcake generously with the coffee-flavored frosting. Create fun swirls or peaks as you like.
Tips & Tricks
Baking Tips
To ensure your cupcakes rise well, use fresh baking powder and baking soda. This will give your cupcakes a nice lift. Also, fill each liner about two-thirds full. This allows room for the cupcakes to rise without overflowing.
Room temperature ingredients are key. Take your butter, eggs, and coffee out ahead of time. Soft butter mixes better with sugar, creating a fluffy batter. Room temperature eggs also blend well, adding moisture to your cupcakes.
Frosting Techniques
For a pleasing presentation, use a piping bag to frost your cupcakes. This method lets you create lovely swirls or peaks. You can also use a spatula for a more rustic look. Just spread the frosting thickly on top for a cozy vibe.
Consider adding different styles to your frosting. Try creating a tall peak for fun. You can also make a smooth finish for a classy look. Each style adds its own charm.
Flavor Enhancements
To take your cupcakes to the next level, add extra spices. A pinch of allspice brings warmth, while a dash of cloves adds depth. You can also try adding a splash of vanilla extract for a richer flavor.
For a fun twist, mix in some chocolate chips or nuts. This adds texture and flavor to every bite. With these enhancements, your pumpkin spice latte cupcakes will stand out even more.
Variations
Add-ins and Mix-ins
You can make your Pumpkin Spice Latte Cupcakes even better with fun add-ins. Try adding chocolate chips for a sweet twist. Dark chocolate pairs nicely with pumpkin flavors. You can also use chopped nuts, like walnuts or pecans, for some crunch. Just fold them in gently at the end.
If you want to spice things up, why not add a dash of allspice or cloves? These spices can enhance the warm flavor profile. A pinch of cardamom could also give a unique twist. Experiment with different combinations to find your favorite mix!
Alternative Frosting Options
While the coffee buttercream is delightful, you can switch it up. Cream cheese frosting adds a tangy flavor that works well with pumpkin. To make it, just mix cream cheese, butter, powdered sugar, and vanilla. If you prefer something richer, try a chocolate ganache. Just melt chocolate with heavy cream and let it cool. It becomes thick and glossy, perfect for drizzling over your cupcakes.
Dietary Adjustments
For those who need gluten-free options, use almond flour or a gluten-free flour blend. Make sure the flour blend has a binding agent, like xanthan gum. For dairy-free diets, swap butter for coconut oil or dairy-free margarine. Use a dairy-free milk in the cupcake batter. These simple swaps keep the flavor and texture while meeting dietary needs. You can enjoy these cupcakes no matter your diet!
Storage Info
Short-Term Storage
To keep your pumpkin spice latte cupcakes fresh for a few days, follow these tips:
– Place cupcakes in an airtight container.
– Store them at room temperature for up to three days.
– If you prefer, refrigerate them to last up to a week.
– Always frost them just before serving for best taste.
Long-Term Storage
For long-term storage, you can freeze your cupcakes and frosting:
– Allow the cupcakes to cool completely before freezing.
– Wrap each cupcake tightly in plastic wrap.
– Place them in a freezer-safe bag or container.
– For frosting, store it in a separate airtight container.
– Cupcakes can last up to three months in the freezer.
Thawing Tips
To defrost your cupcakes without losing texture:
– Take them out of the freezer and remove the wrap.
– Let them sit at room temperature for about 1-2 hours.
– For the frosting, let it sit out for about 30 minutes.
– Once defrosted, frost the cupcakes and enjoy!
These simple storage methods help keep your pumpkin spice latte cupcakes tasting fresh and delicious.
FAQs
Can I make the cupcakes ahead of time?
Yes, you can make these cupcakes ahead of time. To do this, bake the cupcakes and let them cool completely. Then, store them in an airtight container at room temperature. This keeps them fresh for up to three days. If you want to frost them later, wait until you are ready to serve. Frosting can be made a day in advance and stored in the fridge. Just let it sit at room temperature for a bit before using.
What can I substitute for pumpkin puree?
If you cannot find pumpkin puree, you have options. You can use sweet potato puree as a great substitute. Mashed bananas can work too, but they will change the flavor. Applesauce is another choice, giving a different sweetness. If you prefer a different taste, try using butternut squash puree. Each option gives a unique twist while keeping the moist texture.
How do I prevent cupcakes from sinking?
Cupcakes can sink for several reasons. Overmixing the batter can cause this issue. Mix just until the flour disappears to avoid this. Another cause is too much leavening agent. Make sure to measure baking powder and baking soda correctly. Lastly, check your oven temperature. An oven that is too hot can lead to cupcakes rising too quickly and then sinking.
Can I use instant coffee instead of brewed coffee?
Yes, you can use instant coffee as a substitute. Just mix one tablespoon of instant coffee with one tablespoon of hot water. This will mimic brewed coffee in your cupcakes. However, brewed coffee gives a richer flavor. If you want a stronger coffee taste, use less water when mixing your instant coffee. This way, you can keep the flavor strong and yummy.
You now have all the tools to make delicious pumpkin cupcakes. We covered the ingredients, step-by-step instructions, and cooking tips. I shared ideas for fun variations and how to store your treats. Remember to have fun and be creative with your baking. Whether it’s for a special occasion or just a treat for yourself, these cupcakes are sure to please. Enjoy baking these tasty pastries and share them with others!


