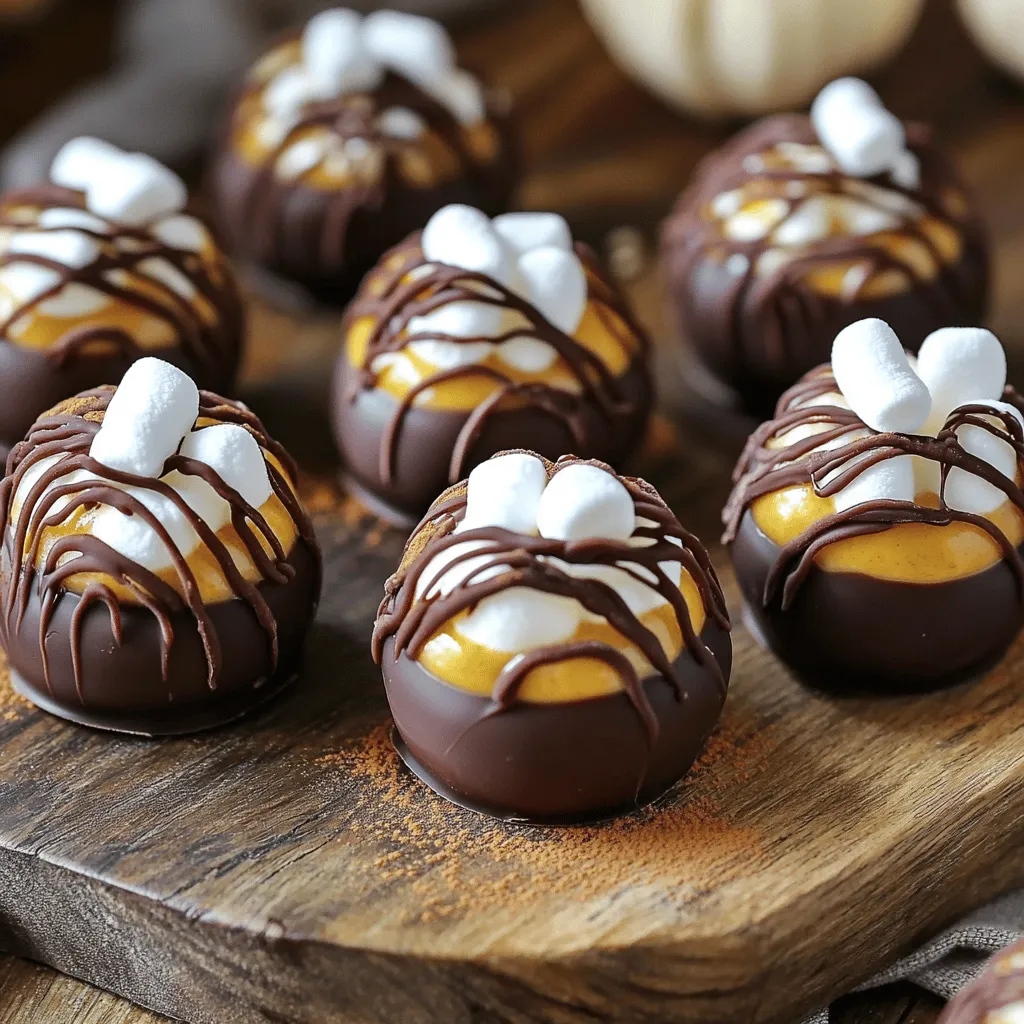
If you’re ready for a warm hug in a mug, you’ll love these Pumpkin Spice Hot Chocolate Bombs! This simple cozy treat combines rich chocolate with delicious pumpkin flavors, making it perfect for chilly nights. In this guide, I’ll share all the ingredients, step-by-step instructions, and tips for creating these delightful bombs at home. Let’s dive into a fun kitchen adventure that’s sure to impress!
Ingredients
Chocolate Choices
For the shells, you need 1 cup of chocolate chips. You can choose either dark or milk chocolate. Dark chocolate gives a rich taste. Milk chocolate offers a sweeter flavor. Both options work well for a cozy treat.
Pumpkin Filling Components
The filling is where the magic happens. You will need:
– 1/2 cup pumpkin puree (canned or homemade)
– 1/4 cup powdered sugar for sweetness
– 1 teaspoon pumpkin spice blend to add flavor
Mix these well in a bowl. The puree makes it creamy, while the sugar and spice boost the taste.
Optional Ingredients for Customization
You can add a few fun extras to change things up. Consider:
– 1/4 cup mini marshmallows for texture and fun
– 1/4 cup hot cocoa mix to enhance chocolate flavor
– Extra pumpkin spice for a decorative dusting
These options let you personalize your hot chocolate bombs. Feel free to experiment!
Step-by-Step Instructions
Melting the Chocolate
To start, grab a microwave-safe bowl. Add 1 cup of chocolate chips. You can pick dark or milk chocolate based on what you love. Heat the bowl in the microwave for 30 seconds. After that, stir the chocolate well. Repeat this until it’s smooth and melted. Be careful! If you heat it too long, it can burn.
Molding the Chocolate Shells
Now, take a silicone mold made for hot chocolate bombs. Spoon about one tablespoon of the melted chocolate into each cavity. Use the back of the spoon to coat the sides evenly. Make sure the chocolate is thick enough to keep your filling safe. If you have melted chocolate left over, set it aside for later.
Assembling the Hot Chocolate Bombs
Once the shells harden, take them out of the mold. Place half of the shells on a plate. In a bowl, mix together 1/2 cup of pumpkin puree, 1/4 cup of powdered sugar, and 1 teaspoon of pumpkin spice blend. Stir until it’s nice and smooth. Spoon a teaspoon of this pumpkin filling into each of the shells. Add a few mini marshmallows and a sprinkle of hot cocoa mix for extra flavor.
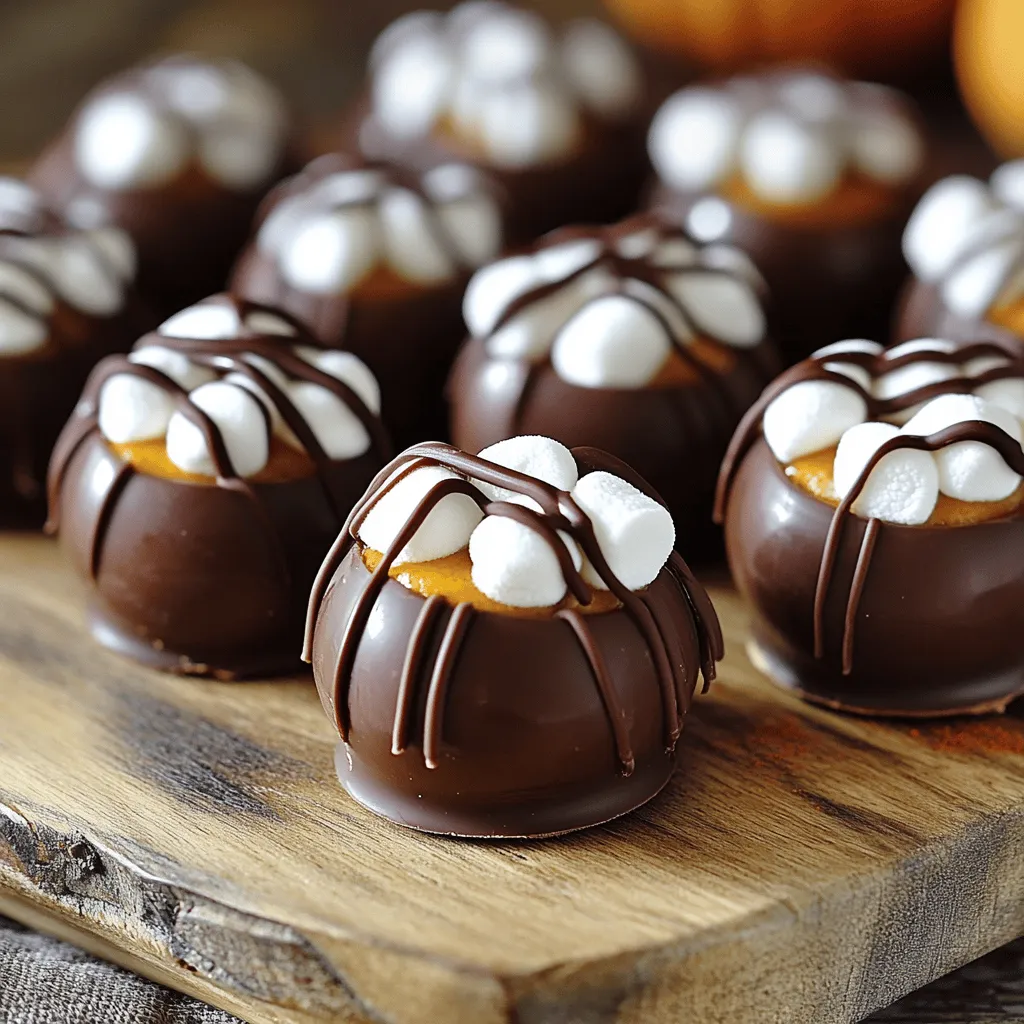
Next, take the other half of the chocolate shells. Warm the edges for 5-10 seconds in the microwave. Press these onto the filled shells to seal them well. For fun, drizzle leftover chocolate on top and dust with more pumpkin spice if you like.
Now, you can store these tasty treats in an airtight container. When you’re ready, drop one into a cup of hot milk. Watch the magic happen as it melts!
Tips & Tricks
Best Practices for Melting Chocolate
To melt chocolate, use a microwave-safe bowl. Heat the chocolate chips in short bursts. Start with 30 seconds, then stir. Repeat until the chocolate is smooth. Avoid overheating, as chocolate can burn easily. If you have a double boiler, that works great too! This method gives you more control over the heat.
Ensuring a Perfect Seal
When sealing your hot chocolate bombs, warmth is key. Heat the edges of the chocolate shells for a few seconds in the microwave. This helps them stick together well. Press the halves firmly but gently. Make sure there are no gaps, or the filling might spill out.
Creative Decoration Ideas
Decorating your bombs can be fun! Drizzle melted chocolate on top for a fancy look. You can use white chocolate for contrast. Add a sprinkle of pumpkin spice on top for that extra flair. For a festive touch, use edible glitter or colorful sprinkles. These little details make your bombs stand out!
Variations
Alternative Flavors for Hot Chocolate Bombs
You can switch up the flavor of your hot chocolate bombs. Try using white chocolate instead of dark or milk chocolate. For a rich twist, add a hint of caramel or hazelnut flavor. You could also try mixing in different spices like cinnamon or ginger for a fun kick. Each option brings its own unique taste.
Dietary Modifications (e.g., Dairy-Free Versions)
To make dairy-free hot chocolate bombs, use dairy-free chocolate chips. They come in dark or milk alternatives. For the filling, swap regular pumpkin puree with a plant-based option. You can use almond, oat, or coconut milk instead of regular milk when serving. This way, everyone can enjoy this cozy treat!
Seasonal Additions (e.g., Peppermint, Caramel)
Seasonal flavors can make your hot chocolate bombs even more fun. In winter, add crushed peppermint candies to the filling for a minty touch. In the fall, a drizzle of caramel sauce adds sweetness. You can even sprinkle some nutmeg on top for a festive look. These little extras can elevate each sip.
Storage Info
How to Store Hot Chocolate Bombs
To keep your pumpkin spice hot chocolate bombs fresh, store them in an airtight container. This keeps moisture out and helps the chocolate stay firm. You can place parchment paper between layers if you stack the bombs. This will prevent them from sticking together.
Shelf Life and Best Before Tips
These delightful treats can last about two weeks when stored properly. For the best taste, use them within the first week. After that, the chocolate may lose its texture, but they are still safe to eat. Always check for any signs of spoilage, like an off smell or changes in texture.
Reheating and Usage Tips
When you’re ready to enjoy your hot chocolate bombs, simply drop one into a cup of hot milk. Use whole milk for a rich flavor, or try almond milk for a lighter option. Stir gently as it melts for even distribution. If you have leftovers, you can store them in the refrigerator, but it’s best to consume them at room temperature for the best taste.
FAQs
What is a Hot Chocolate Bomb?
A hot chocolate bomb is a sphere of chocolate filled with cocoa mix and goodies. When you drop it in hot milk, it melts and creates a rich drink. It’s a fun treat for cozy days.
How do you use Pumpkin Spice Hot Chocolate Bombs?
To use these bombs, heat a cup of milk until it’s hot but not boiling. Place one pumpkin spice hot chocolate bomb in your mug. Pour the hot milk over it and watch it melt. Stir well, and enjoy your creamy drink topped with marshmallows!
Can I make these ahead of time?
Yes, you can make these hot chocolate bombs ahead of time. Store them in an airtight container. They stay fresh for up to two weeks. This makes them perfect for gifts or last-minute treats!
In this blog post, we explored how to make hot chocolate bombs. We looked at the best chocolate choices, the right pumpkin filling components, and optional ingredients for fun. I shared step-by-step instructions on melting chocolate and molding your bombs. Tips on sealing and decorating helped make them shine. We discussed flavor variations, dietary options, and storage tips.
With a bit of creativity, you can enjoy these treats all year. Happy making!