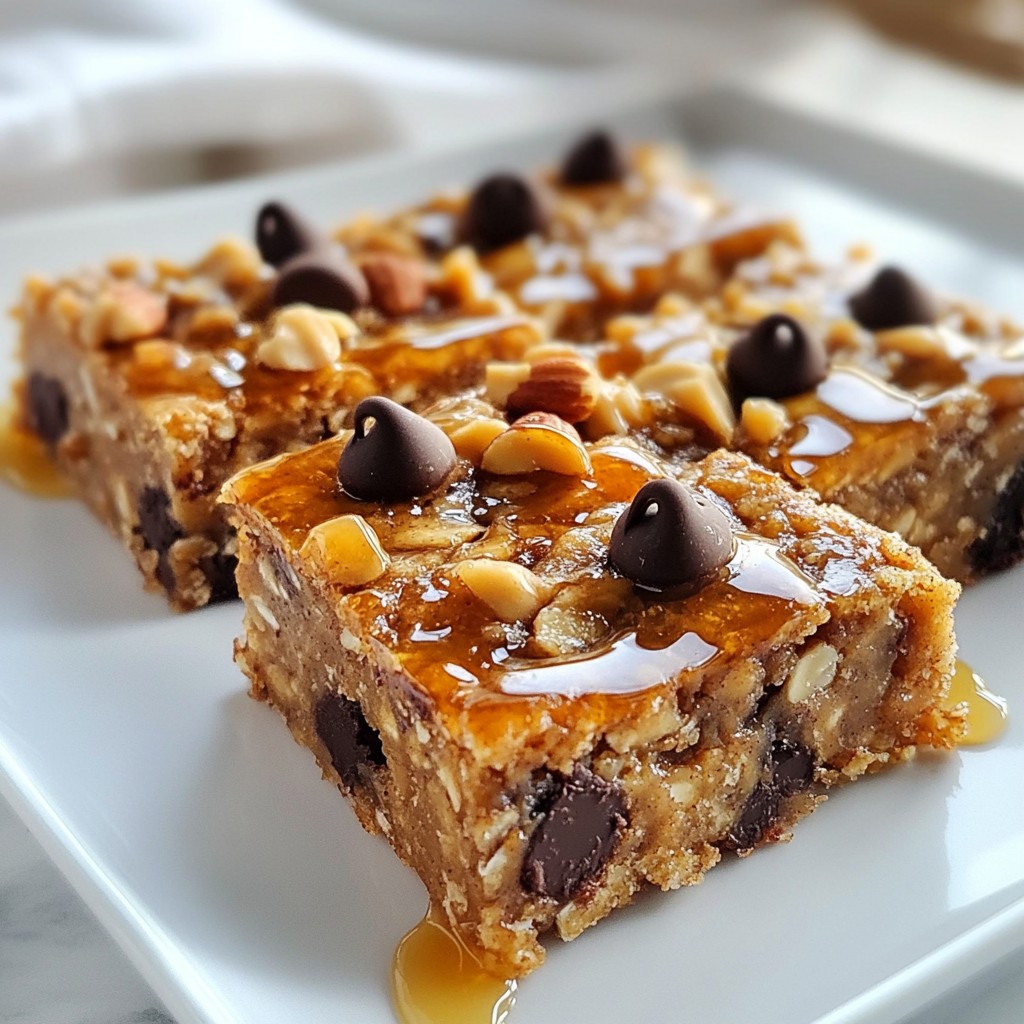
Looking for a quick and tasty snack that’s both healthy and satisfying? You're in the right place! These Peanut Butter Banana Oat Bars are simple to make and perfect for on-the-go munching. With just a few ingredients, you can whip up a delightful treat that packs flavor and nutrition into every bite. Join me as we dive into this easy recipe that will surely become a family favorite!
Why I Love This Recipe
- Healthy Ingredients: This recipe uses wholesome ingredients like bananas and oats, making it a nutritious snack option.
- Quick and Easy: With just 10 minutes of prep time, these bars are simple to whip up for a last-minute treat.
- Customizable: You can easily alter the recipe by adding your favorite mix-ins, such as nuts or chocolate chips.
- Perfect for Meal Prep: These oat bars are great for prepping ahead of time, making them a convenient grab-and-go snack throughout the week.
Ingredients
List of Required Ingredients
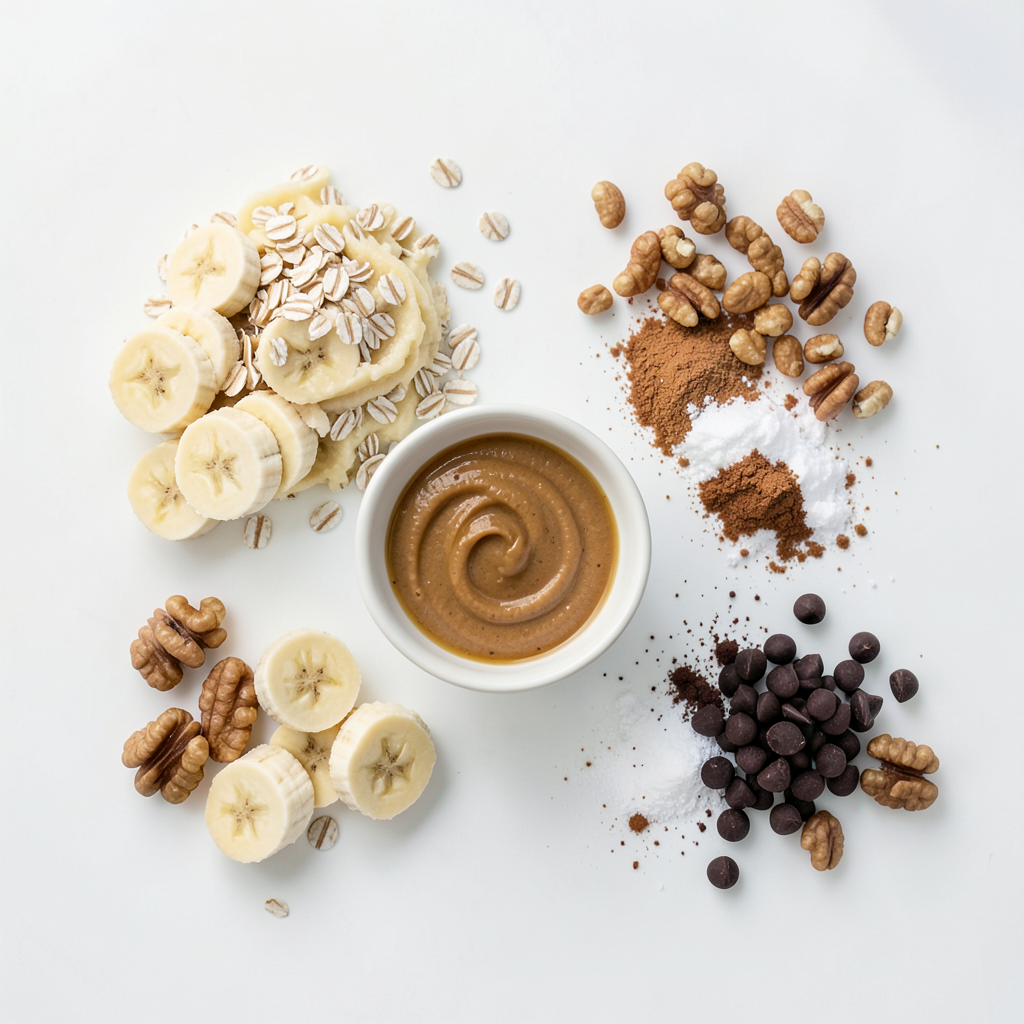
- 2 ripe bananas
- 1 cup old-fashioned rolled oats
- 1/2 cup natural peanut butter (smooth or crunchy)
- 1/4 cup honey or pure maple syrup
- 1/4 teaspoon ground cinnamon
- 1/4 teaspoon sea salt
- Optional ingredients: 1/2 cup dark chocolate chips, 1/4 cup chopped nuts (walnuts or almonds)
The key to making great peanut butter banana oat bars lies in your ingredients. Start with two ripe bananas. The riper they are, the sweeter your bars will be. Next, use one cup of old-fashioned rolled oats. This gives the bars a hearty texture.
Add half a cup of natural peanut butter. You can choose smooth or crunchy based on your taste. A quarter cup of honey or pure maple syrup adds natural sweetness. If you prefer a spiced touch, include a quarter teaspoon of ground cinnamon. A little sea salt enhances the overall flavor, so don’t skip it.
If you want to mix things up, consider adding optional ingredients. Dark chocolate chips can make your bars more indulgent. Chopped nuts like walnuts or almonds add a nice crunch. These simple choices boost flavor and nutrition.
With these ingredients, you’ll create a snack that is not only tasty but also satisfying. Each bite offers a perfect blend of sweet and nutty flavors. Plus, they are easy to make, which is a win for anyone in the kitchen!
Step-by-Step Instructions
Preparing the Baking Pan
- Preheat the oven to 350°F (175°C).
- Line an 8x8 inch baking pan with parchment paper. Leave extra paper on the sides for easy lifting.
Mixing the Ingredients
- In a large bowl, combine the well-mashed bananas and peanut butter.
- Add honey or maple syrup and mix well until smooth.
Incorporating Dry Ingredients
- Fold in rolled oats, ground cinnamon, and sea salt.
- If you want, add dark chocolate chips and chopped nuts.
Baking
- Transfer the mixture to the baking pan. Spread it out evenly.
- Bake for 20-25 minutes until the edges turn golden brown.
Cooling and Serving
- Let the bars cool in the pan for 10 minutes.
- Use the parchment paper to lift the bars out. Transfer them to a wire rack and slice into bars.
Tips & Tricks
Classic Tips for Perfect Bars
Ripe bananas are key for sweet bars. They bring natural sweetness and moisture. Choose bananas with spots for the best flavor. If you like sweeter bars, add more honey or maple syrup. Taste as you mix to find your perfect balance.
Customization Ideas
You can change peanut butter to almond or sunbutter for variety. This swap gives a different nutty taste. Mix in dried fruits like raisins or cranberries for added flavor. Seeds, like chia or flax, also add crunch and nutrition.
Presentation Suggestions
Serve your bars on a rustic wooden board for a cozy feel. A decorative platter makes them look special. Drizzle extra peanut butter or honey on top before serving. This simple touch enhances both flavor and looks.
Pro Tips
- Use Overripe Bananas: The riper your bananas are, the sweeter and more flavorful your bars will be. Look for bananas with brown spots for the best results.
- Experiment with Mix-Ins: Feel free to add your favorite mix-ins like dried fruits, seeds, or other nut butters to customize these bars to your taste.
- Storing Tips: Store any leftover bars in an airtight container at room temperature for up to a week, or refrigerate for longer freshness.
- Perfect Baking: Keep an eye on the bars during baking; every oven is different. Check for a golden edge but ensure the center is still soft for the best texture.
Variations
Different Flavor Profiles
You can change the taste of your peanut butter banana oat bars in fun ways.
- Chocolate Peanut Butter Banana Oat Bars: Add 1/2 cup of dark chocolate chips. The chocolate adds a rich flavor that pairs perfectly with banana. You’ll love the sweet, creamy bites.
- Cinnamon Raisin Peanut Butter Bars: Mix in 1/4 cup of raisins and a little extra cinnamon. This gives a warm, cozy taste that feels like a hug in a bar.
Dietary Alternatives
You can also adjust the recipe for different diets.
- Vegan version: Swap the honey for pure maple syrup. This keeps the bars sweet without using any animal products. It’s still delicious!
- Gluten-free option: Use certified gluten-free oats. This way, everyone can enjoy the bars without worry. They’ll taste just as great!
Seasonal Variations
Make your bars fit the season by adding seasonal flavors.
- Fall twist: Mix in 1/2 cup of pumpkin puree or sweet potato. It adds moisture and a lovely flavor that screams autumn.
- Seasonal fruits: Toss in fresh blueberries or strawberries for a fruity flair. This gives a pop of color and fresh taste that's hard to resist!
Storage Information
Best Practices for Storage
To keep your Peanut Butter Banana Oat Bars fresh, store them in an airtight container. This helps prevent moisture and keeps them tasty. You can place them in the fridge or keep them at room temperature. If you choose room temperature, make sure your kitchen is cool. For best taste, I prefer storing them in the fridge.
Freezing Instructions
Freezing these bars is easy. First, let the bars cool completely. Then, wrap them tightly in plastic wrap or foil. Place them in a freezer-safe bag or container. When you're ready to eat, thaw them in the fridge overnight. You can also warm them in the microwave for a few seconds. This makes them soft and chewy again.
Shelf Life Expectation
When stored properly, these bars last about a week in the fridge. If you freeze them, they can last up to three months. Watch for signs of spoilage like a sour smell or mold. If you see any, it's best to throw them away. Enjoy these bars fresh for the best flavor!
FAQs
Can I use quick oats instead of rolled oats?
You can use quick oats, but the texture will change. Quick oats are smaller and softer. They make the bars more chewy. Rolled oats give a heartier bite. I prefer rolled oats for this recipe. They hold their shape better while baking.
What can I replace peanut butter with for allergies?
If you have allergies, you can swap peanut butter for other spreads. Here are some great options:
- Sunflower seed butter
- Almond butter
- Soy nut butter
- Cashew butter
These alternatives keep the bars tasty and safe for everyone.
How do I know when the bars are done baking?
Look for these signs to know your bars are done:
- The edges should turn golden brown.
- The middle should feel set, not jiggly.
- A toothpick should come out clean when you poke it.
These cues will help you bake perfect bars every time.
Can I make these bars ahead of time?
Yes, you can make these bars ahead of time! They store well. To prep, bake the bars and let them cool. Then, cut them into squares. Place them in an airtight container. They last about a week in the fridge.
Are these bars suitable for meal prep?
These bars are great for meal prep! You can portion them into single servings. Wrap each bar in parchment or plastic wrap. This makes them easy to grab when you're busy. They are perfect for quick breakfasts or snacks.
These easy banana oat bars mix healthy and tasty ingredients for a great snack. You need ripe bananas, oats, peanut butter, and a few other items to make them. Follow the steps to bake and enjoy your bars. Remember, you can customize them to suit your taste. Store them well to keep them fresh. With these tips, you’ll have a delicious treat ready when you want it. Now, go ahead and try making these bars for yourself!