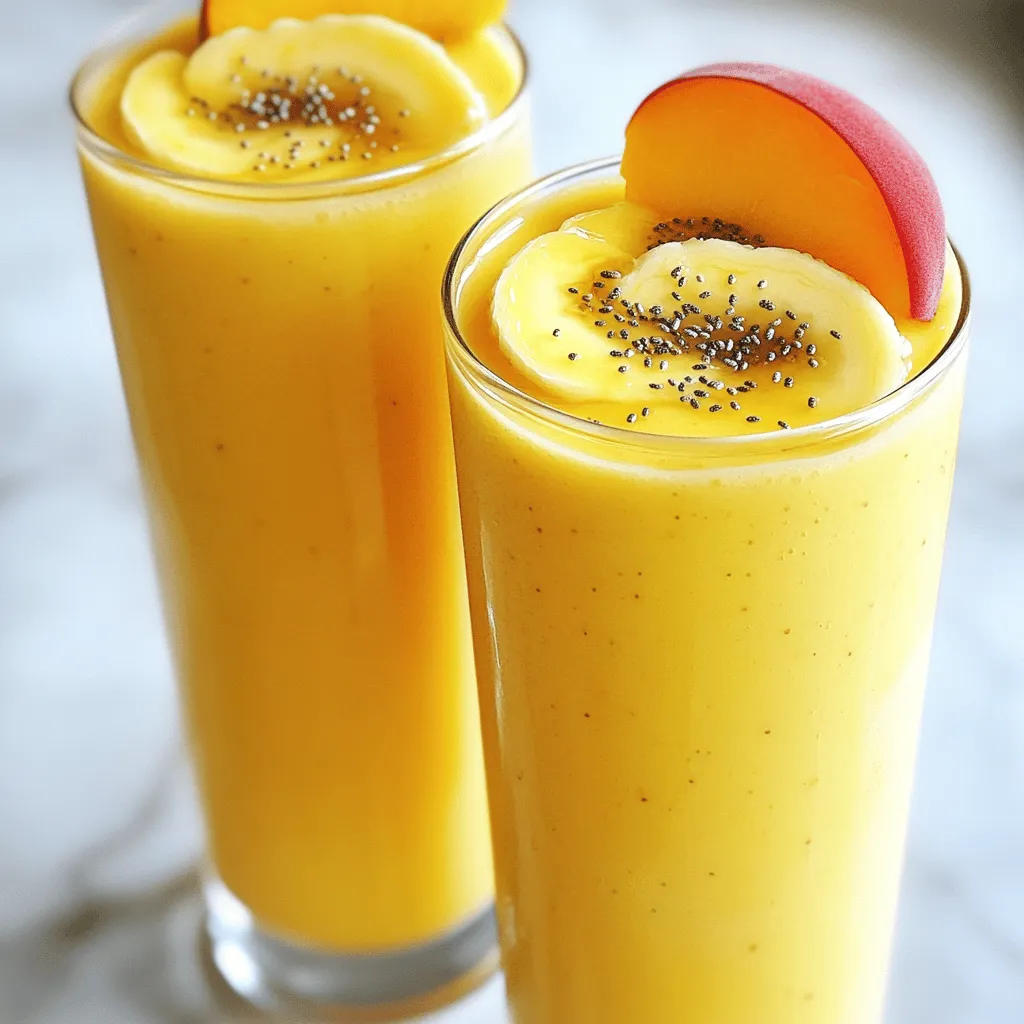
Are you ready to refresh your day with a delicious Peach Banana Smoothie? This tasty drink is not just good for your taste buds; it’s also packed with nutrients! In this article, I’ll share easy steps, helpful tips, and fun variations to make your smoothie habit both healthy and exciting. Grab your blender, and let’s dive into making the ultimate fruit smoothie that’s perfect for any time of day!
Ingredients
Main Ingredients
– 2 ripe peaches, pitted and sliced into wedges
– 1 ripe banana, peeled and sliced into rounds
– 1 cup Greek yogurt (plain or vanilla for added sweetness)
– 1 cup almond milk (or your preferred milk)
– ½ teaspoon pure vanilla extract
Optional Ingredients
– 1 tablespoon honey or maple syrup (to enhance sweetness)
– 1 tablespoon chia seeds (for extra nutrition and texture)
– Ice cubes (for a thicker smoothie)
Equipment Needed
– Blender
– Measuring cups and spoons
– Knife and cutting board
– Tall glasses for serving
This Peach Banana Smoothie is a great treat. Each ingredient brings flavor and health. You can customize it with options like chia seeds or honey. Use fresh, ripe fruits for the best taste. If you want a thicker drink, add ice cubes. Enjoy making this smoothie, as it only takes five minutes!
Step-by-Step Instructions
Preparation Steps
Start by gathering all your ingredients. Use ripe peaches and bananas for the best taste. Slice the peaches into wedges and the banana into rounds. You can do this easily with a knife. Next, measure out one cup of Greek yogurt and almond milk. If you want, grab honey or maple syrup to sweeten it more. Lastly, have chia seeds and ice cubes ready if you like them in your smoothie.
Blending Process
Place the sliced peaches and banana into your blender first. This helps the fruit blend well. Next, pour in the Greek yogurt and almond milk. If you want a sweeter smoothie, add honey or maple syrup now. Then, drizzle in the vanilla extract for extra flavor. Sprinkle in chia seeds if you’re using them. Secure the lid tightly. Blend on high speed until the mixture is smooth. If you want a thicker smoothie, add ice cubes and blend again until mixed well.
Serving Suggestions
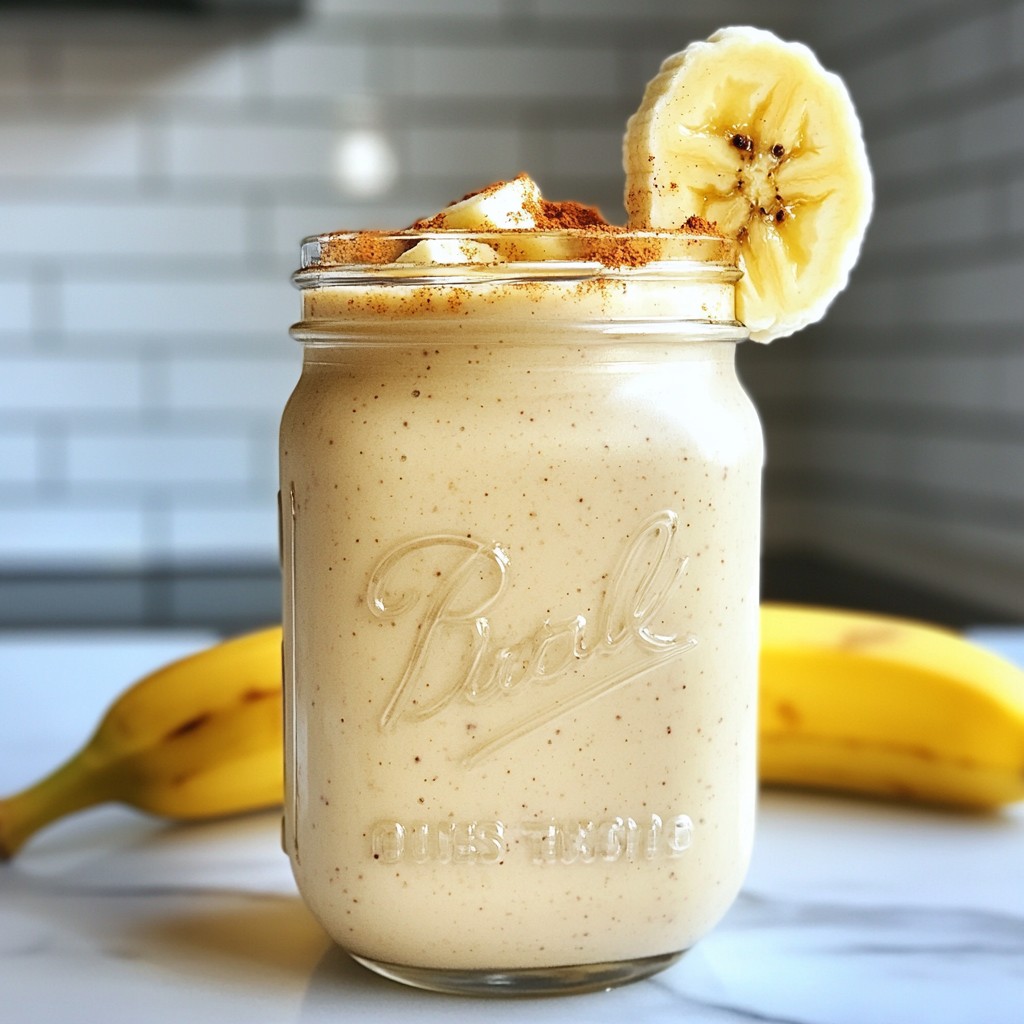
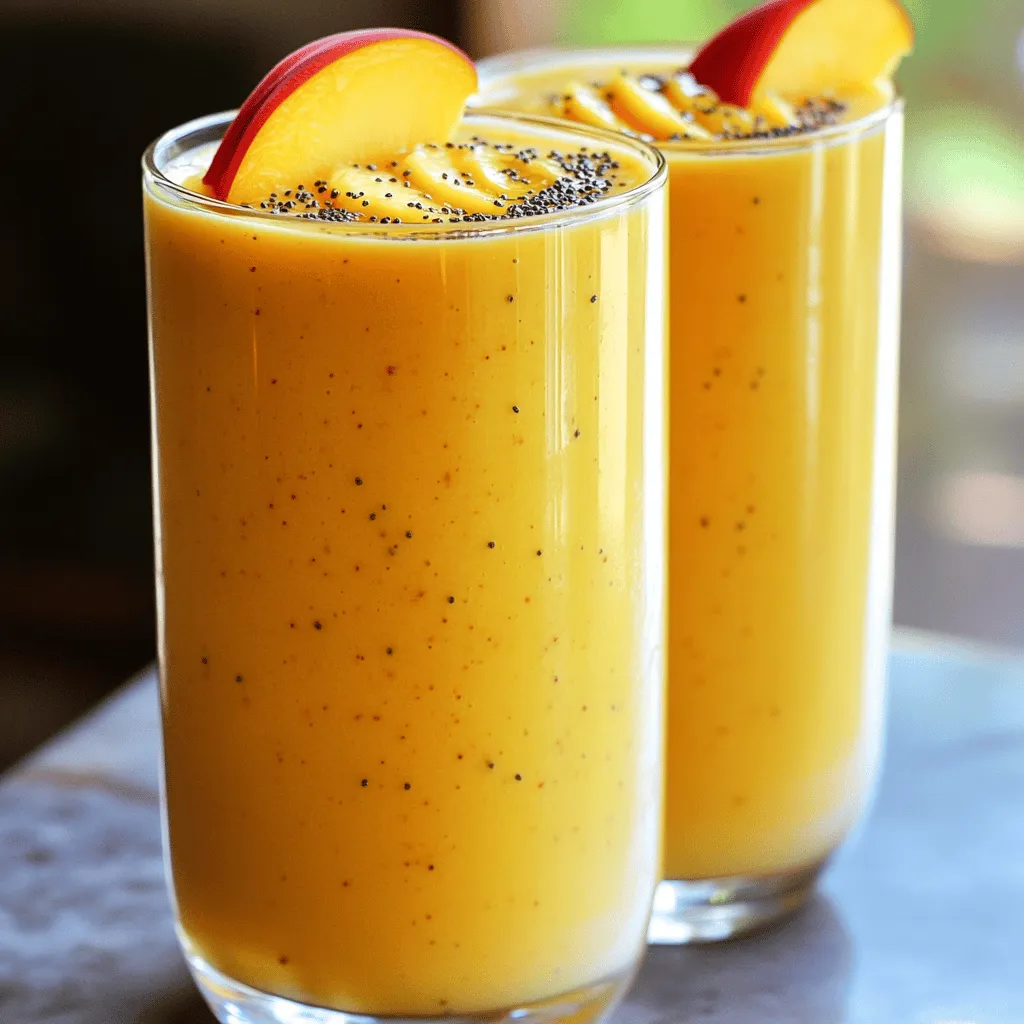
Pour your smoothie into tall glasses. Fill them generously for a nice presentation. You can garnish with a peach slice on the rim if you like. A sprinkle of chia seeds on top adds a nice touch too. Serve your smoothie right away to enjoy its freshness.
Tips & Tricks
Choosing Ripe Fruits
Select ripe peaches and bananas for the best taste. Ripe peaches feel soft and smell sweet. Look for bananas with a few brown spots. They are sweeter and creamier. If the fruit is not ripe, your smoothie may taste bland.
Adjusting Sweetness
Taste your smoothie before you serve it. If it is not sweet enough, add honey or maple syrup. Start with a small amount and blend. You can always add more later. If your fruits are very ripe, you might not need extra sweeteners.
Achieving the Perfect Consistency
For a thick smoothie, use frozen fruit or add ice cubes. Blend until smooth and creamy. If your smoothie is too thick, add more almond milk. Blend again until you reach your desired texture. Enjoy the refreshing flavor of your Peach Banana Smoothie!
Variations
Adding Greens (Spinach/Kale)
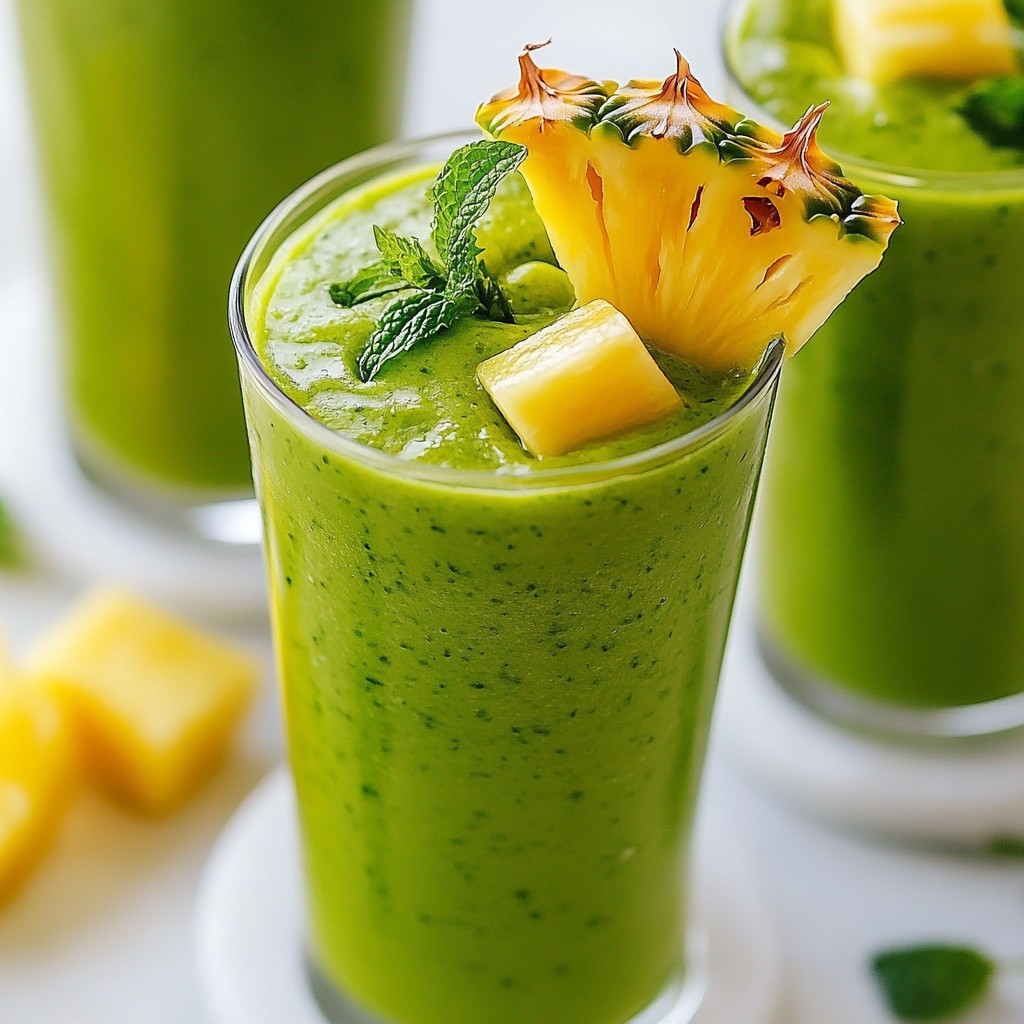
You can add greens to your smoothie for extra health benefits. Spinach and kale are great choices. They blend well and do not change the taste. Just a handful of fresh greens boosts vitamins and minerals. This option is perfect for a quick health fix. It keeps your drink light and refreshing while adding nutrients.
Tropical Twist (Adding Pineapple/Mango)
To make your smoothie a tropical delight, try adding pineapple or mango. Both fruits pair well with peaches and bananas. Pineapple adds a zingy flavor, while mango brings creaminess. Just a half-cup of either will create a whole new taste. It makes your drink feel like a vacation in a glass!
Protein Boost (Using Protein Powder)
For a protein boost, consider adding a scoop of protein powder. This option is great if you want a filling snack or meal replacement. Choose a flavor that matches your taste. Vanilla or unflavored powders blend well without overpowering the smoothie. This adjustment helps keep you satisfied longer and supports muscle health.
Feel free to explore these variations to keep your Peach Banana Smoothie exciting and delicious!
Storage Info
Short-term Storage
You can store your peach banana smoothie in the fridge. Use an airtight container. It stays fresh for up to 24 hours. I recommend enjoying it right away for the best taste. If you wait, the smoothie may separate. Give it a good shake before drinking if that happens.
Freezing Instructions
To freeze, pour the smoothie into ice cube trays or freezer-safe bags. This method is great for later use. When you want a smoothie, just blend the frozen cubes with a bit of milk. It makes a quick and cool treat. The flavors will stay fresh for about one month in the freezer.
Re-serving Tips
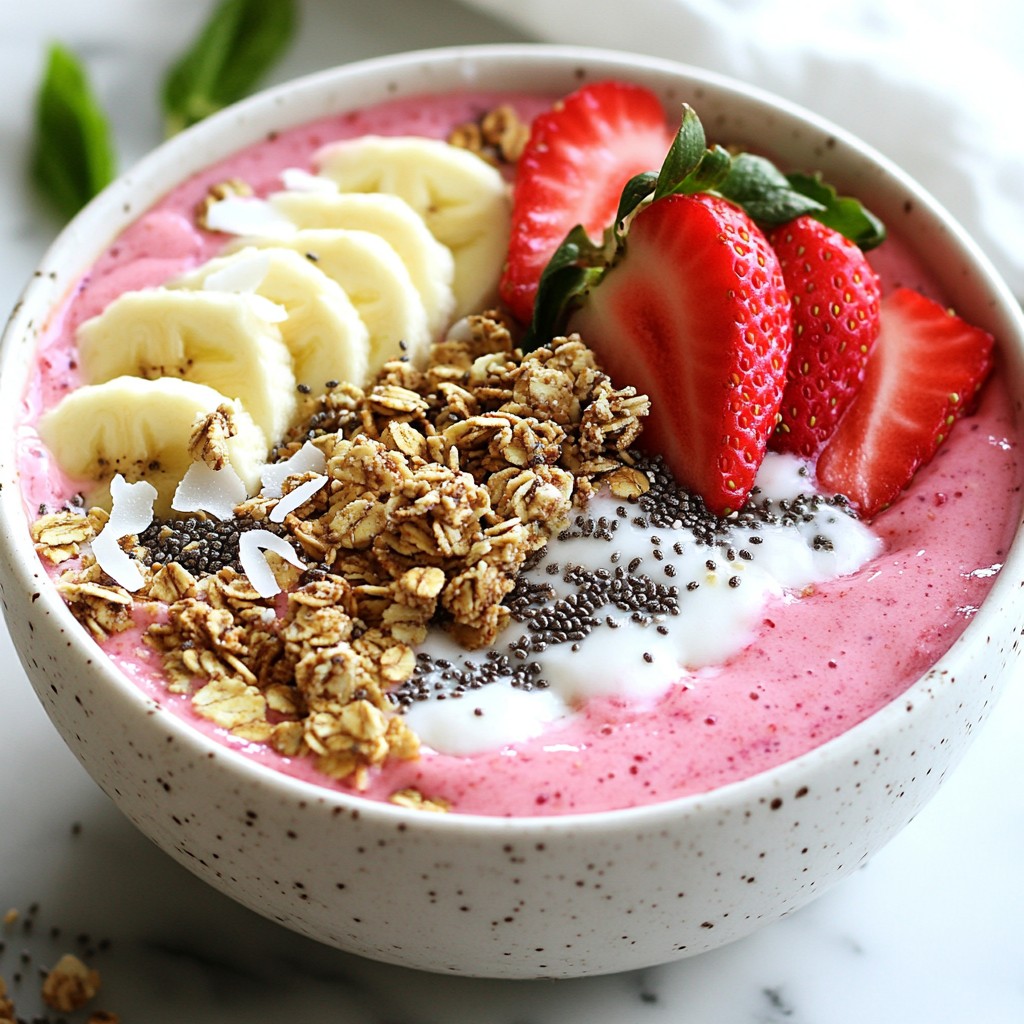
If you want to re-serve your smoothie, check its texture first. If it thickens too much, add a splash of milk. Blend again until it’s smooth. You can also add more fruit or yogurt for a flavor boost. For a fun twist, top it with fresh fruit or nuts. This makes each serving feel special!
FAQs
Can I use frozen fruit for a Peach Banana Smoothie?
Yes, you can use frozen fruit. Frozen peaches and bananas work great in this smoothie. They can make your drink cold and thick. Just blend them with the other ingredients as you would with fresh fruit. This method saves time and adds a nice chill. Plus, frozen fruit is often picked at its peak ripeness, so it’s still tasty!
Is this smoothie vegan-friendly?
To make this smoothie vegan, swap the Greek yogurt for a plant-based yogurt. You can also use almond milk or any other plant-based milk. The honey can be replaced with maple syrup or agave syrup. With these changes, you’ll have a delicious vegan Peach Banana Smoothie!
What are the nutritional benefits of this smoothie?
This smoothie is packed with nutrients. Peaches are rich in vitamins A and C, which help your skin and immune system. Bananas provide potassium, which is good for your heart. Greek yogurt adds protein and probiotics for gut health. Chia seeds, if you choose to add them, are filled with fiber and omega-3 fatty acids. This drink is not just tasty; it’s a healthy choice too!
You learned all about making a delicious Peach Banana Smoothie. We covered the main and optional ingredients, along with the tools you need. I provided step-by-step instructions for preparing, blending, and serving your smoothie. We also shared tips for choosing ripe fruit and tweaking the taste. Plus, you discovered fun variations and storage tips. Now, you can enjoy this tasty drink any time, knowing how to store and personalize it. Get ready to blend up some fun!