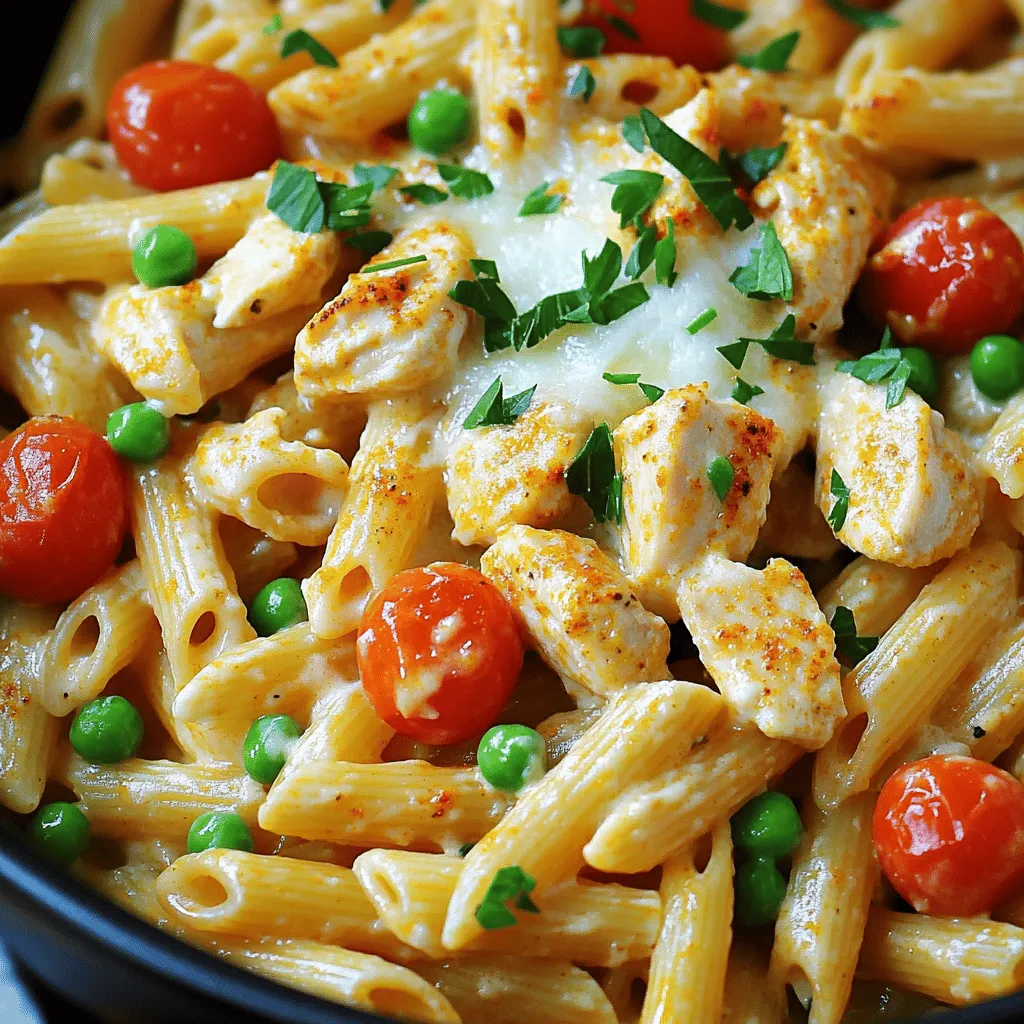
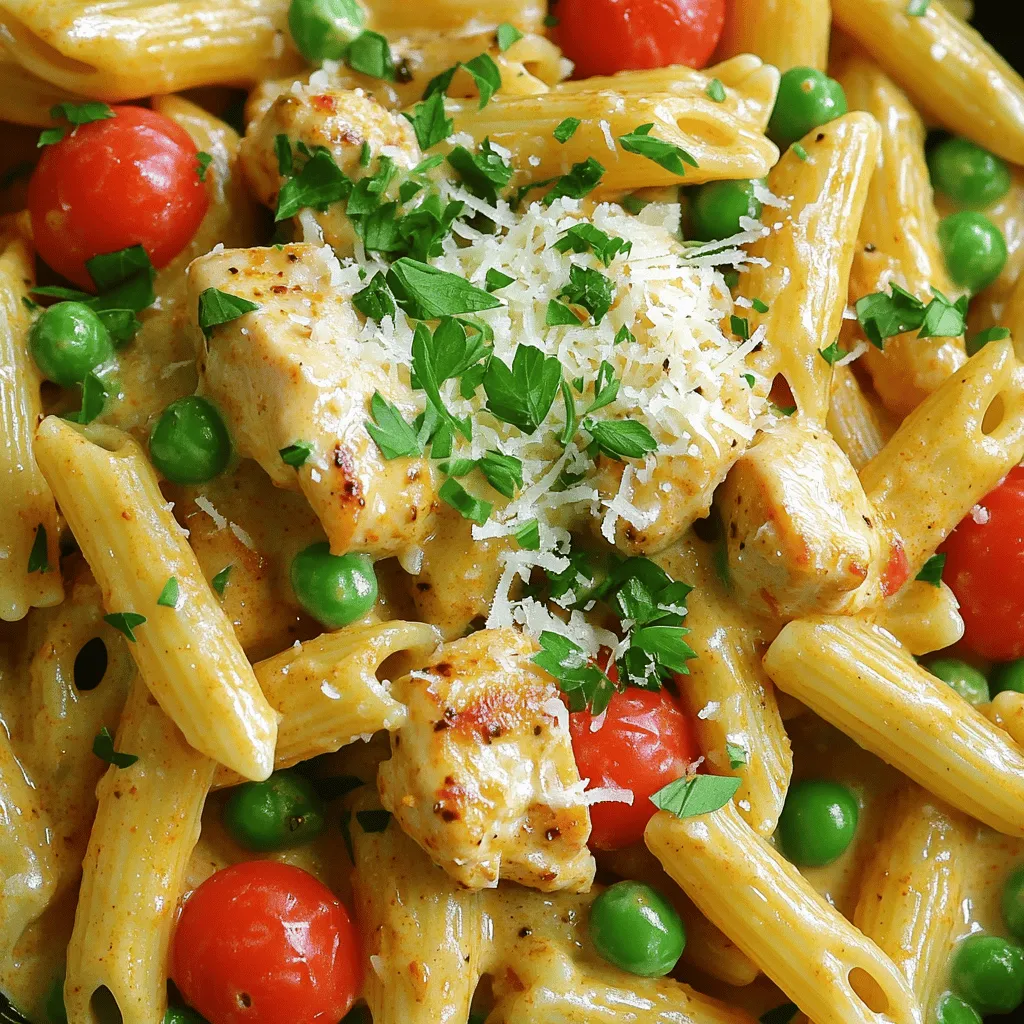
Ready for a dish that packs a punch? My One-Pot Creamy Cajun Pasta is both bold and easy, perfect for your weeknight dinner. You’ll whip up this flavorful meal in no time, using just one pot! In this post, I will guide you through every step, from gathering ingredients to storing leftovers. Let’s dive into this delicious journey and make dinner fun again!
Ingredients
Complete List of Ingredients
To make One-Pot Creamy Cajun Pasta, you will need the following ingredients:
– 12 oz penne pasta
– 1 tablespoon extra virgin olive oil
– 1 medium onion, finely chopped
– 3 cloves garlic, minced
– 1 bell pepper (red or yellow), diced into small pieces
– 1 pound chicken breast, cut into bite-sized chunks
– 2 tablespoons Cajun seasoning (adjust to taste)
– 1 cup heavy cream
– 2 cups low-sodium chicken broth
– 1 cup cherry tomatoes, halved
– 1 cup frozen peas (no need to thaw)
– 1/2 cup freshly grated Parmesan cheese
– Salt and freshly ground black pepper to taste
– Fresh parsley, finely chopped (for garnish)
Ingredient Tips for Flavor Enhancement
To boost the flavor of this dish, consider these tips:
– Use fresh herbs. Fresh parsley adds a bright touch.
– For a kick, add red pepper flakes. They bring heat without overpowering.
– Sauté the garlic until golden. This enhances its sweet flavor.
– Use homemade chicken broth if you can. It tastes richer and fresher.
– Try different cheese. Aged cheddar or smoked Gouda can add depth.
Suggested Substitutions for Dietary Preferences
If you have dietary needs, here are some swaps:
– For a vegetarian version: Replace chicken with mushrooms or zucchini.
– For a dairy-free option: Use coconut cream instead of heavy cream.
– For gluten-free: Use gluten-free penne pasta, which cooks similarly.
– For lower fat: Use half-and-half instead of heavy cream.
– For a protein boost: Add cooked shrimp or sausage for extra flavor.
Embrace these suggestions to make the dish your own while keeping it delicious!
Step-by-Step Instructions
Detailed Cooking Process
Let’s make One-Pot Creamy Cajun Pasta together. First, gather your ingredients. You will need penne pasta, olive oil, onion, garlic, bell pepper, chicken, Cajun seasoning, heavy cream, chicken broth, cherry tomatoes, peas, Parmesan cheese, salt, and pepper.
1. Start by heating the olive oil in a large pot over medium heat. Once it’s hot, add the chopped onion. Sauté it for about 3 to 4 minutes. The onion should become soft and see-through.
2. Next, add the minced garlic and diced bell pepper. Cook them together for 2 more minutes. Stir often until you smell the nice aroma and the bell pepper softens.
3. Now, add the chicken pieces and Cajun seasoning. Sear the chicken for 5 to 7 minutes. Make sure to stir until the chicken turns brown and cooks all the way through.
4. Gradually pour in the chicken broth and the uncooked penne pasta. Stir well so the pasta is covered in liquid. Turn up the heat until it boils. Once boiling, reduce the heat, cover the pot, and simmer for about 12 minutes. Stir once or twice while cooking. The pasta should be firm but cooked.
5. After the pasta cooks, add the heavy cream, halved cherry tomatoes, and frozen peas. Stir well and let it cook for another 2 to 3 minutes. This helps the flavors blend and the sauce thicken a bit.
6. Take the pot off the heat. Add the grated Parmesan cheese, stirring until it melts and mixes in. Taste it and add salt and pepper if needed.
7. Finally, sprinkle the chopped parsley on top just before serving.
Visual Cooking Guide and Tips
To make this process easier, you can watch cooking videos online. They often show step-by-step how to sauté, simmer, and mix. These visual guides can help you feel more confident in the kitchen.
For tips, remember to stir often to avoid sticking. If you want a stronger flavor, let the garlic and onion cook a little longer.
Cooking Time Breakdown
– Preparation Time: 10 minutes
– Cooking Time: 20 minutes
– Total Time: 30 minutes
This meal serves four people, making it perfect for family dinners or gatherings.Enjoy your cooking!
Tips & Tricks
Best Practices for Creamy Texture
To get that rich, creamy sauce, use heavy cream. It blends well and coats the pasta nicely. Make sure to stir in the cream after the pasta is cooked. This helps it mix evenly. For an extra touch, add in the Parmesan cheese right at the end. It melts beautifully and adds depth to the flavor.
How to Adjust Spice Levels
Cajun seasoning can pack a punch. If you want less heat, use only one tablespoon at first. Taste as you go. You can always add more later. For those who love spice, consider adding a pinch of cayenne pepper. Just a little can elevate the dish. Always remember, it’s easier to add spice than to take it away.
Common Mistakes to Avoid
One common mistake is overcooking the pasta. You want it al dente, which means it should still have a slight bite. Keep an eye on the timer. Another mistake is not stirring the dish enough while it simmers. This can cause the pasta to stick to the bottom. Stirring ensures even cooking and prevents burning. Lastly, don’t forget to taste as you cook. This helps you adjust flavors to your liking.
Variations
Vegetarian Version of One-Pot Creamy Cajun Pasta
You can easily make a vegetarian version of this dish. Just swap the chicken for veggies like mushrooms, zucchini, or spinach. Add about 2 cups of your favorite vegetables. You can also use vegetable broth instead of chicken broth. This change keeps the creamy texture while offering great flavor. The Cajun spices will still shine through, making it a hearty meal without meat.
Adding Seafood for a Cajun Twist
For seafood lovers, adding shrimp or crab can elevate the dish. Use about 1 pound of shrimp, peeled and deveined. Add the shrimp right after cooking the veggies. They cook quickly and soak up the Cajun flavor. Crab meat can also work well. Just fold it in during the last few minutes of cooking. This twist gives a fresh taste and makes it more luxurious.
Gluten-Free Options for Pasta
If you need a gluten-free option, choose gluten-free pasta. Many varieties work well in this recipe, like brown rice or quinoa pasta. The cooking times may vary, so check the package. Use gluten-free chicken broth to keep the dish safe for those with gluten sensitivities. With these changes, you can enjoy a delicious meal without worry.
Storage Info
How to Store Leftovers Safely
After enjoying your One-Pot Creamy Cajun Pasta, store any leftovers in an airtight container. Let the pasta cool to room temperature first. This step helps prevent bacteria growth. Place the container in the fridge. The pasta will stay fresh for up to three days. If you have a lot, consider dividing it into smaller portions for easy meals later.
Reheating Tips Without Compromising Flavor
When you’re ready to enjoy your pasta again, reheating properly is key. Use a skillet for best results. Add a splash of chicken broth or cream to keep it moist. Heat over medium-low, stirring gently. This method helps restore the creamy texture. You can also microwave it in short bursts. Stir in between to heat evenly.
Freezing Instructions for Meal Prep
If you want to freeze your One-Pot Creamy Cajun Pasta, it’s easy! First, let it cool completely. Then, scoop it into freezer-safe containers. Leave some space at the top to allow for expansion. It can last for up to three months in the freezer. When you’re ready to eat, thaw it overnight in the fridge. Reheat as mentioned above for a delicious meal anytime.
FAQs
What pasta works best for this recipe?
I recommend using penne pasta for this dish. It holds the creamy sauce well. You can also use fusilli or farfalle if you prefer. Each type adds a fun shape to the meal. Just be sure to adjust cooking times if you change the pasta type.
Can I make One-Pot Creamy Cajun Pasta ahead of time?
Yes, you can make this dish ahead of time. Cook it fully and let it cool. Store it in an airtight container in the fridge. It stays fresh for up to three days. When ready to eat, just reheat it on the stove. Add a splash of cream to revive the sauce.
How do I make this dish spicier?
To amp up the heat, add more Cajun seasoning. You can also include crushed red pepper flakes. For a different kick, try diced jalapeños or hot sauce. Start with a little, taste, and add more as needed. This way, you control the spice level.
What’s the best way to serve One-Pot Creamy Cajun Pasta?
Serve this pasta in wide bowls to show off the sauce. Top it with extra Parmesan cheese and fresh parsley. For a complete meal, pair it with crusty bread. This allows you to soak up the yummy sauce. Enjoy the vibrant colors and rich flavors.This will guide you step-by-step to create your dish.
In this post, we covered all you need for One-Pot Creamy Cajun Pasta. We looked at ingredients, cooking steps, and even made variations for your taste. I shared tips to get the best texture and flavor while avoiding common mistakes. Remember, you can store leftovers safely and reheat them to keep the taste. Whether you want a vegetarian twist or a spicy kick, you now have the tools to customize your dish. Enjoy cooking and make this recipe your own!


