Do you crave a sweet treat that’s quick and hassle-free? Look no further! This No-Bake Chocolate Eclair Cake is not just delicious; it's also easy to make. With creamy layers and rich chocolate frosting, it's perfect for any occasion. In this post, I’ll guide you through simple steps, ingredient tips, and creative variations. Get ready to impress your friends and family with this delectable dessert! Let’s dive in!
Why I Love This Recipe
- Effortless Delight: This cake requires no baking, making it a quick and easy dessert option for any occasion.
- Layered Texture: The combination of creamy pudding and crunchy graham crackers creates an irresistible layered texture that everyone loves.
- Chocolate Indulgence: The rich chocolate frosting on top adds a decadent finish that satisfies any chocolate craving.
- Make-Ahead Convenience: This dessert can be prepared in advance and stored in the refrigerator, making it perfect for parties or gatherings.
Ingredients
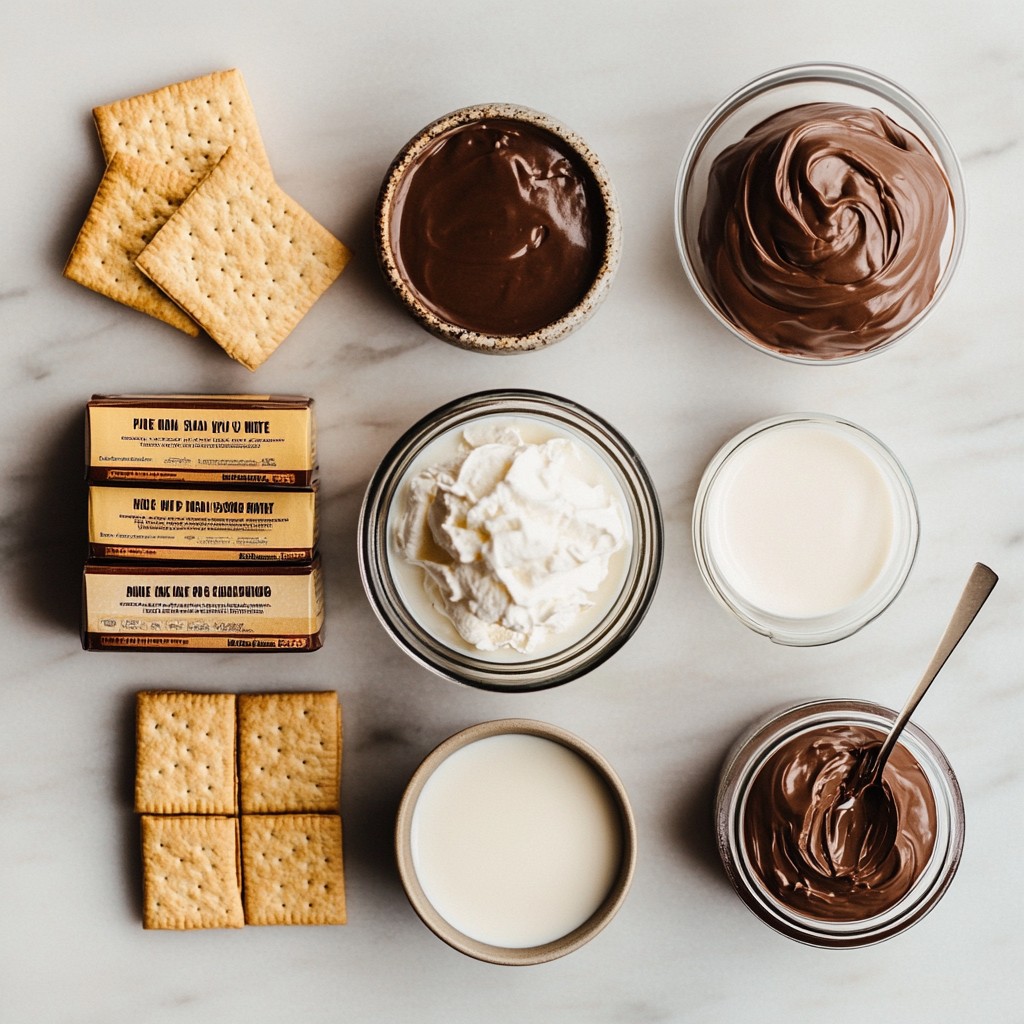
Required Ingredients
- 2 boxes (3.4 oz each) instant vanilla pudding mix
- 4 cups cold milk
- 1 box (14 oz) graham crackers
- 1 tub (8 oz) whipped topping, thawed
- 1 cup chocolate frosting (store-bought or homemade)
- 1 tablespoon milk (for thinning the frosting)
I choose instant vanilla pudding mix for its quick prep time and smooth texture. Cold milk helps the pudding set perfectly. Graham crackers create a light, crunchy base, making each bite delightful. The whipped topping adds creaminess and a light touch. Finally, chocolate frosting provides a rich, sweet finish.
Optional Ingredients
- Fresh whipped cream (for garnish)
- Cocoa powder or chocolate shavings (for decoration)
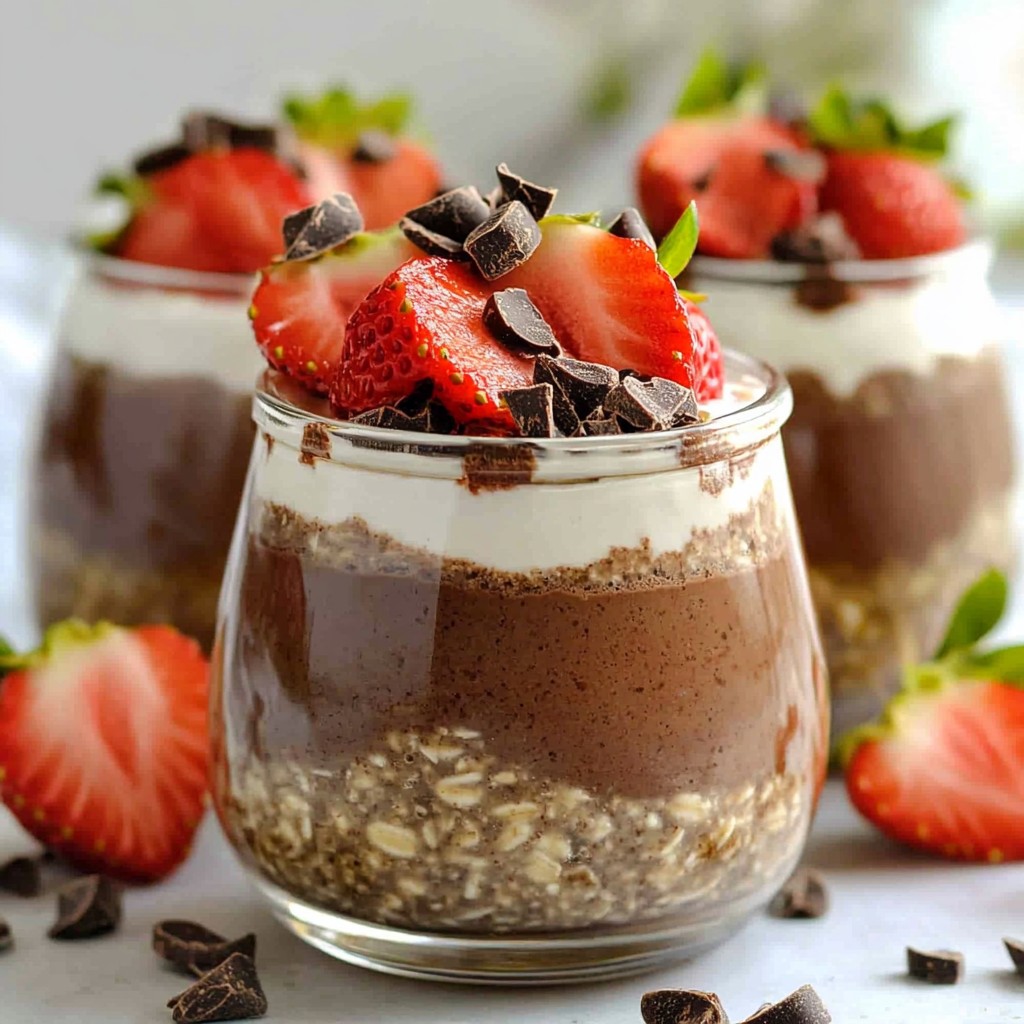
- Sliced fruits (like bananas or strawberries)
You can top the cake with fresh whipped cream for a rich touch. Cocoa powder or chocolate shavings add visual flair. If you want a fruity twist, try adding sliced bananas or strawberries. For dietary needs, use gluten-free graham crackers and dairy-free whipped topping. Enjoy personalizing this treat!
Step-by-Step Instructions
Preparation Steps
1. Start by grabbing a large mixing bowl. Add 2 boxes of instant vanilla pudding mix to the bowl.
2. Pour in 4 cups of cold milk. Use a whisk to blend them well. Mix until smooth and creamy.
3. Let the pudding mixture rest for about 5 minutes. This helps it thicken nicely.
4. After it thickens, fold in 1 tub of thawed whipped topping. Be gentle as you stir it in. This keeps the mixture light and fluffy.
5. Now, take a 9x13 inch baking dish. Start by layering one-third of the graham crackers on the bottom. You can break them into pieces to fit.
6. Spread half of the pudding mixture over the graham crackers. Use a spatula to smooth it evenly across.
7. Add another layer of graham crackers on top of the pudding. Make sure it's evenly spread out.
8. Pour the remaining pudding mixture over this layer. Smooth it out so it covers all the crackers.
9. Finish with a final layer of graham crackers on top. This helps seal the cake.
Final Assembly
1. In a small bowl, mix 1 cup of chocolate frosting with 1 tablespoon of milk. Stir until it’s smooth and pourable.
2. Evenly spread the thinned chocolate frosting over the top layer of graham crackers. Make sure it covers everything.
3. Cover the baking dish with plastic wrap. Place it in the refrigerator to chill.
4. Let the cake chill for at least 4 hours, or overnight if you can wait. This helps the flavors blend and the cake to set.
5. When ready, slice the cake into squares. Each piece will show off the layers of deliciousness!
Tips & Tricks
Achieving the Best Texture
To get the best texture in your No-Bake Chocolate Eclair Cake, focus on the folding technique. When you fold in the whipped topping, do it slowly. Use a spatula and gently combine it with the pudding. This keeps the mixture light and fluffy.
For the pudding to thicken well, mix the instant pudding and cold milk in a bowl. Whisk until it is smooth. Let it rest for about five minutes. This waiting time allows it to reach the right creamy thickness.
Serving Suggestions
When it comes to serving, presentation matters. You can garnish each slice with fresh whipped cream. A light dusting of cocoa powder or a sprinkle of chocolate shavings adds elegance.
For cutting, use a sharp knife. Slice it into squares. This method helps keep the layers intact. Serve each piece on a plate for a lovely look. Enjoy the delightful layers and flavors!
Pro Tips
- Use Cold Ingredients: Ensure your milk and whipped topping are thoroughly chilled. This helps the pudding mixture set correctly and enhances the overall creaminess of the cake.
- Layering Technique: For a more aesthetically pleasing presentation, alternate the direction of the graham cracker placement in each layer. This adds visual interest and structure to the cake.
- Flavor Variations: Experiment with flavored pudding mixes, such as chocolate or butterscotch, to create a unique twist on this classic dessert. Just remember to pair flavors that complement each other.
- Chill Overnight: For the best texture and flavor, allow the cake to chill overnight. This allows the layers to meld beautifully and makes slicing easier!
Variations
Flavor Variations
You can change the flavor of this cake by using different puddings. Try chocolate or banana pudding for a fun twist. You can also mix in flavored extracts. A dash of almond or mint extract can add a nice touch.
Fruits can enhance your cake. Sliced strawberries, bananas, or raspberries work well. Just layer them between the pudding and graham crackers. You can also sprinkle nuts, like walnuts or pecans, for a crunchy bite. They add texture and flavor.
Dietary Adaptations
If you need a gluten-free option, look for gluten-free graham crackers. They taste great and work well in this recipe. You can also try using gluten-free cookie crumbs as a base layer.
For vegan alternatives, swap the milk for a plant-based option, like almond or coconut milk. Use a vegan whipped topping instead of regular whipped cream. You can also find vegan chocolate frosting to top the cake. This way, everyone can enjoy this tasty treat!
Storage Info
Proper Storage Techniques
To keep your No-Bake Chocolate Eclair Cake fresh, store it in the fridge. Use an airtight container or cover the baking dish with plastic wrap. This keeps the cake moist and tasty. Make sure to keep it in the coldest part of the fridge. Enjoy your cake within 3 to 5 days for the best flavor.
Freezing Instructions
Yes, you can freeze this cake! To freeze, cover it tightly with plastic wrap and then aluminum foil. This prevents freezer burn. The cake can last up to three months in the freezer. When you are ready to eat it, remove it from the freezer and place it in the fridge overnight to thaw. For best results, do not refreeze once thawed. Serve it cold for a refreshing dessert!
FAQs
Common Questions
Can I use homemade pudding instead of instant? Yes, you can use homemade pudding. Just make sure it cools before you mix it with the whipped topping. This will help keep the cake layers light and fluffy.
How long can I keep the cake in the fridge? You can keep the cake in the fridge for up to 4 days. It gets better as it sits. Just cover it well to keep it fresh.
Troubleshooting
What to do if the pudding doesn’t thicken? If your pudding doesn’t thicken, try whisking it for a bit longer. You can also let it rest for a few more minutes. If it still won't thicken, you may need to add more pudding mix.
Solutions for cake layers slipping or falling apart If your cake layers slip, try using more pudding between layers. This helps hold everything together. Also, make sure the cake is well-chilled before cutting. This will keep the layers stable.
This guide covers everything for a delicious pudding cake. You learned about necessary and optional ingredients, including choices for dietary needs. The step-by-step instructions help you make, layer, and frost your cake perfectly.
To achieve the best texture, follow the tips for folding and thickening. You also explored fun flavor variations and proper storage techniques. With these insights, you can enjoy your pudding cake fresh or frozen. Happy baking!