Craving takeout but want something better? Try making Mongolian Shrimp at home! This dish features juicy shrimp and crisp veggies, all coated in a sweet and savory sauce. You can whip it up in no time, using fresh ingredients that pack flavor. With my step-by-step guide, you’ll create a delicious meal that’s even better than your favorite restaurant. Let’s dive into this homemade delight!
Ingredients
Main Ingredients
– 1 lb large shrimp, peeled and deveined
– 2 tablespoons vegetable oil
– 1 medium onion, sliced thin
– 3 cloves garlic, minced
– 1 inch piece of fresh ginger, grated
– 1 red bell pepper, sliced into strips
– 1 cup snow peas, trimmed and ends snapped off
– 1/4 cup green onions, finely chopped
Sauce Components
– 1/4 cup low-sodium soy sauce
– 2 tablespoons brown sugar (packed)
– 1 tablespoon cornstarch
– 1 teaspoon sesame oil
Optional Garnishes
– Fresh cilantro leaves for garnish
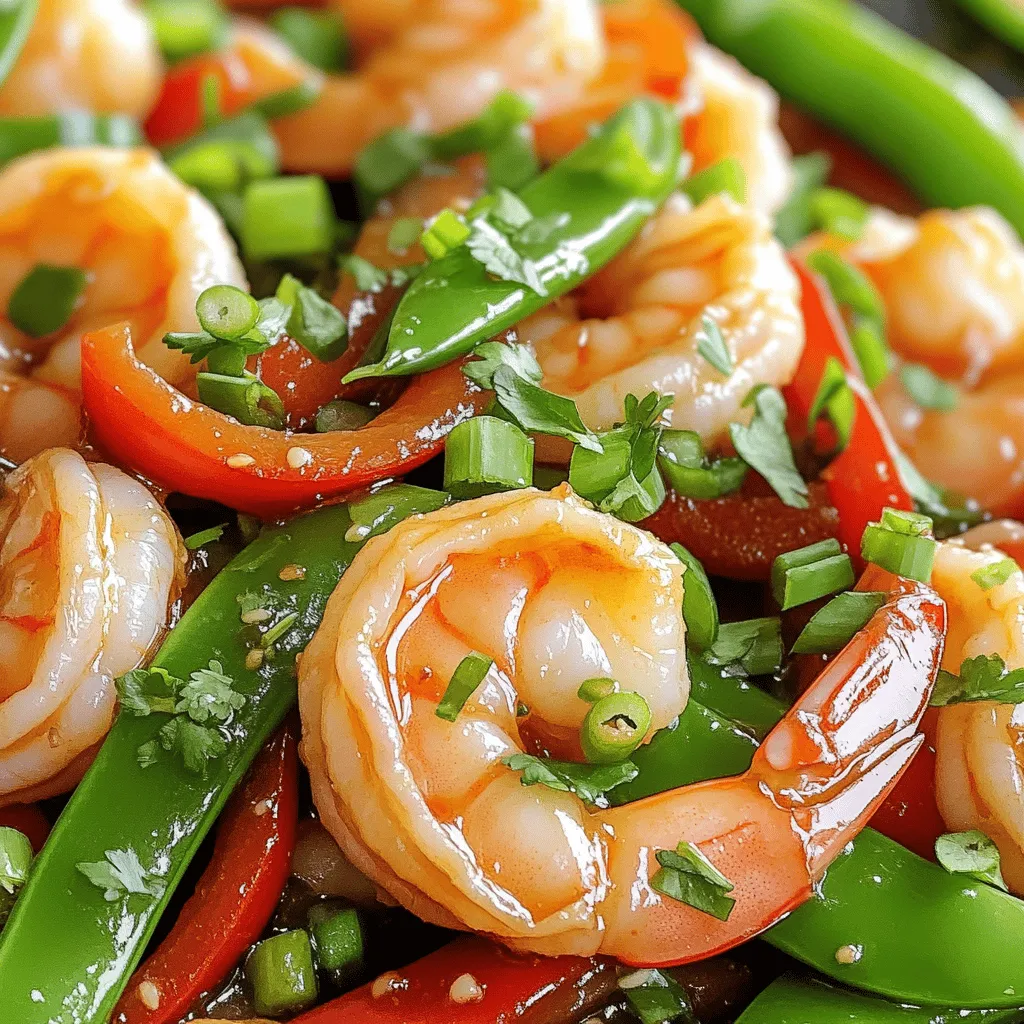
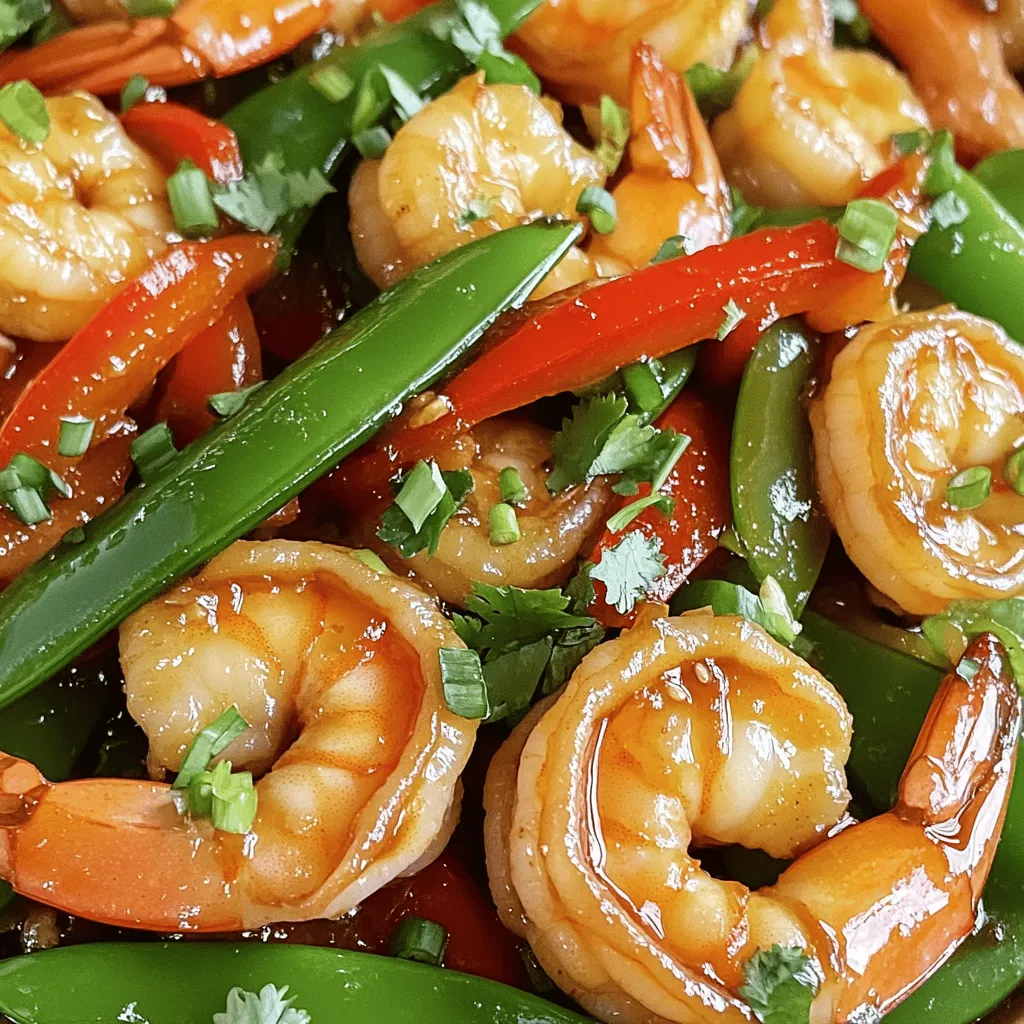
The main ingredients create a vibrant, colorful dish. The large shrimp form the base, giving you a sweet and tender bite. The onion, garlic, and ginger add depth and warmth to the flavor. The red bell pepper and snow peas bring fresh crunch and color.
For the sauce, the low-sodium soy sauce keeps it savory without being too salty. Brown sugar gives a touch of sweetness, while cornstarch thickens the sauce, making it cling perfectly to the shrimp and veggies. A splash of sesame oil adds a lovely nutty flavor.
Lastly, fresh cilantro leaves are a great touch. They brighten the dish and add a hint of freshness. You can skip them if you prefer, but I recommend trying them. Each ingredient works together to create a dish that’s better than takeout!
Step-by-Step Instructions
Preparing the Sauce
– Combine soy sauce, brown sugar, and cornstarch in a bowl; whisk until smooth.
This sauce is key to the flavor. It balances salty and sweet notes. Use low-sodium soy sauce if you want it lighter. The cornstarch helps thicken the sauce later on.
Cooking the Vegetables
– Heat vegetable oil in a skillet; sauté onions until soft.
Start by heating the oil over medium-high. The oil should shimmer before adding onions. Cook the onions for about 2-3 minutes. You want them soft and translucent.
– Add garlic and ginger, cooking until fragrant.
Next, add your minced garlic and grated ginger. Stir them in for about 30 seconds. This step adds a nice aroma and depth to your dish. Be careful not to burn them.
Cooking the Shrimp
– Add shrimp to the skillet; cook until pink and opaque.
Now, it’s shrimp time! Toss in the peeled and deveined shrimp. Cook for about 2-3 minutes. They should turn bright pink and opaque. This shows they are cooked through.
– Incorporate red bell pepper and snow peas; stir-fry for tender-crisp texture.
Add your sliced red bell pepper and snow peas next. Stir-fry for about 2 minutes. You want them to stay crunchy, adding great texture to the meal.
Finalizing the Dish
– Pour the sauce into the skillet; cook until thickened.
Now, pour that prepared sauce into the skillet. Stir everything to coat well. Let it cook for 1-2 minutes. The sauce should thicken and become glossy.
– Drizzle with sesame oil and add green onions; toss to combine.
Finally, drizzle some sesame oil over the top. Add your chopped green onions and toss everything gently. This step adds a fresh taste and bright color to your dish.
Tips & Tricks
Perfectly Cooked Shrimp
To avoid tough shrimp, cook them just right. Here are some key tips:
– Look for color change: Shrimp turn pink and opaque when cooked.
– Use high heat: A hot skillet cooks shrimp fast and keeps them tender.
– Timing is key: Cook shrimp for only 2-3 minutes until done.
– Avoid overcrowding: Cook in batches if needed for even cooking.
Choosing Fresh Ingredients
Fresh ingredients make a big difference in taste. Here’s how to choose the best:
– Shrimp: Look for shrimp with a firm texture and a mild smell. Fresh shrimp should not have a strong fishy odor.
– Vegetables: Choose bright, crisp vegetables. For bell peppers, look for smooth skin, and for snow peas, choose ones that snap easily.
– Onions and Garlic: Select firm onions and plump garlic cloves without soft spots.
Enhancing Flavor
To elevate your dish, try these simple tips:
– Add spices: A pinch of red pepper flakes adds heat.
– Include fresh herbs: Cilantro or basil will brighten flavors.
– Experiment with sauces: A splash of oyster sauce or hoisin sauce can add depth.
– Try citrus: A squeeze of lime or lemon juice can brighten the dish.
These tips will help you make your Mongolian shrimp better than takeout. Enjoy your cooking!
Variations
Protein Alternatives
You can easily swap shrimp for other proteins. Chicken works great. Use boneless, skinless chicken thighs or breasts. Just cut them into bite-sized pieces. Cook them until they are no longer pink. Tofu is also a fantastic choice. Use firm tofu, cut into cubes. Sauté it until golden. Beef is another option. Thinly slice flank steak or sirloin and cook until tender. Each protein adds its own flavor and texture.
Vegetable Substitutions
Feel free to mix up the veggies in this dish. Broccoli florets add a nice crunch. Carrots, sliced thin, bring a sweet note. Snap peas or bell peppers can also shine in this recipe. You can even try bok choy for a unique twist. Make sure to keep the vegetables crisp for a great bite.
Gluten-Free Options
Want to make this dish gluten-free? Swap out the soy sauce for tamari. Tamari has a similar taste but is gluten-free. You can also use coconut aminos as a soy sauce alternative. Be sure to check labels on any sauces you use. This way, you can enjoy a delicious meal without worry.
Storage Info
Refrigeration Guidelines
Store your leftover Mongolian shrimp in an airtight container. This keeps it fresh. Place it in the fridge within two hours of cooking. It will last for 2 to 3 days. When you’re ready to eat, just check for any off smells or changes in texture.
Freezing Instructions
To freeze Mongolian shrimp, let it cool completely first. Then, transfer it to a freezer-safe bag. Remove as much air as possible to prevent freezer burn. This dish can stay frozen for up to three months. Label the bag with the date, so you remember when you made it.
Reheating Tips
Reheat your shrimp in a skillet over medium heat. Add a splash of water or broth to keep it moist. Stir gently to ensure even heating. You can also use a microwave, but cover it to keep moisture in. Heat it in short bursts, stirring in between, until hot. Enjoy your meal just like the first time!
FAQs
Can I make Mongolian shrimp ahead of time?
Yes, you can prepare Mongolian shrimp in advance. Start by cooking the shrimp and vegetables. Let them cool before storing. Keep the dish in an airtight container in the fridge for up to two days. When you are ready to eat, just reheat it in a pan over medium heat. Add a splash of water or soy sauce to help it heat evenly. This makes it quick and easy for busy nights!
What can I serve with Mongolian shrimp?
Mongolian shrimp pairs well with many sides. Here are some great ideas:
– Jasmine rice
– Fried rice
– Noodles
– Steamed broccoli
– Stir-fried vegetables
– Egg rolls
These options add variety and make your meal more filling.
How spicy is this recipe?
This recipe is not very spicy. The flavors come from garlic, ginger, and soy sauce. If you want some heat, try adding red pepper flakes or sliced jalapeños. You can control the spice by adding little by little until it suits your taste.
Can I use frozen shrimp for this recipe?
Yes, you can use frozen shrimp. Just make sure to thaw them first. You can do this by placing them in the fridge overnight or running them under cold water for about 10 minutes. After thawing, pat them dry with paper towels before cooking. This helps them cook evenly and prevents extra water from affecting the sauce.
This blog post covered how to make a delicious Mongolian shrimp dish. You learned about the main ingredients, sauce components, and cooking steps. I shared helpful tips for perfecting the shrimp and selecting fresh veggies. You also discovered variations with different proteins and ways to store your leftovers.
Mongolian shrimp is easy to make and full of flavor. With these steps, you can create a dish that impresses friends and family. Enjoy cooking!


