If you’re looking for a tasty and easy dish, Mexican Street Corn Salad is a perfect choice. This salad blends sweet corn, zesty spices, and creamy dressing for a flavor explosion. I will guide you through the simple steps to create this fresh treat. Whether you’re cooking for a crowd or just for yourself, this recipe will impress. Let’s dive in and make your taste buds happy!
Ingredients
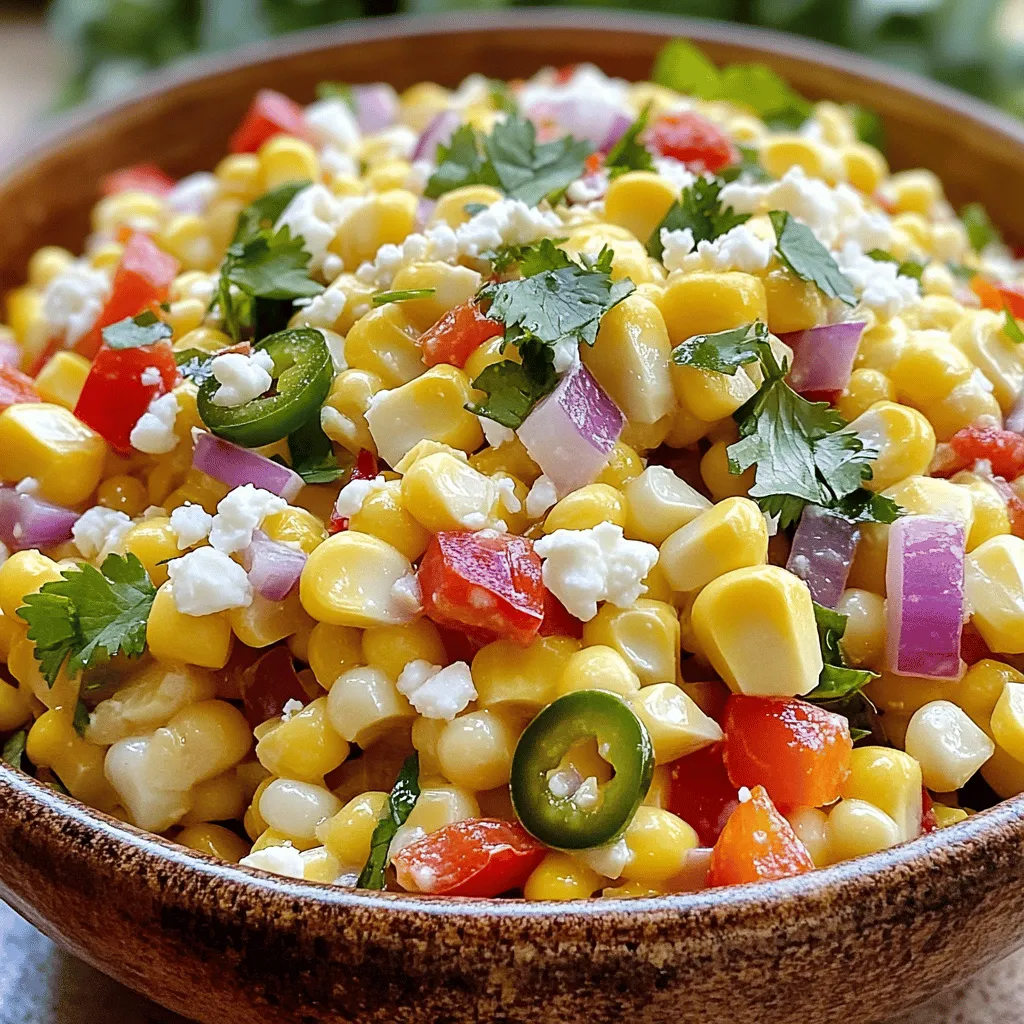
List of Fresh Ingredients
– 4 ears of fresh corn, husked
– 1 red bell pepper, finely diced
– 1 jalapeño, minced (seeds removed for milder flavor)
– 1/2 cup red onion, finely chopped
– 1/2 cup crumbled feta cheese
– 1/4 cup fresh cilantro, chopped
Fresh ingredients are key for flavor. Use ripe corn to get the best taste. Choose a red bell pepper that is firm and shiny. For a spicy kick, pick a fresh jalapeño. If you want a milder taste, remove the seeds before mincing. Red onion adds a nice crunch and sweetness. Feta cheese brings creaminess, while cilantro adds a fresh touch.
Recommended Spices and Seasonings
– 1/4 cup mayonnaise
– 2 tablespoons fresh lime juice
– 1 teaspoon chili powder
– Salt and pepper to taste
Mayonnaise gives the salad a rich texture. Fresh lime juice adds brightness. Chili powder brings a warm spice. Adjust salt and pepper to make it perfect for your taste.
Optional Substitutions for Dietary Needs
If you need alternatives, there are many options. For a vegan version, swap mayonnaise for a plant-based option. Use avocado instead of feta for creaminess without dairy. If you’re allergic to corn, try quinoa or rice as a base. These swaps will still keep your salad tasty and fun.
Step-by-Step Instructions
Cooking and Cutting the Corn
Start by boiling the corn. Fill a large pot with water and bring it to a rolling boil. Carefully add the husked corn and set a timer for 5 to 7 minutes. You want the kernels to be tender but not mushy. After boiling, remove the corn and let it cool. Once cool, take a sharp knife and slice the kernels off the cob. Cut close to the cob to get the most corn. Place the kernels into a large mixing bowl.
Mixing the Vegetable Ingredients
Now that your corn is ready, it’s time to add the veggies. Add the finely diced red bell pepper, minced jalapeño, and finely chopped red onion to the bowl with the corn. Mix everything gently. This adds color and crunch to your salad. Make sure all the veggies are well combined.
Preparing the Dressing
Let’s whip up a tasty dressing. In a small bowl, whisk together mayonnaise, fresh lime juice, chili powder, salt, and pepper. Mix until smooth. This dressing is creamy with a zesty kick. It’s the secret to making your salad pop with flavor.
Combining the Salad and Final Touches
Pour the dressing over the corn and vegetable mix. Toss gently to coat all the ingredients. Next, fold in the crumbled feta cheese and chopped cilantro. These add creaminess and fresh flavor. Finally, taste your salad. If you want it tangier, add a bit more lime juice or a sprinkle of chili powder. Cover the bowl and chill it in the fridge for at least 30 minutes. This helps the flavors blend together. Serve it in a big bowl or individual portions, garnished with extra cilantro and a lime wedge. Enjoy your Fiesta Corn Delight!
Tips & Tricks
Best Practices for Cooking Corn
To make great Mexican street corn salad, start with fresh corn. Look for bright yellow kernels. They should be firm and moist. When boiling, bring water to a strong boil before adding the corn. Cook for 5-7 minutes. This keeps the corn sweet and tender. After cooking, cool the corn before cutting. This step is key for easy handling.
Flavor Enhancements and Adjustments
To make the salad pop, try adding lime juice. It adds brightness and tang. If you want more heat, keep some jalapeño seeds. For a creamier texture, use more mayonnaise. Adjust salt and pepper to suit your taste. If you like it smoky, add a dash of smoked paprika. Always taste as you go to find your perfect flavor.
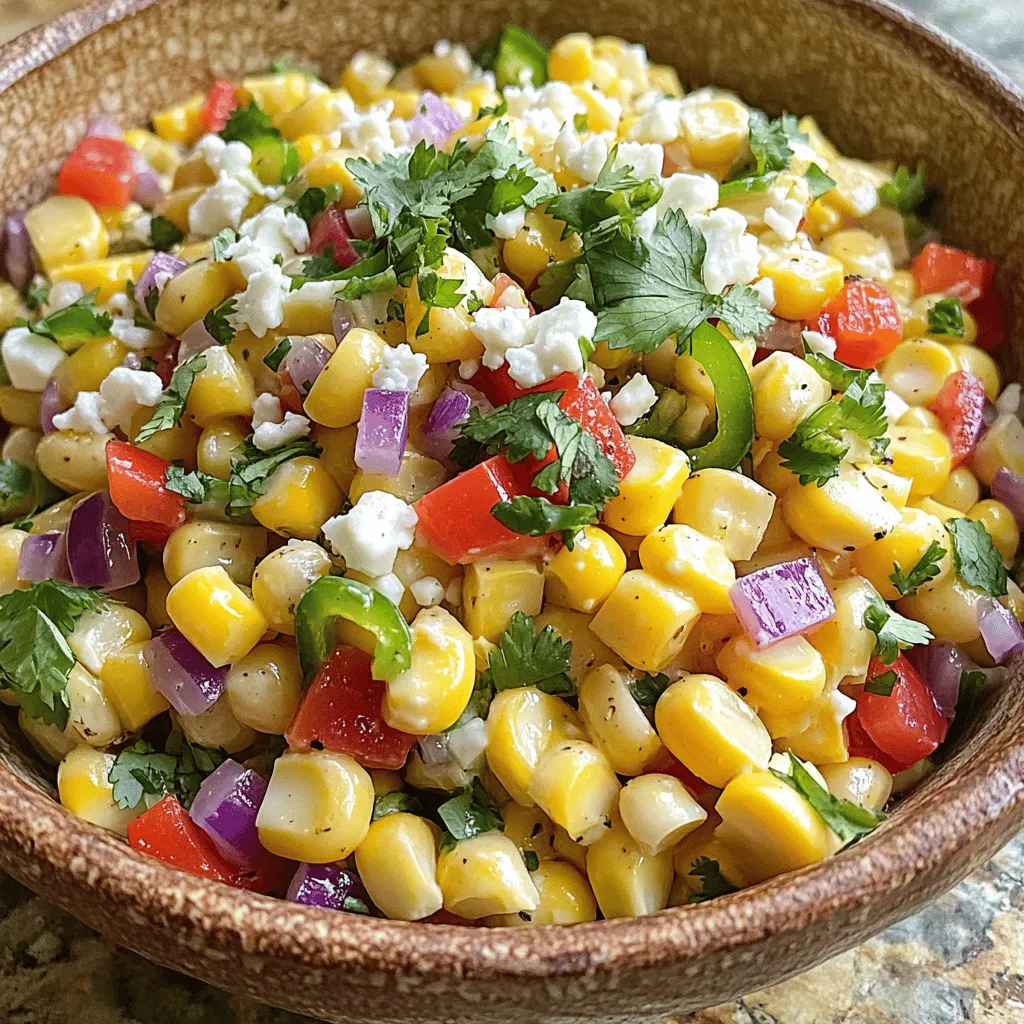
Presentation and Serving Suggestions
Serve the salad in a large bowl for sharing. You can also use individual cups for a fun twist. Garnish with extra cilantro and lime wedges. This adds color and freshness. For a festive touch, sprinkle some chili powder on top. Chill the salad before serving. This helps the flavors blend well and makes it extra refreshing.
Variations
Different Cheese Options
In this salad, cheese adds creaminess and flavor. Feta cheese is great, but you can try others. Cotija cheese is a popular choice. It gives a salty kick. You can also use queso fresco for a lighter touch. Both options bring a different taste to the dish. Mixing cheeses can be fun too.
Spicy or Mild Versions
You can adjust the heat to fit your taste. If you like spice, add more jalapeño or even some hot sauce. For a milder salad, remove the jalapeño seeds. You can also skip the jalapeño altogether. This way, the dish stays fresh and sweet.
Adding Additional Vegetables or Proteins
Feel free to get creative with your salad! Toss in ingredients like diced avocado or cherry tomatoes. They add color and flavor. You can also add proteins for extra heartiness. Grilled chicken or shrimp work well. Adding black beans can make it more filling too.
Storage Info
Best Practices for Refrigeration
To keep your Mexican Street Corn Salad fresh, place it in an airtight container. This helps stop air from spoiling the taste. If you don’t have a container, cover the bowl tightly with plastic wrap. Store it in the fridge right after making it. It tastes best when chilled for at least 30 minutes before serving.
Freezing Instructions for Leftovers
If you want to save leftovers, freezing is an option. However, this salad has fresh veggies that may not freeze well. If you freeze it, keep in mind the texture might change. To freeze, place the salad in a freezer-safe bag or container. Remove as much air as possible. It can last up to three months in the freezer. Thaw it in the fridge before eating again.
How Long the Salad Lasts
In the fridge, your salad will stay fresh for about three to five days. Keep an eye on the ingredients. If you notice any changes in smell or color, it’s best to toss it. Always trust your senses. If it doesn’t seem right, don’t eat it. For the best flavor, enjoy your salad within the first few days.
FAQs
What is Mexican Street Corn Salad?
Mexican Street Corn Salad is a fresh dish inspired by elote, a popular Mexican street food. It features juicy corn, peppers, and a creamy dressing. The flavors mix well, making it a vibrant side dish. This salad is perfect for summer gatherings or barbecues.
Can I make this salad ahead of time?
Yes, you can make this salad ahead of time. It tastes even better after chilling. Prepare it a few hours or a day in advance. Just keep it covered in the fridge. The flavors will blend nicely, giving you a delicious dish.
What can I substitute for mayonnaise?
If you want to avoid mayonnaise, you have options. Use Greek yogurt for a creamy texture. You can also try sour cream or a vegan mayo. These substitutes keep the salad rich and tasty without losing flavor.
Is this recipe gluten-free?
Yes, this salad is gluten-free. All the ingredients, like fresh corn and vegetables, contain no gluten. It’s safe for those with gluten sensitivities. Always check labels on any packaged ingredients to be sure.
How can I make it vegan?
To make this salad vegan, simply swap the mayonnaise for a vegan version. You can use avocado or cashew cream for creaminess. Replace feta cheese with a vegan alternative or omit it altogether. This keeps the dish plant-based and delicious.
You now have a complete guide to making Mexican Street Corn Salad. We covered fresh ingredients, spices, and optional swaps for your diet. You learned step-by-step how to prepare it, from cooking the corn to mixing in flavors. Tips on enhancing taste and serving ideas help make this dish shine. Don’t forget the variations, like adding different cheeses or making it spicy. Finally, we discussed storage tips to keep your salad fresh. Enjoy creating your delicious salad, and feel free to customize it to your taste!


