Craving a sweet treat? These Matcha White Chocolate Cookies are easier to make than you think! Their creamy white chocolate paired with earthy matcha creates a unique flavor that will wow your taste buds. In this post, I’ll guide you step-by-step on making these delightful cookies, including handy tips and fun variations. Get ready to impress your friends and family with this tasty and easy recipe!
Why I Love This Recipe
- Unique Flavor Combination: The blend of matcha and white chocolate creates a delightful taste that is both rich and refreshing, making these cookies stand out from traditional varieties.
- Simple to Make: This recipe is straightforward, with easy-to-follow steps that make baking a breeze, even for novice bakers.
- Perfect for Any Occasion: Whether it’s a casual get-together or a special celebration, these cookies are sure to impress guests with their vibrant color and unique flavor.
- Customizable Ingredients: You can easily adapt the recipe by adding nuts or using different types of chocolate, allowing for a personalized touch each time you bake.
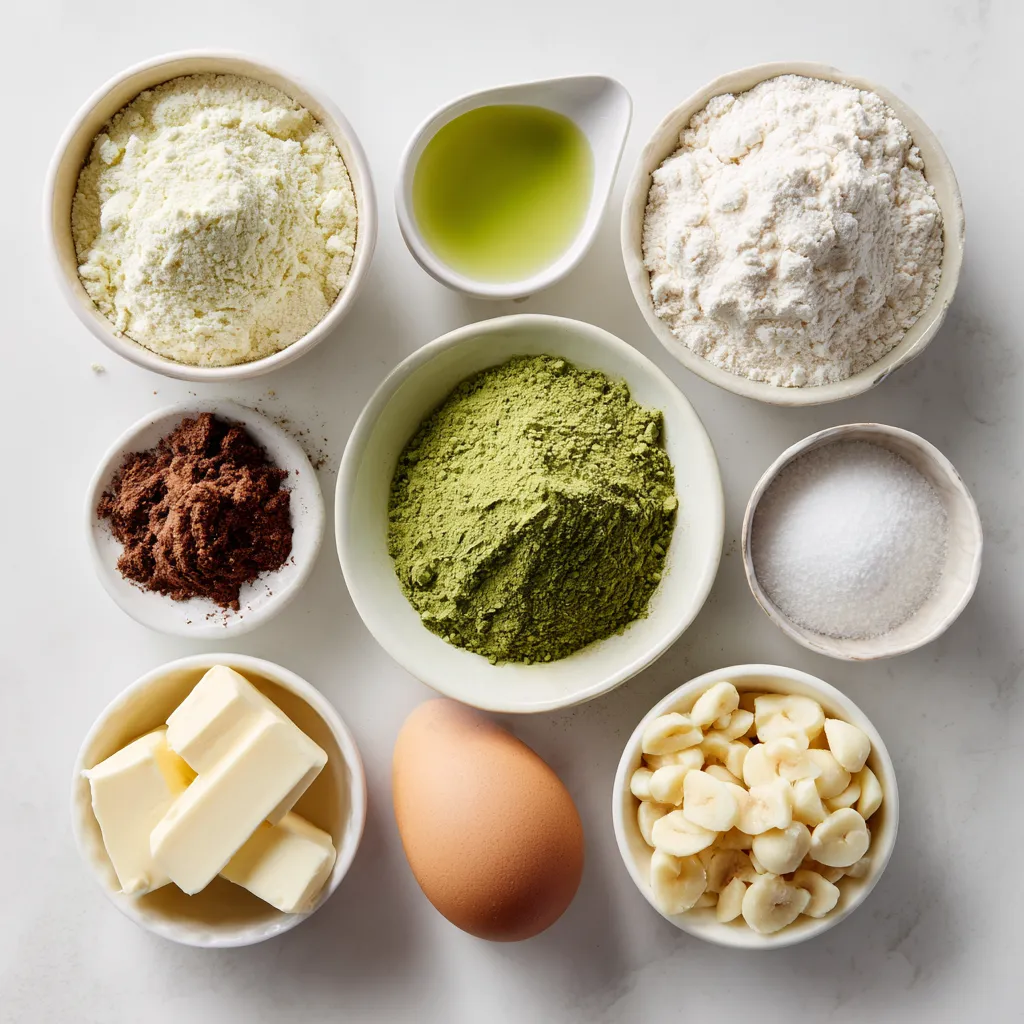
Ingredients
List of Ingredients
– 2 cups all-purpose flour
– 1 tablespoon matcha green tea powder
– 1 teaspoon baking soda
– ½ teaspoon salt
– ½ cup unsalted butter, softened
– ¾ cup packed brown sugar
– ½ cup granulated sugar
– 1 large egg
– 1 teaspoon pure vanilla extract
– 1 cup white chocolate chips
– ¼ cup chopped macadamia nuts (optional)
I love that this recipe is simple and quick. You can find all the ingredients at your local store. Let’s start with the main star, matcha green tea powder. This gives our cookies a bright green color and unique taste.
Next, we have all-purpose flour, which helps bind everything together. The baking soda and salt balance the flavors, making each bite delicious. I always use unsalted butter for better control over the saltiness in my cookies.
The sugars add sweetness and help create a soft texture. Don’t skip the egg; it adds richness and helps the cookies rise. Vanilla extract is a must for that warm flavor.
Finally, the white chocolate chips add creaminess. If you want a nutty crunch, toss in some chopped macadamia nuts. They pair well with the matcha flavor.
Gather these ingredients, and you are ready to bake!
Step-by-Step Instructions
Preheat the Oven
Start by preheating your oven to 350°F (175°C). This step is key for even baking. Line two baking sheets with parchment paper. This helps prevent sticking and makes cleanup easy.
Prepare the Dry Ingredients
In a medium bowl, whisk together the all-purpose flour, matcha green tea powder, baking soda, and salt. Mixing these dry ingredients well ensures the matcha flavor spreads evenly. Set this bowl aside for later.
Mix the Wet Ingredients
In a large mixing bowl, cream the softened unsalted butter, packed brown sugar, and granulated sugar. Use an electric mixer or a whisk for this. Beat until the mixture is light and fluffy, about 2-3 minutes. This process helps create a nice texture.
Next, add in the large egg and pure vanilla extract. Beat the mixture on low speed until the egg is fully mixed in and the mixture is smooth. This adds richness and flavor.
Combine Mixtures and Add Chocolate
Now, gradually add the dry mixture to the wet mixture. Stir gently until just combined. Avoid overmixing, as it can make the cookies tough. Finally, fold in the white chocolate chips and chopped macadamia nuts if you want a nutty crunch. This adds sweetness and texture.
Scoop and Bake
Use a tablespoon or a cookie scoop to portion out the dough. Place each scoop on the baking sheets, leaving about 2 inches of space between them. This space allows the cookies to spread as they bake.
Pop the baking sheets into your preheated oven. Bake the cookies for 10-12 minutes, or until the edges turn lightly golden. The centers may look soft, but don’t worry; they will firm up as they cool.
Cooling the Cookies
After baking, take the cookies out of the oven. Let them sit on the baking sheets for 5 minutes. This helps them set. Then, transfer the cookies to wire racks to cool completely. Enjoy the delightful aroma as they cool!
Tips & Tricks
Ensuring the Perfect Cookie Texture
To get the best cookie texture, start with soft butter. It helps mix well with sugars. Cream the butter and sugars for 2-3 minutes. This makes a light, fluffy base. Use a mix of brown and white sugar. Brown sugar adds moisture, while white sugar gives crispness. Bake them until the edges are just golden. The centers can be soft. They will firm up as they cool.
Avoiding Overmixing
Mixing too much can make cookies tough. When you combine the wet and dry ingredients, stir gently. Just mix until you see no flour. You want to keep the dough soft and airy. If you add chocolate chips and nuts, fold them in lightly. This keeps the cookie texture perfect.
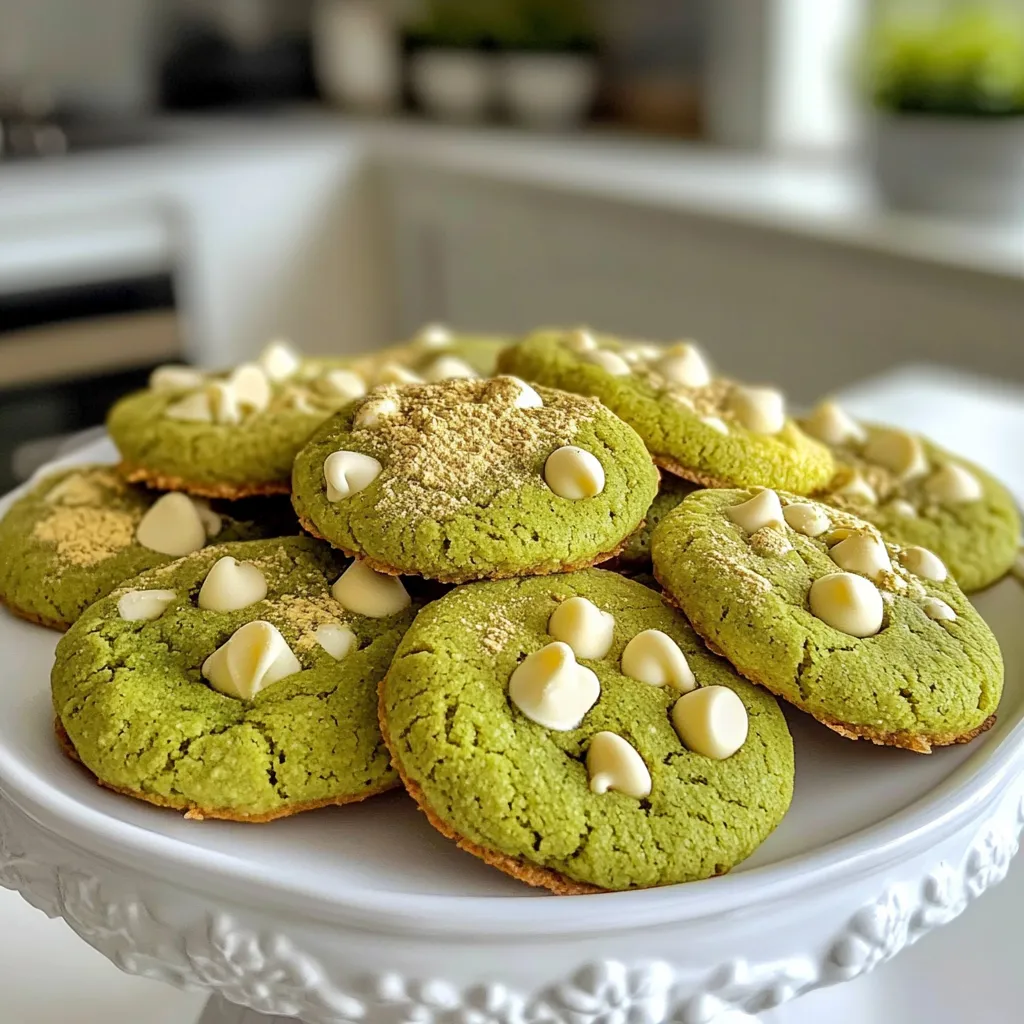
Presentation Ideas
For a great look, stack the cookies on a nice plate. Dust them lightly with extra matcha powder. This adds color and shows off the matcha flavor. Pair the cookies with green tea. It enhances the taste and gives a lovely contrast. Enjoy sharing these treats with friends and family!
Pro Tips
- Use High-Quality Matcha: For the best flavor and vibrant color, use a high-quality culinary matcha powder. This will enhance the overall taste of your cookies.
- Room Temperature Ingredients: Make sure your butter and egg are at room temperature. This helps create a smoother dough and better texture in your cookies.
- Chill the Dough: If you have time, chill the cookie dough for about 30 minutes before baking. This helps prevent spreading and results in thicker cookies.
- Experiment with Add-Ins: Feel free to customize your cookies by adding different mix-ins like nuts, dried fruits, or even a sprinkle of sea salt on top for added flavor.
Variations
Alternative Add-Ins (Nuts & Fruits)
You can change the flavor of your Matcha White Chocolate Cookies by adding nuts or fruits. Macadamia nuts work well for a creamy crunch. You can also try walnuts or pecans for a different taste. If you want some fruity notes, add dried cranberries or cherries. These fruits pair nicely with the white chocolate. Just remember to chop them up if they are large. This way, they mix well into the dough.
Gluten-Free Option
If you want gluten-free cookies, swap the all-purpose flour for a gluten-free blend. Many brands offer these blends that work well in baking. Look for blends that have a mix of rice flour and almond flour. These help keep the cookies soft and chewy. You might also want to add a little extra baking soda. This can help with the rise and texture. Just watch the baking time, as gluten-free cookies can bake faster.
Vegan Adaptation
To make these cookies vegan, you can replace the egg with a flax egg. Mix 1 tablespoon of flaxseed meal with 2.5 tablespoons of water and let it sit for a few minutes. This will help bind the ingredients together. For the butter, use a plant-based butter or coconut oil. Make sure the white chocolate chips are dairy-free as well. These small changes will give you delicious vegan cookies that everyone can enjoy!
Storage Info
How to Store Cookies
To keep your matcha white chocolate cookies fresh, store them in an airtight container. You can place parchment paper between layers to prevent sticking. They will stay good for up to one week at room temperature. If you want to keep them longer, consider freezing.
Freezing Options
Freezing cookies is a great way to enjoy them later. First, let the cookies cool completely. Then, place them in a single layer on a baking sheet. Freeze for about an hour. After that, transfer them to a freezer-safe bag or container. They can last up to three months in the freezer. When you’re ready to eat them, just thaw them at room temperature.
Reheating Instructions
To reheat your cookies, preheat the oven to 350°F (175°C). Place the cookies on a baking sheet and heat for about 5 minutes. This will bring back their soft texture and warm flavor. You can also use the microwave. Heat each cookie for about 10-15 seconds for a quick treat. Enjoy your warm cookies!
FAQs
What is matcha and its health benefits?
Matcha is a powdered green tea. It comes from specially grown tea leaves. It has many health benefits. Matcha is rich in antioxidants. It boosts energy and helps you focus. It may also support weight loss and digestion. Plus, it has a unique, earthy flavor that pairs well with sweet treats.
Can I use other types of chocolate?
Yes, you can use other chocolates. Dark chocolate or milk chocolate works well. Each type will change the cookie’s taste. Choose what you love most. You can even mix different chocolates for a fun twist!
How can I make the cookies softer or chewier?
To make the cookies softer, use more brown sugar. Brown sugar adds moisture and chewiness. You can also underbake them a little. Take them out when they are still soft in the center. They will firm up as they cool.
How long do these cookies last?
These cookies last about a week at room temperature. Store them in an airtight container to keep them fresh. You can also freeze them for up to three months. Just make sure to wrap them well!
Can I make the dough in advance?
Yes, you can make the dough ahead of time. Chill the dough in the fridge for up to three days. When you’re ready, scoop and bake as usual. This makes it easy to enjoy fresh cookies anytime!
You learned how to make delicious matcha white chocolate cookies. From picking the right ingredients to using helpful tips, every step builds a tasty treat. Whether you want variations or storage tips, this guide has it all. Remember, baking is about fun and creativity. Don’t hesitate to experiment with flavors. Enjoy baking and sharing these cookies with loved ones. Your kitchen will soon be filled with sweet surprises. Try this recipe and taste the magic of matcha toda


