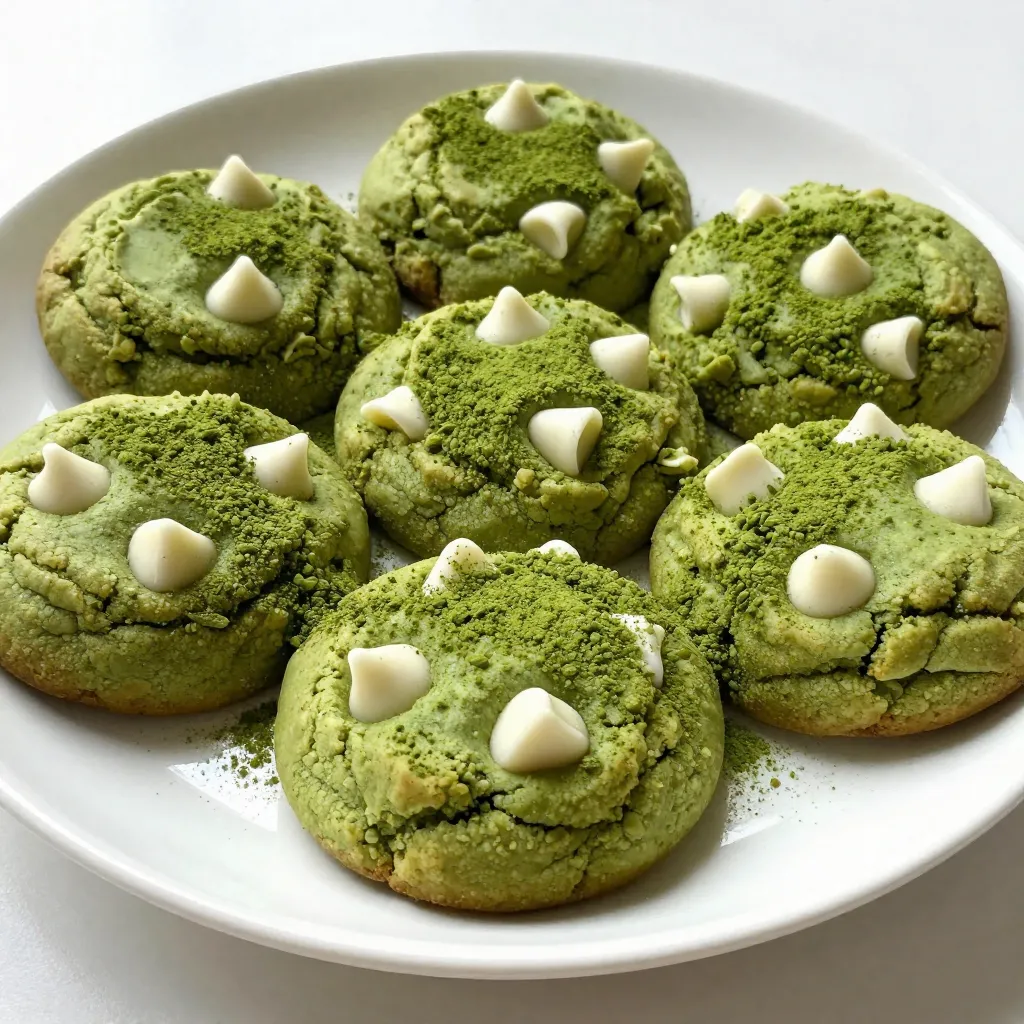
Get ready to indulge in a sweet twist on a classic treat! These Matcha White Chocolate Cookies are soft, chewy, and bursting with flavor. With just a few simple ingredients, you can create a delightful dessert that blends the earthy taste of matcha with creamy white chocolate. Perfect for any occasion, these cookies will impress your friends and family. Let’s dive into the delicious world of baking with this easy recipe!
Why I Love This Recipe
- Unique Flavor Combination: The blend of matcha and white chocolate creates a delightful contrast, balancing earthy and sweet notes in every bite.
- Easy to Make: This recipe comes together quickly, making it perfect for both novice bakers and those looking for a simple yet impressive treat.
- Visually Stunning: The vibrant green color of matcha adds an eye-catching touch to your dessert table, making these cookies a feast for the eyes.
- Perfect for Any Occasion: Whether it’s a casual gathering or a special celebration, these cookies are versatile enough to suit any event.
Ingredients
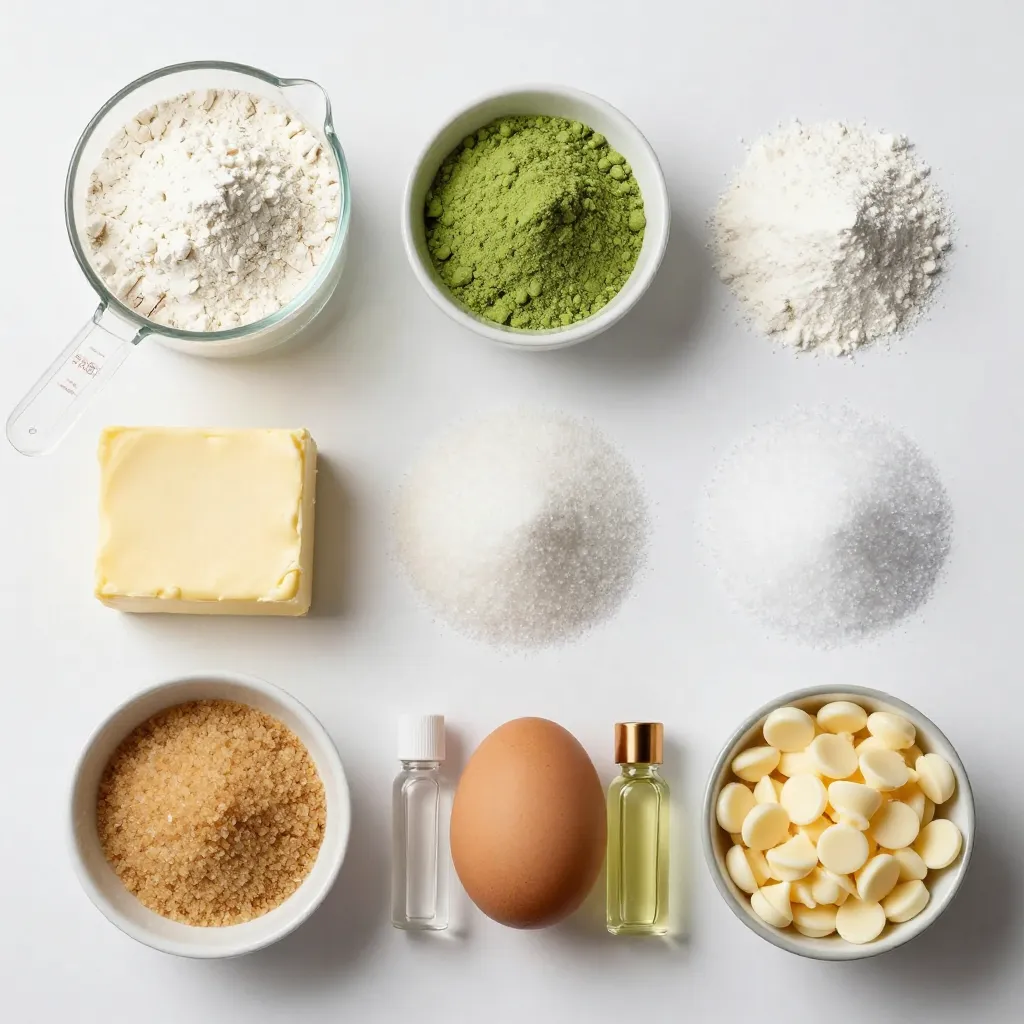
Detailed List of Ingredients
– 1 cup all-purpose flour
– 2 tablespoons premium matcha green tea powder
– 1/2 teaspoon baking powder
– 1/4 teaspoon fine sea salt
– 1/2 cup unsalted butter, softened to room temperature
– 1/2 cup granulated sugar
– 1/4 cup packed brown sugar
– 1 large egg, at room temperature
– 1 teaspoon pure vanilla extract
– 1 cup white chocolate chips, or chopped white chocolate
These ingredients create a soft and chewy cookie. The matcha powder gives a vibrant green color. It also adds a unique flavor that pairs well with sweet white chocolate. I love using high-quality matcha for the best taste.
The all-purpose flour provides structure. The baking powder helps the cookies rise. Adding sea salt brings balance to the sweetness.
For sweetness, I use both granulated and brown sugar. Brown sugar adds moisture and a hint of caramel flavor. The unsalted butter should be soft for easy mixing.
Using a room temperature egg helps blend the ingredients smoothly. Pure vanilla extract enhances the overall flavor. Finally, the white chocolate chips melt slightly, creating delightful pockets of sweetness.
Gathering these ingredients makes the cookie-making process simple and fun. You can easily find them at any grocery store. Let’s get ready to bake these delicious cookies!
Step-by-Step Instructions
Preheat and Prepare the Baking Sheet
Start by preheating your oven to 350°F (175°C). This step warms the oven for even baking. While the oven heats, line a baking sheet with parchment paper. This helps the cookies not stick when baking.
Mix Dry Ingredients
Next, take a medium bowl. In it, whisk together 1 cup of all-purpose flour, 2 tablespoons of matcha powder, 1/2 teaspoon of baking powder, and 1/4 teaspoon of fine sea salt. Mixing these dry ingredients well ensures even flavor in every bite.
Cream Butter and Sugars
In a large bowl, add 1/2 cup of softened unsalted butter, 1/2 cup of granulated sugar, and 1/4 cup of packed brown sugar. Use an electric mixer on medium speed. Cream these together for 2-3 minutes until the mix turns light and fluffy. This step helps dissolve the sugars well.
Combine Wet Ingredients
Now, add 1 large egg and 1 teaspoon of pure vanilla extract to the butter mix. Beat these together until you have a smooth, creamy mix. This creates a rich base for your cookies.
Combine Mixtures
Gradually add the dry ingredient mix into the wet mix. Use a spatula to fold everything together gently. Do not overmix. The dough should be just combined to keep your cookies soft and tender.
Add White Chocolate Chips
Time to fold in the fun! Take 1 cup of white chocolate chips and gently mix them into the dough. Make sure they are evenly spread throughout. Each bite should have a sweet chocolate surprise.
Scoop and Bake Cookies
Using a spoon or cookie scoop, drop tablespoon-sized portions of dough onto the prepared baking sheet. Leave about 2 inches between each scoop. This space allows the cookies to spread as they bake.
Cooling Instructions
Once the cookies bake for 10-12 minutes, they will turn light golden brown at the edges. The centers may look soft. Let them rest on the baking sheet for about 5 minutes. This helps them set before moving them to a wire rack to cool completely.
Tips & Tricks
How to Ensure Perfect Cookies
To make sure your cookies come out soft and chewy, follow these tips:
– Measure ingredients accurately. Use a scale for precision.
– Use room temperature ingredients. This helps them blend well.
– Mix the dough gently. Overmixing can make cookies tough.
– Chill the dough for 30 minutes. This helps them hold shape.
Using Quality Ingredients
Quality matters when baking. Here’s why:
– Choose premium matcha. Look for vibrant green powder. It has more flavor and nutrients.
– Select good white chocolate. Look for brands with real cocoa butter. This leads to rich taste.
– Fresh ingredients make a difference. Use fresh butter and eggs for best results.
Common Mistakes to Avoid
Avoid these common mistakes to ensure your cookies are a hit:
– Don’t overmix the dough. Stop mixing as soon as the flour disappears.
– Underbake slightly. Cookies will firm up as they cool. Bake until edges are light brown.
– Space cookies properly on the sheet. Keep about 2 inches apart to allow spreading.
Pro Tips
- Use Sifted Matcha: Sifting the matcha powder before adding it to the dry ingredients helps to avoid clumps and ensures a smooth texture in your cookies.
- Chill the Dough: For chewier cookies, consider chilling the dough for 30 minutes before baking. This allows the flavors to deepen and the cookies to hold their shape better.
- Fresh Ingredients: Using fresh white chocolate and high-quality matcha will significantly enhance the flavor of your cookies, making them taste more vibrant and delicious.
- Don’t Overbake: Keep an eye on your cookies as they bake; removing them when the edges are golden but the centers are still soft ensures they remain chewy and moist.
Variations
Customizing Flavors
You can change the flavors of your Matcha White Chocolate Cookies easily. Try adding nuts like walnuts or macadamia nuts. Chopped nuts give a nice crunch. Dried fruits like cranberries or apricots can add sweetness. You can also mix in spices like cinnamon or ginger for a warm twist. These additions make each cookie unique and fun.
Alternative Sweeteners
If you want to use different sweeteners, there are great options. You can try coconut sugar or honey instead of granulated sugar. Maple syrup also works well. Just remember that these sweeteners can change the texture. You may need to adjust the flour to get the right dough consistency. Experiment to find your favorite mix!
Gluten-Free Options
To make gluten-free Matcha White Chocolate Cookies, switch the flour. Use a gluten-free all-purpose blend instead. Make sure it contains xanthan gum for the best texture. You should also check your matcha and chocolate chips. Some brands may contain gluten. With these changes, you can still enjoy soft and delicious cookies!
Storage Info
Proper Storage Techniques
To keep your Matcha White Chocolate Cookies fresh, store them in an airtight container. This method prevents moisture from making them soft. Line the container with parchment paper to avoid sticking. Place a piece of bread inside to keep them soft longer. This simple trick works wonders!
Freezing Cookies
Freezing your cookies is easy. Start by letting them cool completely. Then, place them in a single layer on a baking sheet. Freeze them for about an hour. Once frozen, transfer them to a freezer bag. Remove as much air as possible before sealing. You can enjoy them later by baking straight from the freezer. Just add a couple of extra minutes to the baking time.
Shelf Life
At room temperature, these cookies last about a week. If you store them in the fridge, they can stay fresh for up to two weeks. Just remember to keep them sealed. This will help maintain their soft texture and great taste!
FAQs
What is matcha?
Matcha is a type of green tea made from finely ground leaves. It’s rich in antioxidants and boosts energy. Matcha also helps improve focus and relax the mind. Using matcha in cookies gives them a unique taste and vibrant green color. It adds a gentle sweetness and a hint of earthiness that pairs well with white chocolate.
Can I use different types of chocolate?
Yes, you can! If you want a richer flavor, use dark chocolate chips. They add depth and a slight bitterness. Milk chocolate offers a sweeter option and pairs nicely with the matcha. You can also mix different chocolates for a fun twist. Experimenting with chocolate types can make your cookies even more exciting.
How do I know when the cookies are done?
Look for a light golden edge on the cookies. The centers should still look soft but not wet. You can also check by gently pressing the tops; they should spring back. Let them cool on the baking sheet for a few minutes. This helps them set perfectly while keeping them soft.
Can I make the dough ahead of time?
Absolutely! You can prepare the cookie dough in advance and store it in the fridge. Wrap it tightly in plastic wrap or place it in an airtight container. The dough should last for up to three days. When you’re ready to bake, scoop and bake straight from the fridge. This gives you fresh cookies with minimal effort.
How to soften butter quickly?
If your butter is too hard, try cutting it into small cubes. Spread them out on a plate and let them sit for about 10 minutes. You can also microwave it for a few seconds. Just be careful not to melt it! Another method is to grate the cold butter using a cheese grater. This softens it quickly and evenly for mixing.
You’ve explored how to make delicious Matcha White Chocolate Cookies. We covered ingredients, step-by-step baking instructions, and tips for success. Using good matcha and chocolate is key for the best flavor. Remember, there are fun ways to customize the cookies. Proper storage helps keep them fresh and tasty. With these tips, you can create amazing cookies that impress everyone. Enjoy your baking journey and the tasty result


