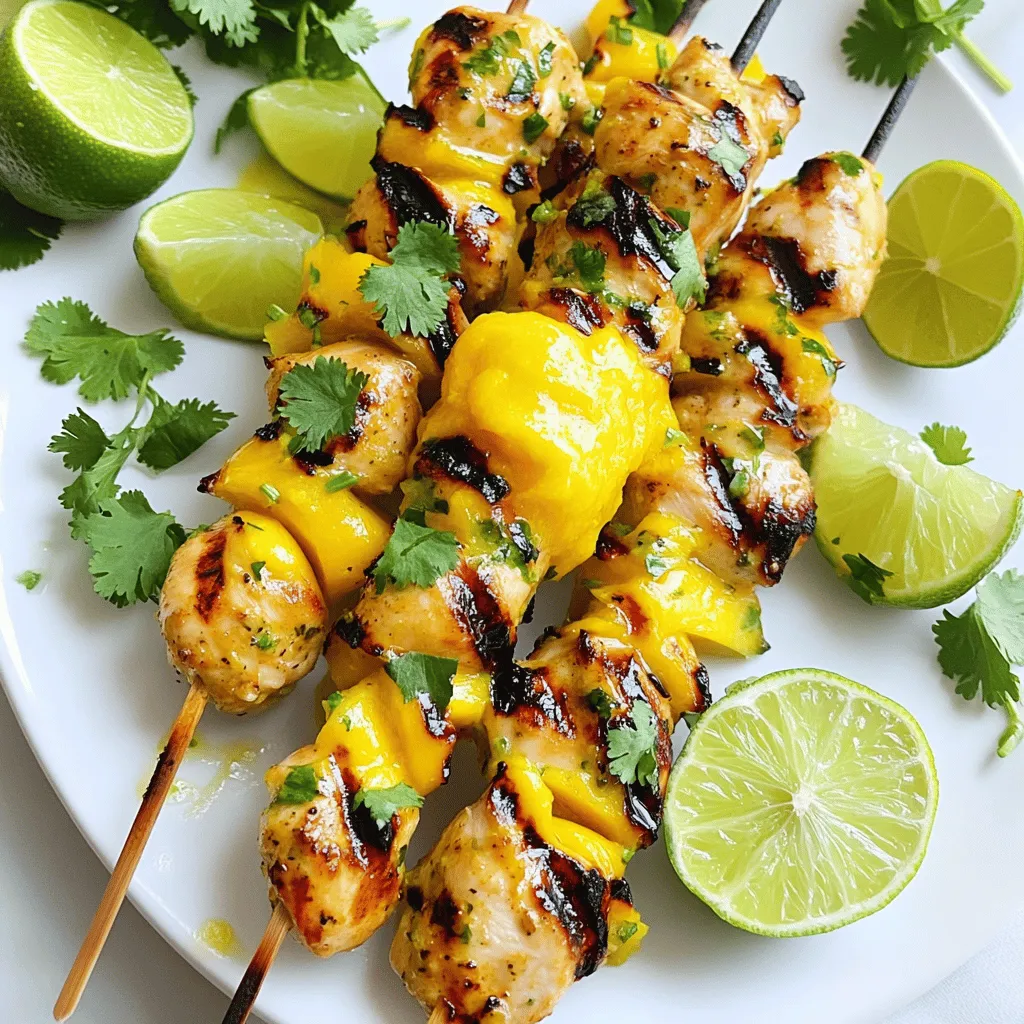
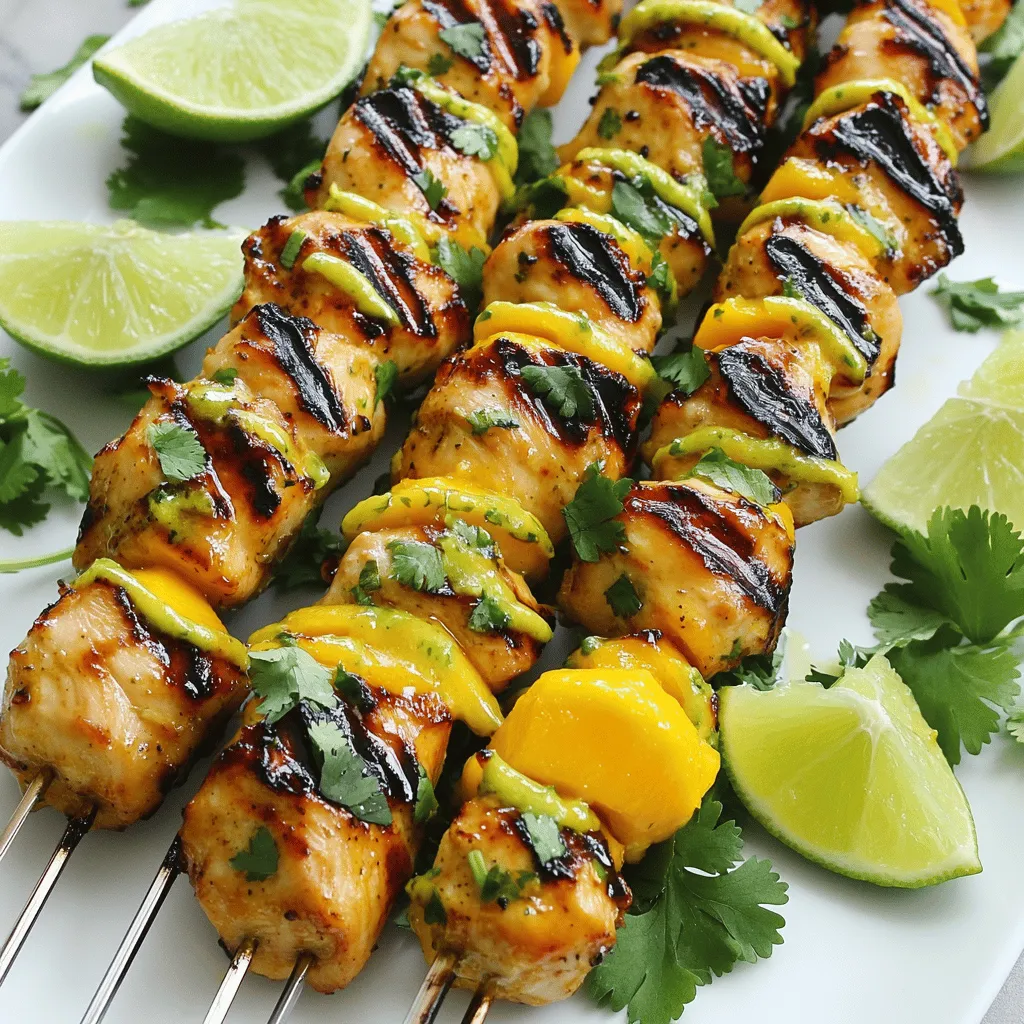
If you’re looking for a bright, tasty meal that’s easy to make, you’re in the right place! Mango Lime Chicken Skewers mix sweet mango, zesty lime, and tender chicken. This dish is perfect for barbecues or quick dinners. Whether you’re an expert cook or a beginner, I’ll guide you through each step. Get ready to impress your friends and family with this simple yet flavorful recipe!
Ingredients
List of Ingredients
– 1 lb chicken breast, cut into 1-inch cubes
– 2 ripe mangoes, pureed
– Zest and juice of 2 limes
– 2 tablespoons honey
– 2 tablespoons olive oil
– 1 teaspoon garlic powder
– 1 teaspoon ground cumin
– Salt and pepper to taste
– Fresh cilantro, finely chopped, for garnish
– Wooden or metal skewers, soaked in water if wooden
Ingredient Substitutions
You can swap fruits for a twist. Try pineapple or peach for a sweet change. If you want to change proteins, shrimp or tofu work well too. For a different sweetness, use maple syrup or agave nectar instead of honey. Each choice adds a new flavor.
Tools Required
Gather a few simple tools to make this dish. You’ll need a mixing bowl for the marinade. A whisk or spatula helps mix everything well. A grill or grill pan cooks the skewers perfectly. Finally, grab your skewers to hold the chicken and fruit.Enjoy creating this flavorful dish!
Step-by-Step Instructions
Marinating the Chicken
To start, I combine all the marinade ingredients in a large bowl. I mix together the pureed mango, lime zest, lime juice, honey, olive oil, garlic powder, ground cumin, salt, and pepper. I want to make sure every ingredient blends well. Next, I add the chicken cubes to the bowl. I coat each piece thoroughly with the marinade. For the best flavor, I cover the bowl with plastic wrap and place it in the fridge for at least one hour. If I have time, I let it marinate overnight. This step really helps the flavors soak into the chicken.
Preparing the Skewers
While the chicken marinates, I soak my wooden skewers in water. This helps prevent them from burning on the grill. After soaking, I start threading the chicken onto the skewers. I usually fit about 4 to 5 pieces on each skewer. I leave a little space between each piece. This ensures the heat can reach all sides of the chicken as it cooks.
Grilling the Skewers
Once the chicken is ready, I preheat my grill to medium-high heat. This step is key for a good sear. I place the skewers on the grill and cook them for about 10 to 12 minutes. As they grill, I turn the skewers every few minutes. This helps the chicken cook evenly and gives it that nice char. I make sure the chicken reaches an internal temperature of 165°F to ensure it’s safe to eat.
Tips & Tricks
Ensuring Maximum Flavor
To boost flavor, marinate the chicken for at least one hour. For the best taste, try overnight marination. This longer time allows the chicken to soak up all those great mango and lime flavors. You can also add spices like chili powder for heat or smoked paprika for depth.
Achieving Perfect Grilling
Always check the internal temperature of the chicken. It should reach 165°F to be safe to eat. For great grill marks, make sure the grill is hot before adding the skewers. Avoid sticking by oiling the grill grates or the skewers lightly. This helps the chicken slide off easily after cooking.
Serving Suggestions
When serving, arrange the skewers in a fan shape on a plate for a nice look. Drizzle some extra mango puree over them to make it pop. Pair your skewers with rice or a fresh salad. These sides add color and balance to your meal. For a zesty touch, serve lime wedges alongside the skewers.
Variations
Flavor Profile Variations
For a spicy kick, try adding chili to your marinade. This gives your mango lime chicken skewers a nice heat. You can use fresh jalapeños or chili powder. Adjust the amount to suit your taste.
If you want a smoky flavor, adding smoked paprika or chipotle works great. Both options bring a deep, rich taste. This variation pairs well with the sweet mango and tart lime.
Different Cooking Methods
You can also bake your mango lime chicken skewers in the oven. Preheat it to 400°F. Lay the skewers on a baking sheet and cook for about 15-20 minutes. This is a great option if you do not have a grill.
An air fryer is another choice. Set it to 375°F and cook the skewers for 10-12 minutes. The air fryer gives a nice crisp texture without much oil.
Different Skewer Combinations
Feel free to mix in some fresh vegetables. Bell peppers and zucchini add color and crunch. They also soak up the marinade, boosting flavor in every bite.
You can combine proteins too! Mixing chicken with shrimp creates a fun twist. The shrimp cooks quickly and adds a sweet taste. This way, you get a variety of flavors in one dish.
Storage Info
Storing Leftover Skewers
To store leftover mango lime chicken skewers, wrap them well in plastic wrap or foil. Place them in an airtight container. This keeps the skewers fresh and tasty. You can store them in the fridge for up to three days.
Freezing Tips
If you want to save the skewers for later, freezing is a great option. First, let the cooked skewers cool completely. Then, place them in a freezer-safe bag or container. Make sure to squeeze out as much air as you can. You can freeze them for up to three months.
When you are ready to eat, reheat the skewers in the oven or microwave. For the oven, preheat to 350°F. Place the skewers on a baking sheet and cover them with foil. Heat for about 15-20 minutes until hot. If using a microwave, heat in short bursts, checking often to avoid overcooking. Enjoy your delicious mango lime chicken skewers again!
FAQs
How can I make mango lime chicken skewers spicy?
To add heat, you can use chili powder or cayenne pepper. Mix in about half a teaspoon for mild spice. For more heat, add more chili or use fresh sliced jalapeños in the marinade. You can also try sriracha or hot sauce for a kick. Experiment with different spices to find your perfect level of heat.
Can I use frozen chicken for this recipe?
Yes, you can use frozen chicken. Just make sure to thaw it fully before marinating. This will help the marinade stick better. If you use frozen chicken, let it sit in the fridge overnight to defrost. This keeps the chicken juicy and flavorful.
What is the best way to serve mango lime chicken skewers?
Serve the skewers on a colorful plate. Drizzle with extra mango puree for a tasty touch. Add lime wedges on the side for a zesty kick. You can also garnish with fresh cilantro for color. Pair them with rice or a fresh salad for a complete meal.
How do I know when the chicken skewers are done?
Check the chicken’s internal temperature with a meat thermometer. It should read 165°F to be safe to eat. If you don’t have a thermometer, look for clear juices when you cut into a piece. If the juices run clear, the chicken is done.
The mango lime chicken skewers offer a fresh and tasty meal. We covered essential ingredients and easy steps to make them. You can switch proteins or fruits for new flavors.
Grilling tips help ensure you get the best results every time. Remember to store leftovers properly or freeze them for later. Enjoy these skewers with friends or family for a delicious experience!


