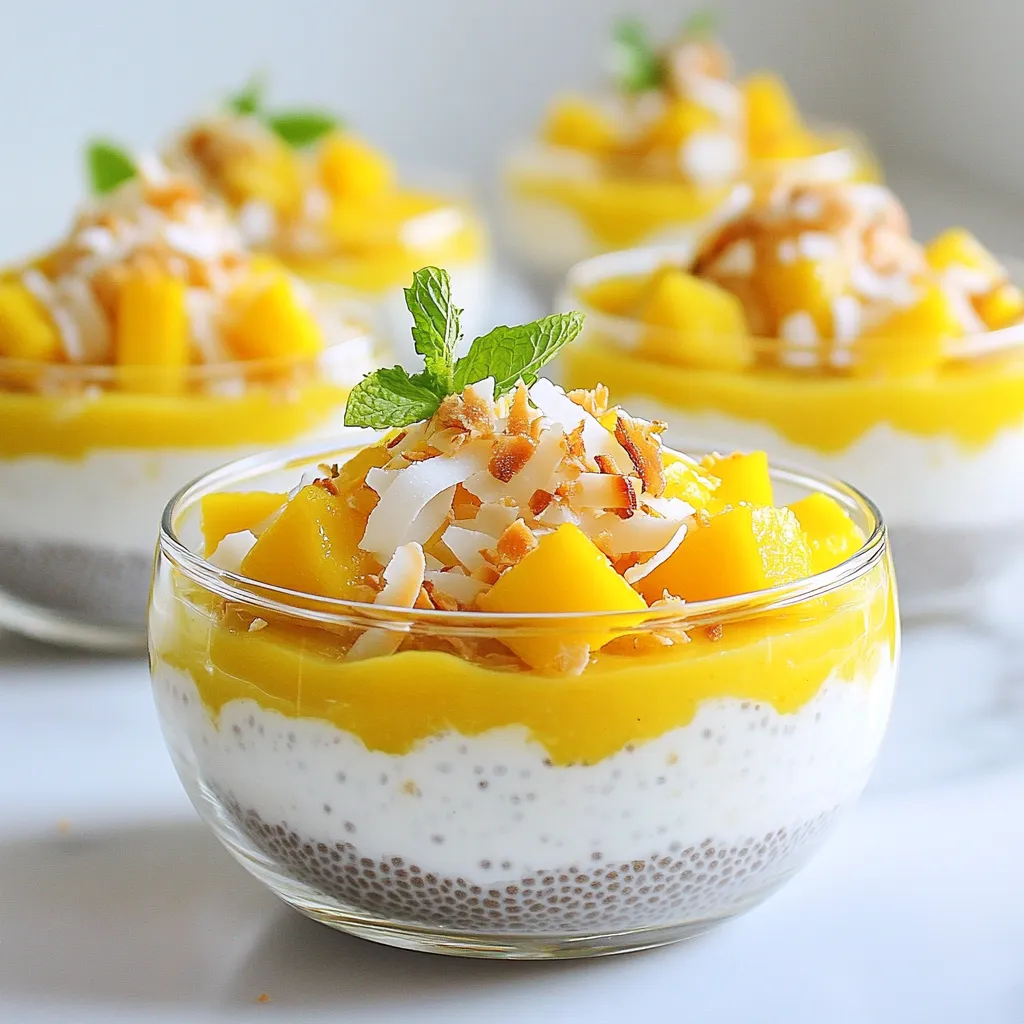
If you’re craving a light and tasty treat, you’re in the right place! This Mango Coconut Chia Pudding is not only refreshing, but it’s also super simple to make. With just a handful of ingredients like chia seeds, coconut milk, and ripe mango, you can whip up a dessert that’s both satisfying and healthy. Perfect for meal prep or a quick snack, let’s dive into how you can create this delightful treat!
Why I Love This Recipe
- Delicious Flavor Combination: The blend of creamy coconut milk and sweet mango creates a tropical paradise in every bite.
- Healthy and Nutritious: Chia seeds are packed with omega-3 fatty acids, fiber, and protein, making this pudding a guilt-free treat.
- Easy to Prepare: With just a few simple ingredients and minimal prep time, this recipe is perfect for busy lifestyles.
- Customizable Toppings: Add your favorite toppings like nuts, berries, or granola for an extra layer of flavor and texture.
Ingredients
Main Ingredients
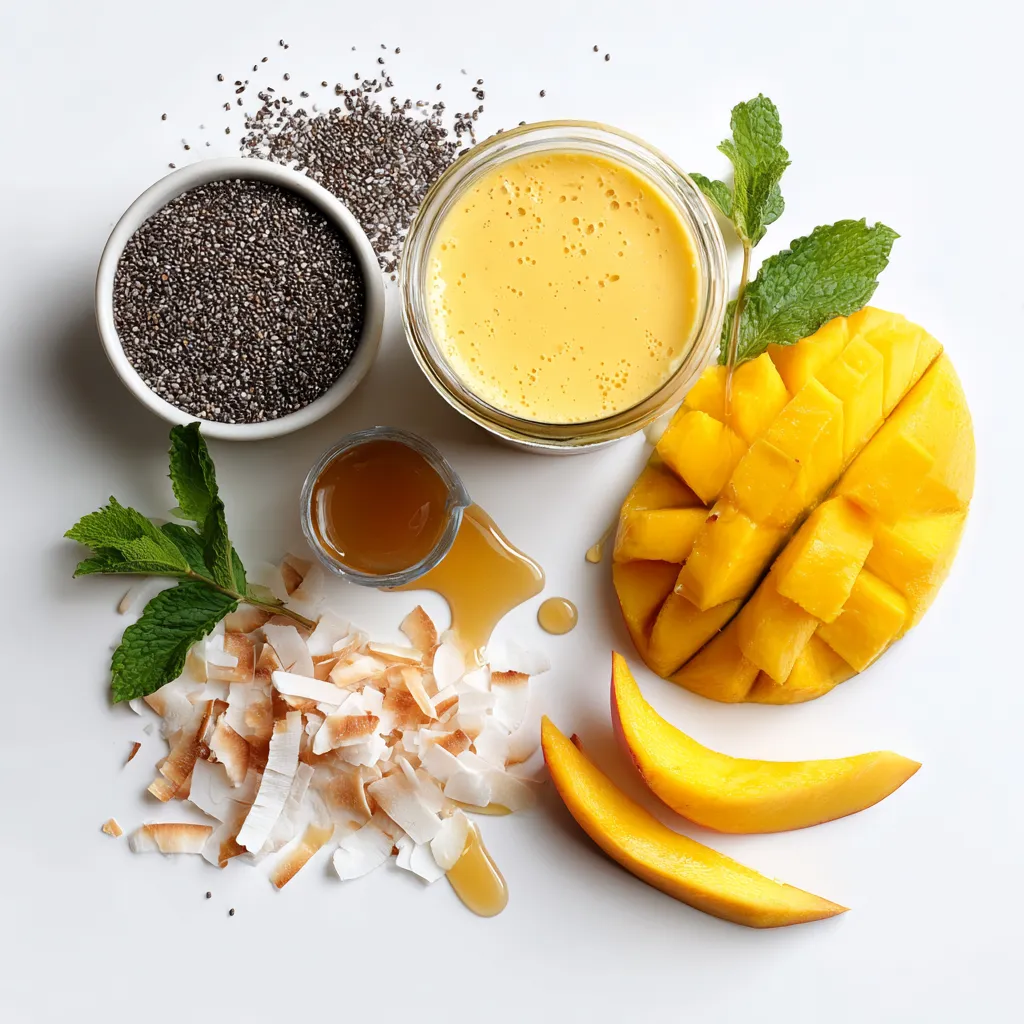
– 1/2 cup chia seeds
– 2 cups coconut milk (canned or carton)
– 1 ripe mango, peeled and pureed
– 2 tablespoons maple syrup (or honey)
– 1 teaspoon vanilla extract
– A pinch of sea salt
Chia seeds are the star of this recipe. They soak up liquid and become soft. This makes the pudding thick and creamy. I love using coconut milk for its rich flavor. You can use canned or carton coconut milk. Both work great.
Next, we have ripe mango. Make sure it is sweet and juicy. Peel it and blend until smooth. This will give the pudding a fresh and fruity taste. For sweetness, I often use maple syrup or honey. They add a nice touch of flavor without being too overpowering.
A dash of vanilla extract brings warmth to the dish. Finally, a pinch of sea salt enhances the sweetness. It balances the flavors well.
Toppings
– Fresh mango slices
– Toasted coconut flakes
– Fresh mint leaves
Toppings add fun and flair! Fresh mango slices are colorful and tasty. They give a burst of flavor. Toasted coconut flakes add crunch and texture. They also look beautiful on top of the pudding.
Lastly, fresh mint leaves are a great garnish. They offer a refreshing aroma and bright color. You can mix and match toppings for your perfect bowl. Enjoy every layer of flavor you create!
Step-by-Step Instructions
Preparing the Chia Mixture
– Combining Chia Seeds and Coconut Milk
First, take a medium bowl. Add 1/2 cup of chia seeds. Pour in 2 cups of coconut milk. Stir well. This helps prevent clumps of chia. You want a smooth mixture.
– Adding Mango Puree and Sweeteners
Next, add the mango puree. Use 1 ripe mango, peeled and pureed until smooth. Add 2 tablespoons of maple syrup for sweetness. If you prefer, you can use honey. Stir in 1 teaspoon of vanilla extract and a pinch of sea salt. Mix everything until it looks even and no lumps remain.
Refrigeration Process
– Covering the Mixture for Optimal Creaminess
After mixing, cover the bowl with plastic wrap. If you like, you can also use individual jars. This keeps the mixture fresh and creamy.
– Recommended Chilling Time
Place it in the fridge. Let it chill for at least 4 hours. For the best texture, leave it overnight. This helps the chia seeds absorb the liquid and swell.
Serving Suggestions
– Plating and Presentation Tips
When ready to serve, take the pudding out. Give it a gentle stir to break any clumps. Spoon the pudding into decorative bowls or clear glasses. This showcases the creamy texture and vibrant colors.
– Garnishing Ideas for Appeal
For a beautiful finish, add fresh mango slices on top. Sprinkle some toasted coconut flakes for crunch. A sprig of mint leaves adds a nice touch with its color and scent. Consider drizzling extra mango puree for extra brightness!
Tips & Tricks
Achieving the Perfect Consistency
To get the best texture in your mango coconut chia pudding, mixing is key. Chia seeds can clump together, so stir them well into the coconut milk. This step is important. Make sure there are no dry seeds left. I like to use a whisk for this task. It helps break up clumps easily.
Chilling time matters too. For the pudding to get creamy, refrigerate for at least four hours. If you have time, let it sit overnight. This will help the chia seeds swell and soak up the milk. The longer it chills, the better the texture.
Flavor Enhancements
Sweetness can change your pudding’s taste. Using maple syrup gives a rich flavor. Honey is a great alternative too. You can adjust the amount based on your taste. If you want it sweeter, just add a bit more.
Don’t stop at mango! You can mix in other flavors. Try adding a scoop of nut butter for creaminess. You could even add a pinch of cinnamon for warmth. Experimenting can lead to fun discoveries. Each time you make it, you can create something new and exciting!
Pro Tips
- Use Ripe Mangoes: Choose mangoes that are slightly soft to the touch and have a sweet aroma for the best flavor in your pudding.
- Experiment with Sweeteners: Feel free to adjust the sweetness according to your taste by using more or less maple syrup or honey.
- Chill Longer for Best Results: For a creamier texture, let the chia pudding sit overnight in the refrigerator.
- Garnish Creatively: Add other toppings like berries or nuts for additional flavors and textures that complement the pudding.
Variations
Alternative Fruit Options
You can switch up the flavor of your mango coconut chia pudding easily. Use other pureed fruits for a fun twist. Here are some ideas:
– Banana: Adds a creamy texture and sweetness.
– Papaya: Offers a tropical touch with a smooth taste.
– Berry Mix: Blend strawberries, blueberries, or raspberries for a tangy kick.
You can also pick seasonal fruits to keep it fresh. For instance:
– Peaches in summer for a juicy burst.
– Pumpkin puree in fall for a warm flavor.
– Pineapple in spring for a tropical vibe.
Dietary Substitutions
If you want to adapt the recipe for dietary needs, here are some great options.
For vegan modifications, simply use maple syrup instead of honey. This keeps your pudding plant-based while still adding sweetness.
If you want lower sugar, cut the maple syrup to one tablespoon or skip it altogether. The ripe mango already adds natural sweetness. You can also use unsweetened coconut milk to reduce sugar intake.
Storage Info
Refrigerating Leftovers
How long can it be stored?
You can keep mango coconut chia pudding in the fridge for up to five days. After that, the texture and taste may change. If it smells off, it’s best to toss it out.
Tips for maintaining freshness
– Store the pudding in airtight containers.
– Make sure to keep it covered to avoid drying out.
– Stir before serving to mix any separated layers.
Freezing Guidelines
Can you freeze chia pudding?
Yes, you can freeze chia pudding! It freezes well and can last for up to three months. Just note that the texture may change a bit after thawing.
Best practices for freezing
– Use freezer-safe containers or jars.
– Leave some space at the top for expansion.
– Thaw in the fridge overnight before eating.
FAQs
How long does chia pudding last?
Chia pudding can last for about 5 days in the fridge. Store it in airtight containers to keep it fresh. The flavors get better each day, so it’s great for meal prep!
Can I use a different kind of milk?
Yes, you can use any milk you prefer. Almond milk, oat milk, or soy milk all work well. Each type will change the flavor a bit, so choose what you like best.
Is chia pudding suitable for meal prep?
Absolutely! Chia pudding is perfect for meal prep. Make a big batch and store it in jars. You can grab one for breakfast or a snack all week long.
– Additional Common Questions on Chia Pudding
Feel free to ask about flavor changes or toppings. You can mix it up with your favorite fruits or nuts. Chia pudding is fun and easy to customize!
This blog post covered how to make delicious chia pudding. We explored key ingredients like chia seeds, coconut milk, and ripe mango. I shared tips for perfect texture, different variations, and storage advice.
Chia pudding is easy to customize and fun to make. With a few simple steps, you’ll create a tasty treat that fits your diet. Enjoy experimenting with flavors and toppings. You’ll impress everyone with your chia pudding skill


