Looking for a quick and tasty meal? Lemon Garlic Roasted Shrimp is the answer! This dish boasts bold flavors and takes just minutes to make. You’ll love the fresh garlic and zesty lemon combined with juicy shrimp. Plus, it’s easy to customize with your favorite spices! Join me as I guide you through this simple recipe that will impress your family or guests. Let’s get cooking!
Why I Love This Recipe
- Fresh and Flavorful: This recipe combines the brightness of lemon and the pungency of garlic, making each bite a burst of flavor that is both refreshing and satisfying.
- Quick and Easy: With just 15 minutes of prep and a total cooking time of 25 minutes, this dish is perfect for busy weeknights or last-minute entertaining.
- Customizable Heat: The level of spice can be easily adjusted with red pepper flakes, allowing you to tailor the dish to your personal preference.
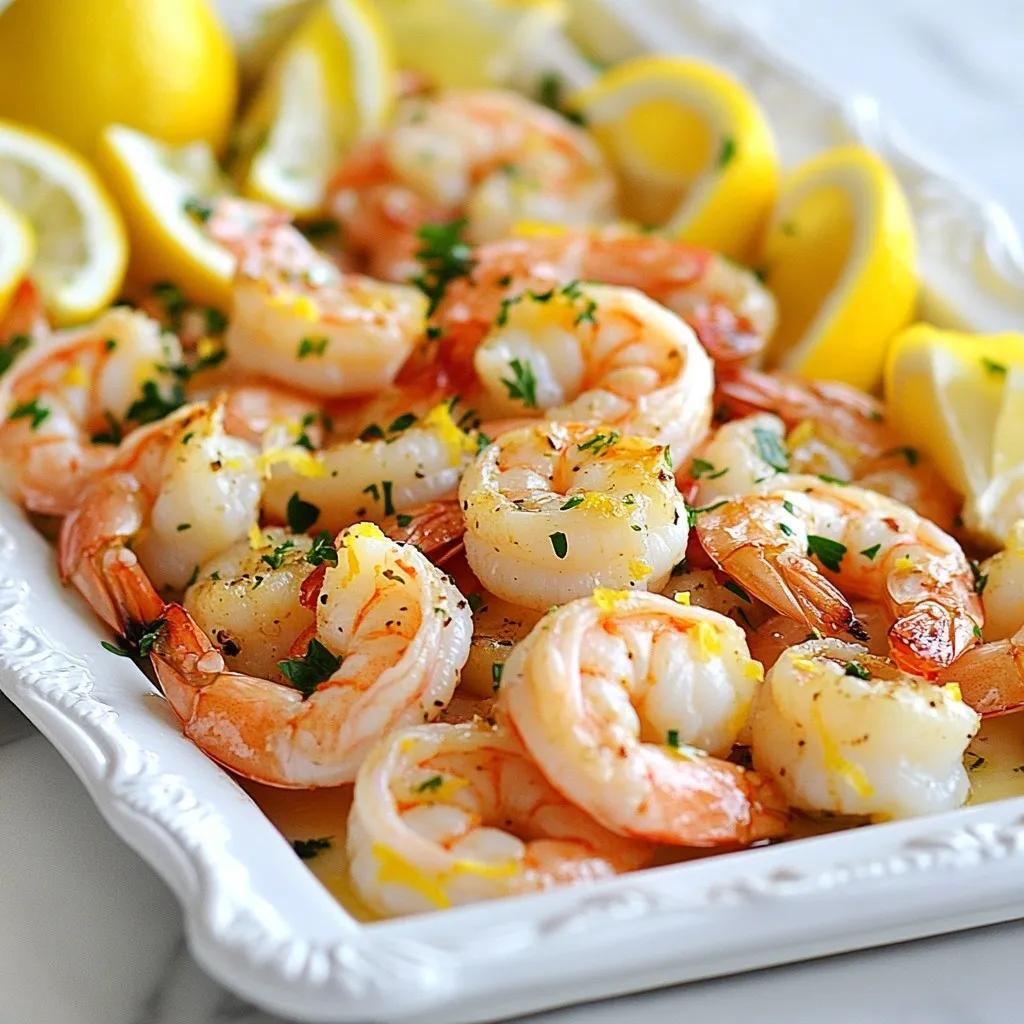
- Impressive Presentation: Serving the shrimp with lemon wedges and fresh parsley not only enhances the flavor but also creates a beautiful dish that looks as good as it tastes.
Ingredients
List of Ingredients
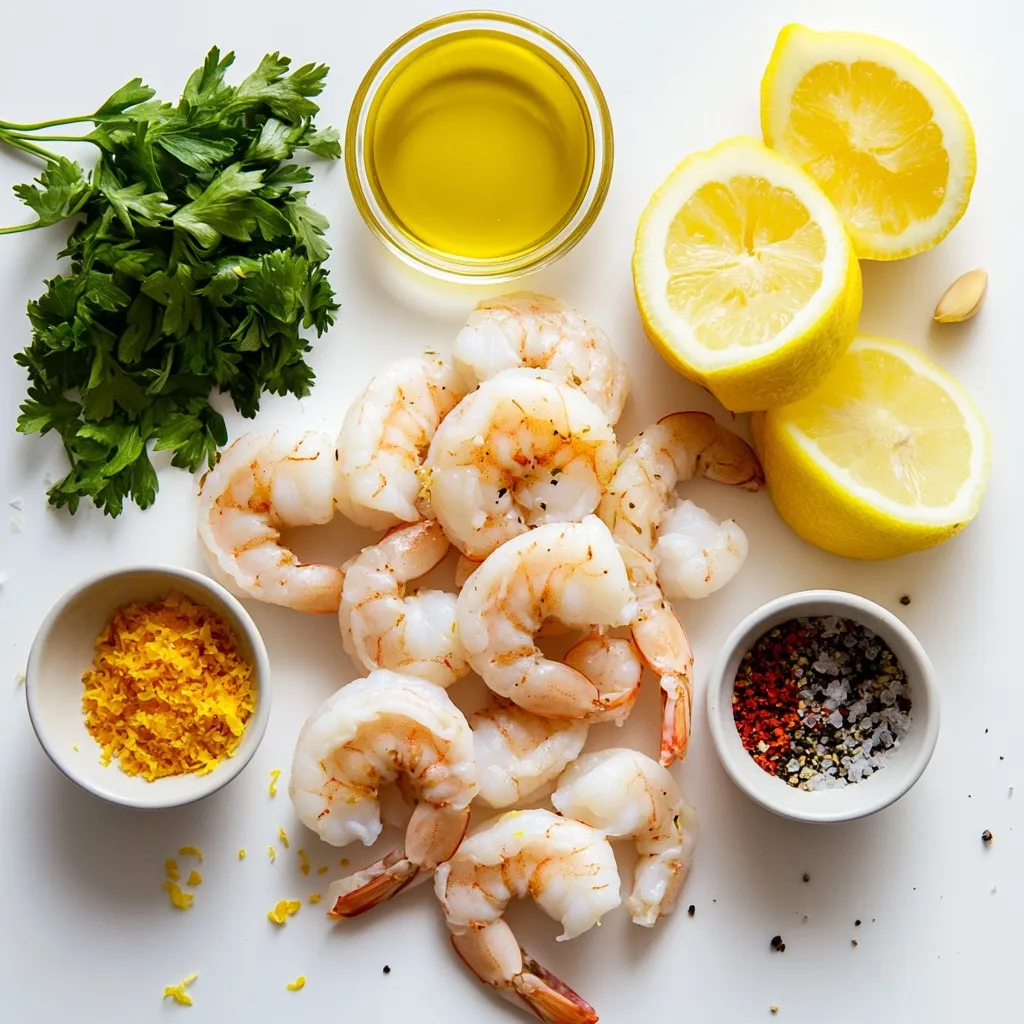
– 1 pound large shrimp, peeled and deveined
– 4 cloves fresh garlic, minced
– 2 tablespoons extra virgin olive oil
– 1 tablespoon finely grated lemon zest
– 2 tablespoons freshly squeezed lemon juice
– 1 teaspoon smoked paprika
– 1/2 teaspoon crushed red pepper flakes
– Salt and freshly ground black pepper to taste
– Fresh parsley, chopped (for garnish)
– Lemon wedges (for serving)
The key to tasty lemon garlic roasted shrimp lies in the fresh ingredients. I love using large shrimp. They hold flavor well and cook quickly. Fresh garlic adds a punch and aroma that no powder can match.
The olive oil makes the shrimp tender and helps the spices stick. Lemon zest and juice bring brightness and acidity, which balance the dish. Smoked paprika adds depth, while crushed red pepper gives it a mild kick.
Ingredient Substitutions
– If you do not have fresh garlic, you can use garlic powder. Use about 1 teaspoon.
– You can substitute shrimp with scallops or chicken, but adjust cooking time.
– For spice, you can add more crushed red pepper or use hot sauce. If you prefer mild, skip it or reduce the amount.
These swaps can make the dish work for your taste or what you have on hand. I enjoy experimenting with different herbs and spices, too!
Step-by-Step Instructions
Preparation Steps
– Preheat the oven to 400°F (200°C). This gives a nice, even heat for roasting.
– Line a baking sheet with parchment paper. This makes cleanup quick and easy.
– In a large bowl, mix the shrimp with minced garlic, olive oil, lemon zest, and lemon juice.
– Add smoked paprika, crushed red pepper, salt, and black pepper to the bowl.
– Toss the shrimp well. Make sure each shrimp gets coated in the tasty marinade.
– Spread the shrimp in a single layer on the baking sheet. Leave space between each shrimp for even cooking.
Cooking Instructions
– Place the baking sheet in the preheated oven. Roast for 8 to 10 minutes.
– Watch the shrimp closely. They are done when they turn pink and opaque.
– Avoid overcooking! Shrimp can become tough if cooked too long.
– Once cooked, take the baking sheet out of the oven.
– Sprinkle chopped parsley on top for a fresh look and taste.
– Serve the shrimp hot with lemon wedges. A squeeze of lemon adds great flavor!
Tips & Tricks
Roasting Techniques
– Optimal oven temperature for roasting: Set your oven to 400°F (200°C). This heat gives shrimp a nice sear. It cooks them fast, so they stay juicy.
– Importance of arranging shrimp in a single layer: Lay the shrimp out evenly on the baking sheet. This allows hot air to flow freely. Each shrimp gets the same heat, making them cook evenly. Avoid stacking them; this leads to steaming instead of roasting.
Flavor Enhancements
– Using additional herbs for garnish: Fresh herbs like basil or dill can add zing. Add them right before serving for bright flavor. They elevate the dish and make it look great.
– Adding a splash of white wine for a different flavor profile: Pour in a bit of white wine while marinating. It adds depth to the shrimp’s taste. The wine brings out the lemon and garlic notes.
Making It Ahead
– How to prepare in advance: You can marinate the shrimp up to 2 hours ahead. Just keep them in the fridge, covered. This allows flavors to soak in deeply.
– Storing leftovers and reheating tips: Store leftovers in an airtight container. They’ll last 1-2 days in the fridge. To reheat, use a skillet over medium heat. Add a drop of olive oil to keep them moist. Heat just until warm; avoid cooking them again.
Pro Tips
- Use Fresh Shrimp: For the best flavor and texture, always opt for the freshest shrimp available. If using frozen shrimp, ensure they are completely thawed and pat them dry before marinating.
- Adjust Spice Level: Feel free to modify the amount of crushed red pepper flakes based on your heat preference. For a milder dish, reduce the quantity or omit it altogether.
- Don’t Overcook: Keep a close eye on the shrimp while roasting. They cook quickly, and overcooking can lead to a rubbery texture. Aim for a bright pink color and an opaque look.
- Garnish Generously: Adding freshly chopped parsley not only enhances the dish’s visual appeal but also adds a fresh flavor that complements the zesty lemon and garlic.
Variations
Different Flavor Profiles
You can give Lemon Garlic Roasted Shrimp a twist by changing its flavor.
– Spicy Lemon Garlic Shrimp: Add more heat with crushed red pepper flakes. Try using a whole teaspoon if you love spice. Just remember to taste as you go to find your perfect heat level.
– Mediterranean Lemon Garlic Shrimp: Mix in sliced olives and crumbled feta for a salty and tangy kick. This makes the dish richer and more complex.
Serving Suggestions
Pair your shrimp with tasty sides to make a full meal. Here are some great ideas:
– Rice or Salad: Steamed rice or a fresh garden salad works well. The rice soaks up the lemony juices, while the salad adds crunch.
– Creative Plating Ideas: Serve the shrimp on a colorful platter with lemon wedges. Garnish with chopped parsley for a pop of color. Arrange the shrimp in a circle for an eye-catching look. This adds a fun touch to your meal and impresses your guests.
Storage Info
Storing Leftovers
To keep your lemon garlic roasted shrimp fresh, follow these tips:
– Refrigeration: Store leftovers in an airtight container. They can last for 2-3 days in the fridge. Make sure the shrimp cool down before sealing. This helps prevent moisture buildup.
– Freezing cooked shrimp: You can freeze the shrimp if you need more time. Place cooked shrimp in a freezer-safe bag. Remove as much air as possible to prevent freezer burn. They can stay good for up to 3 months. Thaw in the fridge before reheating.
Best Practices for Reheating
Reheating shrimp can be tricky. You want to keep them tasty and avoid rubbery texture. Here are some methods:
– Methods for preserving texture and flavor: The best way to reheat is in a skillet on low heat. Add a splash of water or broth to keep them moist. Stir gently until heated through. You can also use a microwave with a damp paper towel to cover the shrimp. This helps trap steam and keeps them tender.
– Recommended reheating temperature: Aim for about 145°F (63°C). This is the safe temperature for reheating seafood. Use a food thermometer to check if you’re unsure.
FAQs
Common Questions About Lemon Garlic Roasted Shrimp
How long can I store leftovers?
You can store leftovers in an airtight container. They stay good for up to three days in the fridge. If you want to keep them longer, freeze them for up to three months.
Can I use frozen shrimp?
Yes, frozen shrimp work well. Just make sure to thaw them before cooking. You can thaw shrimp by placing them in the fridge overnight or running cold water over them for a few minutes.
What should I serve with this dish?
This dish pairs nicely with rice, pasta, or a fresh salad. You can also add crusty bread to soak up any extra juices.
Cooking Related Questions
How do I know when shrimp are cooked?
Shrimp are cooked when they turn pink and opaque. This usually takes about 8-10 minutes at 400°F. Always check to avoid overcooking, as shrimp can become rubbery.
Can I make this recipe on the stove instead of the oven?
Yes, you can cook shrimp on the stove. Heat a skillet over medium-high heat and cook the shrimp for about 3-4 minutes per side. Just make sure they are fully coated in the marinade.
Ingredient Related Queries
Is it necessary to devein shrimp?
Deveining shrimp is not strictly necessary. However, it improves the look and taste of your dish. It also removes the digestive tract, which some people prefer not to eat.
What can I use instead of lemon if I don’t have any?
If you lack lemon, use lime juice or vinegar. Both will give your dish a nice tang. You can also try a splash of white wine for added flavor.
This post covered everything you need for a delicious lemon garlic shrimp dish. We explored key ingredients, fun cooking steps, and useful tips for success. Remember, cooking shrimp takes care to avoid overcooking. You can easily adjust flavors and side dishes to match your taste. Storing leftovers is simple, and reheating keeps them tasty. Use this guide to impress your family or guests with your new cooking skills. Enjoy every bite and have fun experimenting with flavor
<!-- /wp:post-conte


