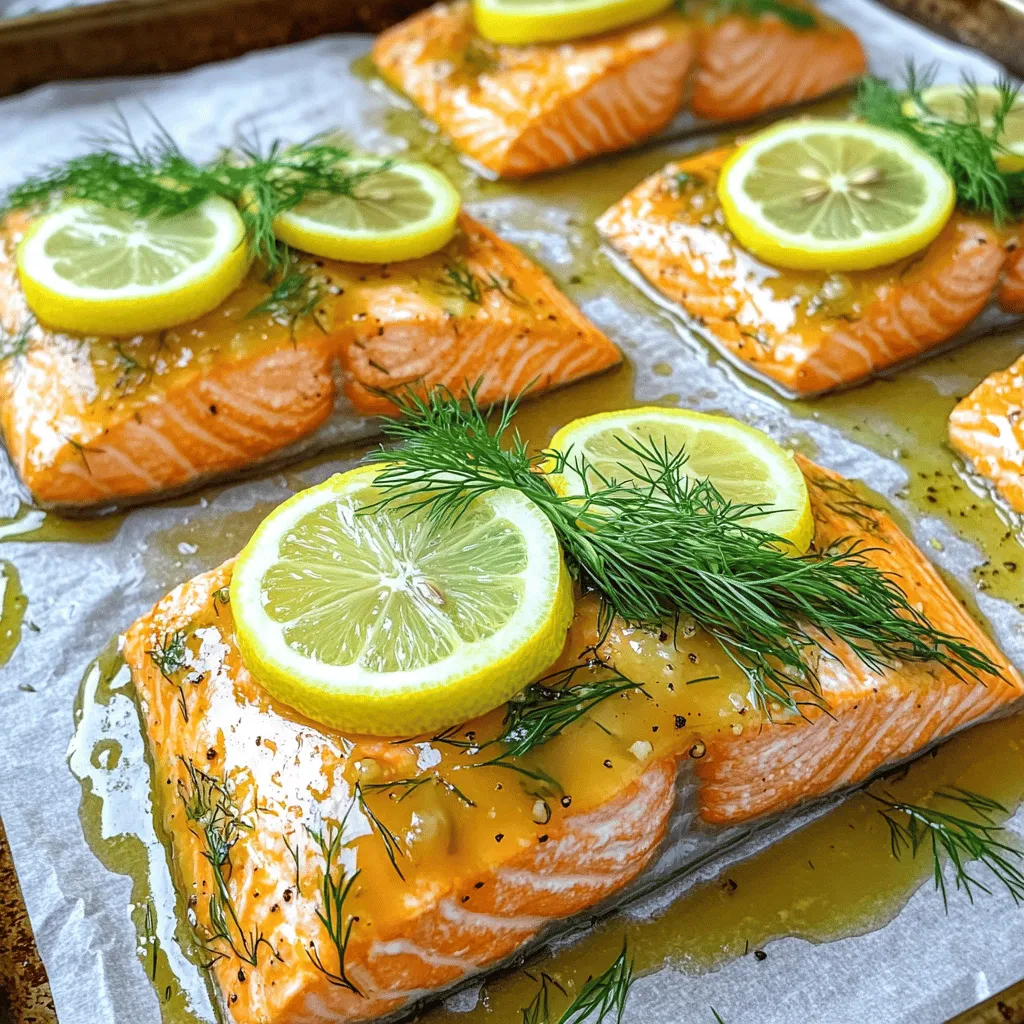
Looking for a quick dinner that’s packed with flavor? My Lemon Dill Salmon recipe is both savory and simple, taking just minutes to prepare. With fresh salmon fillets, zesty lemons, and aromatic dill, this dish is sure to impress. Whether you’re a busy parent or a culinary newbie, you’ll find that cooking a delicious meal can be easy. Let’s dive into the ingredients and get started on this tasty journey!
Ingredients
Main Ingredients
– 4 salmon fillets (approximately 6 oz each)
– 2 lemons (juice of one lemon, and the other sliced for garnish)
– 3 tablespoons fresh dill, finely chopped
Seasoning Ingredients
– 2 tablespoons extra virgin olive oil
– 1 teaspoon garlic powder
– Salt and freshly ground black pepper, to taste
– 1 tablespoon Dijon mustard (optional, for a zesty kick)
Optional Garnishes
– Fresh dill sprigs, for final garnish
– Additional lemon slices for serving
Gathering fresh ingredients is crucial for this Lemon Dill Salmon recipe. The salmon fillets should be firm and bright in color. Look for the ones with clear eyes and a fresh smell. The lemons should be juicy and bright yellow. Fresh dill adds a lovely aroma and flavor.
I like to use extra virgin olive oil because it adds richness. Garlic powder gives depth without overpowering the fish. Salt and pepper enhance all the flavors. If you want a bit of spice, Dijon mustard is a great addition.
For garnishing, add fresh dill sprigs and lemon slices. They make the dish look vibrant and inviting. This mix of ingredients creates a delightful meal that is easy to prepare.
Step-by-Step Instructions
Preparation Steps
– Preheat your oven to 400°F (200°C).
– In a bowl, mix olive oil, lemon juice, dill, garlic powder, salt, and pepper.
Baking Process
– Line a baking sheet with parchment paper.
– Place the salmon fillets on the sheet, giving them space.
– Use a brush to coat each fillet with the olive oil mixture.
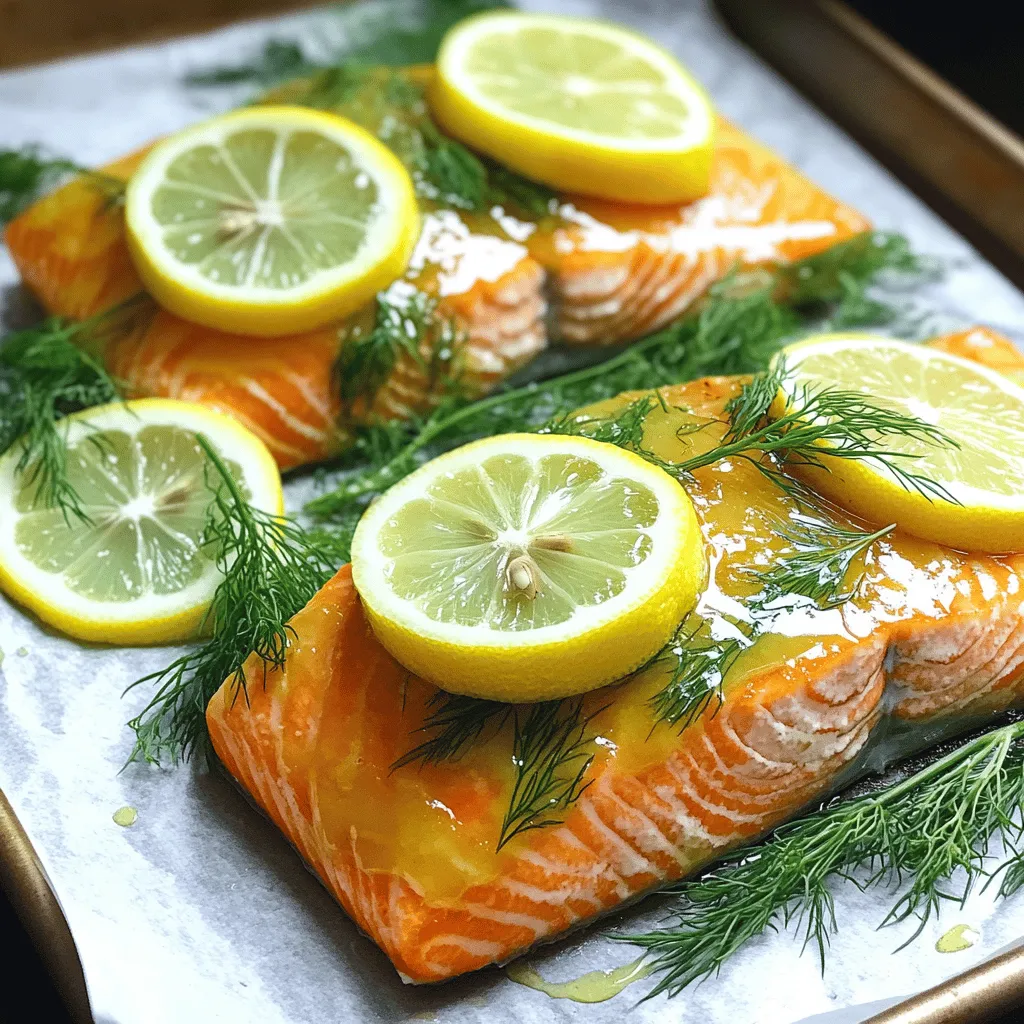
– Lay a lemon slice on top of each salmon fillet.
Cooking Time
– Bake the salmon for 12-15 minutes.
– Check if it flakes easily with a fork. The internal temperature should reach 145°F (63°C).
– After baking, let the salmon rest for about 5 minutes. Serve it hot with fresh dill and extra lemon slices.
Tips & Tricks
Cooking Salmon Perfectly
The best internal temperature for salmon is 145°F (63°C). You can check this with a food thermometer. When salmon is done, it should flake easily with a fork. The flesh should appear opaque and moist. Look for a nice pink color in the center.
Enhancing Flavor
Marinating the salmon is key for great taste. It helps the salmon soak up the lemon and dill flavors. I recommend marinating for at least 30 minutes before cooking. You can also try adding honey or soy sauce for a sweet twist. Great flavor pairings include garlic, capers, and even a dash of chili for some heat.
Presentation Tips
To serve salmon beautifully, place it on a large platter. Drizzle any leftover olive oil mixture on top. Add fresh lemon slices around the fish for color. You can serve Lemon Dill Salmon with seasonal vegetables, rice, or a crisp green salad. These sides bring out the fresh flavors of the dish beautifully.
Variations
Different Cooking Methods
Grilling Lemon Dill Salmon
Grilling adds a nice smoky flavor to salmon. To grill, preheat your grill to medium-high heat. Brush the salmon with the lemon-dill mixture. Place the fillets skin side down on the grill. Cook for about 6-8 minutes per side. You want the salmon to flake easily.
Pan-searing instructions
Pan-searing gives a crispy crust. Heat a non-stick pan with a little olive oil over medium heat. Place the salmon fillets skin side down in the pan. Cook for 4-5 minutes until the skin is crispy. Flip the fillets and cook for another 4-5 minutes. This method locks in flavor and moisture.
Ingredient Swaps
Alternative herbs to use
If you want a new twist, try using parsley or basil instead of dill. These herbs bring their own unique taste. You can also mix herbs for a special flavor.
Adjusting flavors with different citrus
Lemon is great, but lime or orange can work too. Lime adds a zesty kick, while orange gives a sweet touch. Experiment with different citrus to find your favorite flavor.
Dietary Adjustments
Gluten-free modifications
This recipe is naturally gluten-free. Just make sure any sauces or mustards you use are gluten-free. Look for labels to ensure safety.
Low-sodium options
To lower the sodium, skip the added salt. Instead, use fresh herbs to enhance flavor. You can also use low-sodium soy sauce or tamari in place of salt if you need a savory boost.
Storage Info
Storing Leftovers
To keep your Lemon Dill Salmon fresh, place it in an airtight container. Make sure it cools to room temperature before sealing. This will help prevent moisture loss. You can store the salmon in the fridge for up to three days. If you want to keep it longer, freezing is a great option. Wrap the salmon tightly in plastic wrap, then place it in a freezer bag. This method helps avoid freezer burn. When done right, frozen salmon can last for up to three months.
Reheating
When it’s time to enjoy leftovers, reheating is key. I recommend using the oven to maintain the salmon’s texture. Preheat your oven to 350°F (175°C). Place the salmon on a baking sheet and cover it with foil. Heat for about 10-15 minutes, or until it’s warm throughout. If you’re in a hurry, you can use the microwave. Just place the salmon on a microwave-safe plate and cover it lightly. Heat in 30-second intervals until warm, but be careful not to overcook.
Shelf Life
In the fridge, Lemon Dill Salmon stays fresh for about three days. If you see any discoloration or a sour smell, it’s best to toss it. Fresh salmon should look bright and smell like the ocean. If it has a strong fishy odor, it’s likely spoiled. Always check your leftovers before diving in. Keeping track of these signs helps ensure your meals stay safe and tasty.
FAQs
Common Questions About Lemon Dill Salmon
What sides go best with Lemon Dill Salmon?
I love pairing Lemon Dill Salmon with fresh green beans and fluffy rice. You can also try roasted asparagus or a crisp garden salad. These sides add color and texture. They also balance the flavors of the salmon well.
Can I use frozen salmon for this recipe?
Yes, you can use frozen salmon. Just remember to thaw it first. Place it in the fridge overnight or run it under cold water. This way, it cooks evenly and stays juicy.
Cooking Techniques
How do I know when salmon is fully cooked?
Salmon is done when it flakes easily with a fork. The flesh should be opaque and not translucent. You can also check the internal temperature. It should reach at least 145°F (63°C).
Is it necessary to soak the salmon before cooking?
No, you do not need to soak the salmon. Soaking can change its texture. Instead, just season it well. The lemon and dill will add great flavor.
Ingredient Substitutions
Can I use dried dill instead of fresh?
Yes, you can use dried dill. Use about one teaspoon of dried dill for each tablespoon of fresh. Dried dill is stronger, so adjust to your taste.
What can I use instead of Dijon mustard?
If you don’t have Dijon mustard, try whole grain mustard or a bit of honey. You can also skip it if you want a milder flavor. The dish will still taste great without it.
In this blog post, we explored how to make Lemon Dill Salmon with fresh ingredients. We discussed the main and seasoning ingredients, as well as step-by-step baking instructions. I shared tips for perfect cooking and ways to enhance flavor. You learned about variations and how to store leftovers properly.
Now, you can enjoy delicious salmon anytime. Use these tips to impress your family and friends. Cook, taste, and have fun with all the possibilities!


