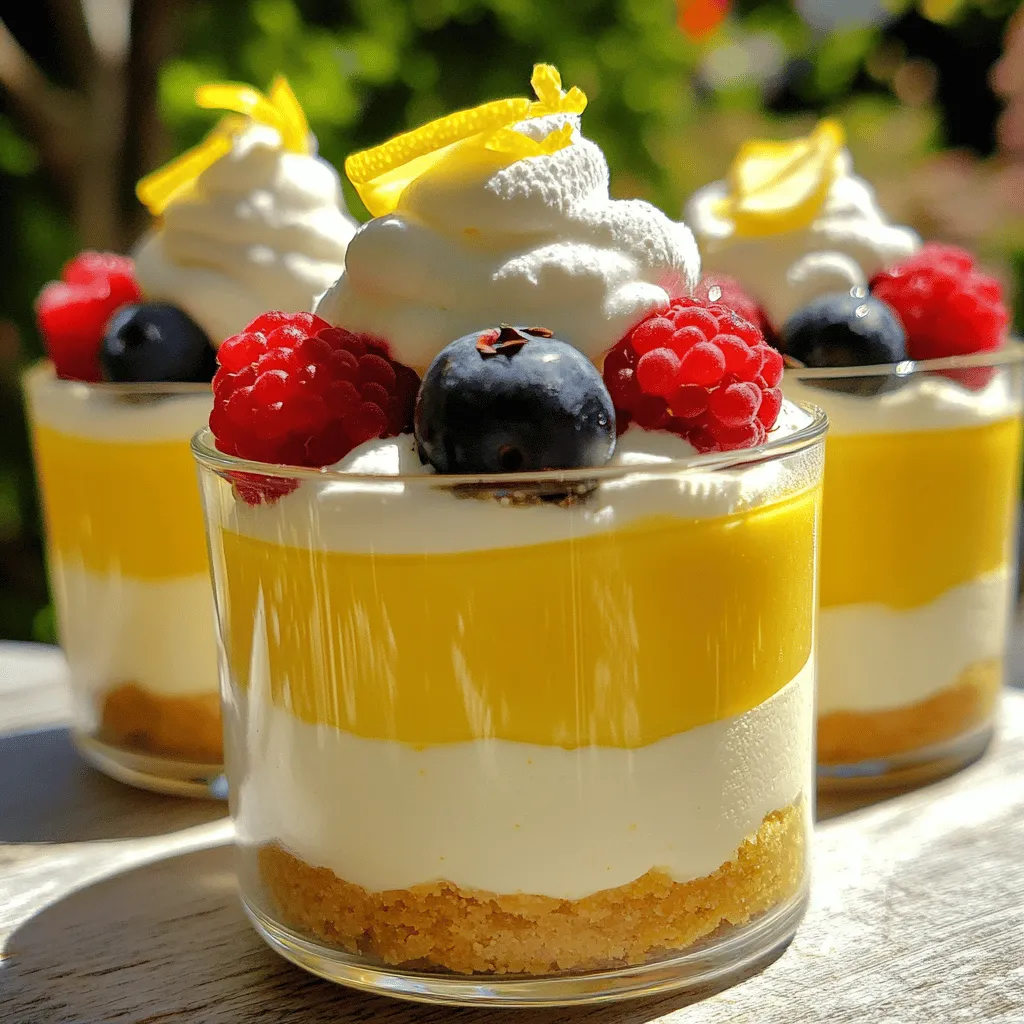
If you’re craving a sweet treat that’s both zesty and creamy, look no further! My Lemon Cheesecake Cups are the perfect no-bake dessert to satisfy your lemony longing. With just a handful of simple ingredients, you’ll be able to whip up delightful cups that impress. Whether you’re a kitchen pro or a beginner, this recipe is easy and fun. Let’s dive into the steps to make these refreshing cups a hit!
Ingredients
To make these lemon cheesecake cups, you need a few simple ingredients. Each one plays a role in creating that creamy, zesty flavor we love. Here’s what you will need:
– 1 cup cream cheese, softened to room temperature
– 1/2 cup powdered sugar, sifted for smoothness
– 1/2 cup sour cream
– 1/4 cup freshly squeezed lemon juice
– Zest of 2 lemons
– 1 teaspoon pure vanilla extract
– 1 cup digestive biscuits or finely crushed graham crackers
– 4 tablespoons unsalted butter, melted and slightly cooled
– Fresh berries (such as strawberries, blueberries, or raspberries) for garnish
– Whipped cream for topping (optional)
These ingredients come together to create a delightful no-bake treat that is refreshing and easy to make. The cream cheese gives it a rich texture, while the lemon zest adds brightness. Using fresh lemon juice enhances the flavor and makes it taste homemade. You can also choose to add berries or whipped cream for a lovely finish.
Step-by-Step Instructions
Preparing the Crust
Mixing Ingredients for the Crust
Start by gathering your ingredients. You will need 1 cup of crushed digestive biscuits or graham crackers and 4 tablespoons of melted unsalted butter. In a mixing bowl, combine the crumbs with the melted butter. Stir until the mixture looks like wet sand. This makes a great base for your cheesecake cups.
Layering Crust in Cups
Now, take the crumb mixture and scoop about 2 tablespoons into each serving cup. Use the back of a spoon or your fingers to press down gently. Make sure it is firm and even. This crust will give your dessert a nice crunch.
Making the Cheesecake Filling
Beating Cream Cheese
Next, let’s make the cheesecake filling. In a large bowl, add 1 cup of softened cream cheese. Use an electric mixer to beat it until it is smooth and creamy. This step is key for a light texture.
Adding Remaining Ingredients
Gradually mix in 1/2 cup of sifted powdered sugar, 1/2 cup of sour cream, 1/4 cup of fresh lemon juice, and the zest of 2 lemons. Don’t forget to add 1 teaspoon of pure vanilla extract! Keep mixing until everything is well combined. The filling should look fluffy and delicious.
Assembling the Cups
Layering the Filling
Now, it’s time to assemble the cups. Carefully spoon the creamy cheesecake filling over the crust in each cup. Fill them about three-quarters full. This leaves space for any toppings you want to add later.
Importance of Chilling
Cover the cups with plastic wrap and place them in the fridge. Let them chill for at least 2 hours. Chilling helps the cheesecake set and blend the flavors together. You will love the smooth texture when you take a bite!
Tips & Tricks
Perfecting the Cheesecake Texture
Importance of Softened Cream Cheese
Softened cream cheese is key for a smooth filling. It mixes better when at room temperature. Take it out of the fridge at least 30 minutes before you start. This step makes your cheesecake creamy and prevents lumps.
Achieving Creaminess with Mixing
Mixing is crucial for a light texture. Use an electric mixer for even blending. Start slow to combine the cream cheese and sugar. Gradually add the sour cream, lemon juice, and zest. Mix until fluffy and well combined.
Presentation Suggestions
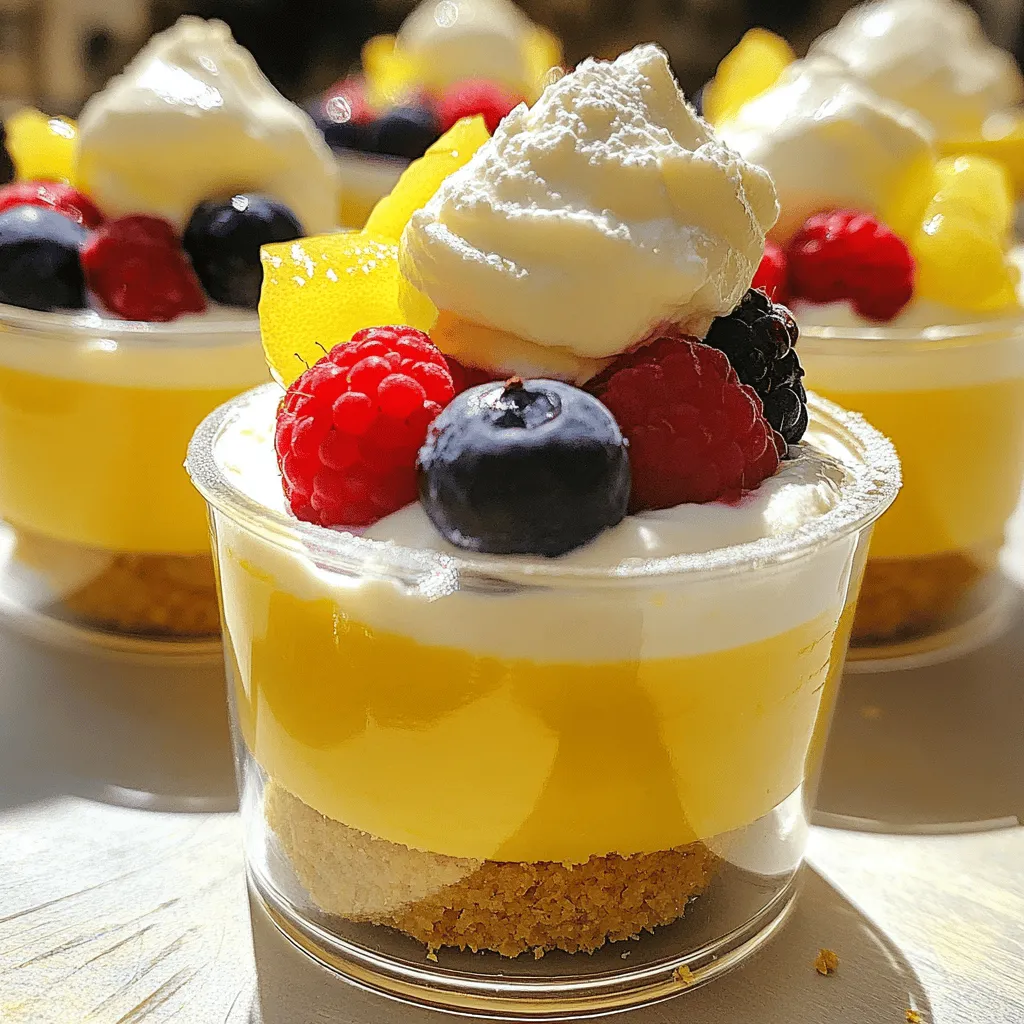
Garnishing with Berries
Fresh berries add color and flavor. Use strawberries, blueberries, or raspberries. Place a few on top of your cheesecake cups. This makes your dessert look more inviting. Plus, the tartness of the berries complements the lemon well.
Drizzling Lemon Zest
Lemon zest gives a nice touch. After you add the whipped cream, sprinkle zest on top. It adds brightness and an extra zing. This small step enhances both flavor and presentation.
Time-Saving Tips
Pre-preparing Ingredients
You can save time by prepping ahead. Crush the biscuits and mix the butter in advance. Store these in the fridge until you’re ready. This way, the crust is ready to go when you need it.
Choosing Quick-Garnishing Options
If you’re short on time, use ready-made garnishes. You can buy pre-washed berries or whipped cream. This step cuts down on prep time, leaving you more room to enjoy your dessert.
Variations
Different Flavor Options
You can have fun with flavors in your lemon cheesecake cups. Here are two great ideas:
– Berry Swirled Cheesecake Cups: Add a fruit swirl for a sweet twist. You can mix fresh berries like strawberries or blueberries into the cheesecake filling. To do this, mash some berries and gently fold them into the filling before layering it in the cups. This creates a lovely berry design.
– Chocolate Lemon Cheesecake Cups: For a rich flavor, try adding chocolate. Mix in some cocoa powder to the cream cheese filling. You can also layer melted chocolate at the bottom of the cups before adding the lemon filling. This combo gives a nice balance of tart and sweet.
Ingredient Substitutions
If you have dietary needs, you can easily swap some ingredients:
– Dairy-Free Alternatives: Use vegan cream cheese and coconut cream instead of sour cream. This makes the dessert dairy-free while keeping it creamy and delicious.
– Gluten-Free Options: Instead of regular digestive biscuits or graham crackers, use gluten-free versions. Look for gluten-free cookies or even almond flour to make a crust. This way, everyone can enjoy your treat.
Serving Suggestions
The right drinks or presentation can elevate your cheesecake cups. Here are some ideas:
– Pairing with Refreshing Beverages: Serve these cups with iced tea or lemonade. The bright flavors of lemon pair well with fruity drinks. You can even add mint leaves for a refreshing touch.
– Festive Serving Ideas: For special occasions, use clear dessert glasses. This shows off the pretty layers. You can add a sprig of mint on top for color. This simple touch makes your dessert look fancy and inviting.
Storage Info
Proper Storage Methods
To keep your lemon cheesecake cups fresh, store them in the fridge. Here’s how:
– Refrigeration Guidelines: Place the cheesecake cups in the refrigerator within two hours of making them. This helps to maintain their creamy texture and flavor. Always cover the cups with plastic wrap or a lid to prevent them from absorbing other odors.
– Container Suggestions: Use airtight containers or the original cups with lids. If you do not have lids, plastic wrap works well. Ensure the wrap is tightly sealed to keep out moisture and air.
Shelf Life of Cheesecake Cups
You want to enjoy your dessert at its best. Here’s how long they last:
– How Long They Last in the Fridge: Lemon cheesecake cups can stay fresh for up to five days in the fridge. They taste best within the first three days, as the flavors blend nicely.
– Freezing for Extended Storage: You can freeze these cups for up to two months. Just ensure they are well covered to prevent ice crystals from forming. When ready to eat, thaw them overnight in the fridge. Avoid refreezing once thawed, as it may change the texture.
FAQs
Can I use low-fat cream cheese?
Yes, you can use low-fat cream cheese. It will still work in this recipe. However, the texture may be a bit different. The cheesecake might not be as rich and creamy. If you want a lighter version, this is a good choice.
How long can I freeze lemon cheesecake cups?
You can freeze lemon cheesecake cups for up to one month. Make sure to wrap them well. Use plastic wrap or a freezer-safe container. When ready to eat, just thaw them in the fridge overnight. This keeps them fresh and tasty.
Can I make these cheesecake cups a day in advance?
Absolutely! Making them a day ahead is a great idea. They will have more time to chill and set. This also lets the flavors mix better. Just cover them well and store in the fridge. Serve them the next day for a delightful treat!
This blog post covered how to make delicious cheesecake cups. You learned about the essential ingredients and step-by-step instructions for mixing the crust and filling. Tips on perfecting texture and presentation helped you enhance your dessert. You also discovered fun variations and storage tips to keep them fresh.
These cheesecake cups are easy to customize and perfect for any occasion. Try them out, and enjoy a delightful treat!


