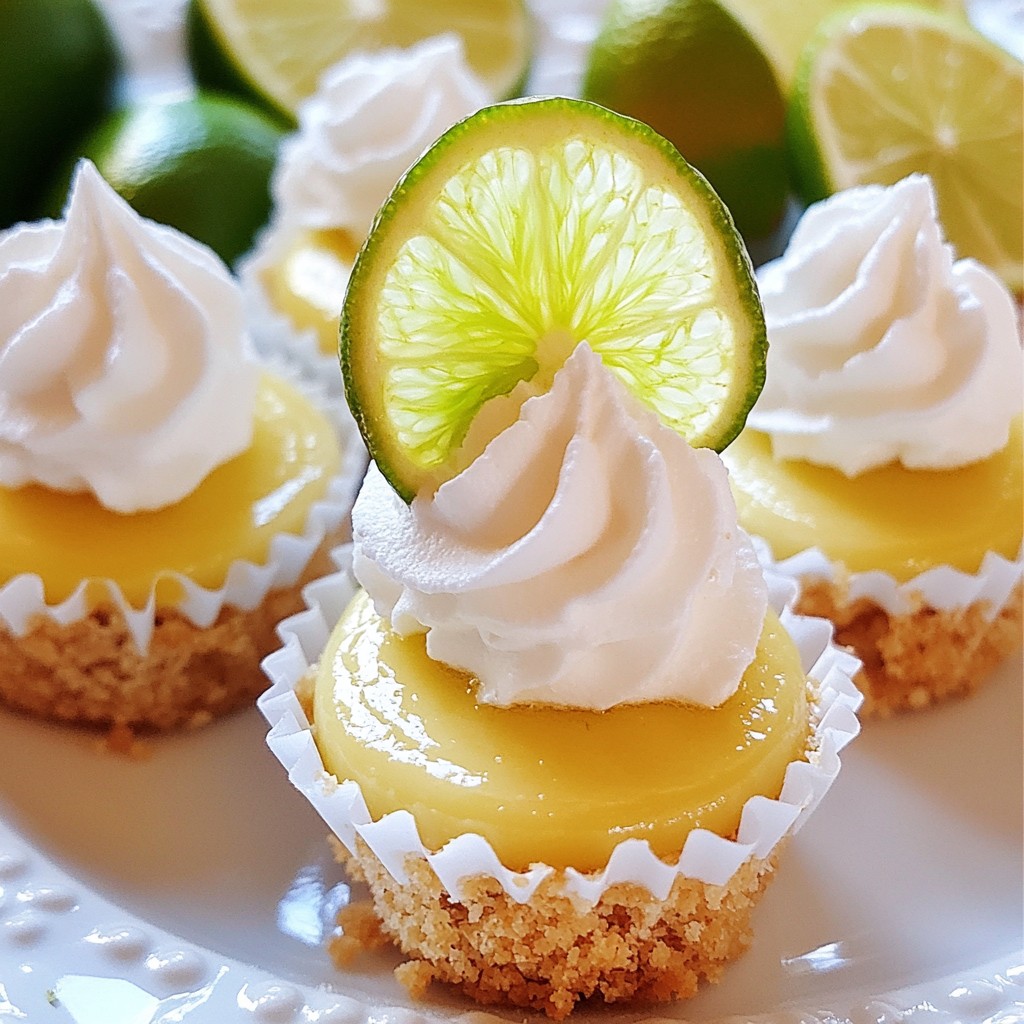
Get ready for a refreshing treat that’s perfect for any occasion! Key Lime Cheesecake Bites are simple, tasty, and bursting with zesty flavor. In this post, I’ll guide you through the easy steps to create these delightful dessert bites. You’ll learn about essential ingredients and tips for perfect bites every time. Whether you’re new to baking or an expert, you’ll want to try this sweet and tangy dessert!
Why I Love This Recipe
- Easy to Make: These cheesecake bites require minimal effort, making them a perfect dessert for any occasion.
- Refreshing Flavor: The bright and tangy taste of key lime perfectly complements the creamy cheesecake, creating a delightful balance.
- Perfect for Sharing: With 24 bite-sized portions, these treats are ideal for parties and gatherings, allowing everyone to enjoy a taste.
- Customizable Toppings: You can easily personalize these bites by adding whipped cream, fresh fruit, or extra zest for a unique twist.
Ingredients
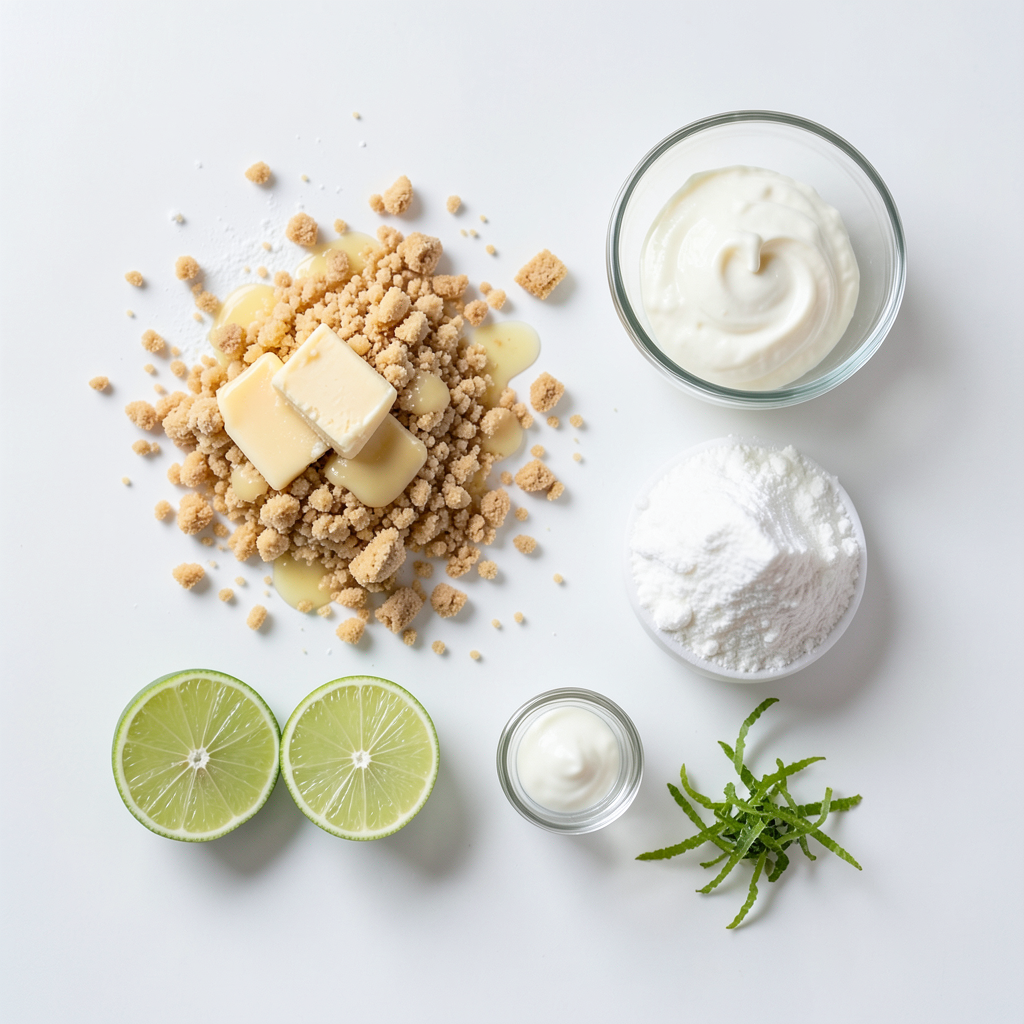
To make Key Lime Cheesecake Bites, you need specific ingredients for the crust and filling. Here’s what you'll need:
- 1 cup graham cracker crumbs
- 4 tablespoons unsalted butter, melted
- 2 cups cream cheese, softened to room temperature
- 1 cup powdered sugar, sifted
- 1/4 cup sour cream
- 1/4 cup fresh lime juice (about 2-3 limes)
- Zest of 2 limes
- 1 teaspoon pure vanilla extract
- Whipped cream, for topping (optional)
- Lime slices, for garnish (optional)
These ingredients blend together to create a creamy and tangy dessert. The graham cracker crumbs provide a crunchy base, while the cream cheese gives a rich flavor. The fresh lime juice and zest add that refreshing twist you expect from key lime treats. Don't forget the whipped cream and lime slices for a fun garnish!
Step-by-Step Instructions
Detailed Instructions
1. Start by mixing the graham cracker crumbs and melted butter in a bowl. Stir until it looks like wet sand. This mix should hold together when squeezed.
2. Line a mini muffin tin with paper liners. Press the graham cracker mix into each cup. Use your fingers or the back of a spoon to make a firm crust.
3. In another bowl, beat the softened cream cheese with an electric mixer. Mix on medium speed until it’s smooth and creamy. There should be no lumps.
4. Gradually add the sifted powdered sugar to the cream cheese. Mix well after each addition. Then, add the sour cream, lime juice, lime zest, and vanilla extract. Keep mixing until it’s creamy and fluffy.
5. Fill each muffin cup with the cheesecake mix. Use a spoon or a piping bag to get a nice fill. Leave a little space at the top.
6. Cover the muffin tin with plastic wrap. Place it in the fridge for at least 4 hours. This helps the cheesecake bites to set fully.
7. Once set, carefully take the bites out of the muffin tin. Discard the paper liners gently.
8. Serve the bites chilled. You can top them with whipped cream and a slice of lime for added flair.
Tips for Success
- Use room-temperature cream cheese. This helps it blend better and avoids lumps.
- Mix gently when adding the wet ingredients. This keeps the filling light and airy.
- Don’t skip the chilling time. It’s key for setting the bites properly.
Serving Suggestions
- Arrange the bites on a nice platter for a pretty display.
- Drizzle with extra lime zest for color and a fresh aroma.
- Consider adding fresh berries or mint leaves for a pop of color.
Tips & Tricks
Common Mistakes to Avoid
When making Key Lime Cheesecake Bites, avoid these common mistakes:
- Don’t skip the cream cheese softening. If it's cold, your filling may be lumpy.
- Mix ingredients slowly. If you rush, you'll get a grainy texture.
- Don’t overfill the cups. Leave a little space to avoid spills during chilling.
- Check the setting time. If under-chilled, they may fall apart.
Best Practices for Storage
To keep your cheesecake bites fresh:
- Store in an airtight container. This helps prevent drying out.
- Keep in the fridge. They last up to five days when chilled.
- Avoid stacking them. Stacking can ruin their shape and toppings.
- Cover with plastic wrap. This adds extra protection against moisture.
Enhancing Flavor
Want to add a twist? Here are some ideas:
- Add zest from other citrus fruits. Lemon or orange zest can brighten the flavor.
- Mix in a hint of coconut. Shredded coconut gives a tropical vibe.
- Top with fresh berries. They add color and a sweet contrast to the tart lime.
- Drizzle with chocolate. A thin layer of chocolate can create a rich pairing.
Pro Tips
- Chill Your Ingredients: Make sure your cream cheese is at room temperature for easier mixing, but keep the cheesecake bites in the fridge until serving for the best texture.
- Use Fresh Limes: Fresh lime juice and zest will give a brighter flavor compared to bottled alternatives, enhancing the overall taste of your cheesecake bites.
- Don’t Overmix: When combining the filling ingredients, mix just until smooth to prevent incorporating too much air, which can lead to cracks in the cheesecake.
- Garnish Wisely: Add whipped cream and lime slices just before serving to keep them fresh and visually appealing, ensuring a delightful presentation.
Variations
Alternate Flavor Combinations
You can switch up the flavors in your cheesecake bites. Try using lemon or orange instead of lime. These fruits give a bright taste, just like key lime. Lemon adds a tart punch, while orange brings a sweet twist. Simply replace lime juice with an equal amount of your chosen citrus juice. Adjust the zest too for added flavor. This change keeps the recipe fresh and fun.
Dietary Modifications
Want to make these cheesecake bites gluten-free? Use gluten-free graham cracker crumbs instead of regular ones. For a vegan version, swap cream cheese with a plant-based alternative. You can also use coconut cream to make it rich and creamy. Replace the sour cream with vegan yogurt. For sugar, try coconut sugar or agave syrup. These swaps let everyone enjoy the treat!
Serving Size Variations
You can easily modify the serving size. Instead of mini bites, make larger cheesecake slices. Just use a regular muffin tin or a square baking dish. Adjust the chill time to ensure they set well. Larger slices work great for parties or gatherings. They can also be plated elegantly for special events. This way, you can enjoy the same delicious flavors in different forms!
Storage Info
How to Store Leftovers
To keep your Key Lime Cheesecake Bites fresh, place them in an airtight container. Always refrigerate them after serving. This step helps maintain their creamy texture. Make sure to separate layers with parchment paper if stacking. This practice prevents sticking.
Freezing Instructions
If you want to save some bites for later, freezing is a great option. First, place the cheesecake bites on a baking sheet. Freeze them for about 1-2 hours until they are firm. Then, transfer them to a freezer-safe bag or container. Label the container with the date. When you're ready to enjoy them, thaw in the fridge overnight.
Shelf Life
In the fridge, these cheesecake bites can last for about 5 days. If you freeze them, they can last for about 2-3 months. Just remember, the sooner you eat them, the better the taste!
FAQs
How long do Key Lime Cheesecake Bites last?
Key Lime Cheesecake Bites can last about five days in the fridge. Store them in an airtight container. This keeps them fresh and tasty. If you want to keep them longer, you can freeze them. They will stay good for up to two months in the freezer.
Can I make these ahead of time?
Yes! You can make these cheesecake bites a day before you plan to serve them. Just remember to chill them in the fridge for at least four hours. This time helps them set perfectly. Making them ahead saves you time on the day of your event.
What is the best way to serve Key Lime Cheesecake Bites?
Serve these bites chilled for the best taste. You can add a dollop of whipped cream on top for creaminess. A small slice of lime adds a nice touch too. For a fancy look, arrange them on a pretty platter. Drizzle some lime zest over the bites for extra flair and flavor.
To make delicious Key Lime Cheesecake Bites, we covered the key ingredients and detailed steps. We discussed common mistakes and shared tips to enhance flavors. You now have ideas for variations and smart storage methods.
These bites can bring joy to any gathering. Remember to follow the tips for success to achieve the best results. Enjoy your time in the kitchen, and share these treats with friends and family!