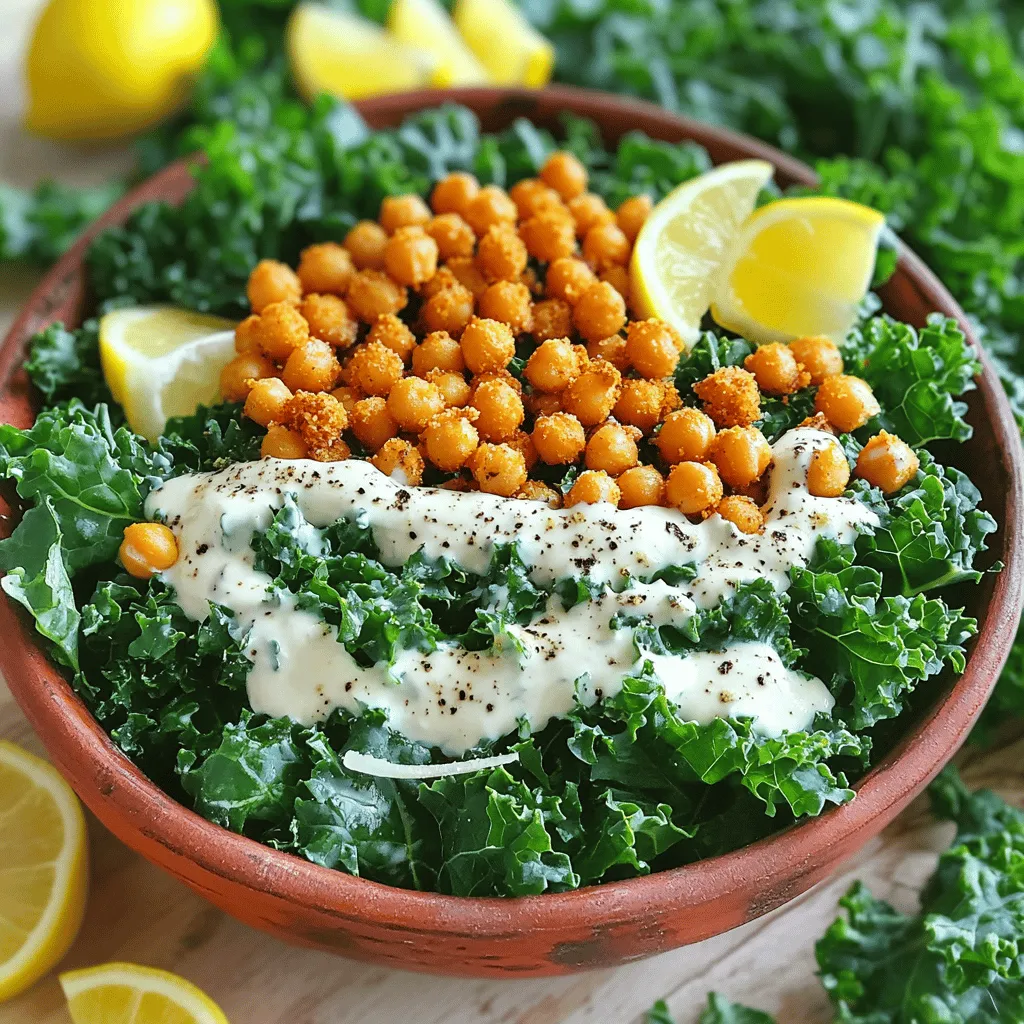
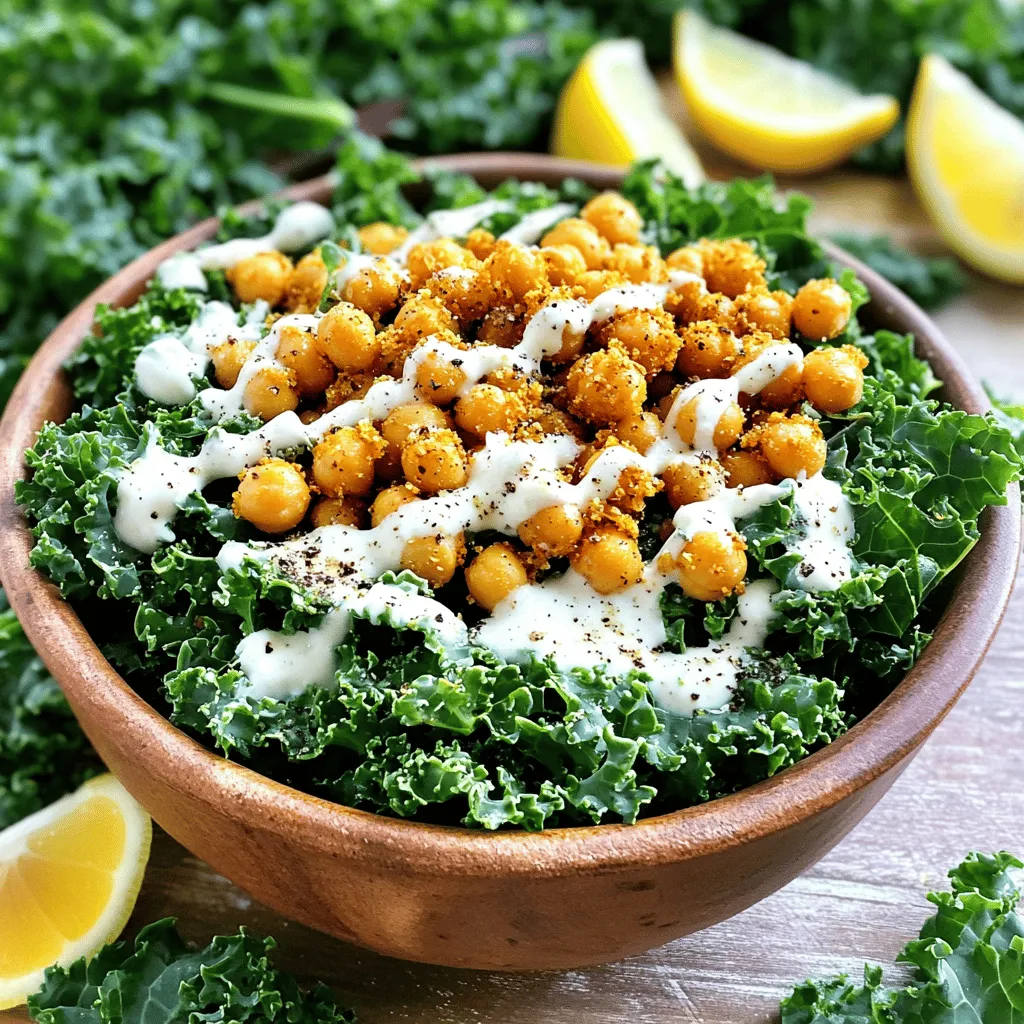
Are you ready to elevate your salad game? In this post, I’ll show you how to make a Kale Caesar Salad with Crispy Chickpeas that’s both tasty and healthy. You’ll learn about the key ingredients that make this dish pop, step-by-step instructions for perfecting each element, and tips to enhance its flavors. Whether you’re a beginner or a pro, this salad will delight your taste buds. Let’s dive in!
Ingredients
Key Ingredients for Kale Caesar Salad
To make a great Kale Caesar Salad, you need some key ingredients. Here’s what you’ll need:
– 1 bunch of kale, with stems removed and leaves chopped into bite-sized pieces
– 1/4 cup grated Parmesan cheese (or nutritional yeast for a vegan-friendly option)
– 1/2 cup Greek yogurt (or a suitable vegan alternative)
– 2 tablespoons freshly squeezed lemon juice
– 1 tablespoon Dijon mustard
– 1 clove garlic, minced finely
– 1/4 cup whole wheat croutons (optional, for extra crunch)
– Salt and freshly ground black pepper, to taste
These ingredients blend to create a rich and creamy dressing that coats the kale nicely.
Ingredients for Crispy Chickpeas
Crispy chickpeas add fun and crunch to your salad. Here’s what you need for them:
– 1 can (15 oz) chickpeas, thoroughly drained and rinsed
– 2 tablespoons olive oil, divided
– Salt and freshly ground black pepper, to taste
Roasting chickpeas gives them a lovely crunch. You’ll love their flavor!
Alternative Ingredients (Vegan Options, Gluten-Free)
You can easily make this salad plant-based or gluten-free. Here are some tips:
– Use nutritional yeast instead of Parmesan cheese for a vegan option.
– Swap Greek yogurt with a plant-based yogurt.
– If you need a gluten-free option, make sure your croutons are gluten-free or skip them altogether.
With these swaps, everyone can enjoy this tasty salad!
Step-by-Step Instructions
Preparing the Crispy Chickpeas
First, I preheat my oven to 400°F (200°C). I take a can of chickpeas and drain it well. Rinsing the chickpeas helps reduce the sodium and makes them crispier. I then place them on a baking sheet. Next, I drizzle one tablespoon of olive oil over the chickpeas. After that, I sprinkle salt and freshly ground black pepper for flavor. I spread the chickpeas out so they roast evenly. I roast them in the oven for about 25 to 30 minutes. Halfway through, I shake the pan to ensure they brown nicely. The goal is to get them golden and crispy.
Massaging the Kale
While the chickpeas roast, I move on to the kale. I take one bunch of kale, remove the tough stems, and chop the leaves into bite-sized pieces. In a large mixing bowl, I drizzle one tablespoon of olive oil over the kale. This step is key! I gently massage the leaves with my hands for about 2 to 3 minutes. This softens the kale and makes it tender. It helps the flavors of the dressing soak in later. You will notice the leaves change color and feel less tough.
Making the Caesar Dressing
Next, I make the Caesar dressing. I take a small bowl and add half a cup of Greek yogurt to it. I squeeze in two tablespoons of fresh lemon juice for a zesty kick. Then, I mix in one tablespoon of Dijon mustard and one clove of minced garlic. I whisk these ingredients together until smooth. After that, I add half of the grated Parmesan cheese. I taste the dressing and adjust with salt and pepper if needed. Once the chickpeas are ready, I pour the dressing over the massaged kale. I toss everything together, making sure each leaf is coated. Finally, I add the crispy chickpeas, and if I want, some croutons for extra crunch. I serve it all with the remaining Parmesan cheese on top.
Tips & Tricks
How to Perfectly Roast Chickpeas
To roast chickpeas well, start with dry chickpeas. Drain and rinse a can of chickpeas. Pat them dry with a towel. This step helps them crisp up. Use a baking sheet and spread them out in one layer. Drizzle olive oil and sprinkle salt and pepper. Roast at 400°F for 25-30 minutes. Shake the pan halfway to ensure even roasting. You want them golden and crunchy. For extra flavor, try adding spices like paprika or garlic powder before roasting.
Best Ways to Massage Kale
Massaging kale makes it tender and less bitter. First, wash the kale and remove the tough stems. Tear the leaves into bite-sized pieces. In a big bowl, drizzle olive oil over the kale. Use your hands to knead the leaves gently. Spend about 2-3 minutes doing this. You can feel the leaves change texture. They should become softer and darker. This step is key for a great salad. It helps the kale absorb the dressing better.
Enhancing Flavor with Additional Ingredients
To add more flavor, consider including extra ingredients. You can toss in sliced radishes or cherry tomatoes for color. Avocado adds creaminess and healthy fats. For a protein boost, add grilled chicken or tofu. Fresh herbs like parsley or basil can make the salad pop. If you want a kick, try adding sliced jalapeños. These ingredients complement the crispy chickpeas and kale well. Each addition brings new flavors and textures. Explore what you like best to make this salad your own.
Variations
Adding Proteins (Chicken, Tofu, etc.)
You can easily add proteins to your Kale Caesar salad. Grilled chicken adds a great flavor and makes it more filling. Simply season the chicken with salt and pepper, then grill until cooked through. Slice it up and place it on top of your salad.
If you prefer a plant-based option, consider tofu. Firm tofu works best. Cut it into cubes, season with salt, and pan-fry until golden. Add the crispy tofu to your salad for a protein boost without meat.
Different Dressings and Flavor Profiles
While the classic dressing is delicious, you can explore other flavors. Try adding a bit of chipotle for a smoky kick. You can also use tahini mixed with lemon juice for a creamy, nutty taste.
For a lighter option, mix Greek yogurt with avocado. This creates a creamy dressing that’s rich and healthy. Experiment with herbs like basil or cilantro to change up the flavor.
Seasonal Variations (Using Seasonal Veggies)
Using seasonal veggies keeps your salad fresh and exciting. In the spring, add radishes for crunch and color. Summer calls for sweet cherry tomatoes, adding juicy bursts of flavor. In the fall, thinly sliced apples or pears bring a sweet twist.
Winter veggies, like roasted beets or shredded carrots, add color and nutrients. Adjust your salad based on what’s fresh and available. This keeps your meals vibrant and full of variety.
Storage Info
How to Store Leftover Salad
To store leftover salad, place it in an airtight container. Make sure to keep the crispy chickpeas separate. This helps them stay crunchy. Store the salad in the fridge for up to three days. If you add croutons, they should also be kept separate. This way, they don’t get soggy. Before eating, you can add the chickpeas back in for that nice crunch.
Best Practices for Storing Crispy Chickpeas
For the best storage, let the crispy chickpeas cool completely. Then, transfer them to an airtight container. They can last for about four days at room temperature. Keep them in a dry place. If you want to keep them crispy, avoid refrigerating them. You can also use a glass jar. This keeps them fresh longer and allows easy snacking.
Reheating Tips for Leftovers
When reheating, aim to keep the chickpeas crispy. Preheat your oven to 350°F (175°C). Spread the chickpeas on a baking sheet and heat for about 5-10 minutes. This revives their crunch. For the salad, it’s best to eat it cold. If you want it warm, try adding fresh ingredients like cooked chicken or tofu. This gives the salad a new twist.
FAQs
Can I make this salad in advance?
Yes, you can make parts of this salad ahead of time. You can wash and chop the kale a day before. Store it in a sealed bag in the fridge. You can also whip up the dressing in advance. Keep it in a jar in the fridge. Just remember to add the crispy chickpeas right before serving for the best crunch.
What to do if I don’t have chickpeas?
If you don’t have chickpeas, try using white beans or black beans. They give a nice texture and flavor. You could also use roasted nuts or seeds as a crunchy alternative. Just make sure to adjust the cooking time to get them crispy if you roast them.
How to make Kale Caesar Salad gluten-free?
To make this salad gluten-free, skip the croutons or use gluten-free bread for them. Check the labels on your dressing ingredients too. Use gluten-free Worcestershire sauce if you want to add more flavor. This keeps your salad tasty and safe for those with gluten allergies.
This article covered key ingredients for a delicious Kale Caesar Salad and crispy chickpeas. I shared step-by-step instructions for making it easy. Tips on perfecting flavors and variations helped you think outside the box. Storing your leftovers correctly ensures you enjoy this dish longer.
Incorporating these ideas will help you enjoy a healthy meal every time. I hope you feel inspired to make this salad your own. It’s not just good for you; it’s also fun to prepare. Enjoy your cooking adventures!


