
Looking for a meal that’s both tasty and simple? Honey mustard chicken thighs are your answer! This dish combines sweet honey, tangy mustard, and tender chicken into a quick weeknight dinner. You won’t need fancy skills or hard-to-find ingredients. Just a few pantry staples can create a flavorful delight. Join me as we dive into this easy recipe and discover tips to make this meal a family favorite!
Ingredients
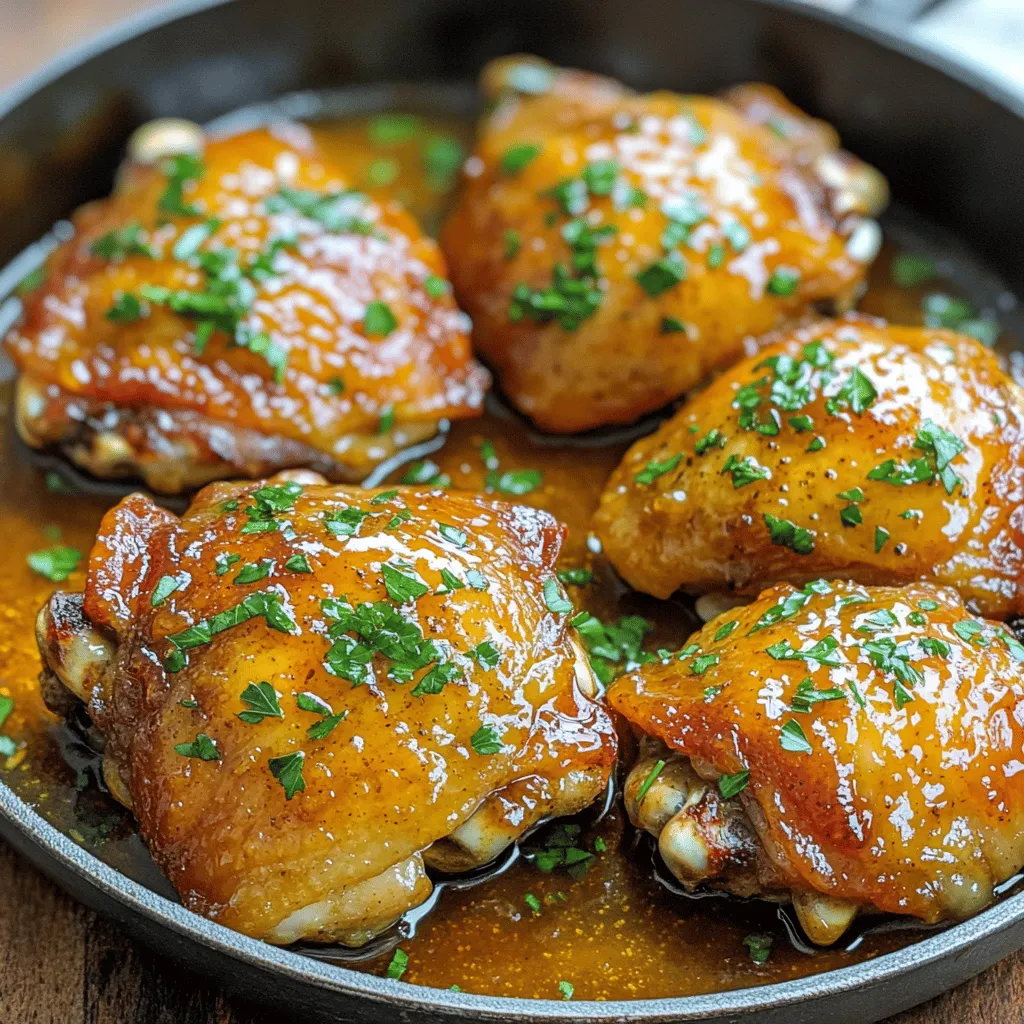
To make Honey Mustard Chicken Thighs, you need simple, fresh ingredients. Here’s what you will need:
– 4 bone-in chicken thighs, skin-on
– 1/4 cup honey
– 1/4 cup Dijon mustard
– 2 tablespoons olive oil
– 3 cloves garlic, minced
– 1 teaspoon dried thyme
– 1 teaspoon paprika
– Salt and black pepper to taste
– Fresh parsley for garnish
These ingredients bring great flavor to your meal. The honey adds sweetness, while the Dijon mustard gives it a nice tang. Olive oil keeps the chicken juicy, and garlic boosts the taste. Dried thyme and paprika add depth, making every bite delicious. Don’t forget the parsley! It makes your dish look pretty and fresh. This recipe is quick and easy, perfect for any night.
Step-by-Step Instructions
Preheat and Prepare the Marinade
First, preheat your oven to 400°F (200°C). This heat will cook your chicken just right. In a small bowl, whisk together these ingredients:
– 1/4 cup honey
– 1/4 cup Dijon mustard
– 2 tablespoons olive oil
– 3 cloves garlic, minced
– 1 teaspoon dried thyme
– 1 teaspoon paprika
– Salt and black pepper to taste
Make sure to mix well. This creates a smooth and tasty marinade.
Marinating Chicken Thighs
Next, take your chicken thighs and place them in a large bowl or a resealable bag. Pour the marinade over the chicken. Ensure each piece is coated well. For the best flavor, let it marinate for at least 30 minutes. If you have more time, refrigerating it overnight works wonders.
Cooking on Stovetop and Oven
Now, heat a large oven-safe skillet over medium-high heat. Once hot, add the marinated chicken thighs, skin-side down. Sear them for about 5-7 minutes until the skin is golden brown. This step gives the chicken a nice crisp. After that, flip the thighs using tongs.
Transfer the skillet to your preheated oven. Bake for 25-30 minutes. Check that the internal temperature reaches 165°F (75°C). If the juices run clear, the chicken is done.
Once cooked, take the skillet from the oven and let the chicken rest for 5 minutes. This helps keep it juicy. Before serving, sprinkle some fresh parsley on top for a lovely finish.
Tips & Tricks
Marinating Tips for Maximum Flavor
To get the best flavor, marinate the chicken thighs well. Use a large bowl or a resealable plastic bag for this. After mixing the marinade, pour it over the chicken. Make sure each piece is coated. For great results, let the chicken sit in the marinade for at least 30 minutes. You can also refrigerate it overnight. This extra time helps the flavors soak in deep.
Cooking Time and Temperature Recommendations
Cooking chicken thighs at the right temperature is key. Preheat your oven to 400°F (200°C). This hot oven cooks the chicken evenly and keeps it juicy. After searing the chicken for 5-7 minutes on the stovetop, transfer it to the oven. Bake for 25-30 minutes. Check the chicken’s internal temperature. It should reach 165°F (75°C) for safe eating. Let it rest for 5 minutes before serving, which helps keep it moist.
Serving Suggestions for Honey Mustard Chicken Thighs
When serving, presentation matters. Place the chicken thighs on a white platter or a wooden board. Drizzle any leftover marinade over the top for added flavor. Garnish with fresh parsley for a pop of color. This simple touch makes the dish look more inviting. You can pair the chicken with roasted veggies or a fresh salad. These sides complement the sweet and tangy flavors of the honey mustard.
Variations
Honey Mustard Sauce Alternatives
You can change the sauce to fit your taste. Try using maple syrup instead of honey. This gives a unique sweetness. You can also mix in some soy sauce for a savory twist. If you like heat, add a dash of hot sauce or cayenne pepper. For a tangy flavor, consider apple cider vinegar. Each option adds a new layer to the dish.
Different Cuts of Chicken to Use
While chicken thighs are great, you can also use chicken breasts. They cook faster but stay moist if cooked right. Drumsticks are another option. They have lots of flavor and a nice crisp skin. You can even use a whole chicken, just adjust cooking time. Each cut brings its own charm to the recipe.
Adding Vegetables for a Complete Meal
For a full meal, add vegetables. Root veggies like carrots and potatoes roast well. Toss them in the marinade for extra flavor. You can also use green beans or broccoli. Place them in the skillet with the chicken. They will soak up the sauce and cook perfectly. This way, you have a tasty one-pan meal that’s easy to serve.
Storage Info
Refrigeration Guidelines
After cooking, let the chicken cool down. Place the chicken thighs in an airtight container. Store them in the fridge for up to three days. Make sure the temperature stays below 40°F (4°C). This keeps your chicken safe and tasty.
Freezing Instructions
If you want to store the chicken longer, freezing is a great option. Wrap each thigh tightly in plastic wrap. Then put them in a freezer-safe bag. You can freeze them for up to three months. Remember to label the bag with the date.
Reheating Tips for Leftovers
When you are ready to enjoy leftovers, preheat your oven to 350°F (175°C). Place the chicken in a baking dish. Cover it with foil to keep it moist. Heat for about 20-25 minutes. You can also use a microwave, but it may dry the chicken out. For the best taste, the oven is the way to go. Enjoy your meal again!
FAQs
How long should I marinate honey mustard chicken thighs?
You should marinate honey mustard chicken thighs for at least 30 minutes. This allows the flavors to soak into the meat. If you have time, marinating overnight works even better. It deepens the taste and makes the chicken more tender.
Can I use boneless chicken thighs?
Yes, you can use boneless chicken thighs. They cook faster than bone-in thighs. Adjust the cooking time to about 20-25 minutes in the oven. Always check that the internal temperature reaches 165°F (75°C) for safety.
What to serve with honey mustard chicken thighs?
Honey mustard chicken thighs pair well with many sides. Here are some ideas:
– Steamed vegetables: Broccoli or green beans add color.
– Rice or quinoa: Both soak up the sauce nicely.
– Salad: A fresh green salad balances the meal.
– Mashed potatoes: Creamy potatoes are a great comfort food option.
In this post, I shared ingredients and steps for making honey mustard chicken thighs. I provided tips for marinating and cooking this dish to enhance its flavor. You learned about variations and how to store leftovers properly. Remember, simple changes can make a big impact on taste. I encourage you to try these ideas for yourself. Enjoy cooking and delight in every bite!


