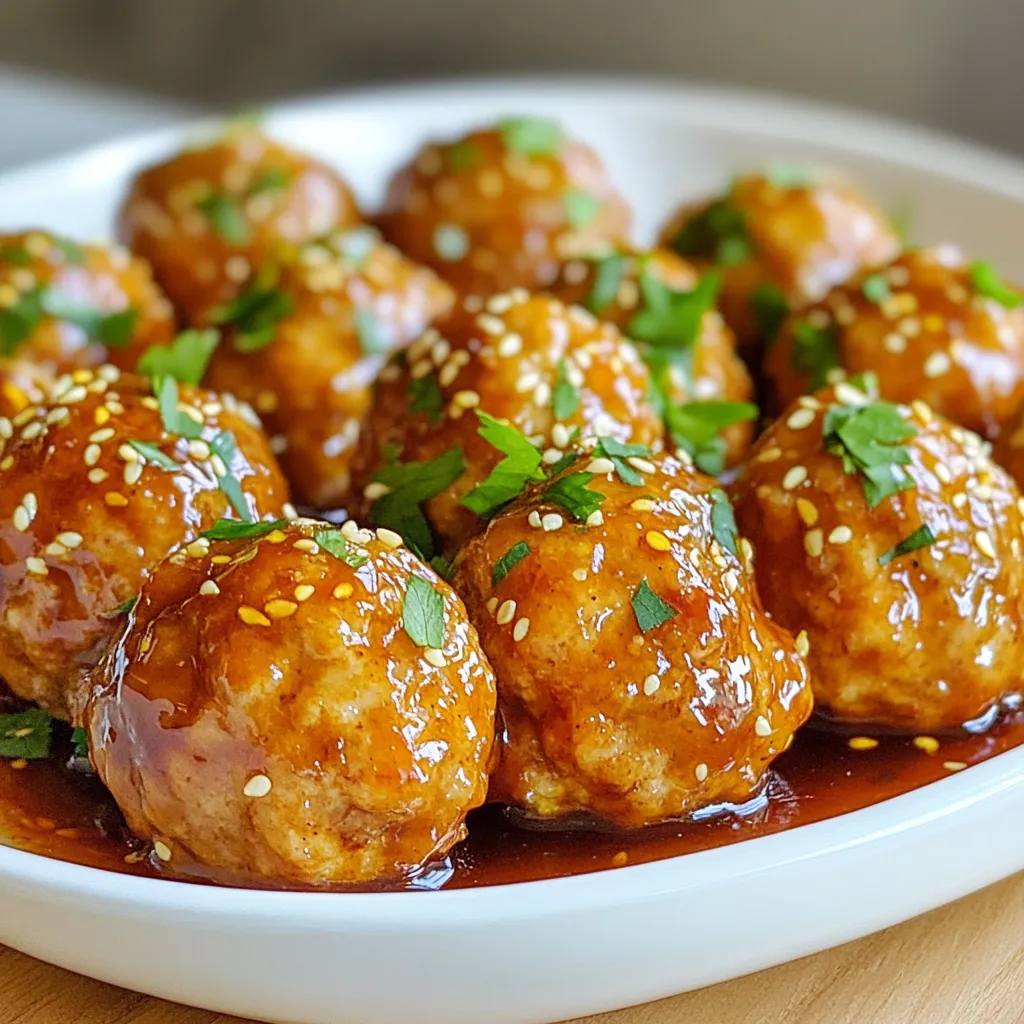
If you’re looking for a simple yet mouthwatering dish, these Honey Garlic Turkey Meatballs are for you! With just a few ingredients and easy steps, you can create a savory meal that everyone will love. I’ll walk you through mixing, baking, and drenching these meatballs in a sweet and sticky honey garlic sauce. Let’s dive into this quick recipe that’s perfect for any night of the week!
Why I Love This Recipe
- Healthy and Delicious: These turkey meatballs are a healthier alternative to traditional meatballs, packed with lean protein and flavor.
- Quick and Easy: With a prep time of just 15 minutes, this recipe is perfect for busy weeknights or last-minute gatherings.
- Versatile Dish: These meatballs can be served as an appetizer, main dish, or even tossed in a salad, making them a versatile addition to any meal.
- Sweet and Savory Flavor: The honey garlic sauce adds a delightful balance of sweetness and savory depth that elevates the overall dish.
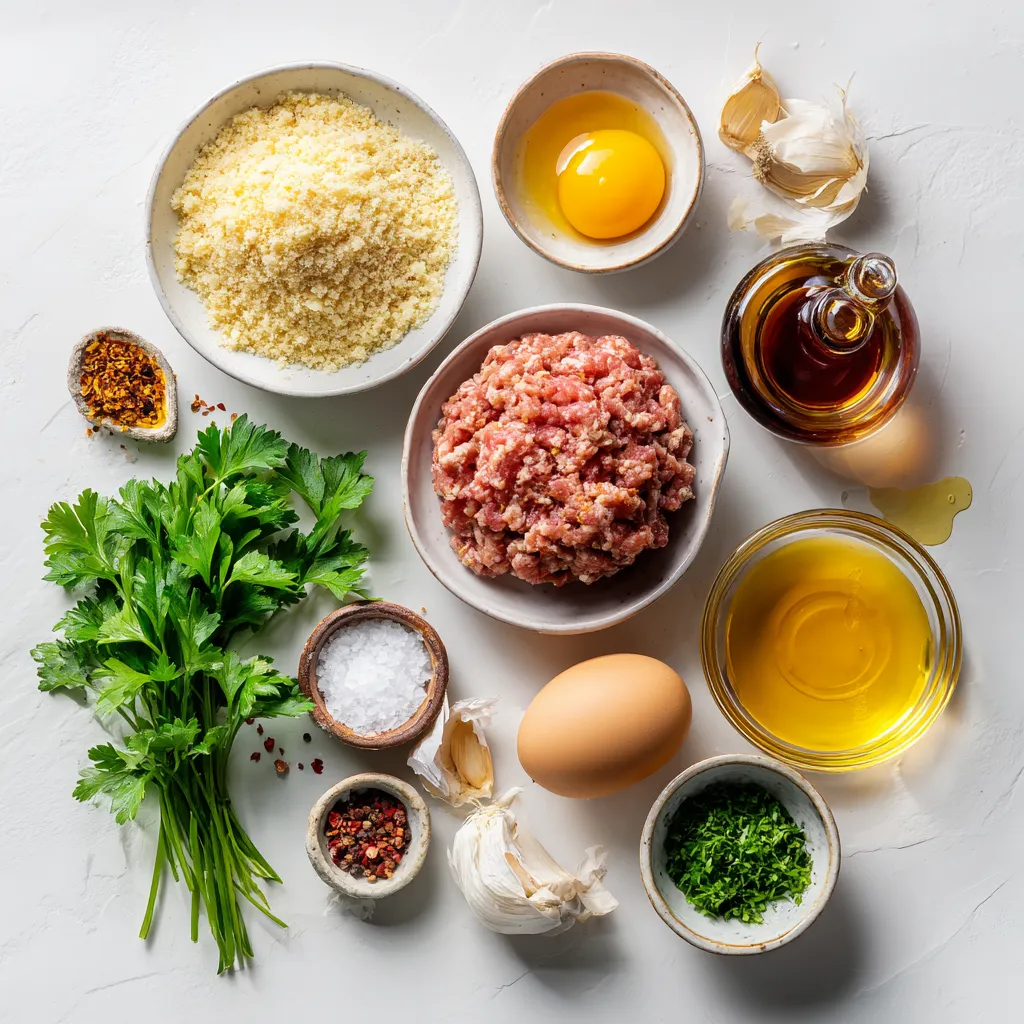
Ingredients
To make honey garlic turkey meatballs, you need a mix of tasty ingredients. Here’s a list to help you gather everything:
– 1 lb ground turkey
– 1/2 cup breadcrumbs
– 1/4 cup freshly grated Parmesan cheese
– 1/4 cup fresh parsley, finely chopped
– 2 cloves garlic, minced
– 1 large egg
– 1 teaspoon kosher salt
– 1/2 teaspoon freshly cracked black pepper
– 1/4 teaspoon red pepper flakes (optional, for a kick)
– 1/2 cup honey
– 1/4 cup soy sauce (low sodium recommended)
– 1 tablespoon apple cider vinegar
– 1 teaspoon sesame oil
– Toasted sesame seeds, for garnish
Each ingredient plays a key role in building flavor. Ground turkey keeps the meatballs light. Breadcrumbs add texture and help bind the mix. Parmesan cheese lends a savory touch. Fresh parsley brightens the dish. Garlic gives it a warm, rich flavor. The egg helps hold everything together.
Salt and pepper enhance the taste, while red pepper flakes give a hint of heat. Honey, soy sauce, apple cider vinegar, and sesame oil create a sweet and tangy sauce. Finally, sesame seeds make for a nice garnish, adding crunch and style.
With these ingredients, you can create a dish that is both savory and satisfying. Enjoy the cooking process as you bring these flavors together!
Step-by-Step Instructions
Mixing the Meatball Mixture
To start, grab a large mixing bowl. Add 1 pound of ground turkey. Then, toss in 1/2 cup of breadcrumbs, 1/4 cup of freshly grated Parmesan cheese, and 1/4 cup of finely chopped fresh parsley. Next, add 2 cloves of minced garlic, 1 large egg, 1 teaspoon of kosher salt, 1/2 teaspoon of black pepper, and 1/4 teaspoon of red pepper flakes if you want a little heat.
Mix well using your hands or a spatula. It’s key to blend all the ingredients evenly. This helps ensure every meatball has the same great taste. You want to feel the texture shift as you mix. The goal is a firm yet moist mixture that holds together nicely.
Shaping and Baking the Meatballs
Now, let’s shape the meatballs. Aim for a size of 1 to 1.5 inches in diameter. Try to make them as uniform as possible. This helps them cook evenly. Line a baking sheet with parchment paper before placing the meatballs on it. Leave some space between them to avoid sticking.
Preheat your oven to 400°F (200°C). Bake the meatballs for about 20 minutes. They should reach an internal temperature of 165°F and look golden brown.
Preparing the Honey Garlic Sauce
While your meatballs bake, it’s time to make the honey garlic sauce. In a small saucepan, mix 1/2 cup of honey, 1/4 cup of soy sauce, 1 tablespoon of apple cider vinegar, and 1 teaspoon of sesame oil. Heat this over medium until it simmers. Stir it occasionally. You want it to thicken a bit, which takes about 5 minutes.
Once your meatballs are done, transfer them to a large bowl. Drizzle the sauce over them and gently toss to coat each meatball. This adds lots of flavor. Then, return them to the baking sheet for another 5 minutes. This last step caramelizes the sauce, giving a nice glaze.
Tips & Tricks
Cooking Tips for Perfect Meatballs
– Maintaining moisture in turkey meatballs: To keep your meatballs juicy, add breadcrumbs and grated cheese. They soak up moisture and add flavor.
– How to avoid dry meatballs: Don’t overmix the turkey. Mix until just combined. If you feel it’s too dry, add a splash of milk.
– Ensuring even cooking: Shape meatballs the same size. This helps them cook evenly. Aim for 1 to 1.5 inches in diameter.
Serving Suggestions
– Best sides to pair with honey garlic turkey meatballs: Serve with fluffy rice or a fresh salad. Steamed veggies also complement the sweet sauce well.
– Creative ways to serve meatballs: You can serve them in a wrap or over pasta. Try them in a sub sandwich for a fun twist.
– Garnishing tips for presentation: Sprinkle toasted sesame seeds and chopped parsley on top. It adds color and a nice crunch.
Ingredient Substitutions
– Alternatives for ground turkey: You can use ground chicken or lean beef if you prefer. Both options work well with the honey garlic sauce.
– Gluten-free breadcrumbs options: Use crushed rice cereal or gluten-free oats. They bind the meatballs without gluten.
– Low-sodium soy sauce alternatives: Try coconut aminos or tamari. They give a similar flavor with less salt.
Pro Tips
- Use Lean Ground Turkey: Opt for lean ground turkey to keep the meatballs moist while reducing fat content. This ensures a healthier dish without sacrificing flavor.
- Chill the Mixture: After mixing the meatball ingredients, refrigerate the mixture for about 30 minutes. This makes it easier to shape the meatballs and helps them hold their shape during baking.
- Adjust the Sauce Sweetness: Taste the honey garlic sauce as it simmers and adjust the sweetness by adding more honey or a splash of soy sauce if needed. This allows you to customize it to your preference.
- Perfect Baking Time: Keep an eye on the meatballs during the last few minutes of baking. This ensures they don’t overcook and lose their juiciness while allowing the sauce to caramelize beautifully.
Variations
Spicy Version
If you love heat, you can make a spicy version of these meatballs. Start by adding more red pepper flakes. Use one teaspoon instead of a quarter teaspoon. This change gives a nice kick. You can also mix in chopped jalapeños for extra spice.
Suggested ingredients for a spicy kick:
– 1 teaspoon red pepper flakes
– 1-2 jalapeños, finely chopped
– Hot sauce of your choice
Vegetarian Option
For a meat-free version, you can swap out the turkey. Use plant-based ground meat or lentils as a base. Lentils cook well and add fiber. You can also use black beans, mashed into a paste.
Suitable substitutes for turkey:
– 1 lb plant-based ground meat
– 1 cup cooked lentils
– 1 can black beans, mashed
Asian-Inspired Twist
To give these meatballs an Asian flair, add sesame seeds and green onions. They enhance flavor and crunch. You can also mix in soy sauce with ginger and garlic for a rich taste. Consider using hoisin sauce for a sweet twist.
Suggested herbs and sauces:
– 2 tablespoons minced ginger
– 1/4 cup green onions, chopped
– 2 tablespoons hoisin sauce
Storage Info
How to Store Leftover Meatballs
To keep your leftover meatballs fresh, place them in an airtight container. This helps prevent them from drying out. Store them in the fridge immediately after they cool down. You can safely enjoy your meatballs for up to three days. If you want them to last longer, consider freezing.
Freezing Instructions
You can freeze meatballs both before and after cooking. If you freeze them raw, shape the meatballs and place them on a baking sheet. Freeze them for a few hours until firm, then transfer to a freezer bag. This way, they won’t stick together. If you freeze them after cooking, let them cool first. Store them in a container or a freezer bag.
To thaw, move the meatballs to the fridge for a few hours or overnight. You can also use the microwave for quick thawing. When ready to eat, heat them in the oven or on the stovetop until hot. This keeps the flavors intact.
Meal Prep Ideas
These turkey meatballs are great for meal prepping. You can make a large batch and use them in different meals. Try adding them to pasta, salads, or grain bowls. They also work well in wraps or sandwiches.
For a quick meal, pair meatballs with rice and steamed veggies. You can even toss them in a stir-fry for a delicious twist. Store meatballs in the fridge and enjoy them throughout the week.
FAQs
Can I use chicken instead of turkey?
Yes, you can use chicken instead of turkey. Chicken makes a lean meatball. It can be just as tasty. However, turkey often has more flavor. Chicken may need more seasoning to match turkey’s depth.
How long should I cook the meatballs?
Cook the meatballs for about 20 minutes at 400°F. This time helps them get golden brown. Make sure they reach an internal temperature of 165°F. Use a meat thermometer for accuracy.
Can I make the sauce ahead of time?
Yes, you can make the sauce ahead of time. It saves time on busy days. Store it in the fridge for up to five days. Use an airtight container to keep it fresh. When you’re ready, heat it on the stove.
You learned how to make tasty honey garlic turkey meatballs from start to finish. We covered the key ingredients, mixing tips, and baking methods. You also got advice on sauce prep and storage. Remember, the right mixture and cooking tips keep the meatballs moist. Feel free to try different variations to suit your taste. Whether you want spice or a vegetarian option, get creative. These meatballs can be a great meal prep choice too. Enjoy your cooking adventur
<!-- /wp:post-conte


