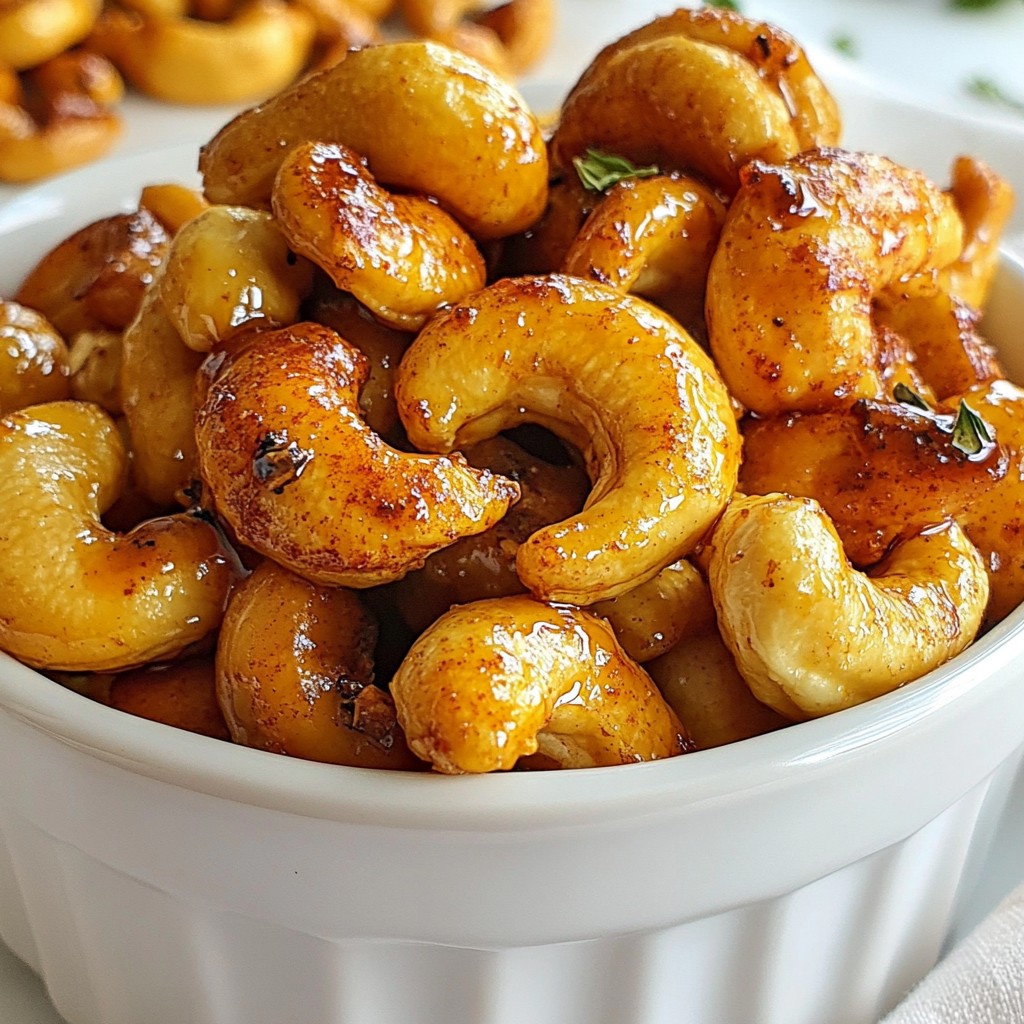
Looking for a quick and tasty snack? Honey garlic roasted chickpeas might be your new go-to! Packed with flavor and crunch, they are simple to make and perfect for any occasion. In this post, I'll walk you through the easy steps, ingredient tips, and variations to get the most out of this delicious treat. Let’s dive into how to whip up these snacks that everyone will love!
Why I Love This Recipe
- Healthy Snack Option: These roasted chickpeas are packed with protein and fiber, making them a nutritious alternative to traditional snacks.
- Easy Preparation: With just a few simple ingredients and minimal prep time, this recipe is perfect for quick snacks or appetizers.
- Flavorful and Versatile: The combination of honey, garlic, and spices creates a deliciously unique flavor that can be customized to your taste.
- Perfect for Any Occasion: Whether it's a party, game night, or a healthy snack for yourself, these chickpeas are sure to be a crowd-pleaser.
Ingredients
Main Ingredients
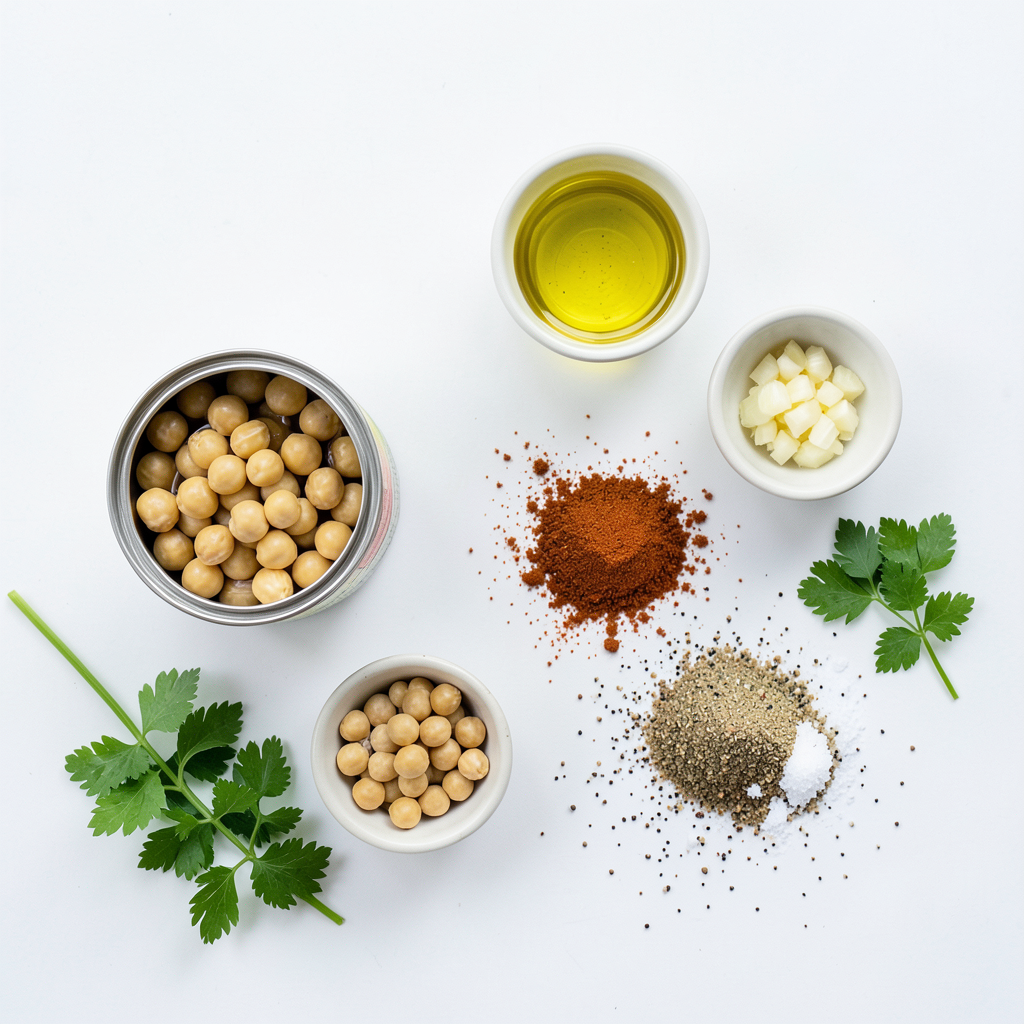
To make honey garlic roasted chickpeas, you need a few simple items. Here’s what you’ll need:
- 1 can (15 oz) chickpeas, thoroughly drained and rinsed
- 2 tablespoons honey (or maple syrup for a vegan option)
- 2 tablespoons extra virgin olive oil
- 3 cloves garlic, finely minced
- 1 teaspoon smoked paprika
- 1 teaspoon ground cumin
- ½ teaspoon sea salt
- ¼ teaspoon freshly ground black pepper
These ingredients create a tasty mix of flavors. Chickpeas give a nice crunch, while honey and garlic add sweetness and depth.
Optional Ingredients for Garnish
You can add a fresh touch with these optional ingredients:
- Fresh parsley or cilantro, finely chopped
These bright herbs make your dish look nice and add extra flavor.
Ingredient Substitutions
You can swap out a few items if needed:
- Use maple syrup instead of honey for a vegan version.
- If you don’t have smoked paprika, regular paprika works well.
- You can replace olive oil with another oil, like avocado oil.
These changes still keep the recipe tasty and fun!
Step-by-Step Instructions
Preparation Steps
To start, gather your ingredients. You need one can of chickpeas, honey or maple syrup, olive oil, garlic, smoked paprika, cumin, sea salt, and black pepper. If you want, chop some fresh parsley or cilantro for garnish.
1. Preheat the Oven: Set your oven to 400°F (200°C). This heat is key for roasting.
2. Prepare the Baking Sheet: Line a baking sheet with parchment paper. This makes cleanup easy.
3. Mix the Ingredients: In a medium bowl, add the rinsed chickpeas. Pour in honey or maple syrup and olive oil. Then, add minced garlic, smoked paprika, cumin, salt, and pepper. Mix well until all chickpeas are coated.
Roasting Process
Now comes the fun part.
1. Spread the Chickpeas: Transfer the seasoned chickpeas to the baking sheet. Spread them out. Make sure they are in a single layer for even roasting.
2. Roast: Place the baking sheet in your preheated oven. Roast for 25 to 30 minutes. Stir the chickpeas halfway through. This helps them brown and get crispy.
Cooling and Serving Suggestions
Once your chickpeas are golden and crispy, take them out of the oven.
1. Cool Down: Let the roasted chickpeas cool for a few minutes. They’ll crisp up even more as they cool.
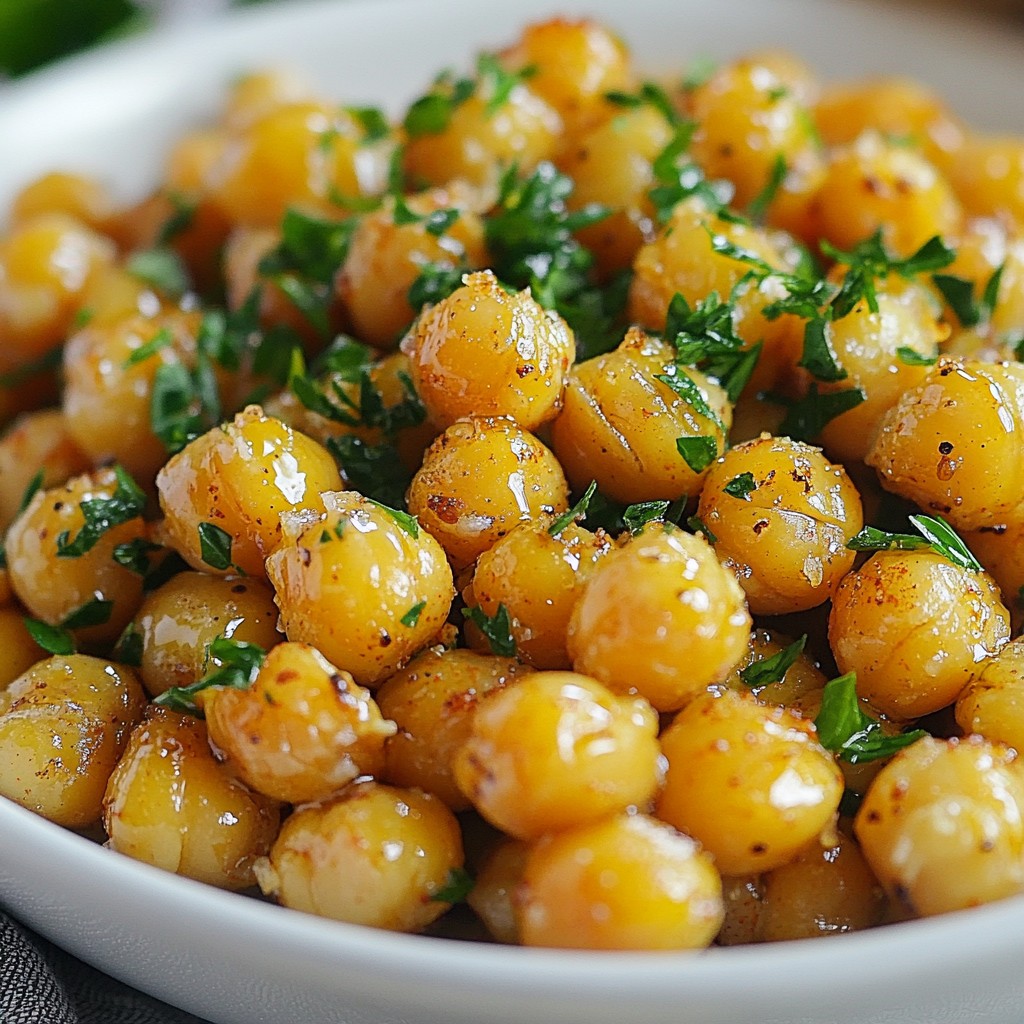
2. Garnish: If you like, sprinkle some chopped parsley or cilantro on top. This adds color and freshness.
3. Serve: Present your chickpeas in a nice bowl. You can pair them with a yogurt dip or a salad. Enjoy your tasty snack!
Tips & Tricks
Achieving Perfect Crispiness
To get your chickpeas crispy, start with dry chickpeas. Drain and rinse them well. Pat them dry with a towel. This step helps remove excess moisture. Use high heat, around 400°F (200°C), to roast them. Spread the chickpeas in a single layer on the baking sheet. Stir them halfway through cooking. This ensures even browning and crispiness. Let them cool after roasting. They will crisp up even more as they cool.
Flavor Enhancements
Elevate your chickpeas with extra flavors. Add a dash of cayenne pepper for heat. You can try a sprinkle of garlic powder for extra garlic flavor. For a tangy twist, squeeze fresh lemon juice before serving. Fresh herbs like parsley or cilantro add brightness and color. Experiment with different spices like curry powder or chili powder. Each adds a unique touch to your snack.
Common Mistakes to Avoid
Avoid using wet chickpeas. This leads to soggy snacks instead of crispy ones. Don’t skip the stirring step while roasting. It is key to getting even crispiness. Watch the roasting time closely. Ovens can vary, so check them a few minutes early. Lastly, don’t overload the baking sheet. If the chickpeas are too crowded, they will steam instead of roast.
Pro Tips
- Perfectly Crispy Chickpeas: Ensure that the chickpeas are thoroughly dried after rinsing to achieve maximum crispiness during roasting.
- Flavor Variations: Experiment with different spices like chili powder or curry powder for a unique twist on flavor.
- Storage Tips: Store leftover roasted chickpeas in an airtight container at room temperature to maintain their crunch for up to a week.
- Serving Suggestions: Pair with a yogurt dip or serve atop salads for added texture and flavor.
Variations
Vegan Alternative
To make these honey garlic roasted chickpeas vegan, simply swap the honey with maple syrup. Maple syrup gives a nice sweetness that pairs well with the garlic. It also keeps the dish plant-based. This change makes it perfect for everyone.
Flavor Variants (Spicy, Sweet)
You can play with flavors to make this snack more fun. For a spicy kick, add cayenne pepper or chili powder to the mix. Start with a pinch and taste as you go. If you want it sweet, mix in a bit of cinnamon with the honey or maple syrup. Both options add a new twist to the roasted chickpeas.
Serving Suggestions
These roasted chickpeas are great on their own, but you can pair them with dips or salads. Try serving them with a yogurt dip for a creamy contrast. You can also toss them over a fresh salad for extra crunch. They make a great snack for movie night or a healthy topping for lunch.
Storage Info
Storing Leftovers
After making honey garlic roasted chickpeas, let them cool. Store any leftovers in an airtight container. Keep them in the fridge for up to five days. If they lose some crunch, don't worry. You can easily crisp them up again.
Reheating Instructions
To reheat your chickpeas, preheat your oven to 350°F (175°C). Spread the chickpeas on a baking sheet. Bake for about 10 minutes. This will help restore their crispy texture. You can also use an air fryer if you have one. Just heat them at 350°F for about 5 minutes.
Freezing Tips
Want to save your chickpeas for later? You can freeze them! First, let them cool completely. Then, place them in a freezer-safe bag or container. They will last for about three months in the freezer. When you’re ready to eat, thaw them in the fridge overnight. Reheat them as mentioned before for that perfect crunch!
FAQs
How can I make honey garlic roasted chickpeas vegan?
To make honey garlic roasted chickpeas vegan, simply swap out honey for maple syrup. Maple syrup gives the same sweetness without using any animal products. Use 2 tablespoons of maple syrup instead of honey in the recipe. This change keeps the flavor rich and satisfying.
What can I serve with honey garlic roasted chickpeas?
Honey garlic roasted chickpeas are great on their own. You can also serve them with a yogurt dip for a creamy contrast. Pair them with salads for a crunchy element. They also work well as a topping for soups. You can even use them in wraps or grain bowls for added texture.
How long do roasted chickpeas last?
Roasted chickpeas last about 3 to 5 days when stored in an airtight container. Keep them at room temperature for best results. If you want them to stay crispy, avoid refrigerating them. You can also freeze them, but they may lose some crunch when thawed.
You’ve learned about making honey garlic roasted chickpeas. We covered essential ingredients, cooking steps, and helpful tips. Variations let you explore new flavors, while storage info ensures your snacks last longer.
Remember to avoid common mistakes for perfect texture. Enjoy these tasty bites with your favorite dishes. Now it's time to try this recipe and impress your friends!