High-Protein Cinnamon Roll Overnight Oats Delight

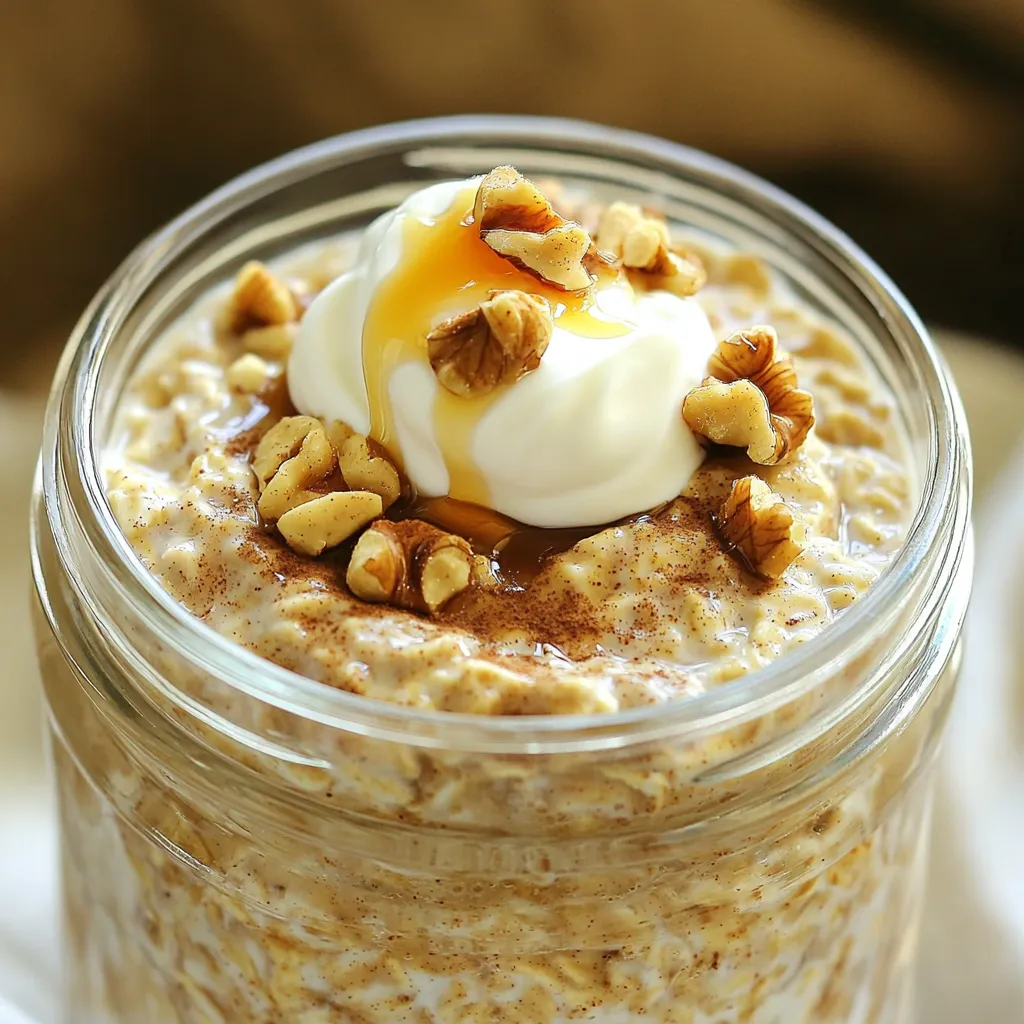
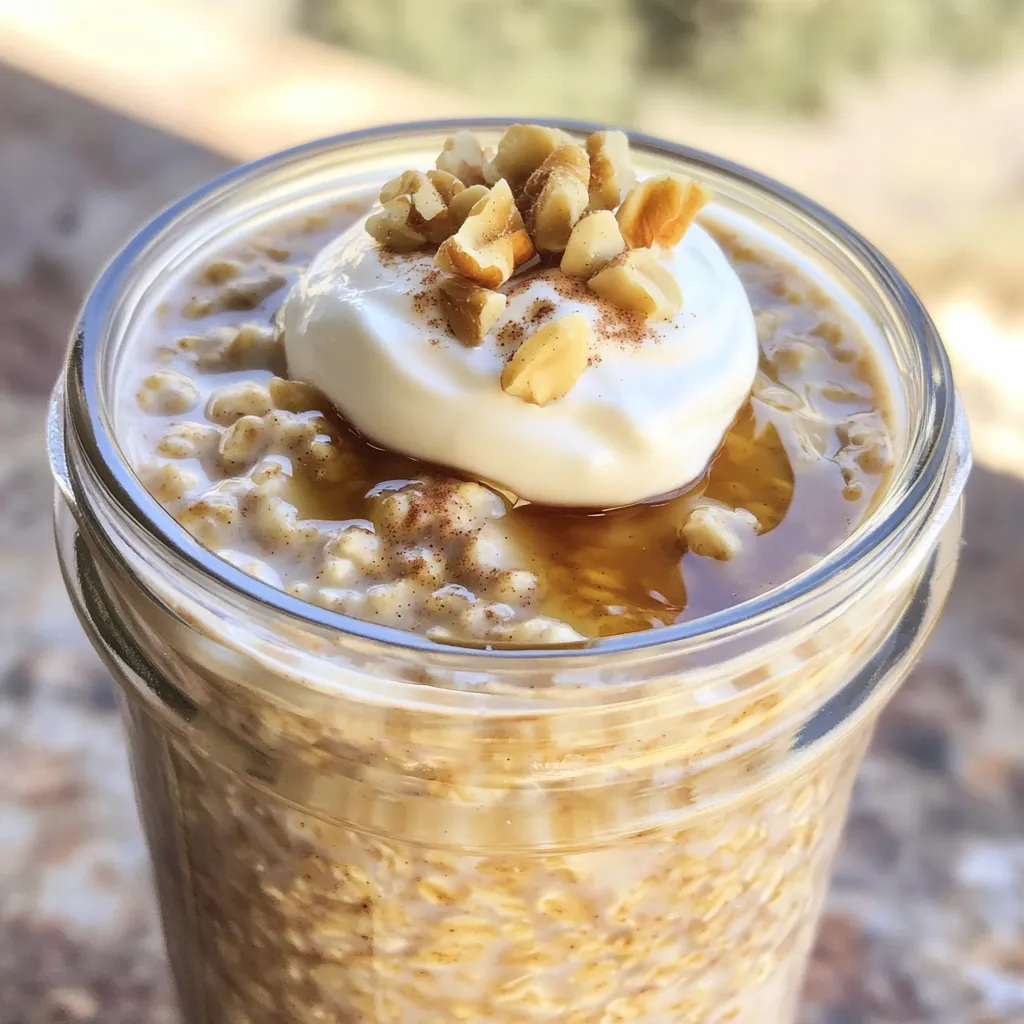
Start your day with a tasty twist! These High-Protein Cinnamon Roll Overnight Oats are perfect for busy mornings. Packed with nutrition and flavor, they combine simple ingredients that keep you full and satisfied. Plus, if you’re looking for a quick meal prep option, these oats deliver! Get ready to enjoy a delicious bowl of oats that tastes like dessert. Let’s dive into this easy, healthy recipe!
Ingredients
Main Ingredients List
- 1 cup rolled oats
- 1 cup unsweetened almond milk
- 1 scoop vanilla protein powder
- 1 tablespoon chia seeds
- 1 tablespoon pure maple syrup
- 1 teaspoon ground cinnamon
- 1/2 teaspoon vanilla extract
- A pinch of salt
Optional Add-ins
- 2 tablespoons chopped walnuts
- 2 tablespoons plain Greek yogurt
- Additional maple syrup for drizzling
When I make High-Protein Cinnamon Roll Overnight Oats, I always start with these key ingredients. Rolled oats form the base, giving a great texture. Unsweetened almond milk adds creaminess without extra sugar. I love using vanilla protein powder for an extra boost. Chia seeds not only thicken the mix but also add fiber.
I sweeten my oats with pure maple syrup. The ground cinnamon gives that warm, cozy flavor. A pinch of salt enhances all the tastes. If you want a little crunch, add chopped walnuts. For a creamy finish, top with Greek yogurt. A drizzle of maple syrup can make it even sweeter!
Step-by-Step Instructions
Preparation Steps
- In a medium bowl, combine 1 cup rolled oats and 1 cup unsweetened almond milk.
- Add 1 scoop vanilla protein powder and 1 tablespoon pure maple syrup.
- Mix in 1 tablespoon chia seeds, 1 teaspoon ground cinnamon, and a pinch of salt.
Stir well with a whisk or fork. Make sure there are no clumps of protein powder. The chia seeds should blend in nicely. If you want a little crunch, fold in 2 tablespoons of chopped walnuts. This adds great texture.
Jarring the Mixture
- Carefully divide the mixture into two jars or containers.
- Seal the jars tightly and place them in the fridge.
Refrigerate them overnight or for at least 4 hours. This helps the oats soak up the liquid and get soft.
Serving Suggestions
- When you wake up, take the jars out of the fridge. Give the oats a good stir.
- If the mix is too thick, add a splash of milk to make it creamier.
Top each jar with 2 tablespoons of plain Greek yogurt. This adds protein and creaminess. You can drizzle more maple syrup on top if you want extra sweetness. Enjoy your oats right from the jar or pour them into a bowl for a nice breakfast treat!
Tips & Tricks
Perfecting Texture
- Adjust thickness with milk: If your oats are too thick, add more milk. This makes them creamier and easier to eat.
- Let chill for optimal absorption: Keep your jars in the fridge overnight. This helps the oats soak up the milk.
Flavor Enhancement
- Experiment with spices: Try adding nutmeg or ginger for a new twist. Small changes can make a big difference.
- Use flavored protein powder: Swap vanilla for chocolate or cookies and cream. It adds fun flavors to your breakfast.
- Top with fresh fruits or nuts: Fresh berries, sliced bananas, or nuts add crunch and color. They also boost nutrition and taste.

Variations
Flavor Variations
You can change the flavor of your overnight oats to keep things exciting.
- Chocolate protein version: Swap the vanilla protein powder for chocolate. This gives a rich taste that feels like a treat.
- Pumpkin spice oats for autumn: Add pumpkin puree and pumpkin spice for a cozy twist. It’s like fall in a jar!
- Nut butter swirl for added richness: Mix in your favorite nut butter before chilling. This adds creaminess and a nutty flavor.
Dietary Adjustments
You can make these oats fit your dietary needs easily.
- Dairy-free alternatives: Use any plant-based milk like oat or coconut milk. They work well and keep it creamy.
- Gluten-free oats: Look for certified gluten-free rolled oats. They are safe for those with gluten issues.
- Low-carb sweeteners: If you want less sugar, try stevia or monk fruit. They add sweetness without the carbs.
Storage Info
Refrigerator Storage
Store your High-Protein Cinnamon Roll Overnight Oats in the fridge. They stay fresh for up to four days. Use airtight jars to keep them safe. This helps maintain their creamy texture. If the oats thicken too much, add a splash of milk before eating.
Freezer Storage
You can freeze your overnight oats for longer storage. To freeze, place the oats in freezer-safe jars. Leave some space at the top, as they will expand. When you want to eat them, pull a jar from the freezer. Let it thaw in the fridge overnight. To warm, microwave for a minute or two. Stir and enjoy!
FAQs
Can I use quick oats instead of rolled oats?
Yes, you can use quick oats. However, the texture will change. Quick oats cook faster and become softer. This can lead to a creamier consistency. Rolled oats are chewier and hold their shape better. If you like a thicker and heartier dish, stick to rolled oats.
How much protein is in this recipe?
This recipe has about 24 grams of protein per serving. The protein comes from several sources:
- 1 scoop of vanilla protein powder adds about 20 grams.
- 2 tablespoons of Greek yogurt add approximately 4 grams.
Overall, this dish is a protein-packed breakfast choice.
Is it possible to make this recipe vegan?
Yes, you can easily make this recipe vegan. Here are some options:
- Use a plant-based protein powder.
- Replace Greek yogurt with dairy-free yogurt.
- Choose maple syrup as your sweetener.
These simple swaps keep the taste delicious and maintain a high protein level.
This blog post shared a simple recipe for overnight oats. I covered the key ingredients, preparation steps, and tips to enhance flavor. You can personalize it with add-ins like nuts or yogurt. Adjust storage for freshness and explore variations for different tastes.
Overnight oats are easy to make and flexible for your needs. Enjoy your healthy breakfast!


![- 4 bone-in, skin-on chicken thighs - 1/4 cup honey - 4 cloves garlic, finely minced - 2 tablespoons soy sauce - 1 tablespoon apple cider vinegar - 1 tablespoon extra virgin olive oil - 1 teaspoon freshly grated ginger - 1/2 teaspoon ground black pepper - Salt, to taste - Chopped green onions and toasted sesame seeds For this recipe, I focus on fresh ingredients. The chicken thighs give a rich flavor. Honey and garlic bring sweetness and zest. Soy sauce adds depth, while apple cider vinegar provides a nice tang. Extra virgin olive oil keeps everything moist and tasty. I love the hint of ginger in this dish. It adds a warm note that enhances the glaze. The black pepper gives a slight kick, balancing the sweetness. For the finishing touch, green onions and sesame seeds add color and crunch. These ingredients work together to create a delightful meal. You can find the full recipe for Honey Garlic Glazed Chicken Thighs at the end of this article. Enjoy cooking! In a medium bowl, whisk together the honey, minced garlic, soy sauce, apple cider vinegar, olive oil, grated ginger, black pepper, and a pinch of salt. Make sure the mixture is smooth and well-blended. This marinade is the key to great flavor. Next, place the chicken thighs in a large zip-lock bag or a shallow dish. Pour the marinade over the chicken. Ensure each piece is well coated. Seal the bag or cover the dish tightly. Refrigerate for at least 1 hour, though overnight is best for deep flavor. Preheat your oven to 400°F (200°C). This heat ensures a crispy skin. Remove the chicken from the marinade, saving some for later. Place the chicken skin-side up on a baking tray lined with parchment paper. Bake for 30-35 minutes. The chicken is ready when its internal temperature hits 165°F (74°C) and the skin is golden and crispy. To get that perfect crispy skin, you need to start with dry chicken. Pat the chicken thighs dry with paper towels. This helps remove excess moisture. Also, make sure your oven is hot before baking. Preheat it to 400°F (200°C). Place the chicken skin-side up on a lined baking tray. This position allows the skin to crisp up nicely. Finally, don't cover the chicken while it bakes. This keeps the skin exposed to the heat for better crispiness. Marinating time is key for flavor. I recommend at least one hour for good taste. If you have time, let the chicken marinate overnight. This allows the flavors to soak in deeply. Use a zip-lock bag for easy marinating. Just remember to seal it well, so the marinade doesn’t leak. A longer marinating time helps tenderize the meat, making it juicy and flavorful. For the glaze, you want a syrupy texture. After baking, take the leftover marinade and heat it in a saucepan. Simmer it over medium heat for about 5-7 minutes. Stir it occasionally to prevent sticking. The goal is to reduce the liquid until it thickens. This will create a lovely glaze that clings to the chicken. If it’s too thick, add a splash of water to loosen it. {{image_4}} You can easily boost flavor with fresh herbs. Use rosemary, thyme, or parsley. Chop them finely and mix them into the marinade. This adds a vibrant taste that pairs well with the honey and garlic. Fresh herbs also add a nice pop of color to your dish. Just remember to adjust the amount based on your taste. For a kick, add red pepper flakes into your marinade. Start with a pinch and taste as you go. This small change can take your dish from sweet to spicy. The heat balances well with the honey's sweetness. Serve with a side of cooling yogurt or sour cream to tame the spice. It creates a fun contrast. Grilling gives this dish a smoky flavor that is hard to beat. Before grilling, marinate the chicken as usual. Preheat your grill to medium heat. Cook the thighs skin-side down for the first few minutes. Flip them for an even char. Use the reserved marinade to baste while grilling. This method ensures a tasty glaze that sticks to the chicken. Enjoy the delicious, crispy skin with that smoky flavor! For the complete recipe, check the [Full Recipe]. To keep your honey garlic glazed chicken thighs fresh, store them promptly. Place the cooled chicken in an airtight container. This will help keep the flavors intact. Be sure to eat the leftovers within three to four days for the best taste and safety. To freeze your chicken thighs, first let them cool completely. Wrap each thigh tightly in plastic wrap, then place them in a freezer-safe bag. This method helps avoid freezer burn. You can keep them frozen for up to three months. When ready to eat, thaw the chicken in the fridge overnight for best results. To reheat chicken thighs, use the oven to keep them juicy. Preheat your oven to 350°F (175°C). Place the chicken on a baking sheet and cover it with foil. This will trap steam and keep the meat moist. Heat for about 15 to 20 minutes, or until the chicken is warm. Enjoy the great taste all over again! For more details, check the Full Recipe. For the best flavor, you should marinate chicken thighs for at least 1 hour. But if you can, marinate them overnight. This allows the flavors to soak deep into the meat. A longer marination time helps the chicken become tender and full of taste. Yes, you can use other cuts of chicken. Chicken breasts work well, but they may dry out faster. If you prefer, you can also use bone-in chicken legs. These alternatives will still absorb the honey garlic flavor, making your dish just as tasty. You can pair this dish with many sides. Here are some great options: - Steamed rice or jasmine rice - Roasted vegetables, like broccoli or carrots - A fresh garden salad with a light vinaigrette - Mashed potatoes for a creamy side - Quinoa for a healthy grain option These sides will complement the savory taste of the chicken and make your meal more satisfying. For the full recipe, check out the [Full Recipe] section. This blog post covered how to make delicious Honey Garlic Glazed Chicken Thighs. You learned about the key ingredients, step-by-step cooking methods, and helpful tips for the best results. We also explored tasty variations and safe storage advice. Enjoying this dish can add flavor to your meals. Whether you choose to grill it or try a spicy twist, these chicken thighs will impress. Keep experimenting, and make this recipe your own!](https://dishtreats.com/wp-content/uploads/2025/07/b9cba3e0-ee7f-4dbf-9eac-9b8411a1c4fd-768x768.webp)

