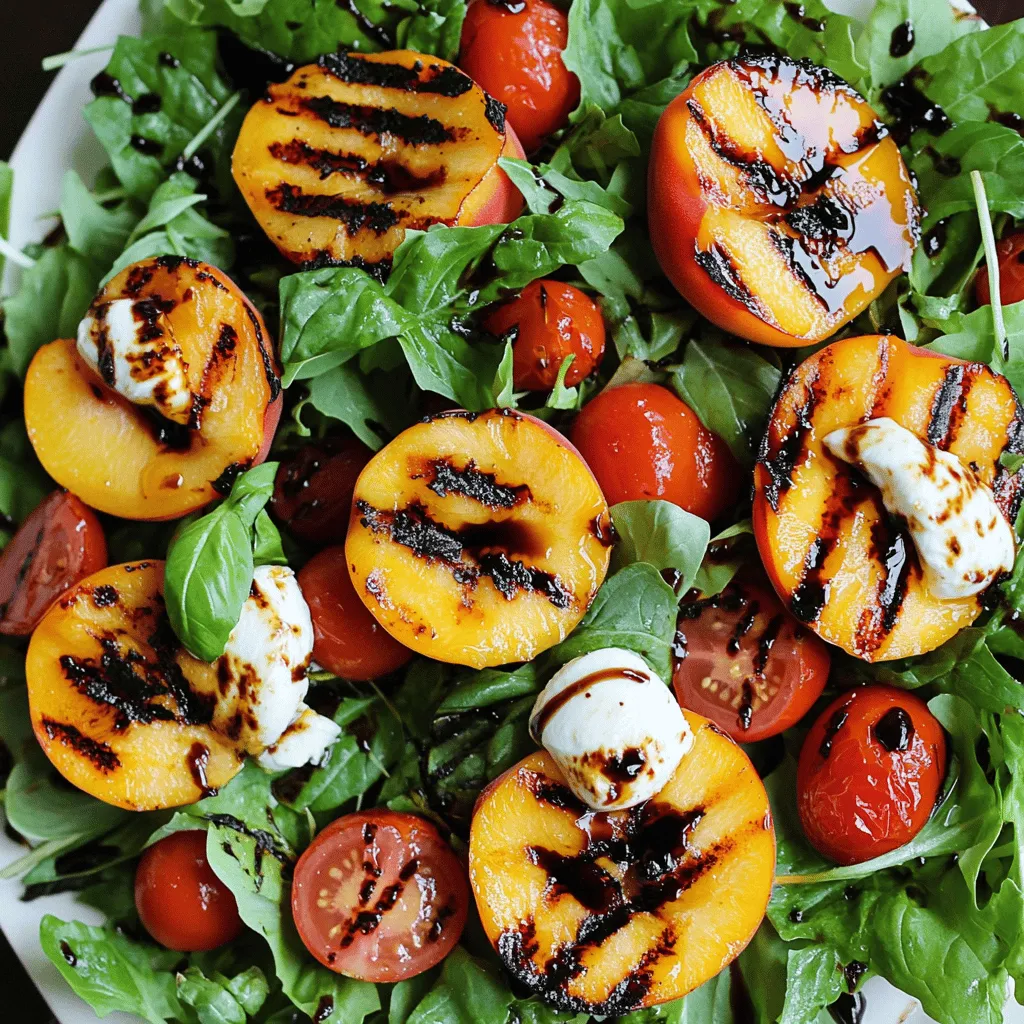
Summer is the perfect time for a Grilled Peach Caprese Salad, and I can’t wait to share my recipe with you! This fresh and flavorful dish combines juicy grilled peaches, creamy mozzarella, and vibrant greens for a taste sensation. It’s easy to make and perfect for gatherings or a light meal. Ready to impress your friends with a salad that’s both beautiful and delicious? Let’s get started!
Ingredients
Creating a Grilled Peach Caprese Salad is simple and fun. Here’s what you need:
– Ripe peaches
– Fresh mozzarella
– Mixed greens
– Cherry tomatoes
– Fresh basil leaves
– Balsamic glaze
– Extra virgin olive oil
– Salt and black pepper
Each ingredient plays a key role in this dish. Ripe peaches bring sweetness. Fresh mozzarella adds creaminess. Mixed greens provide a nice crunch. Cherry tomatoes add color and flavor. Fresh basil contributes a fragrant touch. The balsamic glaze adds a tangy finish. Extra virgin olive oil enhances the taste. Lastly, salt and pepper bring everything together.Trust me, your taste buds will thank you!
Step-by-Step Instructions
Grill Preparation
– Preheat the grill to medium-high heat. This helps create great grill marks.
– Ensure your grill grates are clean and lightly oiled. This prevents sticking.
Grilling the Peaches
– Start by cutting the peaches in half and removing the pit.
– Brush the cut sides of the peach halves with olive oil. This adds flavor and helps them grill well.
– Place the peach halves cut side down on the grill. Grill for about 3-4 minutes. You want those nice grill marks.
– Once they soften slightly, remove them. Let them cool for a couple of minutes.
Salad Assembly
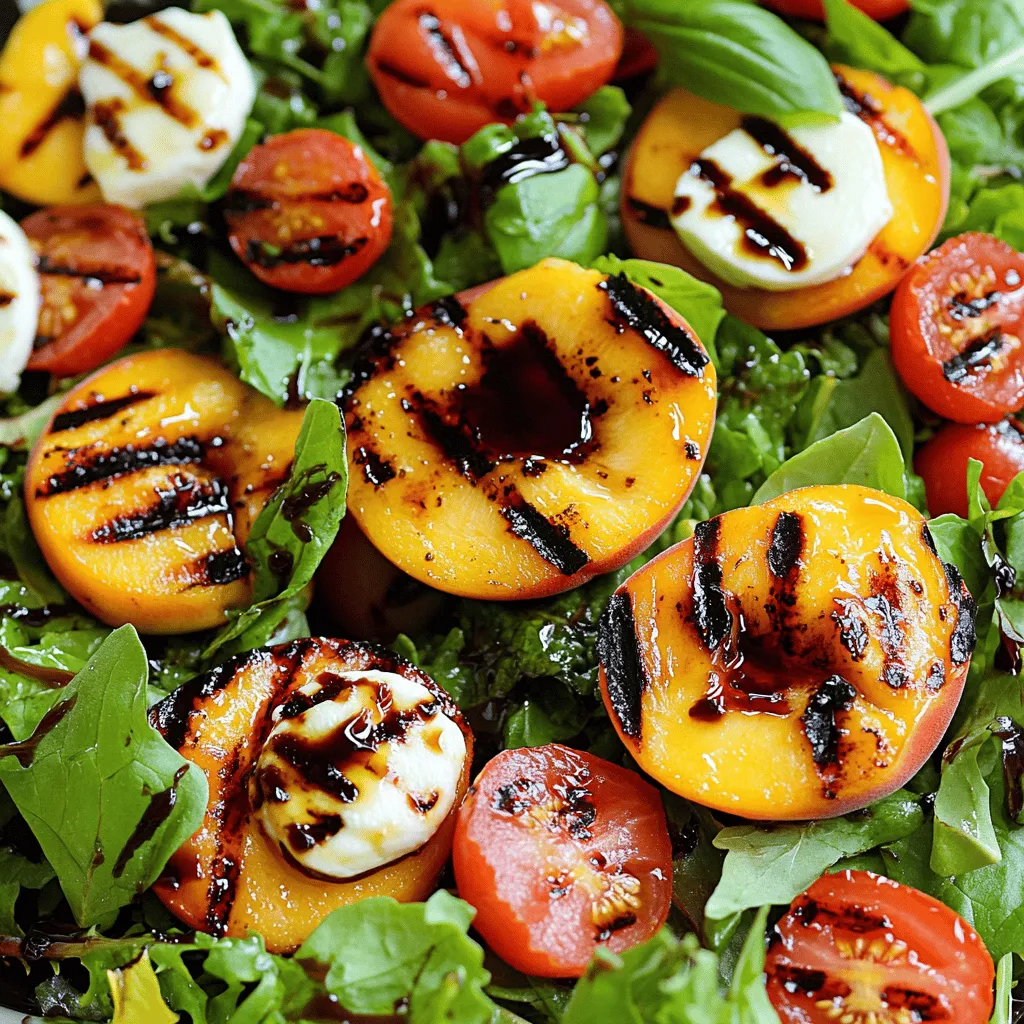
– Grab a large serving platter. Create a bed of mixed greens in the center.
– Place the grilled peach halves on top of the greens. Spread them out for a nice look.
– Next, add slices of fresh mozzarella around the peaches. Then scatter halved cherry tomatoes.
– Tear fresh basil leaves and sprinkle them over the salad. This adds a lovely aroma.
– Finally, drizzle balsamic glaze over the salad. Add salt and black pepper to taste.
– For the best flavor, serve the salad right away. You can chill it a bit if you prefer.
Tips & Tricks
Grilling Tips
To get perfect grill marks on your peaches, heat your grill to medium-high. Brush the cut sides of each peach half with olive oil. This helps prevent sticking and adds flavor. Look for ripe peaches that yield slightly when pressed. They should be fragrant and have a bright color.
Serving Suggestions
Presentation matters! Try arranging your salad in a spiral pattern. You can also layer the ingredients in single servings. This makes each plate look special. Pair your salad with a crisp white wine or a light red. Both will enhance the flavors of the dish.
Flavor Enhancements
Want to mix things up? Try using different dressings like a lemon vinaigrette or honey mustard. Fresh herbs like mint or dill can add a twist. You could also sprinkle some chili flakes for a little heat. These simple changes will keep your salad exciting.
Variations
Ingredient Swaps
You can change up your Grilled Peach Caprese Salad by swapping fruits. Try using ripe nectarines or plums instead of peaches. These fruits provide a sweet touch and work well on the grill. You can also use strawberries or even grilled pineapple for a fun twist.
For cheese, fresh mozzarella is the classic choice. However, you can try burrata for a creamier texture. Feta cheese adds a salty punch, while goat cheese gives a tangy flavor. Each cheese brings its own flair to the dish.
Dietary Modifications
To make this salad vegan, skip the cheese and use a plant-based alternative. Cashew cheese or tofu can work well. Drizzle a vegan balsamic glaze for that sweet touch.
If you need a gluten-free option, this salad is naturally gluten-free. Just make sure your balsamic glaze is gluten-free as well. Enjoy fresh ingredients without any worries.
Seasonal Variations
For the best flavor, pick peaches in late summer. They are sweet and juicy in this season. In spring, try using asparagus or snap peas for a fresh crunch.
In winter, roasted root vegetables like beets can replace fresh greens. Add some nuts for extra texture and flavor. Adapt your salad to fit the season and enjoy a fresh taste year-round.
Storage Info
Storing Leftovers
To keep your Grilled Peach Caprese Salad fresh, store it properly. First, separate the components. This way, the flavors stay bright and fresh.
– Peaches: Place grilled peaches in a sealed container. Store them in the fridge for up to three days.
– Salad Greens: Keep mixed greens in a dry, airtight container. This keeps them crisp and fresh.
– Cheese and Tomatoes: Store mozzarella and cherry tomatoes in separate containers. This helps prevent sogginess.
– Balsamic Glaze: Keep the glaze in a small jar. It can last for weeks in the fridge.
Reheating Tips
You might wonder if you should reheat grilled peaches. I recommend enjoying them cold. Their flavor shines best this way. But if you prefer warm peaches, here’s how to heat them:
– Microwave: Place peaches on a microwave-safe plate. Heat for about 10-20 seconds. Check them often to avoid overheating.
– Stovetop: Heat a non-stick pan over low heat. Add a dash of olive oil and warm the peaches for a minute.
For other salad ingredients, like mozzarella and tomatoes, it’s best to enjoy them cold too. Mixing warm and cold can lead to a fun flavor contrast in your dish.
FAQs
How to make Grilled Peach Caprese Salad?
To make this dish, follow these simple steps:
1. Preheat your grill to medium-high heat.
2. Brush cut sides of halved peaches with olive oil.
3. Grill peach halves cut side down for 3-4 minutes.
4. On a platter, spread mixed greens for a base.
5. Place grilled peaches on top of the greens.
6. Add mozzarella slices and halved cherry tomatoes around the peaches.
7. Scatter torn basil leaves over the salad.
8. Drizzle balsamic glaze on top, then season with salt and pepper.
9. Serve right away or chill slightly before serving.
What is the best cheese for Caprese salad?
Fresh mozzarella is the classic choice for Caprese salad. Its creamy texture balances the sweetness of grilled peaches. You can also try burrata for extra creaminess. Feta adds a tangy twist, while goat cheese can give a bold flavor. Choose based on your taste preferences to enhance your salad.
Can I prepare this salad in advance?
You can prep parts of the salad ahead of time. Grill the peaches and store them in the fridge. Wash and dry the greens and tomatoes, keeping them fresh. Assemble everything just before serving to maintain flavor and texture. This way, your salad stays fresh and tasty.
This blog shared how to make a Grilled Peach Caprese Salad. You learned about choosing ripe peaches, grilling them, and assembling the salad. Tips on serving and variations helped you create your own version. Remember to store leftovers properly to keep them fresh.
With these insights, you can enjoy a delicious, refreshing salad anytime. Trust that your skills will shine. Enjoy experimenting with flavors and ingredients to make it uniquely yours. Your summer gatherings will never be the same!


