Are you ready to make a Greek yogurt parfait that’s both simple and tasty? In this article, I’ll share my favorite recipe using creamy Greek yogurt, crunchy granola, and fresh berries. You’ll learn how to layer ingredients for the perfect bite while also discovering tips to customize your parfait. Gather your jars and let’s create a delicious treat that’s great for breakfast or a snack!
Ingredients
Required Ingredients
– 2 cups Greek yogurt (plain or flavored)
– 1 cup granola (your favorite flavor)
– 1 cup mixed berries (strawberries, blueberries, raspberries, or a mix)
Optional Ingredients
– 2 tablespoons honey or maple syrup (for sweetness)
– A sprinkle of cinnamon (for warmth)
– Fresh mint leaves (for garnish)
Greek yogurt parfait jars are fun and easy to make. You can choose between plain or flavored Greek yogurt. I love plain yogurt for its creamy texture. Granola adds crunch, so pick a flavor you enjoy. Mixed berries bring sweetness and color. You can use strawberries, blueberries, raspberries, or a mix.
If you like your parfait sweet, add honey or maple syrup. A sprinkle of cinnamon can add a warm flavor. Fresh mint leaves make a lovely garnish that also adds freshness.Enjoy making your parfaits!
Step-by-Step Instructions
Preparation Steps
To make Greek yogurt parfait jars, start with the fruits. Wash your mixed berries under cold water. If you choose strawberries, slice them into small pieces. This way, they fit nicely in the jars.
Next, grab your jars for assembly. I like to use clear glass jars. They show off the layers well. Make sure they are clean and dry before you start.
Layering Process
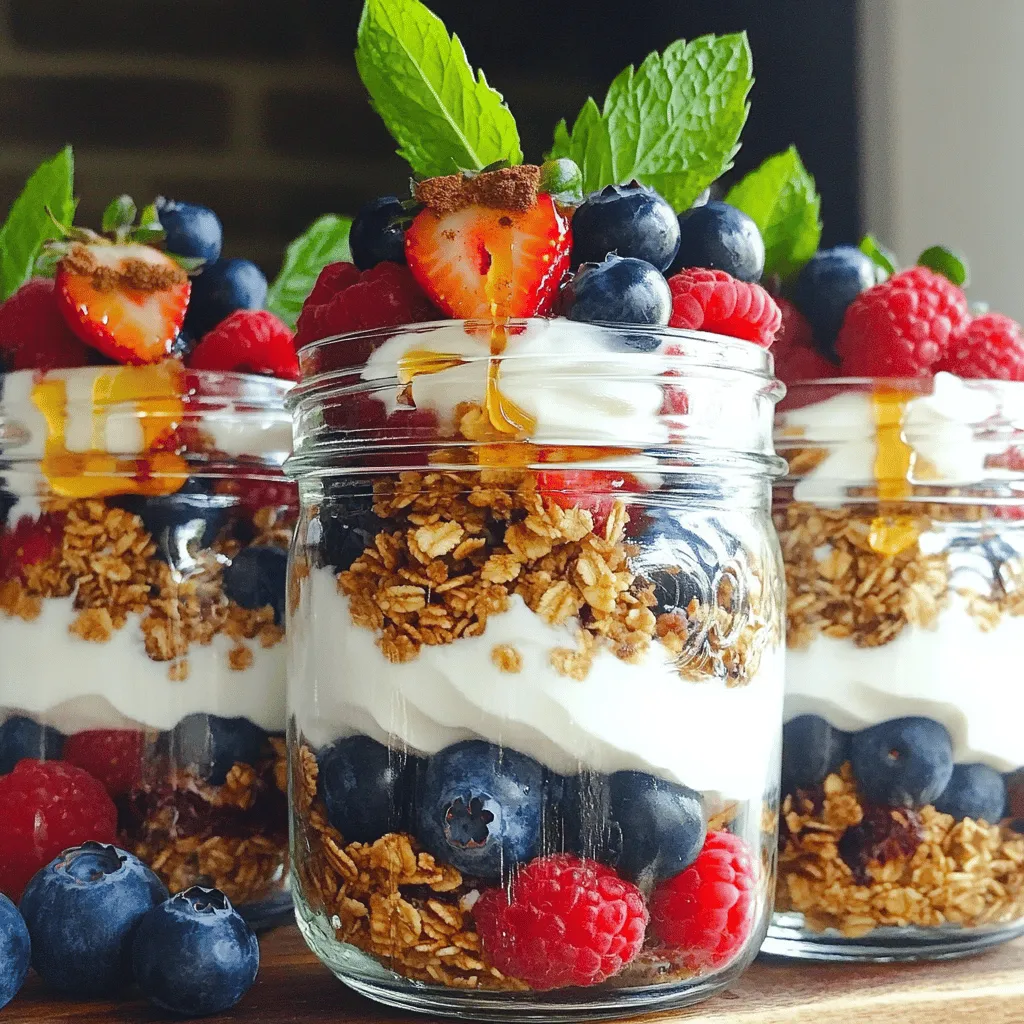
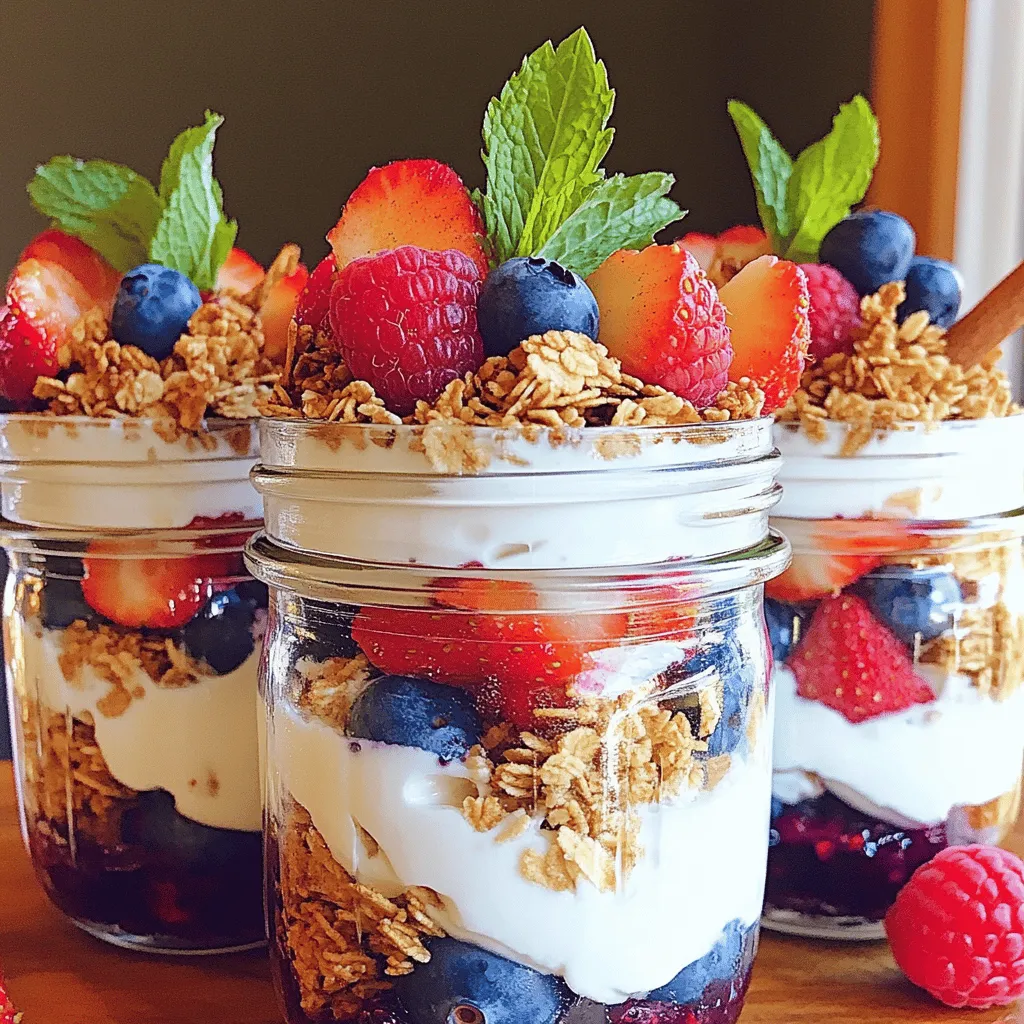
Now, let’s build our parfait. Start with the first layer: Greek yogurt. Use about 1/4 cup for each jar. This creamy layer makes a great base.
For the second layer, add granola. Use around 2-3 tablespoons. Press it down gently. This adds a nice crunch to your parfait.
Then, for the third layer, add mixed berries. Aim for 1/3 cup in each jar. Spread them out for a colorful look. You can mix different types for extra flavor.
Final Touches
If you want a bit of sweetness, add optional sweeteners. A drizzle of honey or maple syrup works well. Just use 1/2 tablespoon per jar. It enhances the taste without overpowering it.
For a pretty finish, garnish with mint leaves. Just a few on top will do. They add a fresh touch and make your parfait look fancy.
Once done, seal the jars and refrigerate for at least 30 minutes. This waiting time helps the flavors blend.
Tips & Tricks
Perfecting Your Parfait
To make the best parfaits, layering is key. Start with yogurt at the bottom. Add granola next, then berries. Repeat these layers until your jar is full. This adds flavor and makes it pretty.
When choosing a jar, go for a size that suits your meal. Small jars work for snacks, while larger ones fit breakfast. Clear jars show off the layers nicely.
Mix flavors to keep it exciting. Try different yogurt flavors like vanilla or coconut. Use various berries or add chopped nuts for crunch. You can also swap granola for oats for a twist.
Serving Suggestions
Enjoy your parfaits at any time. They’re perfect for breakfast or a midday snack. Serve them cold for a refreshing treat.
Pair parfaits with smoothies for a filling breakfast. They also go well with coffee or tea. Add a side of toast or fruit for a complete meal.
Variations
Fruit Variations
You can change up the fruit in your parfaits. Seasonal fruit combinations add color and taste. In summer, try peaches and cherries. In fall, apples and pears work well. These fruits keep your parfait fresh and fun.
If you want alternatives to mixed berries, consider bananas or mangoes. Both add sweetness and creaminess. You can also mix in some citrus for a zesty twist. Try adding orange segments or grapefruit for a bright flavor.
Granola Differences
Granola can change the whole vibe of your parfait. You can use homemade or store-bought granola. Homemade granola lets you control the flavors and crunch. Store-bought granola is quick and easy.
Different granola types have unique flavor profiles. For example, honey granola tastes sweet and rich. Chocolate granola adds a treat-like feel. Nutty granola brings a hearty crunch. Choose the one that excites your taste buds the most.
Dairy Alternatives
If you want a dairy-free option, plant-based yogurt works great. Almond, coconut, or soy yogurt can all be used. They add a creamy texture without dairy.
You can also find non-dairy granola options. Look for granolas that use oats, nuts, and seeds. These are often gluten-free as well. You can enjoy a delicious parfait without any dairy!
Storage Info
Storage Guidelines
To keep your Greek yogurt parfait jars fresh, follow these tips:
– Store parfaits in airtight containers. This helps keep them moist and tasty.
– Use glass jars or plastic containers with lids. They work well for storage.
– Keep parfaits in the fridge. This ensures they stay cool and safe to eat.
Shelf Life
How long do parfaits last in the fridge? Well, they stay good for about 3 to 5 days.
Watch for signs of spoilage, like:
– An off smell that’s different from fresh yogurt.
– A change in color or texture. If it looks strange, it’s best to toss it.
– Mold or any fuzzy spots on the surface.
Stay safe and enjoy your parfaits while they are fresh!
FAQs
Common Questions
How do I make Greek yogurt parfaits dairy-free?
You can swap Greek yogurt for a dairy-free yogurt. Look for almond, coconut, or soy yogurt. These options work well and still taste great. You may need to adjust the sweetness, too.
Can I prepare parfaits in advance?
Yes, you can make parfaits ahead of time. Just layer your ingredients in jars and store them in the fridge. They stay fresh for about two days. This is great for busy mornings.
How can I customize my parfait for dietary needs?
You can change the fruit, yogurt, and sweeteners based on your needs. For low sugar, skip sweeteners. If you need gluten-free, choose gluten-free granola. There are many ways to make it your own.
User Experience Questions
What is the best layering technique for visuals?
Start with yogurt at the bottom, then add granola and berries. Repeat the layers. Make sure to end with berries on top for a colorful look. This makes your parfait more appealing.
How do I prevent granola from getting soggy?
To keep granola crunchy, layer it between yogurt and fruit. Avoid letting it sit in yogurt for too long. You can also serve granola on the side for an added crunch.
You now have all the tools to make delicious Greek yogurt parfaits. Start with quality ingredients like Greek yogurt, granola, and mixed berries. Follow the steps to layer them perfectly. Remember to add optional sweeteners and garnishes for extra flavor. Explore variations to keep it exciting, and store your parfaits properly to enjoy them later. These simple yet tasty treats make for great snacks or breakfasts. Dive in and enjoy creating your own parfaits!


