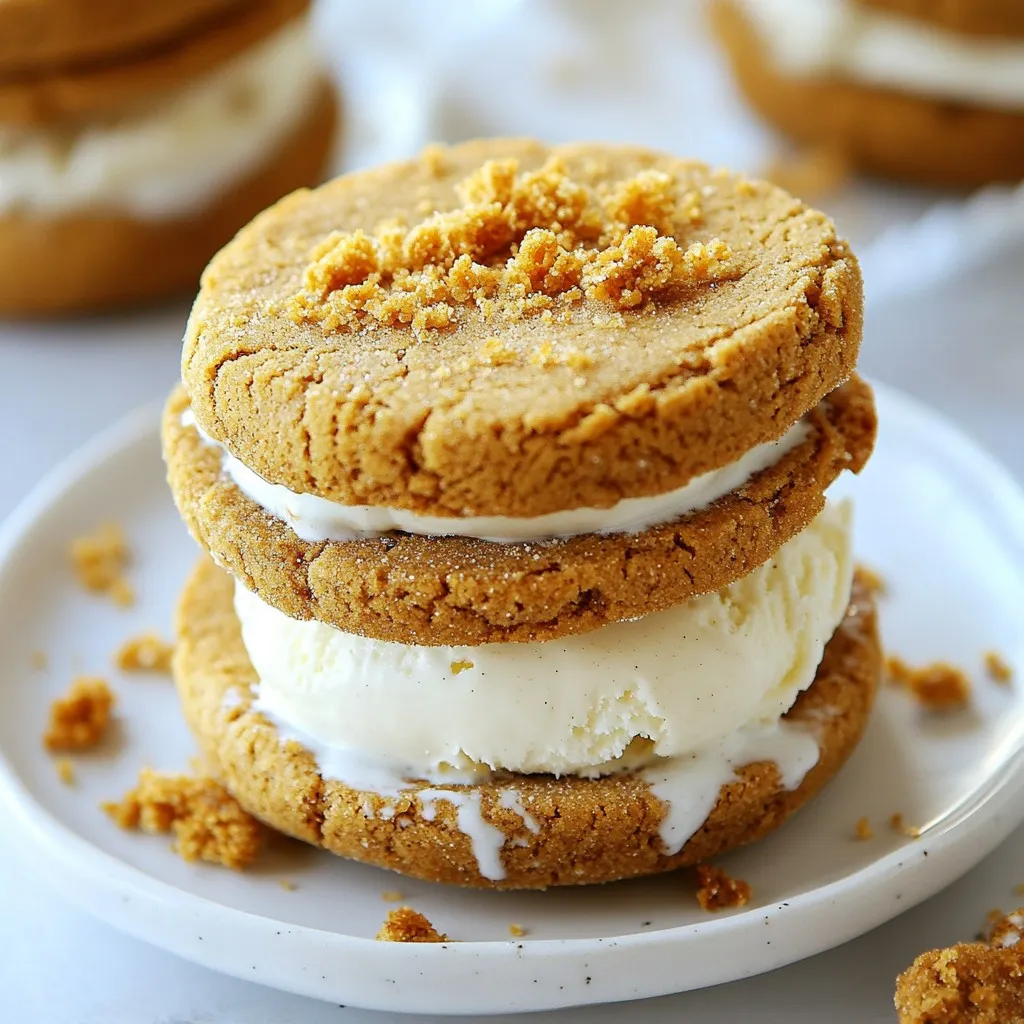
Looking for a fun twist on classic holiday treats? Try my Gingerbread Ice Cream Sandwiches! These delightful desserts combine the warm flavors of gingerbread with creamy ice cream, perfect for festive gatherings. With simple ingredients and easy steps, you can impress your friends and family this holiday season. Let’s dive in and make your holidays sweeter with this tasty recipe everyone will love!
Why I Love This Recipe
- Festive Flavors: The combination of ginger, cinnamon, and molasses creates a warm, holiday-inspired flavor profile that is irresistible.
- Easy to Customize: You can use any ice cream flavor you like, making these sandwiches perfect for everyone’s taste preferences.
- Fun for All Ages: Assembling these sandwiches is a fun activity for families and kids, making baking a joyous occasion.
- Perfect for Celebrations: These ice cream sandwiches are a delightful treat for holiday gatherings, adding a special touch to any dessert table.
Ingredients
Main Ingredients for Gingerbread Ice Cream Sandwiches
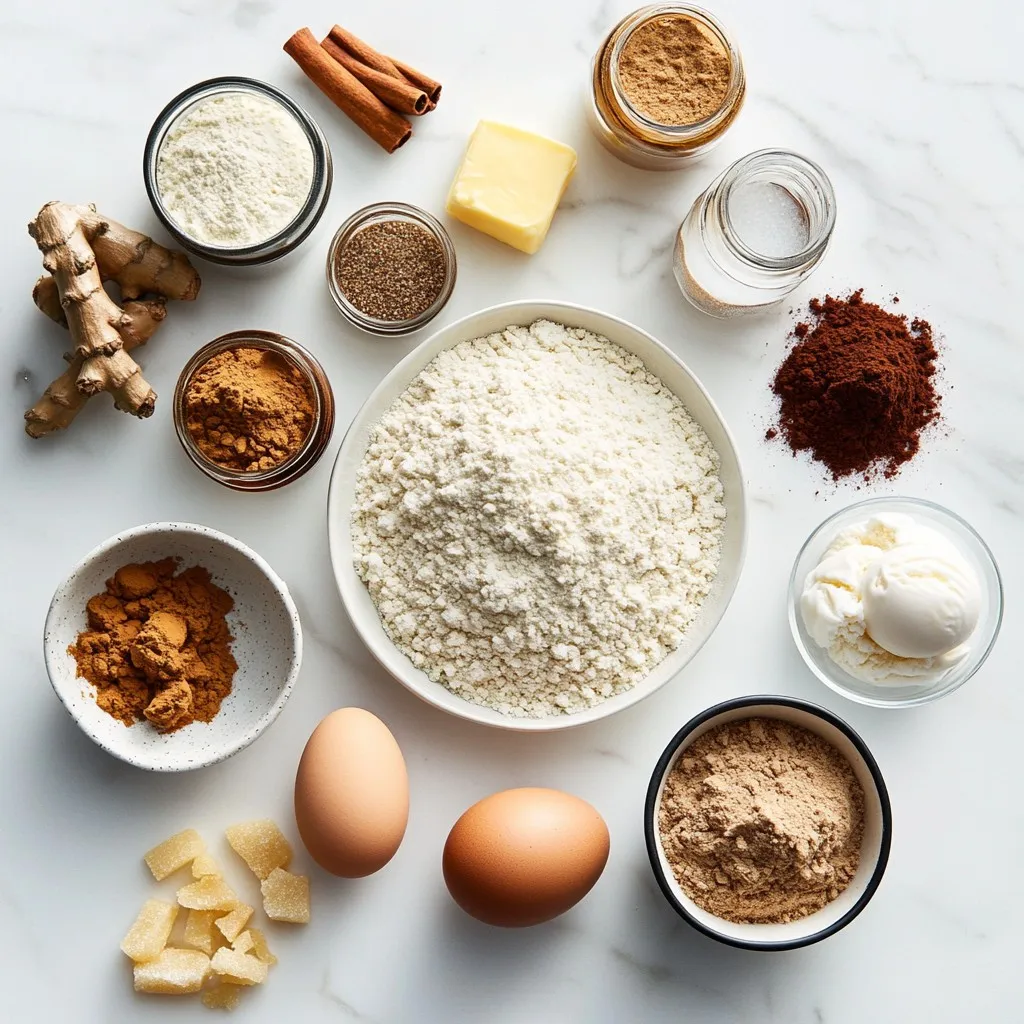
To make these tasty treats, gather the following key ingredients:
– 2 cups all-purpose flour
– 1 teaspoon baking soda
– 1 tablespoon ground ginger
– 1 tablespoon ground cinnamon
– 1/2 teaspoon ground cloves
– 1/2 teaspoon salt
– 1/2 cup unsalted butter, softened
– 1/2 cup brown sugar, packed
– 1/4 cup granulated sugar
– 1 large egg
– 1/4 cup molasses
– 1 teaspoon vanilla extract
– 2 cups vanilla ice cream (or your favorite flavor)
These ingredients come together to create a soft and flavorful gingerbread cookie that pairs perfectly with ice cream. The spices add warmth, while the molasses gives a rich depth to the flavor.
Optional Toppings
For a fun twist, consider these optional toppings:
– Crushed gingerbread cookies
– Colorful sprinkles
These toppings not only enhance the look but also add texture and extra flavor. You can roll the edges of the sandwiches in these toppings for festive flair!
Step-by-Step Instructions
Preparing the Gingerbread Dough
1. Whisk the Dry Ingredients: In a medium bowl, combine 2 cups of all-purpose flour, 1 teaspoon of baking soda, 1 tablespoon of ground ginger, 1 tablespoon of ground cinnamon, 1/2 teaspoon of ground cloves, and 1/2 teaspoon of salt. Mix them well and set this bowl aside.
2. Creaming Butter and Sugars: In a large bowl, use an electric mixer to cream together 1/2 cup of softened unsalted butter, 1/2 cup of packed brown sugar, and 1/4 cup of granulated sugar. Mix them on medium speed for 3 to 5 minutes until the mixture is light and fluffy.
3. Incorporate Wet Ingredients: Add 1 large egg, 1/4 cup of molasses, and 1 teaspoon of vanilla extract to the butter-sugar mix. Beat on low speed until everything blends well and the mix is smooth.
Creating the Cookies
1. Combining Wet and Dry Ingredients: Gradually add the flour mixture to the wet ingredients. Mix on low speed until you see a smooth dough. If there is any dry flour left, use your hands to knead it in.
2. Chilling the Dough: Shape the dough into a disk. Wrap it tightly in plastic wrap. Place it in the fridge for at least 1 hour. This step makes the dough easier to handle.
3. Shaping Cookies: On a floured surface, roll out the chilled dough to about 1/4 inch thick. Use cookie cutters to cut out your shapes. You can make classic gingerbread men or round cookies.
Baking and Assembling
1. Preheating the Oven: Preheat your oven to 350°F (175°C). Line a baking sheet with parchment paper to stop cookies from sticking.
2. Baking Cookies: Place the shaped cookies on the prepared baking sheet. Leave some space between them. Bake for 8 to 10 minutes until the edges feel firm. Let them cool on a wire rack.
3. Assembling the Ice Cream Sandwiches: Once the cookies cool, take one cookie and place a scoop of your favorite ice cream on its flat side. Press another cookie on top to make a sandwich.
4. Roll in Toppings (Optional): For fun, roll the edges of the ice cream sandwiches in crushed gingerbread cookies or colorful sprinkles.
5. Freeze to Set: Put the assembled sandwiches in the freezer for about 30 minutes. This helps the ice cream hold better.
Tips & Tricks
Perfecting the Gingerbread Dough
Chilling the dough is key. It helps the cookies keep their shape while baking. If you skip this step, your cookies may spread too much. Wrap the dough tightly in plastic wrap and chill it for at least one hour. This makes it easier to roll out and cut.
To avoid overmixing, mix just until combined. After adding the dry ingredients, stop when you no longer see flour. If you mix too much, the cookies can turn tough. Remember, a little lumpiness in the dough is okay.
Baking Tips
For perfect cookie texture, watch the baking time closely. Bake for 8-10 minutes until the edges are firm. The centers should look slightly soft. They will firm up as they cool. You want a chewy center with a crisp edge.
To ensure even baking, space the cookies well on the baking sheet. Leave at least two inches apart. This allows hot air to circulate around each cookie. Using parchment paper also helps prevent sticking and promotes even cooking.
Serving Suggestions
For a festive look, serve your gingerbread ice cream sandwiches on a colorful platter. You can drizzle them with warm caramel or chocolate sauce. This adds a rich flavor that pairs well with the spices in the cookies.
If you want to enhance the visual appeal, roll the edges in crushed gingerbread cookies or colorful sprinkles. This simple touch makes your desserts look special and inviting.
Pro Tips
- Chill the Dough Properly: Make sure to refrigerate the dough for at least an hour. This helps the cookies maintain their shape while baking and results in a better texture.
- Use a Cookie Cutter: For a festive look, use themed cookie cutters such as gingerbread men, stars, or holiday shapes. This adds a fun twist to your ice cream sandwiches!
- Experiment with Ice Cream Flavors: While vanilla is classic, try using flavors like peppermint, chocolate, or caramel for a unique twist that complements the spices in the gingerbread.
- Serve Immediately: For the best experience, serve the ice cream sandwiches right after assembling. This way, the ice cream remains soft and easy to bite into!
Variations
Flavor Combinations
You can play with different ice cream flavors. Vanilla is classic, but try chocolate or peppermint. For a fruity twist, consider raspberry or lemon. Each choice adds a new layer of taste. You can also switch up cookie shapes. Use holiday-themed cookie cutters like stars or hearts. Decorate with icing for extra flair.
Dietary Adjustments
If you need gluten-free options, use gluten-free flour instead of all-purpose flour. Many brands work well in gingerbread recipes. For a dairy-free treat, choose coconut or almond milk ice cream. Many stores offer great dairy-free ice creams now. You can enjoy these gingerbread ice cream sandwiches without worry.
Themed Versions
You can create themed versions for any holiday! For Halloween, use spooky cookie shapes. Decorate with orange and black sprinkles. For Christmas, add festive colors like red and green. You might even try adding a hint of peppermint or nutmeg to the ice cream. These little changes make your treats stand out during the holidays.
Storage Info
Storing Gingerbread Cookies
To keep your gingerbread cookies fresh, store them in an airtight container. This helps prevent them from drying out. You can also place a slice of bread inside the container. The bread will keep the cookies soft. Make sure to let the cookies cool completely before storing. This prevents moisture from making them soggy.
When it comes to storing assembled ice cream sandwiches, wrap each sandwich in plastic wrap. This keeps them from sticking together. Place the wrapped sandwiches in a container or a freezer bag. Store them in the freezer if you want to keep them longer.
Freezing Tips
Freezing your gingerbread ice cream sandwiches is a great way to extend their shelf life. To freeze them, place the assembled sandwiches on a baking sheet. Make sure they are not touching. Freeze them for about an hour until they are firm. Then, transfer them to a freezer bag or container. This method helps keep their shape.
If you want to enjoy your sandwiches later, you can thaw them in the fridge. Simply take them out and let them sit for about 15 minutes. This allows the ice cream to soften just enough to enjoy. You can also leave them at room temperature for a few minutes. Just be careful not to let them melt too much.
FAQs
Common Questions about Gingerbread Ice Cream Sandwiches
How can I make gingerbread cookies softer?
To make gingerbread cookies softer, add a bit more butter or sugar. You can also reduce the baking time. This keeps them chewy and less crisp.
Can I use store-bought gingerbread cookies for this recipe?
Yes, you can use store-bought gingerbread cookies. They save time and still taste great. Just make sure they are thick enough to hold the ice cream.
What ice cream flavors pair best with gingerbread?
Vanilla ice cream is a classic choice. You can also try flavors like caramel, chocolate, or even spiced pumpkin. These flavors enhance the gingerbread taste.
General Recipe Questions
How long do gingerbread ice cream sandwiches last?
These sandwiches last about a week in the freezer. Keep them in an airtight container to maintain their freshness.
Can I make the dough in advance?
Yes, you can make the dough ahead of time. Store it in the fridge for up to three days or freeze it for longer storage.
Are there vegan substitutes for this recipe?
You can use plant-based butter and a flax egg for a vegan version. Choose dairy-free ice cream for a fully vegan treat.
Gingerbread ice cream sandwiches combine sweet, spicy flavors with creamy goodness. You learned how to make the dough and bake the cookies, plus tips for perfect results. I shared ways to customize your treats and store them for later.
These sandwiches are fun and tasty, making them great for any occasion. Enjoy making and sharing these treats with friends and famil


