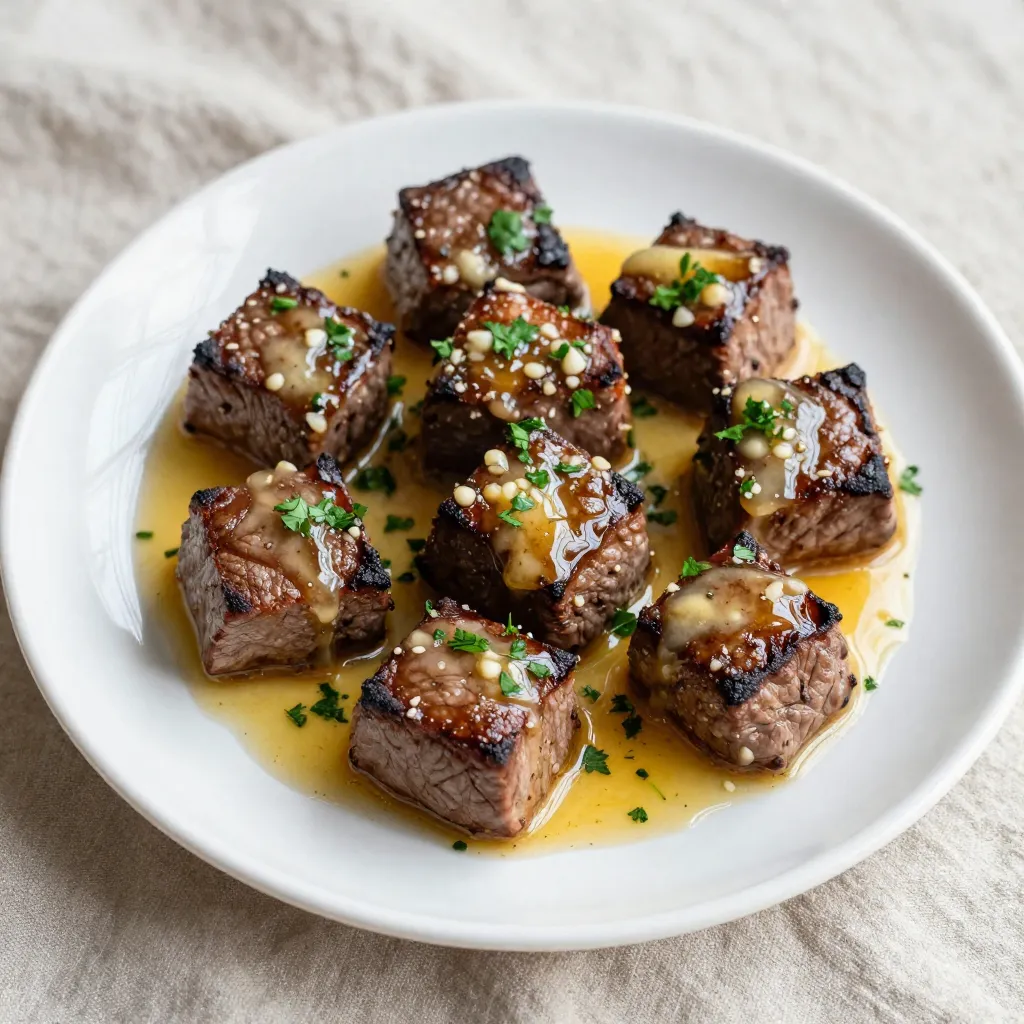
Craving a quick and tasty meal? Garlic Butter Steak Bites are your answer! This dish is packed with flavor and takes just minutes to make. In this blog post, I will guide you through easy steps to prepare these mouthwatering bites. We’ll cover everything from the best steak cuts to tips on achieving the perfect sear. Get ready to delight your taste buds and impress your guests with this simple recipe!
Why I Love This Recipe
- Quick and Easy: This recipe takes only 20 minutes to prepare, making it perfect for busy weeknight dinners.
- Flavorful: The combination of garlic, butter, and thyme infuses the steak with rich, savory flavors that are hard to resist.
- Versatile: These steak bites can be served as an appetizer, main dish, or even in a salad, making them a versatile choice for any occasion.
- Impressive Presentation: Serving these on a rustic board with fresh parsley adds a touch of elegance, perfect for entertaining guests.
Ingredients
Main Ingredients for Garlic Butter Steak Bites
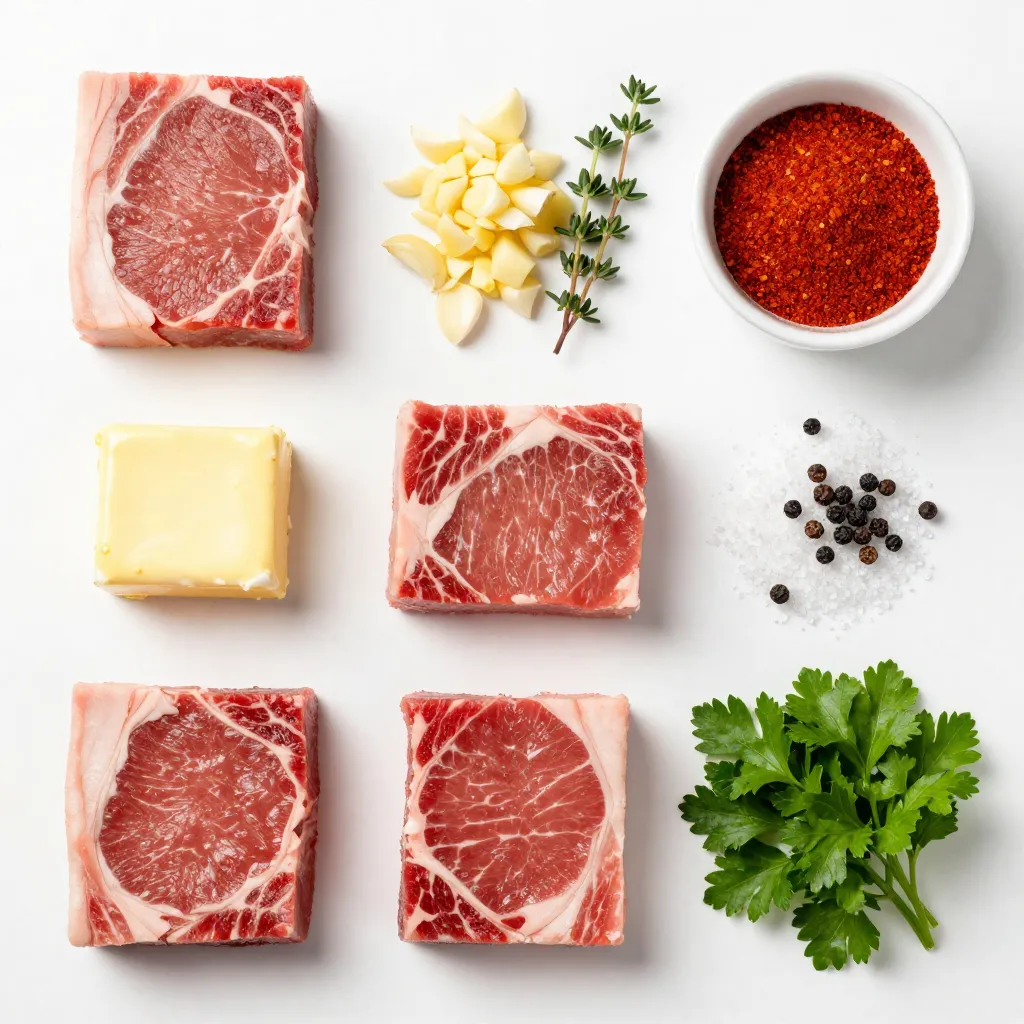
For the best garlic butter steak bites, you need:
– 1 lb sirloin steak, cut into bite-sized cubes
– 4 tablespoons unsalted butter, divided
– 4 cloves garlic, minced
Starting with high-quality sirloin steak is key. This cut has great flavor and tenderness. Cutting the steak into bite-sized cubes helps them cook quickly and evenly.
Seasonings and Aromatics
The seasonings add depth to the dish. You will need:
– 1 teaspoon fresh thyme leaves (or ½ teaspoon dried thyme)
– 1 teaspoon smoked paprika
– Salt and freshly cracked black pepper, to taste
Thyme brings a lovely herbal note. Smoked paprika adds a hint of warmth and color. Always season generously with salt and pepper to enhance the natural flavors of the steak.
Optional Garnishes and Accompaniments
To finish your dish, consider:
– Fresh parsley, chopped (for garnish)
Chopped parsley adds a fresh touch and bright color to your steak bites. For a complete meal, pair these bites with sautéed seasonal vegetables or a crisp green salad. This balance of flavors makes your dish even more enjoyable.
Step-by-Step Instructions
Preparing the Steak
First, dry the steak cubes with a paper towel. This step is key for a good sear. Next, place the steak cubes in a bowl. Season them with salt, black pepper, and smoked paprika. Mix well so each piece is covered evenly.
Cooking the Steak Bites
Heat a large skillet on medium-high heat. Add 2 tablespoons of butter. Wait until the butter sizzles. Carefully add the steak cubes in a single layer. Avoid crowding the pan. Sear for 2-3 minutes on one side. This helps form a nice crust. Then, flip the steak bites. Sear the other side for another 2-3 minutes for medium-rare. Cook longer if you want it more done.
Adding Garlic Butter Flavor
Now, reduce the heat to medium. Add the remaining 2 tablespoons of butter to the skillet. Toss in the minced garlic and thyme. Stir them around the steak. Cook this mixture for 1-2 minutes. Watch the garlic closely to keep it from burning. When it turns fragrant and light gold, remove the skillet from heat. Finally, sprinkle freshly chopped parsley on top before serving.
Tips & Tricks
Achieving the Perfect Sear
To get a nice sear on your steak bites, start with dry meat. Pat the steak cubes with a paper towel. Moisture will stop a good crust from forming. Use a hot skillet and don’t overcrowd the pan. This way, the heat stays high, and your steak gets that beautiful brown color. Let the steak cook without moving it for 2-3 minutes. Then flip it and give the other side the same treatment. This helps lock in flavors and juices.
Best Steak Cuts to Use
For garlic butter steak bites, I recommend using sirloin steak. It has great flavor and tenderness. Other good choices are ribeye and tenderloin. These cuts are juicy and cook well. Choose steak that has some marbling. This adds flavor and keeps the meat moist. Always look for fresh, high-quality meat for the best results.
Common Mistakes to Avoid
Many home cooks make a few simple errors. One common mistake is not seasoning enough. Don’t be shy with salt and pepper! Another mistake is cooking the steak too long. Overcooked steak becomes tough and dry. Use a meat thermometer if you can. Aim for 130°F for medium-rare. Lastly, don’t forget to let the steak rest after cooking. This helps the juices redistribute, making every bite tender and juicy.
Pro Tips
- Pat the Steak Dry: Ensuring the steak cubes are completely dry before seasoning is key for a perfect sear.
- Don’t Overcrowd the Pan: Sear the steak in batches if necessary. Overcrowding will lower the pan’s temperature, preventing a good crust.
- Use a Meat Thermometer: For precision, check the internal temperature of the steak bites. Aim for 130°F for medium-rare.
- Let It Rest: Allow the steak bites to rest for a few minutes after cooking. This helps the juices redistribute for a more flavorful bite.
Variations
Different Cuts of Steak for This Recipe
You can use various cuts of steak for garlic butter steak bites. While sirloin is a great choice, consider ribeye for its rich marbling. This cut adds extra flavor and tenderness. Tenderloin is another option. It’s lean and very soft, perfect for quick cooking.
Alternative Seasonings and Spices
Feel free to mix up the seasonings! Use rosemary instead of thyme for a different taste. You can also try adding a pinch of cayenne for some heat. For a smoky flavor, add some chipotle powder. Experiment with your favorite herbs to create a unique twist.
Serving Ideas and Accompaniments
Serve garlic butter steak bites with toothpicks for easy eating. Pair them with a fresh salad for a light meal. You can also serve them alongside garlic bread to soak up that tasty butter. For a hearty dinner, add mashed potatoes or roasted veggies. These sides balance the rich flavors of the steak bites beautifully.
Storage Info
How to Store Leftover Steak Bites
To store leftover steak bites, let them cool first. Place them in an airtight container. Make sure to cover them well. Store in the fridge for up to three days. If you want them to last longer, consider freezing.
Reheating Tips for Leftovers
When you are ready to eat your leftovers, reheat them gently. Use a skillet over medium heat. Add a little butter or oil to keep them moist. Heat for about 3-4 minutes, stirring often. You can also use a microwave, but be careful not to overcook them. Heat in short bursts, checking often.
Freezing Garlic Butter Steak Bites
If you want to freeze the steak bites, place them in a freezer-safe bag. Remove as much air as possible to prevent freezer burn. They can last up to three months in the freezer. When you are ready to use them, thaw in the fridge overnight before reheating.
FAQs
What type of steak is best for garlic butter steak bites?
The best steak for garlic butter steak bites is sirloin. Sirloin has great flavor and is tender. It cooks well and is easy to cut into cubes. You can also use ribeye or tenderloin if you prefer a richer taste. Both will give you a juicy bite. Just make sure the steak is fresh for the best flavor.
Can I make garlic butter steak bites in the oven?
Yes, you can make garlic butter steak bites in the oven. Preheat your oven to 400°F (200°C). After you season the steak, place the cubes on a baking sheet. Bake for about 8-10 minutes. Toss them halfway through for even cooking. Then, add the garlic butter mixture in the last few minutes to keep it flavorful.
How do I know when the steak is properly cooked?
To check if the steak is cooked, use a meat thermometer. For medium-rare, it should read 130-135°F (54-57°C). If you don’t have a thermometer, you can check by touch. A medium-rare steak feels like the area between your thumb and forefinger when relaxed. For more doneness, increase the cooking time. Always remember to let the steak rest for a few minutes after cooking. This helps keep it juicy and tasty.
Garlic butter steak bites are tasty and easy to make. We covered the main ingredients, from the steak cuts to seasonings. I shared clear steps for preparing and cooking. You now have tips for perfect sears and common mistakes to dodge.
Don’t forget the variations to keep things fresh, plus storage tips for leftovers. With this guide, you can enjoy a flavorful dish any time. Happy cookin


