
Get ready to celebrate with Funfetti Birthday Cake Cookies! These sweet, colorful treats combine rich flavors and fun sprinkles to make every bite a party. In this article, I’ll guide you through easy steps to bake these delightful cookies, share tips for perfect texture, and explore creative variations. Whether you’re baking for a birthday or just craving something fun, these cookies will bring joy to any occasion. Let’s get started!
Ingredients
To make Funfetti Birthday Cake Cookies, you need a mix of simple and fun ingredients. Here’s what you will need:
– 1 cup unsalted butter, softened
– 1 cup granulated sugar
– 1/2 cup packed brown sugar
– 2 large eggs
– 2 teaspoons pure vanilla extract
– 3 cups all-purpose flour
– 1 teaspoon baking soda
– 1/2 teaspoon fine sea salt
– 1 cup rainbow sprinkles (plus extra for topping)
– 1 cup white chocolate chips
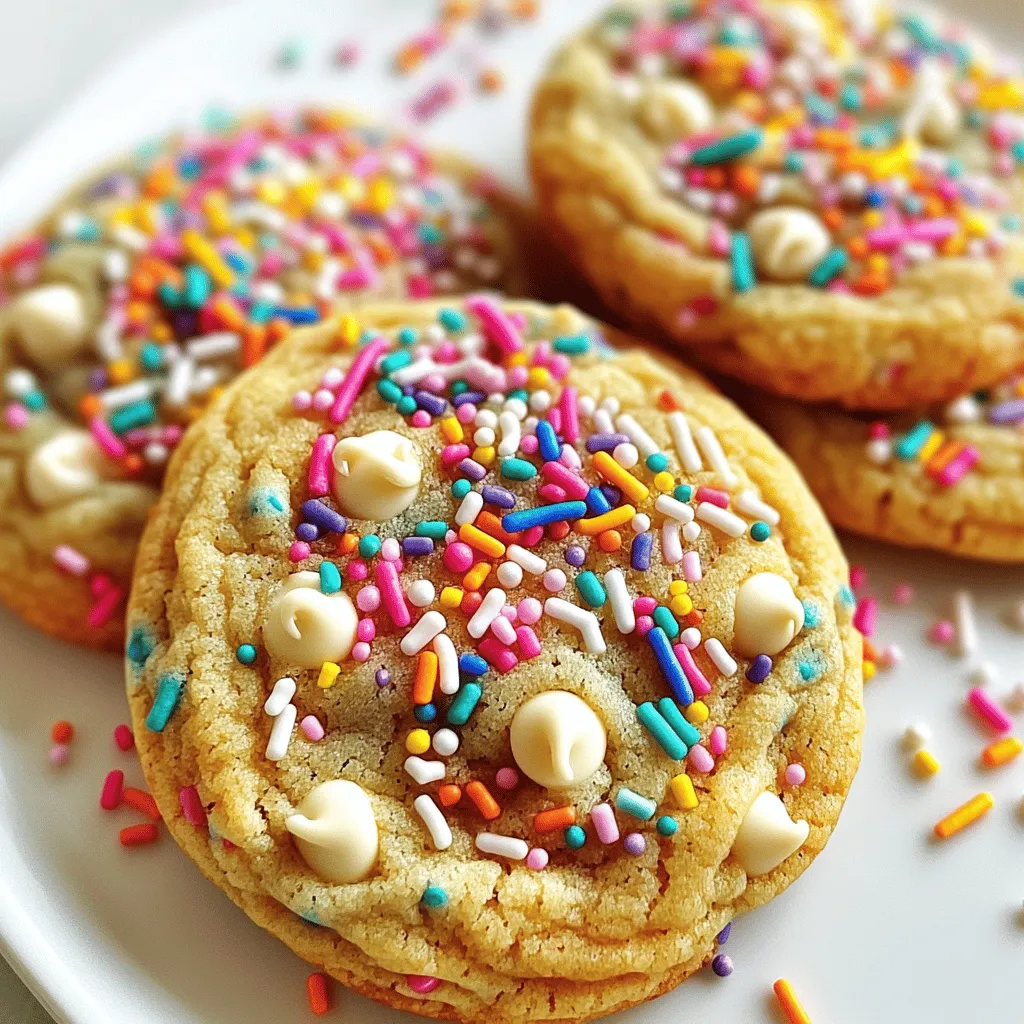
These ingredients work together to create soft, chewy cookies that are colorful and festive. The butter and sugars give the cookies a rich base. Eggs and vanilla add moisture and flavor, while the flour, baking soda, and salt create the perfect cookie structure. The rainbow sprinkles make these cookies look special, adding fun pops of color. Lastly, the white chocolate chips provide a creamy sweetness that balances the flavors nicely.
Step-by-Step Instructions
Preheat and Prep
– Preheat oven to 350°F (175°C)
– Prepare baking sheets with parchment paper
Start by preheating your oven to 350°F (175°C). This step is key for even baking. While the oven warms up, line your baking sheets with parchment paper. This helps prevent the cookies from sticking. You’ll be glad you did this later!
Creaming the Butter and Sugars
– Cream together softened butter, granulated sugar, and brown sugar until fluffy
Next, grab a large mixing bowl. Add your softened butter, granulated sugar, and brown sugar. Using an electric mixer, cream these together. Beat on medium speed for about 3-4 minutes. You want this mixture to be light and fluffy. This step adds air and helps the cookies rise.
Adding Eggs and Vanilla
– Incorporate eggs one at a time and mix in vanilla extract
Now it’s time to add the eggs. Add them one at a time. Make sure to mix well after each addition. Then, mix in the vanilla extract. This will give your cookies a nice flavor. Don’t rush this step; it’s important for the texture.
Combining Dry Ingredients
– Whisk together flour, baking soda, and sea salt, then incorporate into wet mixture
In a separate bowl, whisk together the flour, baking soda, and sea salt. This helps distribute the leavening agent evenly. Gradually add this dry mixture into the wet mixture. Mix on low speed until just combined. Be careful not to overmix. This keeps your cookies soft.
Adding Funfetti
– Fold in rainbow sprinkles and white chocolate chips
Now comes the fun part! Carefully fold in the rainbow sprinkles and white chocolate chips. Use a spatula for this. You want to make sure they are evenly spread throughout the dough. This adds color and sweetness to every bite.
Baking the Cookies
– Scoop dough onto baking sheets and bake for 10-12 minutes
Using a cookie scoop or a tablespoon, drop balls of dough onto your prepared baking sheets. Leave about 2 inches of space between each ball. This allows the cookies to spread while baking. For a festive touch, sprinkle some extra rainbow sprinkles on top before baking. Place the sheets in the oven and bake for 10-12 minutes. You want the edges to be light golden brown, while the centers stay soft.
After baking, let the cookies cool for about 5 minutes on the sheets. Then, transfer them to a wire rack to cool completely. Enjoy your sweet and colorful treats!
Tips & Tricks
Achieving the Best Texture
To get soft cookies, avoid overmixing the dough. Once you add the dry ingredients, mix just until combined. This keeps the cookies from becoming tough. The dough should look a bit lumpy, and that’s okay!
Baking Variations
You can adjust the baking time to change the cookie texture. For chewy cookies, bake for 10 minutes. If you prefer a crispier bite, leave them in for about 12 minutes. Keep an eye on the edges; they should be golden brown while the centers stay soft.
Decorative Serving Suggestions
For a fun touch, use extra sprinkles on top before baking. This adds color and makes the cookies festive. When serving, arrange the cookies on a bright platter. Scatter colorful sprinkles around them to create a cheerful display.
Variations
Gluten-Free Option
If you want a gluten-free cookie, you can easily swap regular flour. Use a gluten-free blend instead of all-purpose flour. Make sure to check that your blend works for baking. This change keeps the cookie soft and tasty.
Flavor Modifications
You can have fun with flavors! Try using different flavored chips, like dark chocolate or peanut butter. You can also add extracts like almond or lemon. Each choice gives a new twist to the classic cookie.
Added Ingredients
Think about adding nuts or extra candies. Chopped walnuts or pecans add a nice crunch. You can also throw in M&M’s or caramel bits for a sweet surprise. These additions make your cookies even more exciting!
Storage Info
Best Storage Practices
To keep your Funfetti Birthday Cake Cookies fresh, store them in an airtight container. This will help keep them soft and chewy. You can place them at room temperature. Just make sure they are completely cool before putting them away. If you stack the cookies, use parchment paper between layers to prevent sticking.
Freezing Instructions
If you want to enjoy these cookies later, freeze the cookie dough balls before baking. Scoop the dough and place it on a baking sheet. Freeze for about 30 minutes, then transfer the dough balls to a freezer bag. When you’re ready to bake, just pop the frozen dough balls onto a baking sheet and add a couple of extra minutes to the baking time.
Shelf Life
These cookies stay fresh for about one week at room temperature. If you freeze them, they can last up to three months. Just remember to let them thaw at room temperature before eating. This way, they will taste just as good as when you first baked them. Enjoy your sweet and colorful treats whenever you want!
FAQs
How do I make Funfetti Birthday Cake Cookies?
To make these fun cookies, start by creaming butter and sugars. Then, mix in eggs and vanilla. In another bowl, whisk flour, baking soda, and salt. Combine the dry mix with the wet one gently. Finally, fold in sprinkles and white chocolate chips. Drop cookie dough onto prepared sheets and bake until golden.
Can I make these cookies ahead of time?
Yes, you can make these cookies ahead. You may prepare the dough and store it in the fridge. Wrap it well in plastic wrap to keep it fresh. Bake the cookies when you are ready to enjoy them. You can also freeze the dough for longer storage. Just remember to thaw it before baking.
What can I substitute for white chocolate chips?
If you want to switch things up, use dark chocolate chips instead. Caramel chips also add a sweet twist. You can even try butterscotch chips for a unique flavor. Just make sure to keep the same amount as the original recipe calls for.
How do I get the best sprinkles to stay in the cookies?
To keep sprinkles bright and in place, fold them in gently. Avoid mixing too hard, as this can cause them to fade. Adding some extra sprinkles on top before baking helps, too. This way, they stay colorful and fun!
You now have an easy way to make Funfetti Birthday Cake Cookies. We covered the ingredients, step-by-step instructions, tips, and variations to customize the recipe. Remember to avoid overmixing for soft cookies and store them right for freshness. Whether it’s a party or just a treat, these cookies bring joy. Experiment with flavors and enjoy baking. Your cookies will impress friends and loved ones. Enjoy every bite and celebrate with fun!


