If you love chocolate, get ready for a treat! These fudgy brownie cookies combine soft, chewy textures with rich chocolate flavor. With simple ingredients like dark chocolate chips and unsalted butter, you can whip up a batch in no time. I’ll guide you through the steps to achieve that perfect brownie-cookie hybrid. Let’s turn your kitchen into a chocolate paradise! Check out the secrets to making these cookies irresistible.
Ingredients
List of Essential Ingredients
To make fudgy brownie cookies, you need these key ingredients:
– 1 cup dark chocolate chips
– 1/2 cup unsalted butter, cut into cubes
– 1 cup granulated sugar
– 2 large eggs
– 1 teaspoon pure vanilla extract
– 1/2 cup all-purpose flour
– 1/4 cup unsweetened cocoa powder
– 1/4 teaspoon baking powder
– 1/4 teaspoon fine salt
Optional Add-Ins
For extra flavor and texture, consider these optional add-ins:
– Chocolate chunks
– Chopped nuts
Measuring Tips for Precise Baking
Measuring your ingredients correctly is very important for baking.
– Weighing ingredients: Use a kitchen scale for accuracy. This helps you get the right amount every time.
– Using the correct measuring cups: Use dry measuring cups for flour and cocoa, and liquid measuring cups for wet ingredients. This makes sure your cookies turn out just right.
Step-by-Step Instructions
Preparing for Baking
First, preheat your oven to 350°F (175°C). This step warms the oven and helps the cookies bake evenly. Next, line a baking sheet with parchment paper. This keeps your cookies from sticking and makes cleanup easy.
Mixing the Ingredients
Now it’s time to mix. In a microwave-safe bowl, combine 1 cup of dark chocolate chips and 1/2 cup of unsalted butter, cut into cubes. Heat this mixture in the microwave in 30-second bursts. Stir between each burst until it’s smooth. Let it cool a bit.
In another bowl, whisk together 1 cup of granulated sugar, 2 large eggs, and 1 teaspoon of pure vanilla extract. You want this mix to be creamy and well combined.
Combining Wet and Dry Ingredients
Pour the melted chocolate mixture into the sugar and egg mix. Stir it continuously until everything is blended well. In a third bowl, sift together 1/2 cup of all-purpose flour, 1/4 cup of unsweetened cocoa powder, 1/4 teaspoon of baking powder, and 1/4 teaspoon of fine salt. Slowly add this dry mix to your wet ingredients. Fold gently with a spatula until just combined. Be careful not to overmix!
If you want some extra texture, gently fold in 1/2 cup of chocolate chunks or chopped nuts.
Baking the Cookies
Using a cookie scoop or a tablespoon, drop rounded balls of dough onto your lined baking sheet. Make sure they are about 2 inches apart. This space helps them bake evenly. Place the baking sheet in your preheated oven. Bake for 10 to 12 minutes. The edges should be set while the centers remain soft. This gives you that fudgy texture.
After baking, let the cookies sit on the baking sheet for 5 minutes. Then, transfer them to a wire rack to cool completely.
Tips & Tricks
Achieving the Perfect Fudgy Texture
To get that perfect fudgy texture in your brownie cookies, underbaking is key. Bake them until the edges set but the middle stays soft. This gives you that rich, gooey center. I recommend checking them at 10 minutes. The cookies will continue to cook as they cool, so take them out early. After baking, let them cool on the sheet for about five minutes. This helps them firm up while keeping that soft center.
Enhancing Flavor
You can easily boost the flavor by adding extracts or spices. A dash of espresso powder deepens the chocolate notes. You can also try adding a hint of almond extract for a twist. Always use high-quality chocolate. It makes a big difference in taste. Look for chocolate that has at least 60% cocoa for rich flavor. You can even mix in or top with a few chocolate chunks for extra richness.
Visual and Textural Considerations
Before you bake, pay attention to the appearance of the cookie dough. It should look shiny and slightly thick. This means you mixed it well without overdoing it. Texture also plays a big role in cookie recipes. For fudgy brownie cookies, you want a soft, chewy texture. If your dough feels too dry, it may need a bit more melted butter or chocolate. This will ensure your cookies come out soft and delicious.

Variations
Flavor Variations
You can change the taste of your fudgy brownie cookies easily. Here are two fun ideas:
– Mint chocolate brownie cookies: Add 1/2 teaspoon of mint extract to the dough. This gives a fresh flavor that pairs well with chocolate. You can also mix in some mint chocolate chips for a burst of minty goodness.
– Peanut butter fudge cookies: Stir in 1/2 cup of creamy peanut butter into the melted chocolate mixture. This makes the cookies rich and adds a nice nutty taste. You can also top them with a few peanut butter chips for extra flavor.
Dietary Adjustments
You can enjoy these cookies no matter your diet. Here are some options:
– Gluten-free options: Swap the all-purpose flour with a gluten-free flour blend. This will keep the texture while making the cookies safe for anyone avoiding gluten.
– Vegan adaptations: Replace the eggs with flax eggs. Mix 1 tablespoon of ground flaxseed with 2.5 tablespoons of water for each egg. Use vegan butter instead of regular butter to make these cookies plant-based.
Creative Presentation Ideas
Make your cookies look as great as they taste:
– Decorating with icing or chocolate drizzle: After cooling, drizzle melted chocolate over the cookies. You can also use colored icing to make them festive for special occasions.
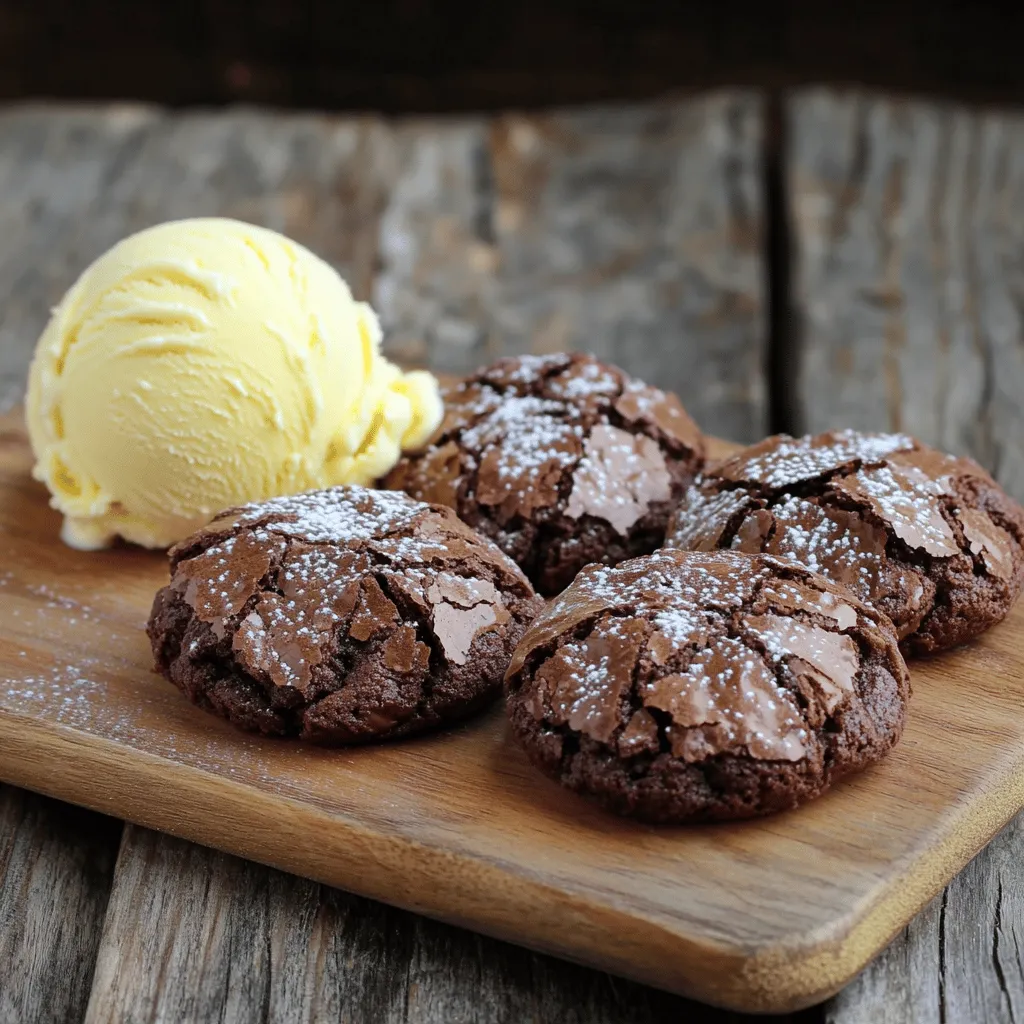
– Serving suggestions with ice cream: Serve these cookies warm with a scoop of vanilla ice cream. The warm cookie and cold ice cream create a delicious contrast. It’s a simple way to elevate your dessert.
Storage Info
Best Practices for Storing Cookies
To keep your fudgy brownie cookies fresh, use an air-tight container. This helps to lock in moisture and flavor. You can store cookies at room temperature for up to a week. If you need them to last longer, consider refrigeration. However, keep in mind that cold storage may change their soft texture.
Freezing Instructions
Freezing brownie cookies is simple. First, let them cool completely after baking. Next, place the cookies in a single layer on a baking sheet. Freeze them for about one hour. Once frozen, transfer them to a freezer-safe bag or container. Make sure to remove as much air as possible. To enjoy later, thaw the cookies at room temperature for about 30 minutes. For the best texture, you can warm them slightly in the oven.
Shelf Life
These cookies stay fresh for about one week at room temperature. If you freeze them, they can last up to three months. Keep an eye out for signs of spoilage. If your cookies become hard, dry, or develop an off smell, it’s best to toss them. Always remember, fresh is best for that fudgy delight!
FAQs
How do I ensure my fudgy brownie cookies are soft?
To keep your fudgy brownie cookies soft, follow these key tips:
– Underbake slightly: Remove them when the edges are set but the centers look a bit wet.
– Use quality chocolate: Dark chocolate chips give a rich taste and help keep the cookies moist.
– Don’t overmix: Mix just enough to combine. Overmixing can make them tough.
– Cool properly: Let them cool on the baking sheet for a few minutes. This helps them retain moisture.
These steps will help you get that perfect fudgy cookie every time!
Can I make these cookies ahead of time?
Yes, you can make these cookies ahead of time! Here’s how:
– Dough prep: You can prepare the dough a day in advance. Store it in the fridge.
– Baking later: Just scoop the dough onto the baking sheet when you’re ready to bake.
– Freezing: You can also freeze the dough. Scoop portions onto a baking sheet, freeze until firm, then transfer to a bag. Bake straight from the freezer, adding a minute or two to the time.
Making them ahead saves time and ensures fresh cookies when you want them!
What if my cookies spread too much?
If your cookies spread too much, consider these common causes and solutions:
– Too much butter: Ensure you measure your butter correctly. Too much can lead to spreading.
– Warm dough: If your dough is too warm, chill it for 30 minutes before baking.
– Baking powder: Too much baking powder may cause excessive spreading. Stick to the recipe amount.
These tips will help you achieve the perfect shape for your cookies.
Can I use a different type of chocolate?
Absolutely! You can explore various chocolate options:
– Milk chocolate: It will make the cookies sweeter and creamier.
– White chocolate: This adds a unique flavor and sweetness.
– Bittersweet chocolate: It can enhance the richness of the cookies.
Feel free to experiment with your favorite chocolate for a tasty twist!
You now have all the tools to bake the perfect fudgy brownie cookies. We covered essential ingredients, prep steps, and ways to enhance flavor. You learned how to store cookies and explore fun variations. Remember, measuring your ingredients correctly and underbaking are key for that soft texture. Don’t hesitate to experiment with different flavors or add-ins. Enjoy your baking adventure!


