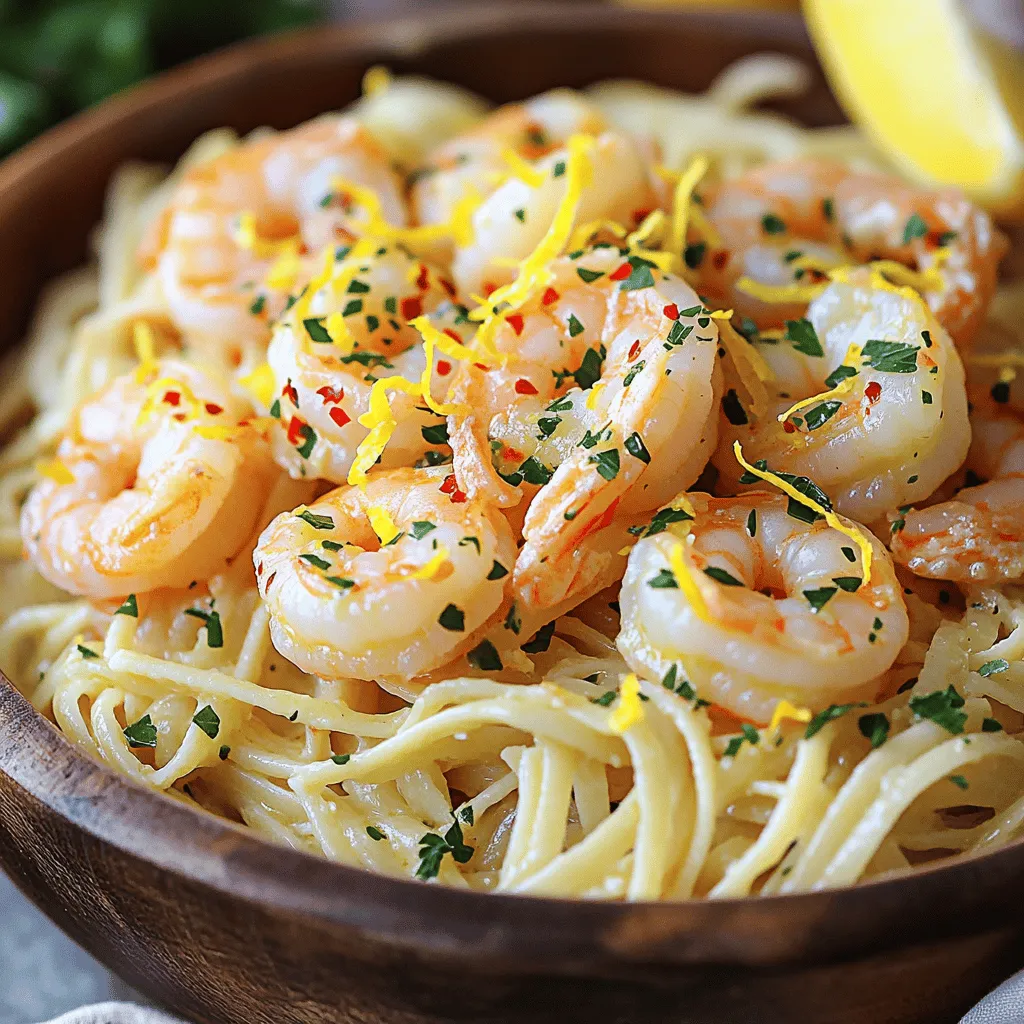
Looking for a quick and tasty meal? You’ve come to the right place! This Easy Shrimp Scampi recipe is not just packed with flavor, but it’s simple to make in under 30 minutes. With just a few fresh ingredients, you can impress your family or whip up a cozy dinner for yourself. Let’s dive into the step-by-step process that turns shrimp into a delicious dinner you’ll love!
Ingredients
Detailed Ingredient List
– 1 pound large shrimp, peeled and deveined
– 8 ounces linguine or spaghetti
– 4 tablespoons unsalted butter, divided
– 4 cloves garlic, finely minced
– 1 teaspoon red pepper flakes
– 1 lemon, zested and juiced
– 1/4 cup fresh parsley, roughly chopped
– Salt and black pepper
– 1/2 cup chicken or vegetable broth
– Grated Parmesan cheese (optional)
For this easy shrimp scampi, use large shrimp for the best flavor and texture. The pasta, either linguine or spaghetti, serves as a hearty base. You can adjust the red pepper flakes based on your heat preference. Fresh garlic and lemon give the dish a bright zing. A touch of broth adds depth to the sauce, while parsley brings freshness. Don’t forget the optional Parmesan cheese to elevate the dish!
With these ingredients, you can create a simple yet delightful meal. You may already have some of these at home. Check your pantry and fridge before you shop! This recipe provides a balanced mix of flavors. You’ll love how the butter and garlic enhance the shrimp.Enjoy cooking!
Step-by-Step Instructions
Cooking the Pasta
– Bring a large pot of salted water to a boil.
– Add 8 ounces of linguine or spaghetti.
– Cook according to package instructions until al dente.
– Drain the pasta but save 1/2 cup of starchy water.
Cooking pasta is simple but key to this dish. The right texture makes all the difference. Al dente pasta holds its shape and absorbs sauce well. The starchy water is like magic for the sauce, helping it stick.
Sautéing the Shrimp
– While the pasta cooks, prepare 1 pound of large shrimp.
– Peel and devein them, then season with salt, black pepper, and red pepper flakes.
– Melt 2 tablespoons of butter in a large skillet over medium heat.
– Cook the shrimp for 2-3 minutes until they turn pink and opaque.
Shrimp cook fast, so keep an eye on them. You want them tender, not rubbery. Once cooked, take them out and set them aside. This keeps them from overcooking while you make the sauce.
Making the Sauce
– In the same skillet, add 2 more tablespoons of butter.
– Sauté 4 cloves of minced garlic for 1-2 minutes until fragrant.
– Add 1/2 cup of chicken or vegetable broth.
– Squeeze in the juice of 1 lemon and add the zest.
Garlic adds a wonderful flavor, but don’t let it burn. It can turn bitter quickly. The broth and lemon juice create a bright, tasty sauce that pairs well with the shrimp.
Combining Ingredients
– Return the shrimp to the skillet.
– Add the cooked pasta and 1/4 cup of chopped parsley.
– Toss everything together, adding reserved pasta water as needed.
This step is crucial. Tossing helps the sauce coat every piece of pasta and shrimp. If the sauce is too thick, add a bit of your reserved water. This keeps the dish light and fresh.
Serving Suggestions
– Taste the dish and adjust seasoning with salt and pepper if needed.
– Serve the shrimp scampi hot.
– Garnish with extra parsley and lemon wedges.
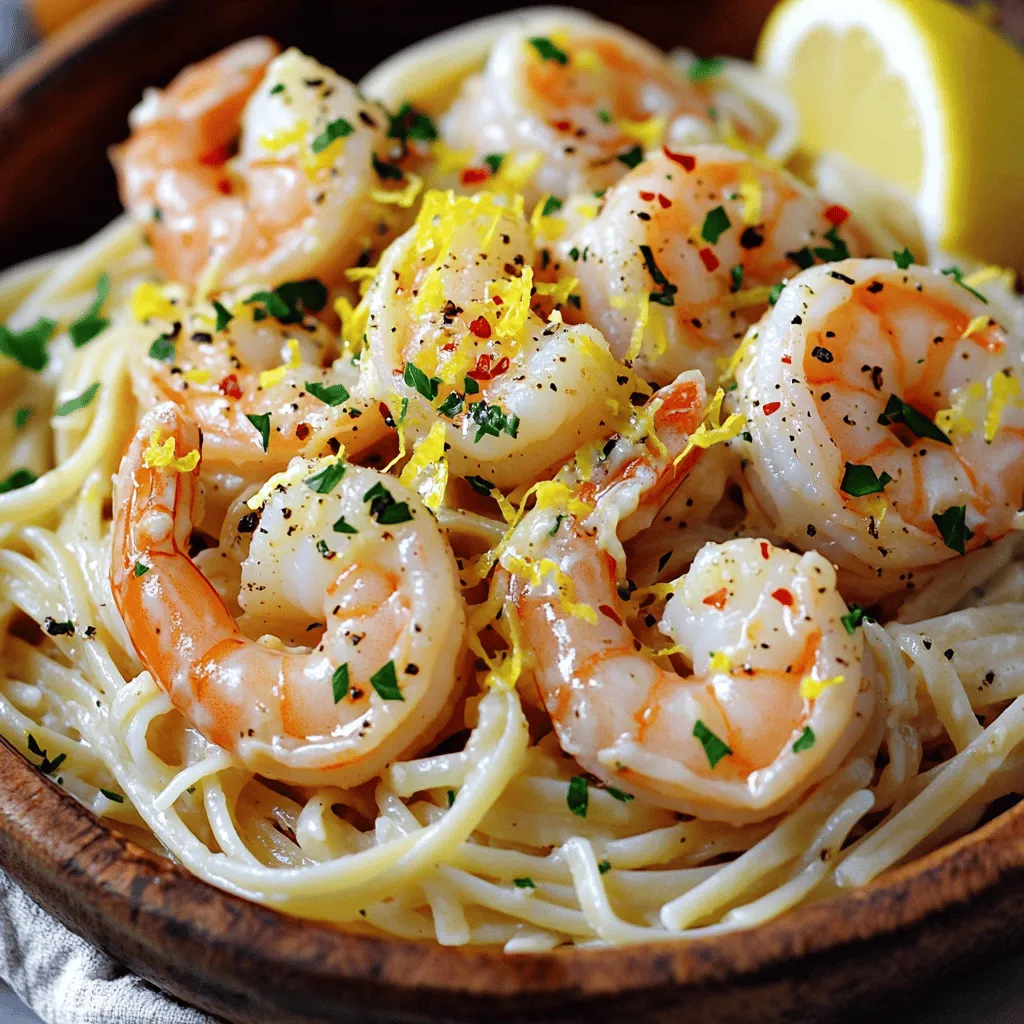
Serving it hot makes the flavors pop. The garnish adds color and a fresh touch. A sprinkle of grated Parmesan cheese can also enhance the dish.
Tips & Tricks
Cooking Tips
To avoid overcooking shrimp, watch their color closely. When they turn pink and opaque, they are done. This usually takes about 2-3 minutes. If you cook them too long, they can become rubbery.
Adjusting spices for heat preference is easy. If you like it spicy, add more red pepper flakes. If you prefer milder flavors, use less or leave them out. Always taste as you go!
Presentation Tips
Serving in a pasta bowl makes the dish look inviting. It also allows guests to mix their food easily. A large bowl adds a touch of elegance.
For garnishing, consider fresh parsley and lemon wedges. This adds color and freshness to the dish. A sprinkle of extra parsley right before serving brightens it up!
Flavor Enhancement Tips
Adding a splash of white wine can boost the flavor. It adds depth and richness to the sauce. More garlic also enhances the taste, making it even more aromatic.
Strategies to customize the dish include adding vegetables. Spinach or cherry tomatoes can add color and nutrition. You can also swap shrimp for chicken or tofu for a new twist.
Variations
Alternative Pasta Choices
You can change up the pasta in shrimp scampi. If you need a gluten-free option, try rice noodles or gluten-free pasta. These work well and still taste great. You can also use different kinds of noodles. Fettuccine or even zucchini noodles bring a new twist to the dish.
Ingredient Substitutions
Not a fan of shrimp? You can use chicken, scallops, or even tofu. Each option offers a unique flavor. For herbs, swap parsley for basil or cilantro. You can also change spices. If you like it spicier, add cayenne pepper instead of red pepper flakes.
Dietary-Friendly Options
To make this dish keto-friendly, use zucchini noodles instead of pasta. You can also reduce the butter and add olive oil for a healthier fat. If you need dairy-free options, skip the cheese or use a dairy-free substitute. These tweaks keep the dish delicious while fitting your diet.
Feel free to explore these variations to find what you love best!
Storage Info
Refrigeration Guidelines
To keep your shrimp scampi fresh, store leftovers in an airtight container. Make sure to cool the dish to room temperature before sealing. This helps prevent moisture build-up. You can store it in the fridge for up to three days. If you want to enjoy it later, consider freezing it. However, shrimp can lose some texture when frozen.
Reheating Instructions
To reheat your shrimp scampi, the best method is using the stovetop. Place the dish in a skillet over medium heat. Add a splash of chicken broth or water to keep it moist. Stir occasionally until heated through. You can also use the microwave, but be careful not to overcook the shrimp. Heat in short intervals, checking frequently. For freshness, adding a little lemon juice before serving can brighten the flavors.
FAQs
How do I know when shrimp are cooked?
You can tell shrimp are cooked when they turn pink and opaque. The flesh should curl into a “C” shape. If they are still gray, they need more time. Perfectly cooked shrimp feel firm to the touch but not rubbery. Overcooked shrimp can become tough, so keep an eye on them while they cook.
Can I make this recipe in advance?
Yes, you can make shrimp scampi in advance. To do this, cook the shrimp and sauce, then cool them down. Store them in an airtight container in the fridge. When you’re ready to eat, just reheat the mixture in a skillet. Add the cooked pasta and some reserved pasta water to refresh the dish. This way, you save time on busy nights.
What to serve with shrimp scampi?
Shrimp scampi pairs well with many side dishes. Here are some ideas:
– Garlic bread for a crunchy texture
– A fresh green salad for a light touch
– Steamed vegetables like broccoli or asparagus
– White rice or risotto to soak up the sauce
These sides balance the rich flavors of the shrimp.
Can I use frozen shrimp for this recipe?
Yes, frozen shrimp work great for this dish. Just make sure to thaw them first. You can do this by placing them in the fridge overnight or running them under cold water for a quick thaw. Use the shrimp as you would fresh ones. Just adjust the cooking time, as frozen shrimp may take a minute longer to cook.
This blog post guides you through making a tasty shrimp scampi. You learned about each ingredient and step, from cooking pasta to making the sauce. Cooking shrimp perfectly is vital, and I shared tips to avoid overcooking. Don’t forget the variations to suit your taste and dietary needs. Remember, leftovers can last a few days, and reheating them well keeps them delicious. Enjoy your shrimp scampi creation, and impress your family and friends with this dish!


