Easy Roasted Beet Salad Flavorful and Nutritious Dish

Looking for a vibrant dish that’s both tasty and nutritious? Let me introduce you to my Easy Roasted Beet Salad! This salad bursts with flavor and is packed with healthy ingredients. You’ll find step-by-step instructions, tips for perfect roasting, and delicious variations to try. Whether you’re a busy parent or a health enthusiast, this salad is perfect for you. Let’s dive in and make something truly delightful!
Ingredients
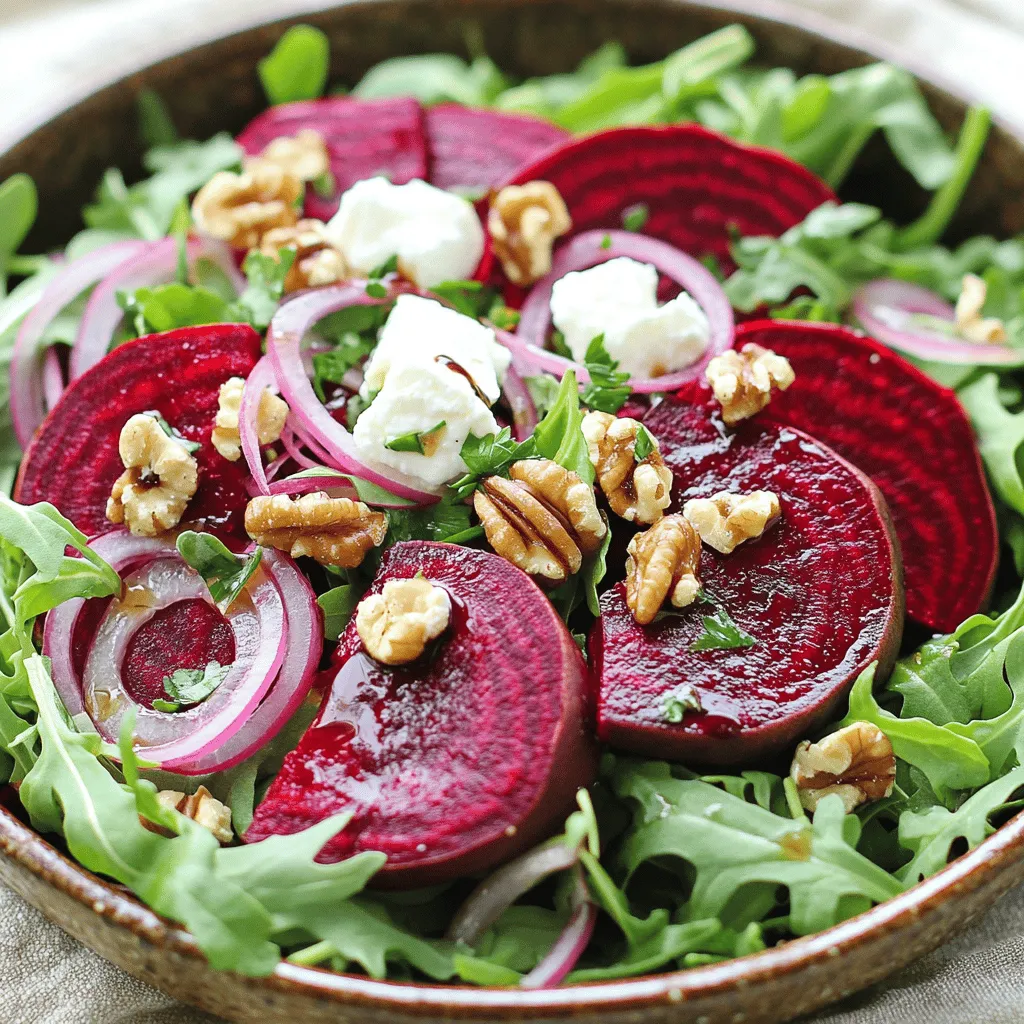
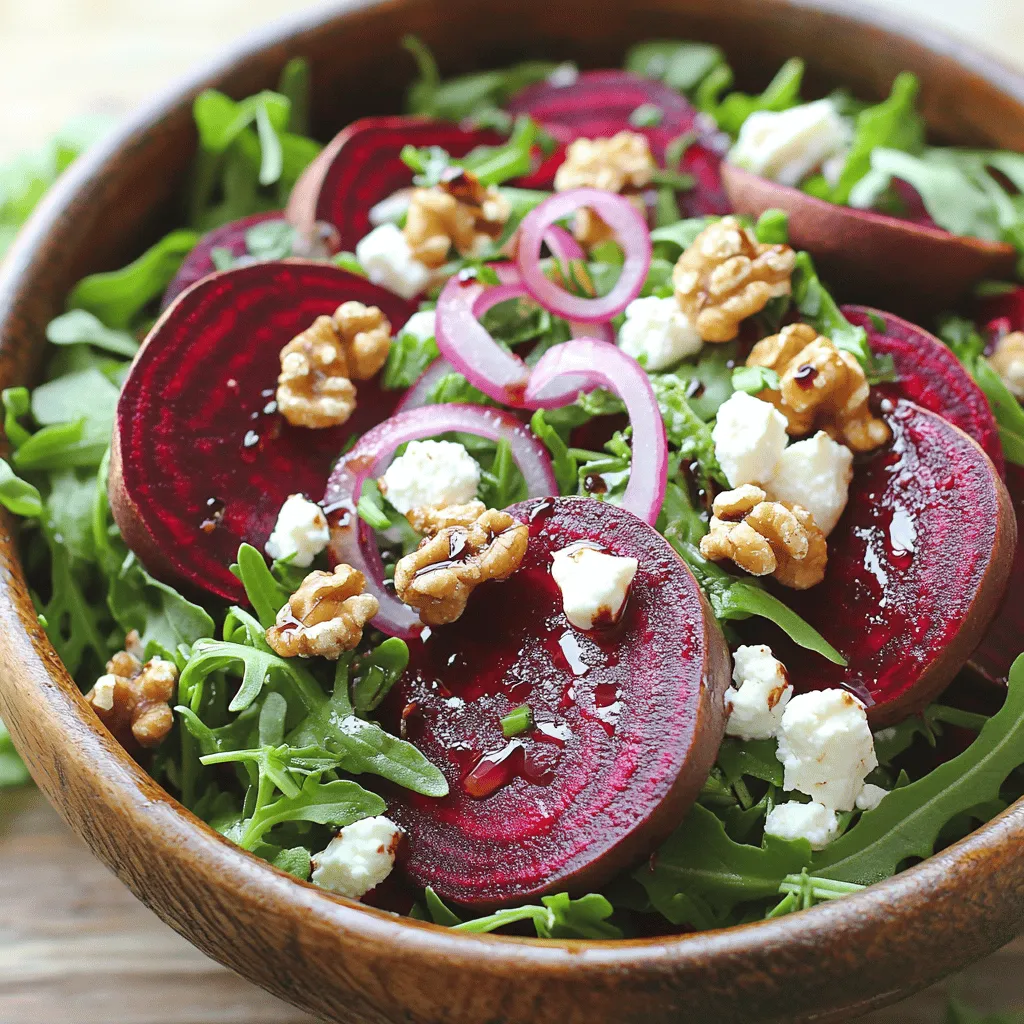
Main Ingredients for Easy Roasted Beet Salad
- 4 medium-sized beets, thoroughly scrubbed and trimmed
- 4 cups fresh arugula or mixed greens
- 1/2 cup feta cheese, crumbled
- 1/4 cup walnuts, toasted and coarsely chopped
- 1/4 cup red onion, finely sliced
- 2 tablespoons balsamic vinegar
- 2 tablespoons extra virgin olive oil
- Salt and freshly cracked black pepper to taste
- Fresh herbs (like parsley or chives) for garnish
When making this salad, I focus on fresh, bold flavors. Beets are the star. They add a beautiful color and a sweet taste. I choose medium-sized beets for even cooking. They roast well and become tender and sweet.
I love using arugula or mixed greens. They add a peppery taste that pairs well with the beets. Feta cheese gives a creamy contrast. It adds a salty flavor that brightens the salad. Walnuts add a lovely crunch. Toasting them enhances their flavor, making them even more delicious.
Red onions bring a sharpness that cuts through the sweetness of the beets. I slice them thin so they blend well. The dressing of balsamic vinegar and olive oil ties the salad together. It adds a tangy finish that makes every bite exciting.
Don’t forget fresh herbs! They bring color and a fresh aroma. Parsley or chives work great. This salad is not just pretty; it’s also good for you. It is packed with vitamins and nutrients that keep you healthy.
Step-by-Step Instructions
Prepping the Beets
- Preheat the oven to 400°F (200°C).
- Wrap each beet in aluminum foil.
First, you want to set your oven to 400°F. This heat will help the beets cook evenly. Next, take each beet and wrap it in aluminum foil. Make sure each beet is covered well. This keeps them moist while roasting.
Roasting the Beets
- Place wrapped beets on a baking sheet.
- Roast for 45-60 minutes until tender.
Now, put the wrapped beets on a baking sheet. This will catch any drips. Roast the beets for 45 to 60 minutes. They are done when a fork can pierce them easily. The time can change based on beet size.
Assembling the Salad
- Cool, peel, and slice the roasted beets.
- Combine all salad ingredients in a mixing bowl.
- Prepare the dressing and toss.
Once the beets cool, peel them by rubbing the skins off with a paper towel. Slice them as you like. In a big mixing bowl, add the greens, sliced beets, feta, walnuts, and red onion. Next, make the dressing. In a small bowl, whisk together balsamic vinegar, olive oil, salt, and pepper. Pour this over the salad and toss it well. Enjoy your vibrant creation!
Tips & Tricks
Selecting Fresh Beets
When choosing beets, look for firm ones with no marks. Unblemished skin means better taste. Smaller beets roast evenly. Larger beets take longer to cook, so choose sizes that are similar.
Perfecting the Roasting Process
Roasting time depends on the beet size. Small beets may need 45 minutes, while larger ones may take up to 60. To check if they are done, poke them with a fork. If it goes in easily, they are ready!
Dressing Options
You can change the dressing to suit your taste. Try adding honey for sweetness or mustard for a kick. Fresh herbs like basil or thyme can add great flavors too. Don’t hesitate to experiment and find your favorite mix!

Variations
Adding Protein
You can boost your beet salad with protein. Grilled chicken adds a savory touch. If you want a plant-based option, try chickpeas. They blend well with beets and greens. For cheese lovers, you can swap feta for goat cheese or blue cheese. Each cheese brings a unique flavor, enhancing your salad.
Seasonal Vegetable Additions
Adding seasonal vegetables makes your salad more vibrant. Try mixing in fresh spinach or kale for extra greens. Roasted carrots or sweet potatoes work well too. They add sweetness and a nice texture. You can also include radishes for a crunchy bite. These veggies complement the beets and provide great flavor.
Flavor Enhancements
To brighten your salad, add citrus slices. Oranges and grapefruit provide a refreshing zing. You can also slice apples for sweetness. For a touch of warmth, try spices like cumin or smoked paprika. These spices deepen the flavor, making each bite exciting. Experiment with these ideas to find your favorite flavors.
Storage Information
Best Storage Practices
After you make the salad, store any leftovers in the fridge. Place the salad in an airtight container. This keeps it fresh and tasty. If you have leftover ingredients, store them separately. For example, keep the beets, greens, and dressing apart. This way, the greens stay crisp and the flavors remain bright.
Storage Duration
The salad will stay fresh for about 2-3 days in the fridge. The beets last longer than the greens. If you see any wilting, it’s best to eat it soon. Always check for changes in smell or color before using.
Freezing Recommendations
You can freeze roasted beets for later use. Just chop them and place them in a freezer-safe bag. Be sure to remove as much air as possible. However, avoid freezing the greens or dressed salad. Freezing can make greens mushy and lose their taste. It’s best to enjoy them fresh!
FAQs
How do you roast beets?
To roast beets, follow these steps:
1. Preheat your oven to 400°F (200°C).
2. Wrap each beet in aluminum foil securely.
3. Place the wrapped beets on a baking sheet.
4. Roast for 45-60 minutes, until tender when pierced.
5. Let them cool slightly, then peel off the skins.
6. Slice or wedge the beets to add to your salad.
Roasting brings out the natural sweetness and earthiness of the beets. The warm beets pair well with fresh greens, making the salad vibrant and flavorful.
Can I use canned beets instead?
Yes, you can use canned beets if you’re in a hurry. However, roasting fresh beets gives a richer taste. Canned beets usually have added salt or vinegar, which can change the salad’s flavor. If you choose canned, rinse them to reduce excess salt.
Is the salad suitable for meal prep?
Yes, this salad is great for meal prep. To prepare ahead, roast the beets and store them in the fridge. Keep the salad greens and other ingredients separate until serving. This helps maintain freshness and texture.
For best storage, use airtight containers. The roasted beets can last up to a week in the fridge. Avoid freezing the salad, as it can make the greens wilt. Enjoy your Easy Roasted Beet Salad fresh for the best taste!
This easy roasted beet salad brings together fresh flavors and simple steps. You learned how to roast beets, assemble the salad, and customize it to your taste. Fresh ingredients make each bite enjoyable. Whether you add protein or seasonal veggies, this salad fits any meal. Following proper storage tips keeps leftovers fresh and tasty. Enjoy this vibrant dish with confidence, knowing you can adapt it as you wish. Eating healthy is easy and fun!


![- 1 large head of cauliflower, trimmed and cut into bite-sized florets - 1 cup shredded sharp cheddar cheese, divided - 1 cup cream cheese, softened to room temperature - 1 cup milk, preferably whole - 1/2 cup grated Parmesan cheese - 1 cup breadcrumbs (whole wheat or panko for extra crunch) - 2 garlic cloves, finely minced - 1 teaspoon onion powder - Salt and freshly cracked black pepper to taste - 2 tablespoons extra virgin olive oil - Fresh parsley, finely chopped (for garnish) - For cheese lovers, try gouda or mozzarella for a different taste. - If you want a dairy-free version, use cashew cream and dairy-free cheese. - Whole grain breadcrumbs work well. For gluten-free, use crushed nuts or gluten-free crumbs. This cheesy cauliflower casserole is perfect for a cozy meal. The rich flavors come from simple ingredients, making it easy to enjoy. You can find the full recipe above to guide you through the cooking process. First, set your oven to 375°F (190°C). Preheating is key. It ensures even cooking and helps achieve a golden crust. If you skip this step, your casserole may not cook right. Next, you will blanch the cauliflower. Fill a large pot with water and add a pinch of salt. Once it boils, gently add the cauliflower florets. Blanch them for about 5 minutes. They should be tender but still crunchy. Drain and let them cool. Keeping that crunch is important for the final dish. Now, let’s make the cheese mixture. In a big bowl, mix softened cream cheese with milk until smooth. Then add minced garlic and onion powder. Finally, fold in half of the shredded cheddar cheese. You want it creamy and well-blended. This mixture adds great flavor. Next, fold the blanched cauliflower into the cheese mixture. Make sure each floret gets coated well. This is where you can add salt and freshly cracked black pepper. Taste it to ensure it’s seasoned just right. Take a 9x13 inch casserole dish and grease it with olive oil or cooking spray. Pour the creamy cauliflower mixture into the dish. Spread it out evenly. This helps every bite to be delicious. Finally, bake your casserole. Place it in the oven for 25-30 minutes. Look for a golden brown top and bubbly cheese. When it’s done, let it cool for about 5 minutes before serving. This helps the flavors settle and makes it easier to serve. For the full recipe, check out the details above. To get creamy cauliflower, use softened cream cheese and whole milk. This mix gives a rich feel. Blanch the cauliflower just right, so it stays firm. If you want a crispy topping, use panko breadcrumbs. They add extra crunch and texture. Mixing the breadcrumbs with a bit of olive oil helps them brown. Try adding fresh herbs like thyme or rosemary for extra flavor. A pinch of smoked paprika can bring a nice twist too. If you like heat, consider some chili flakes. Always taste your mix before baking. Adjust salt and pepper to your liking. This will make sure every bite is just right. For a fun touch, serve the casserole in individual ramekins. This makes each serving special. You can also top each ramekin with fresh parsley for color. Using a sprinkle of extra Parmesan adds a nice look and taste. Remember, we eat with our eyes first. A pretty dish makes it more inviting! {{image_4}} To make a low-carb version, use cauliflower rice instead of whole florets. This change will keep the dish light and reduce carbs. You can also add other veggies like broccoli or spinach. These will boost the flavor and nutrition. For a vegan option, swap dairy cheese with dairy-free cheese alternatives. Look for brands made from nuts or soy that melt well. You can also use plant-based cream options like coconut cream or cashew cream. This keeps the creamy texture without dairy. If you like heat, add chili flakes or jalapeños. These will give your casserole a nice kick. You may also explore global twists. Try Mediterranean flavors with olives and feta cheese, or go for Mexican flavors by adding black beans and corn. Each twist makes this dish exciting! For the full recipe, check out the [Full Recipe]. To store leftovers, use an airtight container. Make sure to cool the casserole first. Place it in the fridge. It will stay fresh for about 3 to 5 days. Always check for signs of spoilage before eating. For reheating, the oven is best for keeping the texture. Preheat your oven to 350°F (175°C). Place the casserole in a baking dish. Cover it with foil to avoid drying out. Heat for about 20 minutes or until warm. Limit reheating to just once to keep it tasty. To freeze, let the casserole cool completely. Cut it into portions for easy use. Wrap each piece well in plastic wrap. Then place them in a freezer-safe bag. It can last up to 3 months. For thawing, place it in the fridge overnight for best results. This helps keep the quality. To make this cheesy cauliflower casserole, follow these easy steps: 1. Preheat the oven: Set it to 375°F (190°C). 2. Blanch the cauliflower: Boil water with salt, then add cauliflower florets for about 5 minutes. Drain and let cool. 3. Prepare the cheese mixture: In a bowl, mix cream cheese and milk until smooth. Add minced garlic, onion powder, and half the cheddar cheese. 4. Combine with cauliflower: Fold the blanched cauliflower into the cheese mixture. Season with salt and pepper. 5. Fill the casserole dish: Grease a 9x13 inch dish and pour the mixture in. 6. Prepare the topping: Combine breadcrumbs, Parmesan, remaining cheddar, and olive oil. Sprinkle on top. 7. Bake: Cook in the oven for 25-30 minutes until golden brown. 8. Cool and garnish: Let it cool for a few minutes and add parsley on top. You can find the full recipe above for more details. Yes, you can make this casserole ahead of time. Prepare it up to the baking step. Cover it and place it in the fridge for up to 24 hours. When ready to serve, bake it at 375°F (190°C) for about 30-35 minutes. You may need to add a few extra minutes if it’s cold from the fridge. This casserole pairs well with many dishes. Here are some great options: - Grilled chicken or fish for protein. - A fresh green salad for crunch. - Roasted vegetables for added nutrition. - Garlic bread for a comforting touch. These sides will balance the rich flavors of the casserole. Yes, it is perfect for meal prep. Store leftovers in airtight containers in the fridge for up to 4 days. Reheat in the microwave or oven. For best results, use the oven to keep the topping crispy. Cauliflower is a powerhouse of nutrients. Here are some key benefits: - Low in calories: This makes it great for weight management. - High in fiber: Promotes good digestion and keeps you full. - Rich in vitamins: Especially vitamin C and K, which support health. - Antioxidants: Help protect your body from damage. Including cauliflower in your diet can boost overall health while enjoying delicious meals. This cheesy cauliflower casserole is a blend of flavor and ease. We covered the key ingredients, preparation steps, and variations to make it your own. From storing leftovers to serving suggestions, this dish fits many needs. Whether you prefer it low-carb, vegan, or with a spicy kick, there's a version for everyone. Enjoy creating your own twist on this delightful dish. Cooking should be fun and tasty!](https://dishtreats.com/wp-content/uploads/2025/07/466b6563-f7cf-4c28-8259-a68bc212ec4f-768x768.webp)

