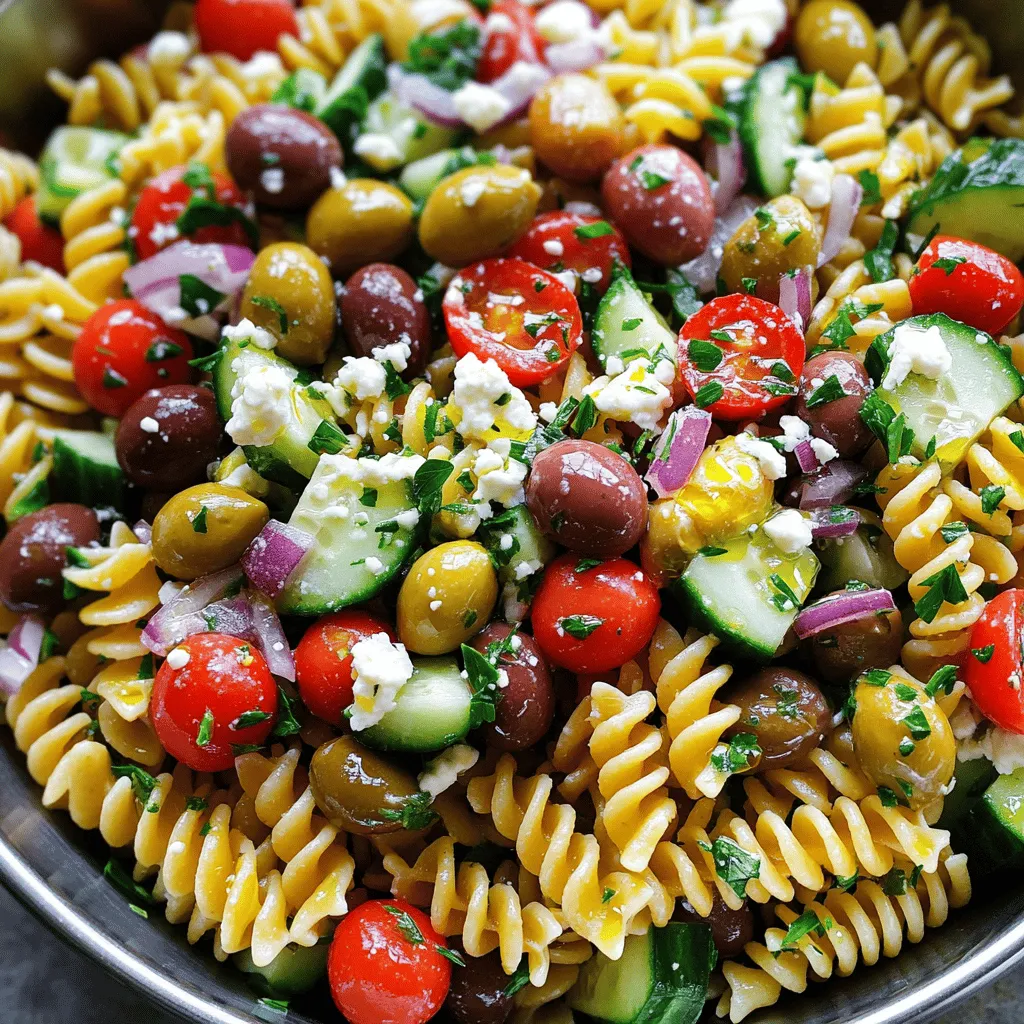
Looking for a fresh and tasty dish that’s quick to make? Try this Easy Greek Pasta Salad! With vibrant ingredients like rotini pasta, cherry tomatoes, and feta cheese, this recipe is colorful and satisfying. You can whip it up in no time, perfect for lunch or dinner. Ready to dive into a flavorful bowl of goodness? Let’s get started on this easy, delicious journey!
Ingredients
Main Ingredients
– 8 oz rotini or fusilli pasta
– 1 cup cherry tomatoes, halved
– 1 cucumber, diced
– 1 cup Kalamata olives, pitted and halved
– 1/2 red onion, finely chopped
– 1 bell pepper, diced
– 1 cup feta cheese, crumbled
– 1/4 cup fresh parsley, chopped
Dressing Ingredients
– 1/4 cup extra virgin olive oil
– 3 tablespoons red wine vinegar
– 1 teaspoon dried oregano
– Salt and pepper, to taste
Optional Ingredients
– Substitute red wine vinegar with apple cider vinegar
– Add other vegetables like bell peppers or spinach
This salad bursts with color and flavor. The main ingredients bring freshness. Each bite is full of crunch and zest. The pasta holds the dressing well, creating a tasty mix.
The dressing is simple but packs a punch. Extra virgin olive oil adds richness. Red wine vinegar gives a tangy taste. Dried oregano adds a hint of earthiness. Salt and pepper enhance all the flavors.
Want to mix it up? Try adding apple cider vinegar instead of red wine vinegar. You can also throw in extra veggies like spinach. This salad is flexible and lets your creativity shine.
Step-by-Step Instructions
Cooking the Pasta
To start, bring salted water to a rolling boil. Add 8 ounces of rotini or fusilli pasta. Cook for 8-10 minutes until al dente. Once cooked, drain the pasta in a colander. Rinse it under cold water to stop the cooking. Set the drained pasta aside for later.
Preparing the Vegetables
While your pasta cooks, wash and chop your vegetables. Use 1 cup of cherry tomatoes, 1 cucumber, 1/2 red onion, and 1 bell pepper. Dice these into bite-sized pieces. Also, chop 1/4 cup of fresh parsley. Once chopped, place all the vegetables into a large mixing bowl. This creates a colorful and fresh base for your salad.
Combining Ingredients
Now it’s time to mix things! Add the cooled pasta and 1 cup of Kalamata olives to the bowl of vegetables. This combination adds a nice salty flavor. In a separate bowl, prepare the dressing. Mix together 1/4 cup of olive oil, 3 tablespoons of red wine vinegar, and 1 teaspoon of dried oregano. Add salt and pepper to taste. Whisk until well combined.
Tossing the Salad
Drizzle the dressing over the pasta and vegetable mixture. Gently fold in 1 cup of crumbled feta cheese. Make sure all the ingredients are evenly coated with the dressing. This step is key for great flavor in every bite.
Chilling the Salad
Cover the salad with plastic wrap or a lid. Place it in the refrigerator for 30 minutes. This chilling time helps the flavors meld together. You can serve your pasta salad cold or at room temperature.
Tips & Tricks
Presentation Ideas
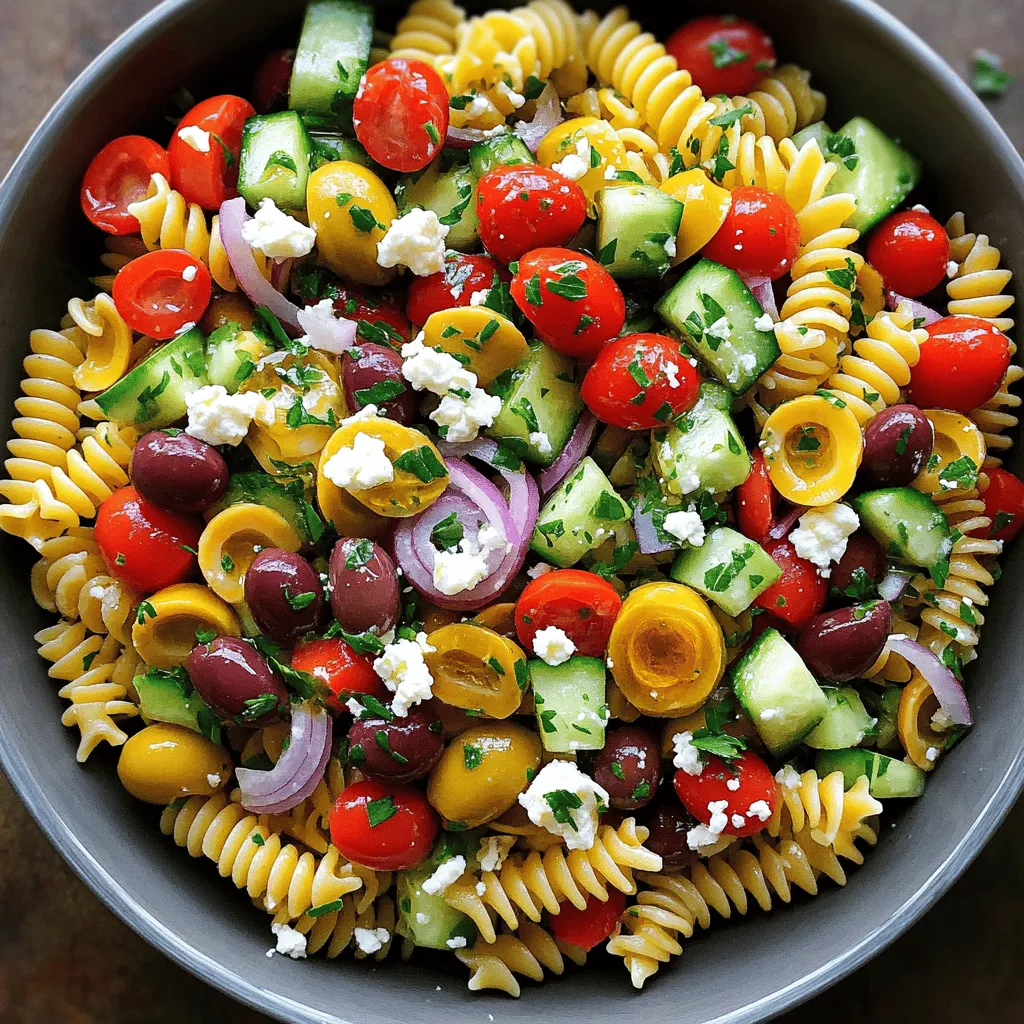
Serve your Greek pasta salad in a vibrant bowl for visual appeal. A colorful dish draws people in. You can also use individual plates for a fresh look. Garnish each serving with extra feta and parsley. This adds a pop of color and flavor.
Flavor Enhancements
Let your salad chill longer in the fridge. This helps the flavors blend and deepen. If you love herbs, try adding basil or dill. Fresh herbs boost the taste and aroma.
Meal Prep Advice
Prep your ingredients in advance. Chop vegetables and cook the pasta ahead of time. This makes assembly quick and easy. When storing leftovers, use an airtight container. It keeps the salad fresh and tasty for days. For the best flavor, consume within three to five days.
Variations
There are many fun ways to switch up your Easy Greek Pasta Salad. Try a Mediterranean twist for a new taste. Here are some ideas:
Mediterranean Twist
– Add sun-dried tomatoes for a sweet, tangy flavor.
– Toss in artichoke hearts for extra texture.
– For protein, add grilled chicken or chickpeas. Both options make it filling.
Dietary Adjustments
If you need to change the recipe for your diet, here are some tips:
– Use gluten-free pasta to make it gluten-free.
– For a vegan option, skip the feta cheese or try a vegan substitute.
Seasonal Additions
Enjoy seasonal ingredients by mixing in fresh veggies:
– In summer, add zucchini for a crunchy touch.
– Use roasted vegetables for deeper flavors. Roasting brings out their natural sweetness.
These variations keep your Easy Greek Pasta Salad fresh and exciting!
Storage Info
Short-Term Storage
To keep your Easy Greek Pasta Salad fresh, place it in an airtight container. You can store it in the refrigerator for about 3-5 days. This salad tastes best when you enjoy it fresh.
Freezing Recommendations
I do not recommend freezing this salad. Freezing can change its texture, making it less enjoyable. If you prepare a large batch, store the dressing separately. This keeps the flavors bright and fresh.
Reheating Tips
This pasta salad is best served cold. However, you can also enjoy it at room temperature. Before serving, gently toss the salad. This helps mix the flavors evenly throughout.
FAQs
Can I make this salad ahead of time?
Yes, it can be prepared a day in advance for flavor enhancement. This allows all the tastes to blend and become more rich. Just keep it in the fridge until you are ready to serve.
What can I use instead of feta cheese?
You can use vegan feta or other cheese alternatives. This makes the dish suitable for various diets. You might want to try a creamy cheese for a nice texture.
Is it suitable for outdoor events?
Yes, it’s perfect for picnics and potlucks if kept properly chilled. The fresh ingredients hold up well. Just pack it in a cooler or insulated bag to keep it fresh.
How can I add protein to this salad?
Consider adding grilled chicken, shrimp, or canned chickpeas. These options make the salad more filling. They also add great taste and texture to the mix.
This salad combines fresh pasta with vibrant vegetables, feta, and a simple dressing. Using easy steps, you can create a delightful dish that’s perfect for any gathering. Remember, you can adjust flavors and ingredients to fit your taste. Meal prep helps save time, and eating fresh is best. Enjoy your colorful pasta salad, whether at a picnic or a family dinner!


