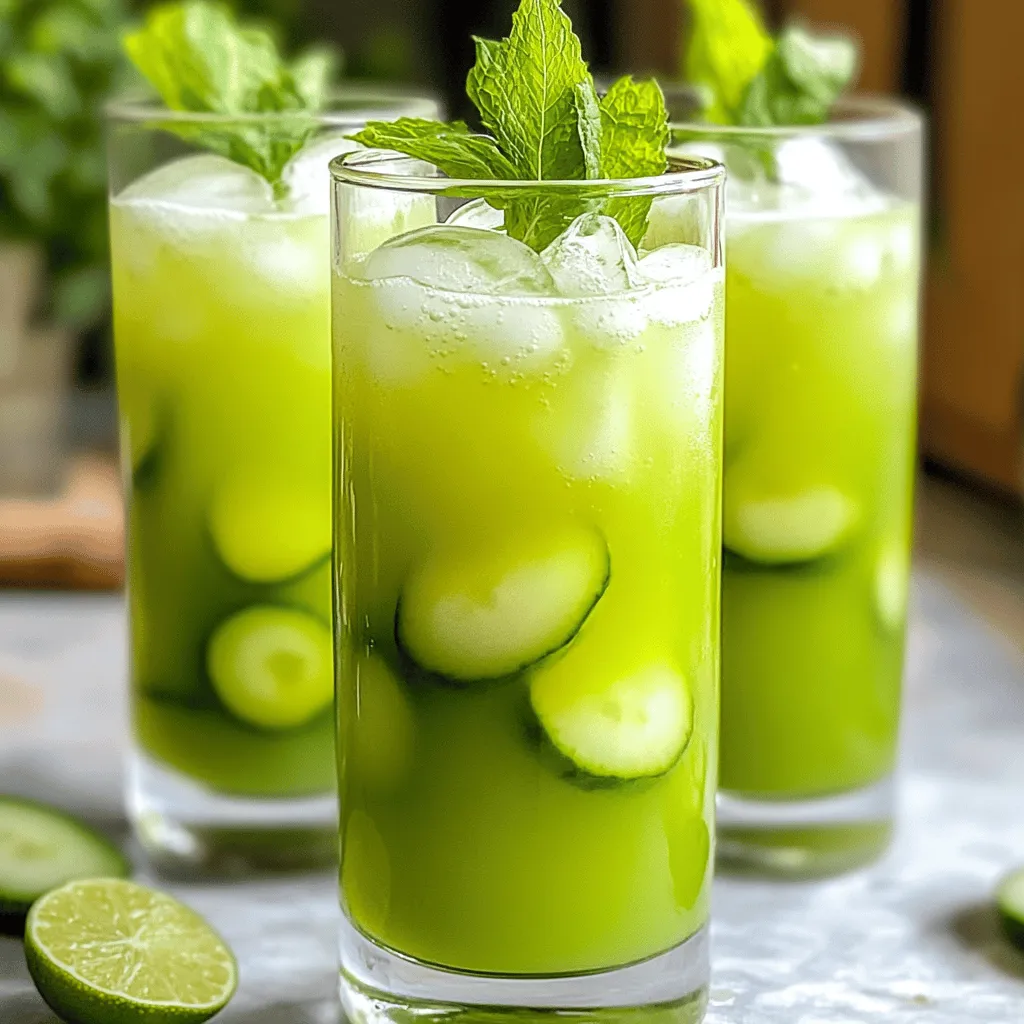
If you’re looking for a drink to cool you off this summer, you’re in the right place! Cucumber Melon Agua Fresca is the perfect blend of refreshing flavors. With just a few fresh ingredients like honeydew melon and cucumber, you can whip up this tasty drink in no time. Join me as I share the simple steps to create this delightful treat, perfect for warm days and sunny gatherings!
Ingredients
Fresh ingredients required
– 2 cups fresh honeydew melon, cubed
– 1 medium cucumber, peeled and chopped
– 2 tablespoons freshly squeezed lime juice
– 3 tablespoons agave nectar (adjust to taste)
– 4 cups cold water
– Fresh mint leaves for garnish (optional)
Tools needed for preparation
– High-powered blender
– Fine-mesh sieve
– Large pitcher
– Spatula
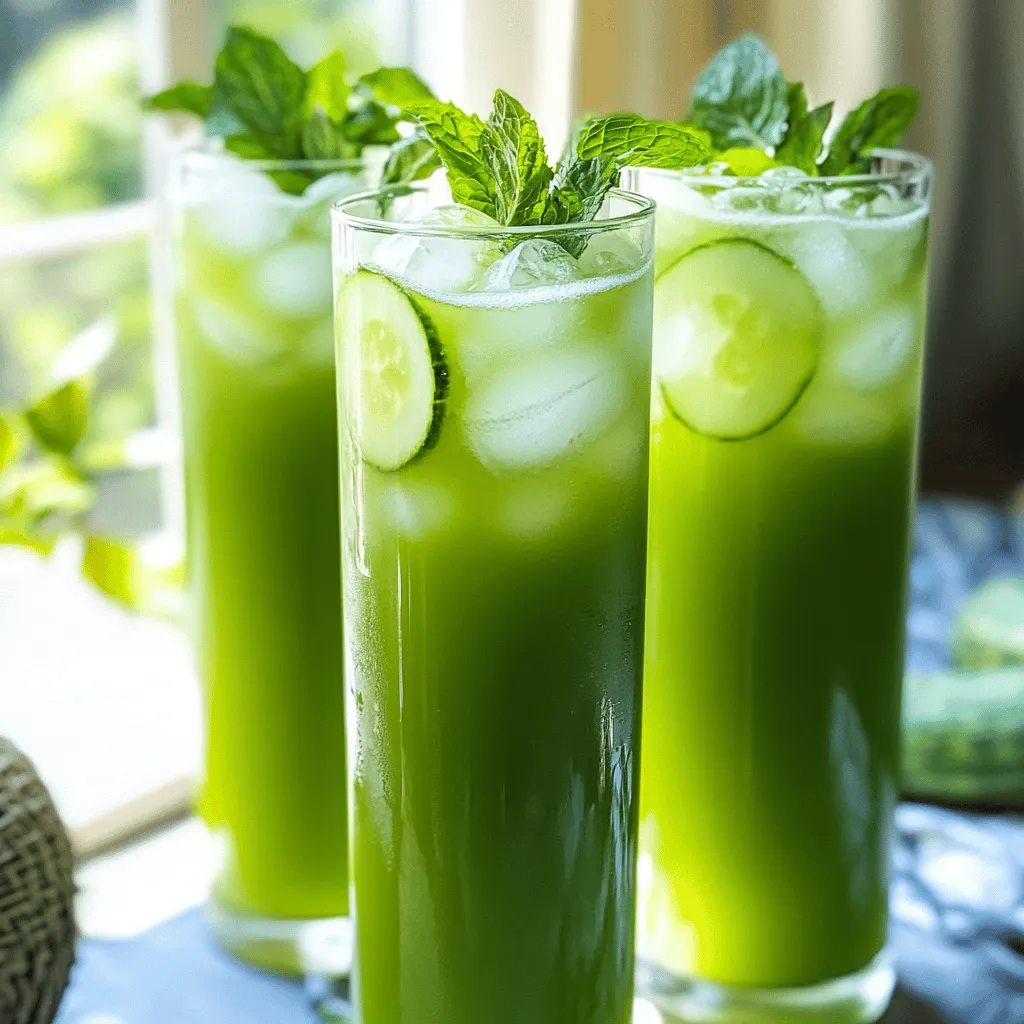
To create a refreshing cucumber melon agua fresca, you need fresh and bright ingredients. Honeydew melon gives this drink its sweet, juicy flavor. Cucumber adds a cool crunch, making each sip delightful. Fresh lime juice gives it a zesty kick that balances the sweetness. Agave nectar sweetens the drink, but feel free to adjust it to your taste. Cold water helps to dilute the flavors and keep it refreshing. Finally, fresh mint leaves can add a lovely touch when it’s time to serve.
For tools, a high-powered blender is essential to create a smooth mixture. A fine-mesh sieve helps to strain the pulp, giving you a clear drink. You will need a large pitcher to hold your agua fresca. A spatula is useful for pressing down the solids in the sieve, ensuring you get every drop of delicious juice.
Step-by-Step Instructions
Preparation steps
– Blending the honeydew and cucumber
Start by adding the cubed honeydew melon and the chopped cucumber into your blender. Blend on high speed for about 30 to 60 seconds. You want it to be super smooth. The fresh flavors will mix well together.
– Incorporating lime juice and agave nectar
Next, squeeze fresh lime juice into the blender. Add 3 tablespoons of agave nectar as well. Blend again for another 30 seconds. This step adds a zesty punch and sweet notes to the drink.
– Straining the mixture
Now, take a fine-mesh sieve and place it over a large pitcher. Pour the blended mixture into the sieve. Use a spatula to press down on the solids. This helps extract all the juicy goodness while leaving the pulp behind.
Mixing and chilling
– Adding cold water
After straining, pour in 4 cups of cold water into the pitcher. Stir gently to combine. This dilutes the mixture to the perfect drinkable consistency.
– Adjusting sweetness to taste
Taste your agua fresca. If you like it sweeter, feel free to add more agave nectar. Mix well after adding to ensure the sweetness is even throughout.
Serving suggestions
– Pouring over ice
To serve, fill tall glasses with ice. Then pour your refreshing cucumber melon agua fresca over the ice. This keeps the drink cold and refreshing.
– Garnishing with mint leaves
For a lovely touch, garnish with fresh mint leaves. They add color and a nice aroma. Plus, they make your drink look extra special!
This is how you can create a delightful Cucumber Melon Agua Fresca.Enjoy every sip of this refreshing summer beverage!
Tips & Tricks
Selecting the best honeydew melon
To find the best honeydew melon, check for a yellowish skin. A ripe melon feels slightly soft. You should also smell the stem end. A sweet scent means it’s ready to eat. Always choose organic melons when possible. They are often fresher and tastier.
Perfecting the flavor
Adjust the sweetness of your agua fresca by adding more or less agave nectar. Start with three tablespoons and taste it. If you want it sweeter, add more. You can also try adding herbs. Fresh mint or basil can bring a new twist. Just a few leaves can make a big difference.
Serving suggestions for occasions
Cucumber melon agua fresca fits many occasions. Serve it at picnics, barbecues, or family gatherings. It’s a great drink for hot summer days. Pair it with light snacks like chips or fresh fruit. It also goes well with grilled chicken or fish. Enjoy this refreshing drink with friends and family!
Variations
Alternative fruit combinations
You can switch honeydew with cantaloupe for a different taste. Cantaloupe has a sweet, floral flavor. This change adds a new layer to the drink. You can also add berries, like strawberries or blueberries. They bring a splash of color and a burst of tangy flavor. Mixing fruits can make your drink more fun and vibrant!
Dietary adjustments
Want a sugar-free drink? Use a sugar substitute like stevia. It will keep the drink sweet without extra calories. You can also skip the agave nectar completely. For those avoiding dairy, know this drink is naturally dairy-free. It’s perfect for everyone to enjoy!
Infused flavors
Add fresh basil or mint for a unique twist. These herbs brighten the drink and add a fresh scent. You can also try incorporating ginger for a spicy kick. A little ginger can give your agua fresca an exciting zing. These small changes can really elevate the flavor profile!
Storage Info
Short-term storage
Store your cucumber melon agua fresca in the fridge. Use a covered pitcher to keep it fresh. This drink tastes best when chilled. Aim to enjoy it within 3 days for optimal flavor.
Long-term storage options
You can freeze the agua fresca for later use. Pour it into ice cube trays and freeze. These cubes work great in smoothies or other drinks. They keep the flavor while adding a chill.
Shelf life
In the fridge, your agua fresca lasts about 3 days. Watch for signs of spoilage, like off smells or changes in color. If it smells sour or looks strange, it’s best to toss it out. Enjoy your refreshing drink while it’s at its peak!
FAQs
What is Cucumber Melon Agua Fresca?
Cucumber Melon Agua Fresca is a cool drink made from honeydew melon and cucumber. It comes from Mexico and is popular in hot weather. The drink is light and refreshing, perfect for summer days. I love how it combines sweet melon and crisp cucumber flavors. This drink is not only tasty but also hydrating. You can enjoy it at picnics, barbecues, or just while relaxing at home.
Can I make it in advance?
Yes, you can make Cucumber Melon Agua Fresca ahead of time! I often prepare it a few hours before serving. Just follow the recipe and chill it in the fridge. Letting it sit allows the flavors to mix better. You can store it in a pitcher, covered tightly. Just remember to stir it well before serving. If you have leftovers, it can last for up to two days in the fridge.
How do I adjust the sweetness?
You can adjust the sweetness by using agave nectar. Start with the amount in the recipe, then taste it. If you want it sweeter, add more agave, a little at a time. You can also try honey or maple syrup as substitutes. Each option gives a different flavor. Remember, sweetness is personal, so make it just how you like it!
Can I use frozen fruit?
Yes, frozen fruit is a great option! Using frozen honeydew and cucumber makes it easier and faster to prepare. Just blend the frozen fruit as you would fresh. It might create a slushy texture, which I find delightful. You can skip the ice, as the frozen fruit will keep it cold. This method is perfect for busy days or when fresh fruit is hard to find.
You learned how to make a refreshing Cucumber Melon Agua Fresca. We covered every step, from choosing fresh honeydew and cucumber, to mixing in lime juice and agave. I shared handy tips on selecting ripe fruit and suggested variations to try. You can store it safely for fresh enjoyment later. With these steps, making this drink will be simple and fun. Enjoying this agua fresca will surely impress your guests and satisfy your taste buds!