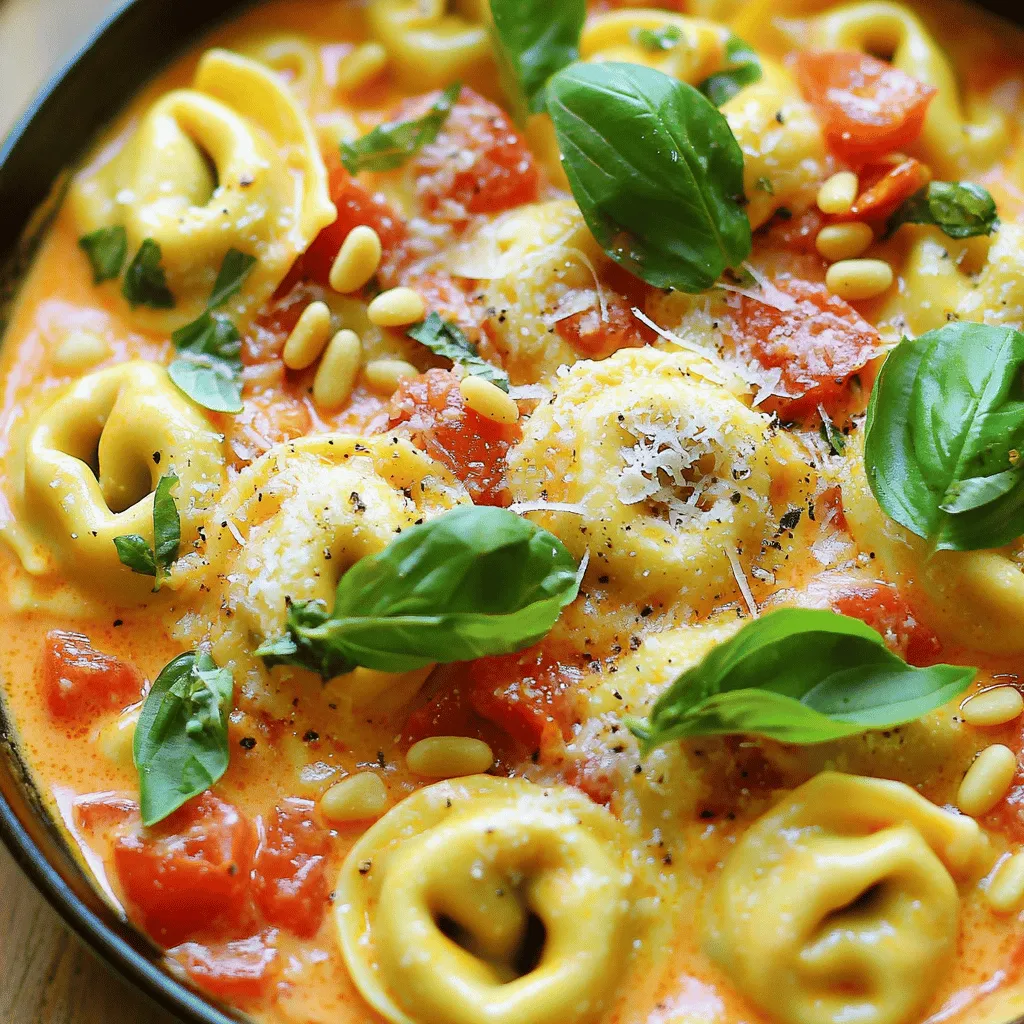
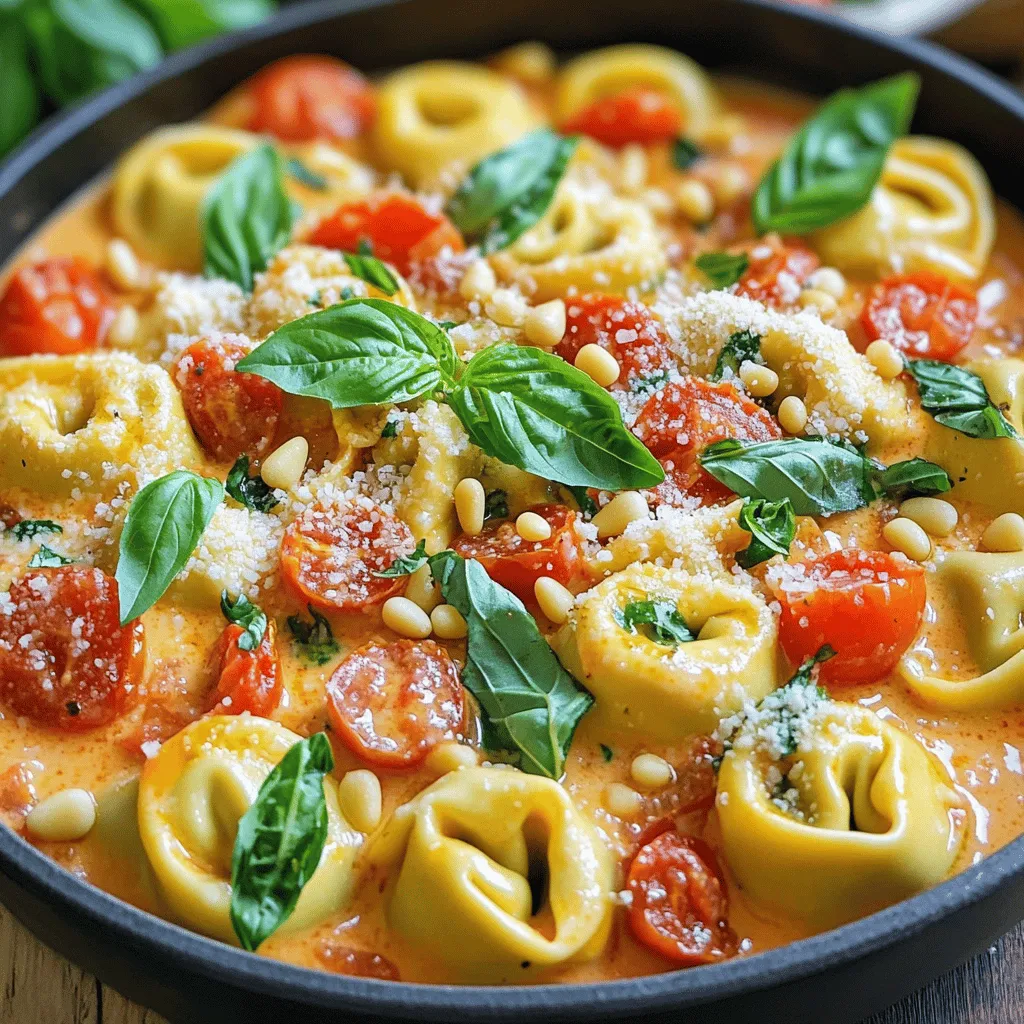
Craving a warm, comforting dish that’s both simple and delicious? You’ll love this Creamy Tomato Basil Tortellini! With rich flavors and a creamy sauce, it’s perfect for a quick dinner or a cozy meal. I’ll guide you through the easy steps to create this delightful dish at home. Let’s dive into the ingredients, cooking method, and some tasty tips for enhancing your pasta experience!
Ingredients
Main Ingredients for Creamy Tomato Basil Tortellini
To make this tasty dish, you need a few key items. Here’s what to gather:
– 12 oz cheese tortellini (fresh or frozen)
– 2 tablespoons extra virgin olive oil
– 3 cloves garlic, finely minced
– 1 can (14 oz) diced tomatoes, undrained
– 1 cup heavy cream
– 1/2 cup freshly grated Parmesan cheese
– 1/4 cup fresh basil leaves, chopped
– Salt and freshly ground black pepper, to taste
– 1/2 teaspoon red pepper flakes (optional)
These main ingredients form the base of the creamy sauce. The tortellini adds heartiness, while fresh basil brings a bright flavor.
Optional Garnishes
While the dish is great as is, some garnishes can add a fun twist. Consider these options:
– Extra fresh basil leaves for a fresh touch
– Toasted pine nuts for a crunchy bite
These garnishes make your dish look lovely and add extra layers of flavor.
Recommended Tools and Utensils
Having the right tools makes cooking easier. Here’s what you should use:
– Large skillet for cooking the sauce
– Pot for boiling tortellini
– Colander for draining pasta
– Wooden spoon for stirring
– Knife and cutting board for chopping
These tools help you prepare the dish quickly and smoothly. They also ensure your meal comes out just right.
Step-by-Step Instructions
Cooking the Tortellini
Start by boiling water in a large pot. Add salt to the water to enhance the flavor. Once it reaches a rolling boil, toss in 12 ounces of cheese tortellini. You can use fresh or frozen tortellini. Cook them according to the package directions, usually around 3-5 minutes. When they float to the top, they are done. Drain the tortellini well and set them aside for later.
Preparing the Sauce
In a large skillet, pour in 2 tablespoons of extra virgin olive oil over medium heat. Add 3 cloves of finely minced garlic. Sauté the garlic for 1-2 minutes until it smells amazing. Be careful not to let it brown, as it can taste bitter. Next, open a 14-ounce can of diced tomatoes and add it with the juices to the skillet. Increase the heat to bring it to a gentle simmer. Stir it every so often for about 5 minutes to blend the flavors. Lower the heat and stir in 1 cup of heavy cream. Let this mixture simmer for 3-4 minutes. The cream should meld with the tomato base. After that, add in ½ cup of freshly grated Parmesan cheese. Stir until the cheese melts and the sauce becomes creamy.
Combining and Serving
Now it’s time to mix everything together. Gently toss the cooked tortellini into the sauce. Also, add ¼ cup of chopped fresh basil, salt, black pepper, and red pepper flakes if you want a bit of heat. Mix everything well so the tortellini gets coated in that rich sauce. Cook for an additional 2-3 minutes over low heat. This lets all the flavors blend together. Serve the creamy tomato basil tortellini right away. Garnish it with extra fresh basil leaves and toasted pine nuts for a nice crunch, if you like. Enjoy your delightful meal!
Tips & Tricks
How to Enhance Flavor
To make your creamy tomato basil tortellini pop, focus on fresh ingredients. Use ripe tomatoes for a sweet base. Fresh basil adds bright notes. Try adding a squeeze of lemon juice for zing. You can also sprinkle some freshly cracked black pepper for depth. If you love heat, mix in red pepper flakes while cooking. Adjust these flavors to suit your taste.
Making It Gluten-Free or Vegan
To make this dish gluten-free, swap regular tortellini for gluten-free pasta. Many brands offer tasty options. For a vegan version, replace cheese tortellini with a plant-based variety. Use coconut cream or cashew cream instead of heavy cream. Nutritional yeast can replace Parmesan for a cheesy flavor. Always check labels to ensure your ingredients meet your dietary needs.
Perfecting the Creaminess
The key to a creamy sauce is the right balance of ingredients. Start with heavy cream for richness. Stir in freshly grated Parmesan cheese slowly. This ensures it melts smoothly into the sauce. If the sauce is too thick, add a splash of pasta water to thin it out. For a lighter version, use half-and-half or milk, but the texture will change. Always taste and adjust until it feels just right.
Variations
Adding Protein Options
You can easily add protein to your creamy tomato basil tortellini. Chicken is a great choice. Simply cook diced chicken in the skillet before adding the garlic. Cook until it’s no longer pink. Shrimp also works well. Just add them after sautéing the garlic. Cook until they turn pink and opaque. For a plant-based option, try adding chickpeas. Rinse and drain a can, then mix them in with the tortellini.
Vegetable Additions for Extra Nutrition
Boost the nutrition of this dish with some veggies. Spinach is a fantastic option. Add fresh spinach to the sauce just before mixing in the tortellini. It wilts quickly and adds color. Bell peppers add crunch and sweetness. Dice them and sauté with the garlic. Mushrooms also fit well. Cook sliced mushrooms until they are soft before adding the tomatoes.
Alternative Sauces and Cheeses
You can try different sauces for a fun twist. For a lighter version, use a tomato basil sauce instead of cream. This keeps the flavor but cuts down on calories. If you love spice, use a spicy arrabbiata sauce for a kick. For cheese, consider using mozzarella for a gooey texture. Feta cheese can add a tangy flavor. Crumble it on top before serving for a fresh taste.
Storage Info
How to Store Leftovers
To keep your creamy tomato basil tortellini fresh, store it in an airtight container. Make sure it cools to room temperature before sealing. This helps keep the flavors intact. You can store leftovers in the fridge for up to three days. If you notice any signs of spoilage, it’s best to discard it.
Reheating Instructions
When you’re ready to enjoy your leftovers, reheating is simple. You can use the microwave or the stove. For the microwave, place your tortellini in a bowl and cover it. Heat it for two to three minutes, stirring halfway through. On the stove, warm it in a skillet over low heat. Stir in a splash of cream or water to keep it creamy. This avoids any drying out.
Freezing Tips
If you want to save some for later, freezing works well. First, let the dish cool completely. Then, transfer it to a freezer-safe container. You can freeze it for up to three months. When you’re ready to eat, thaw it overnight in the fridge. Reheat it gently, adding a bit of cream as needed to restore the creamy texture. Enjoy your delicious tortellini anytime!
FAQs
Can I use dried tortellini instead of fresh or frozen?
Yes, you can use dried tortellini. Just cook it according to the package directions. Dried tortellini may take longer to cook than fresh or frozen. It will still taste great in the creamy sauce. Adjust the cooking time so the tortellini is tender.
Is creamy tomato basil tortellini healthy?
This dish can be part of a healthy diet. It features cheese tortellini, tomatoes, and basil. Tomatoes provide vitamins and antioxidants. Basil adds flavor and some health benefits. Use less cream or cheese for a lighter version. You can also add vegetables to boost nutrition.
What can I serve with this dish?
You can serve salad or garlic bread with this dish. A fresh green salad pairs well with the creaminess. Garlic bread adds a tasty crunch. Consider pairing it with a light white wine, like Pinot Grigio. For a vegetarian option, add roasted vegetables on the side.
This blog post covered how to make creamy tomato basil tortellini. You learned about the key ingredients and tools needed. I shared step-by-step instructions for cooking, preparing sauce, and serving. We also explored tips for flavor enhancement and making it gluten-free or vegan. I provided variations with protein and veggies. Finally, I included storage tips and answered common questions.
With these details, you can enjoy this tasty dish, tweak it to your liking, and store it for later. Happy cooking!


